Bathroom Closet Organization

Back to school is one of my favorite times of the year, and not necessarily because of the obvious: back to school. The reason I love this season is that some of my favorite things go on sale, like all the goodies for home (or dorm) organizing and office supplies. This summer, I went a little overboard and purchased more plastic containers and baskets than I care to admit. When I saw that my favorite plastic baskets were 50% off, I had to stock up. So I surveyed my closets looking for a project, and there it was; our master bathroom’s closet was begging for a fresh start and a new storage system.
Would you like to save this?
To organize my bathroom closet, I followed the same 4-step process I follow whenever I am organizing any space in my home.
- Empty out the space, and clean it.
- Sort items into categories.
- Declutter, toss, or relocate.
- Organize.
This process may sound obvious. However, when it comes to organizing, not only bathrooms, many people work around their old stuff and their outdated storage systems and try to organize within a messy space. This is the number one reason why many organization projects fail.
Sometimes to get organized, you need to make a bigger mess than the one you are starting with.
This post may contain affiliate links for your convenience. For more information, please read my Affiliate Disclosure.
Storage Systems in Our Bathroom
In our bathroom, we have several areas for storage. We have this closet I am organizing today, storage under the sinks, and a small hutch near the shower area.
To give you an idea of how I organize my bathroom, and this closet in particular, here’s a breakdown of our bathroom storage systems:
I am a fan of quick organization projects, and organizing this bathroom closet was fast and easy. Maybe it demanded a little more time than usual, but it was worth it. The last time I followed this same 4-step organization process for our bathroom’s closet was back in 2015. So, yes, you can say it really needed a facelift.
The closet wasn’t completely neglected for the last seven years. I would purge a basket here and there (the perfect example of how you should NOT organize), but nothing like the purging I did yesterday.

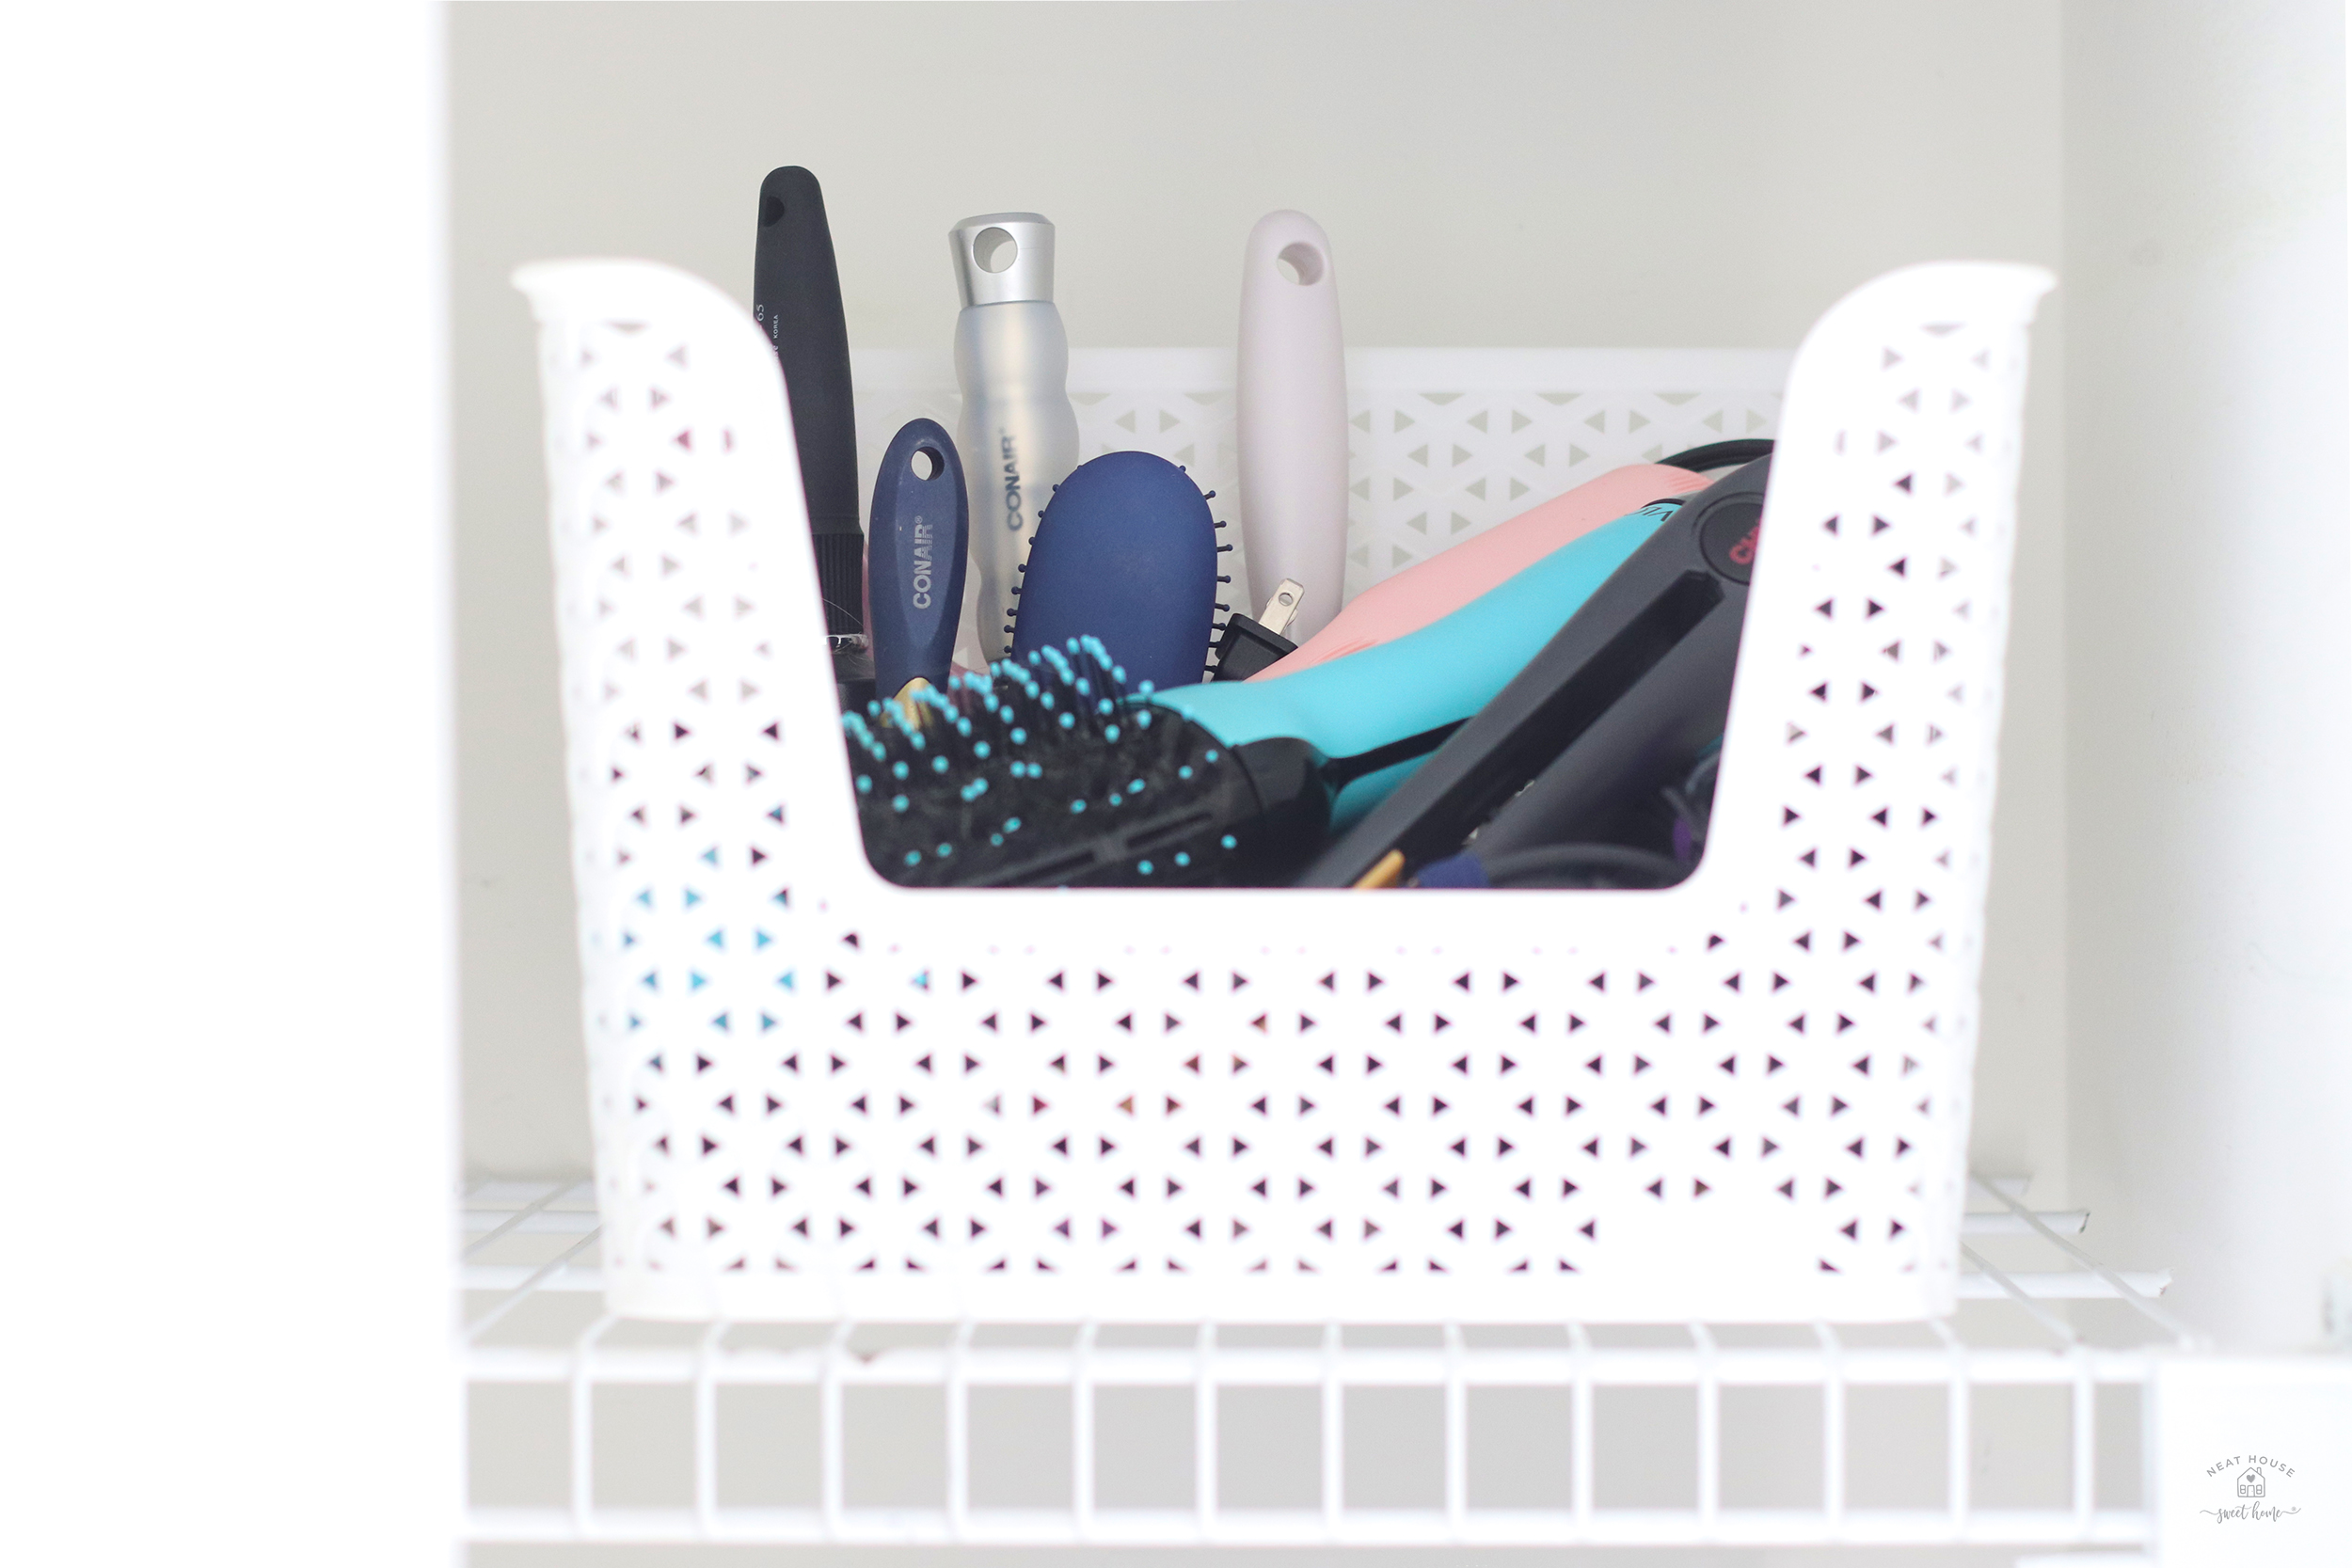
and here is quick glance at how a couple of things were semi-organized inside the baskets.
It wasn’t terrible, some items were difficult to access, and needed a good purge. It was also time to update the mismatched baskets.
Which Are the Most Appropriate Baskets for Closet Organization?
It’s no secret that I am a basket junkie. I literally have a shelf in a closet full of stacked baskets waiting for my next project. I like to think that my baskets work in shifts. Shifts could be a couple of weeks, months, or years. The truth is, you will always find a bin or a basket at the ready whenever an organization project comes up. Sometimes it’s just the need for a small bin to drop granola bars in the pantry.

With that said, throughout the years, I have tried several kinds of baskets. Wicker, fabric, jute, plastic, etc. They all serve their purpose of containing and categorizing things in any space. I do, however, prefer using plastic baskets for storage for many reasons.
Last year when I organized my seasonal decor closet, I tried the Y-Weave baskets from Target for the first time. These baskets have become my favorite storage system for many areas in my home, like closets, bathrooms, and even my home office.
How to Choose the Right Size Basket?
With all the size options, there’s a basket for every need in your home. However, the process of choosing the right size basket can be tricky. If they are too big, they can become a pit where small items, especially, can get lost. If they are on the smaller side, accommodating larger items becomes difficult.
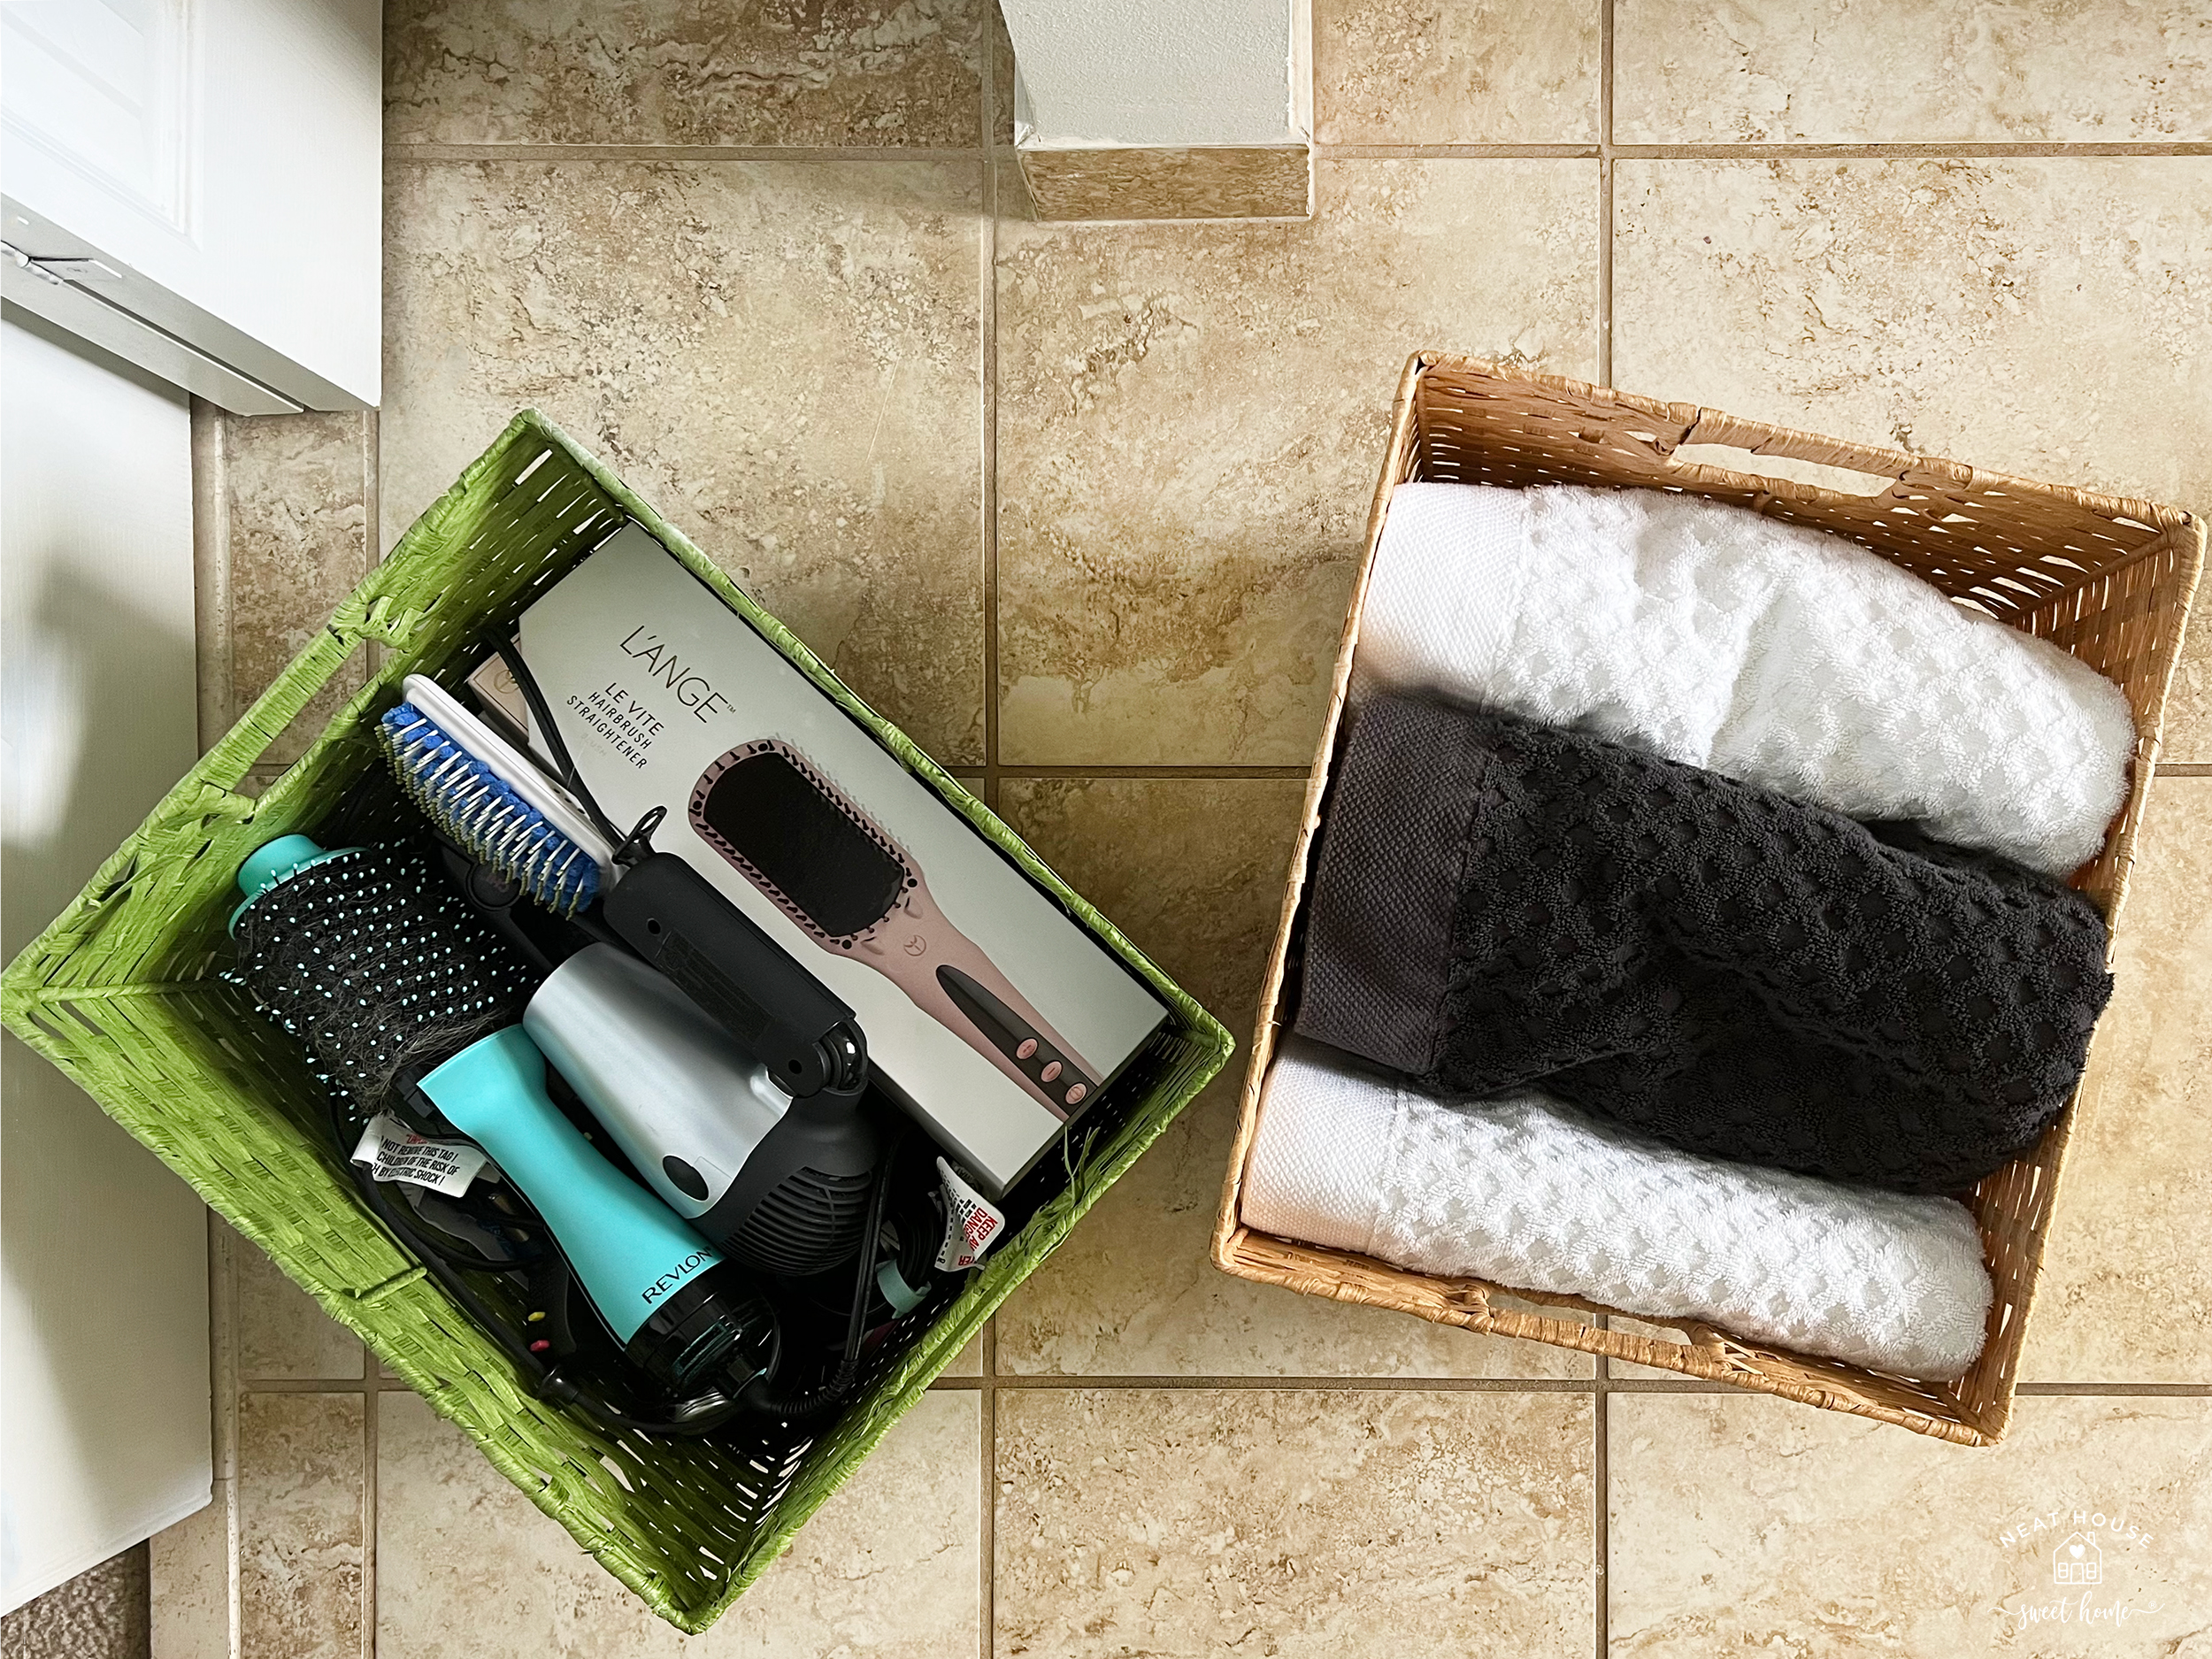
This time around organizing the bathroom closet, I found a better size basket to organize my hair styling tools. Before, the green basket was too big, and too deep. Now, the small easy access basket with an open front, makes everything more accessible.


As a rule of thumb, then, you should choose small baskets for smaller items, and large deep baskets for bulkier items. In the case of this closet organization, I organized my bathroom essentials like this:


Steps for Organizing the Bathroom Closet
The closet in this bathroom is very narrow, it has builder-grade wire shelving and a bi-fold door. Although I would have loved to cover the wire shelves as I did in the powder room’s closet, I am in a season where I want to create more and more organization projects that anyone can replicate at home. And this closet organization is perfect for anyone’s bathroom!
Step 1. Empty Everything Out
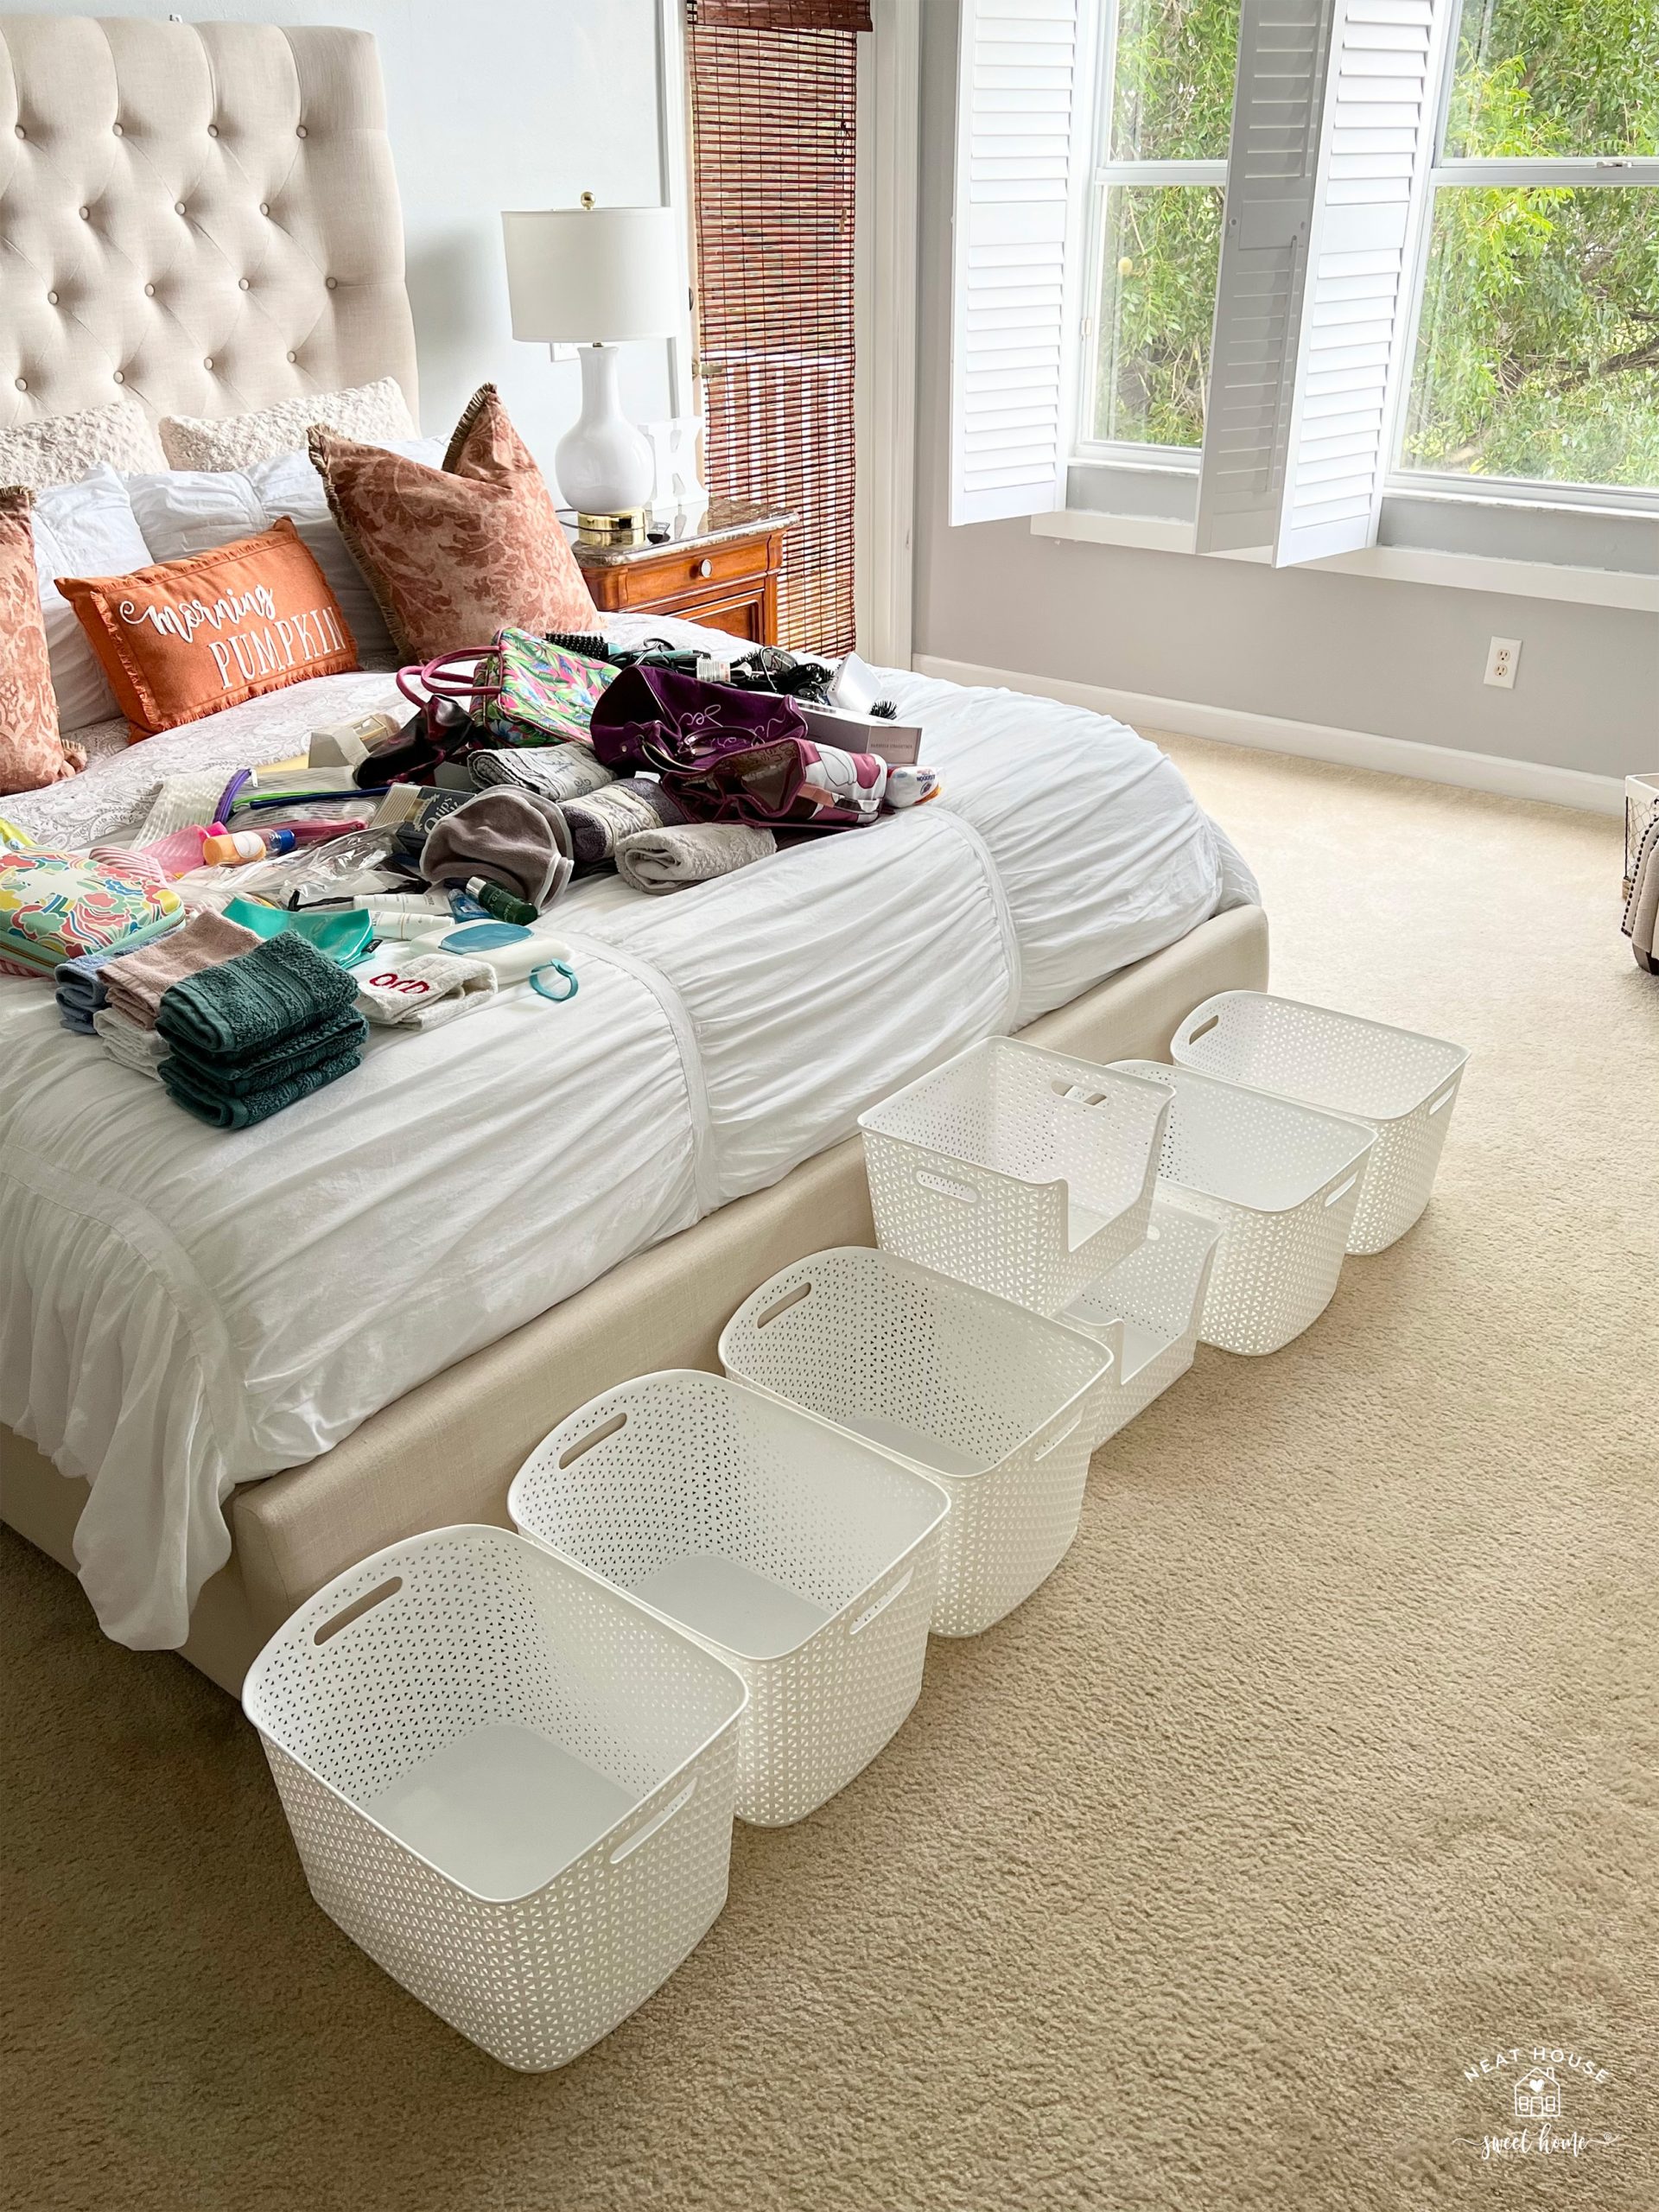
Before I start, I like having an empty surface where I can dump everything. There’s something about seeing a big mess that gets me all fired up and ready to start organizing. Since I was organizing the closet inside our en-suite bathroom, I decided to empty it all out over our bed.

This shot doesn’t do justice to all the stuff I had in all six baskets and beyond. I left the cleaning supplies on the floor to sort last. With the closet empty -and cleaning supplies I keep handy- I dusted and wiped the shelves and quickly vacuumed the small floor area.
Step 2. Sort Items Into Categories
I forgot to take a picture of the organized category piles I made over the bed. But you get the idea if I tell you that all you have to do is make small groups of things that are alike, should, or could go together. In the closet, we have five shelves, plus the floor space under the last shelf. So, the six spaces in the bathroom closet allowed me to create a storage system with six categories. I also brought all the new baskets and lined them up to start the categorizing process.
Here is the list of categories I came up with for the organization of our bathroom closet:
- Hair styling tools and supplies.
- Bath towels.
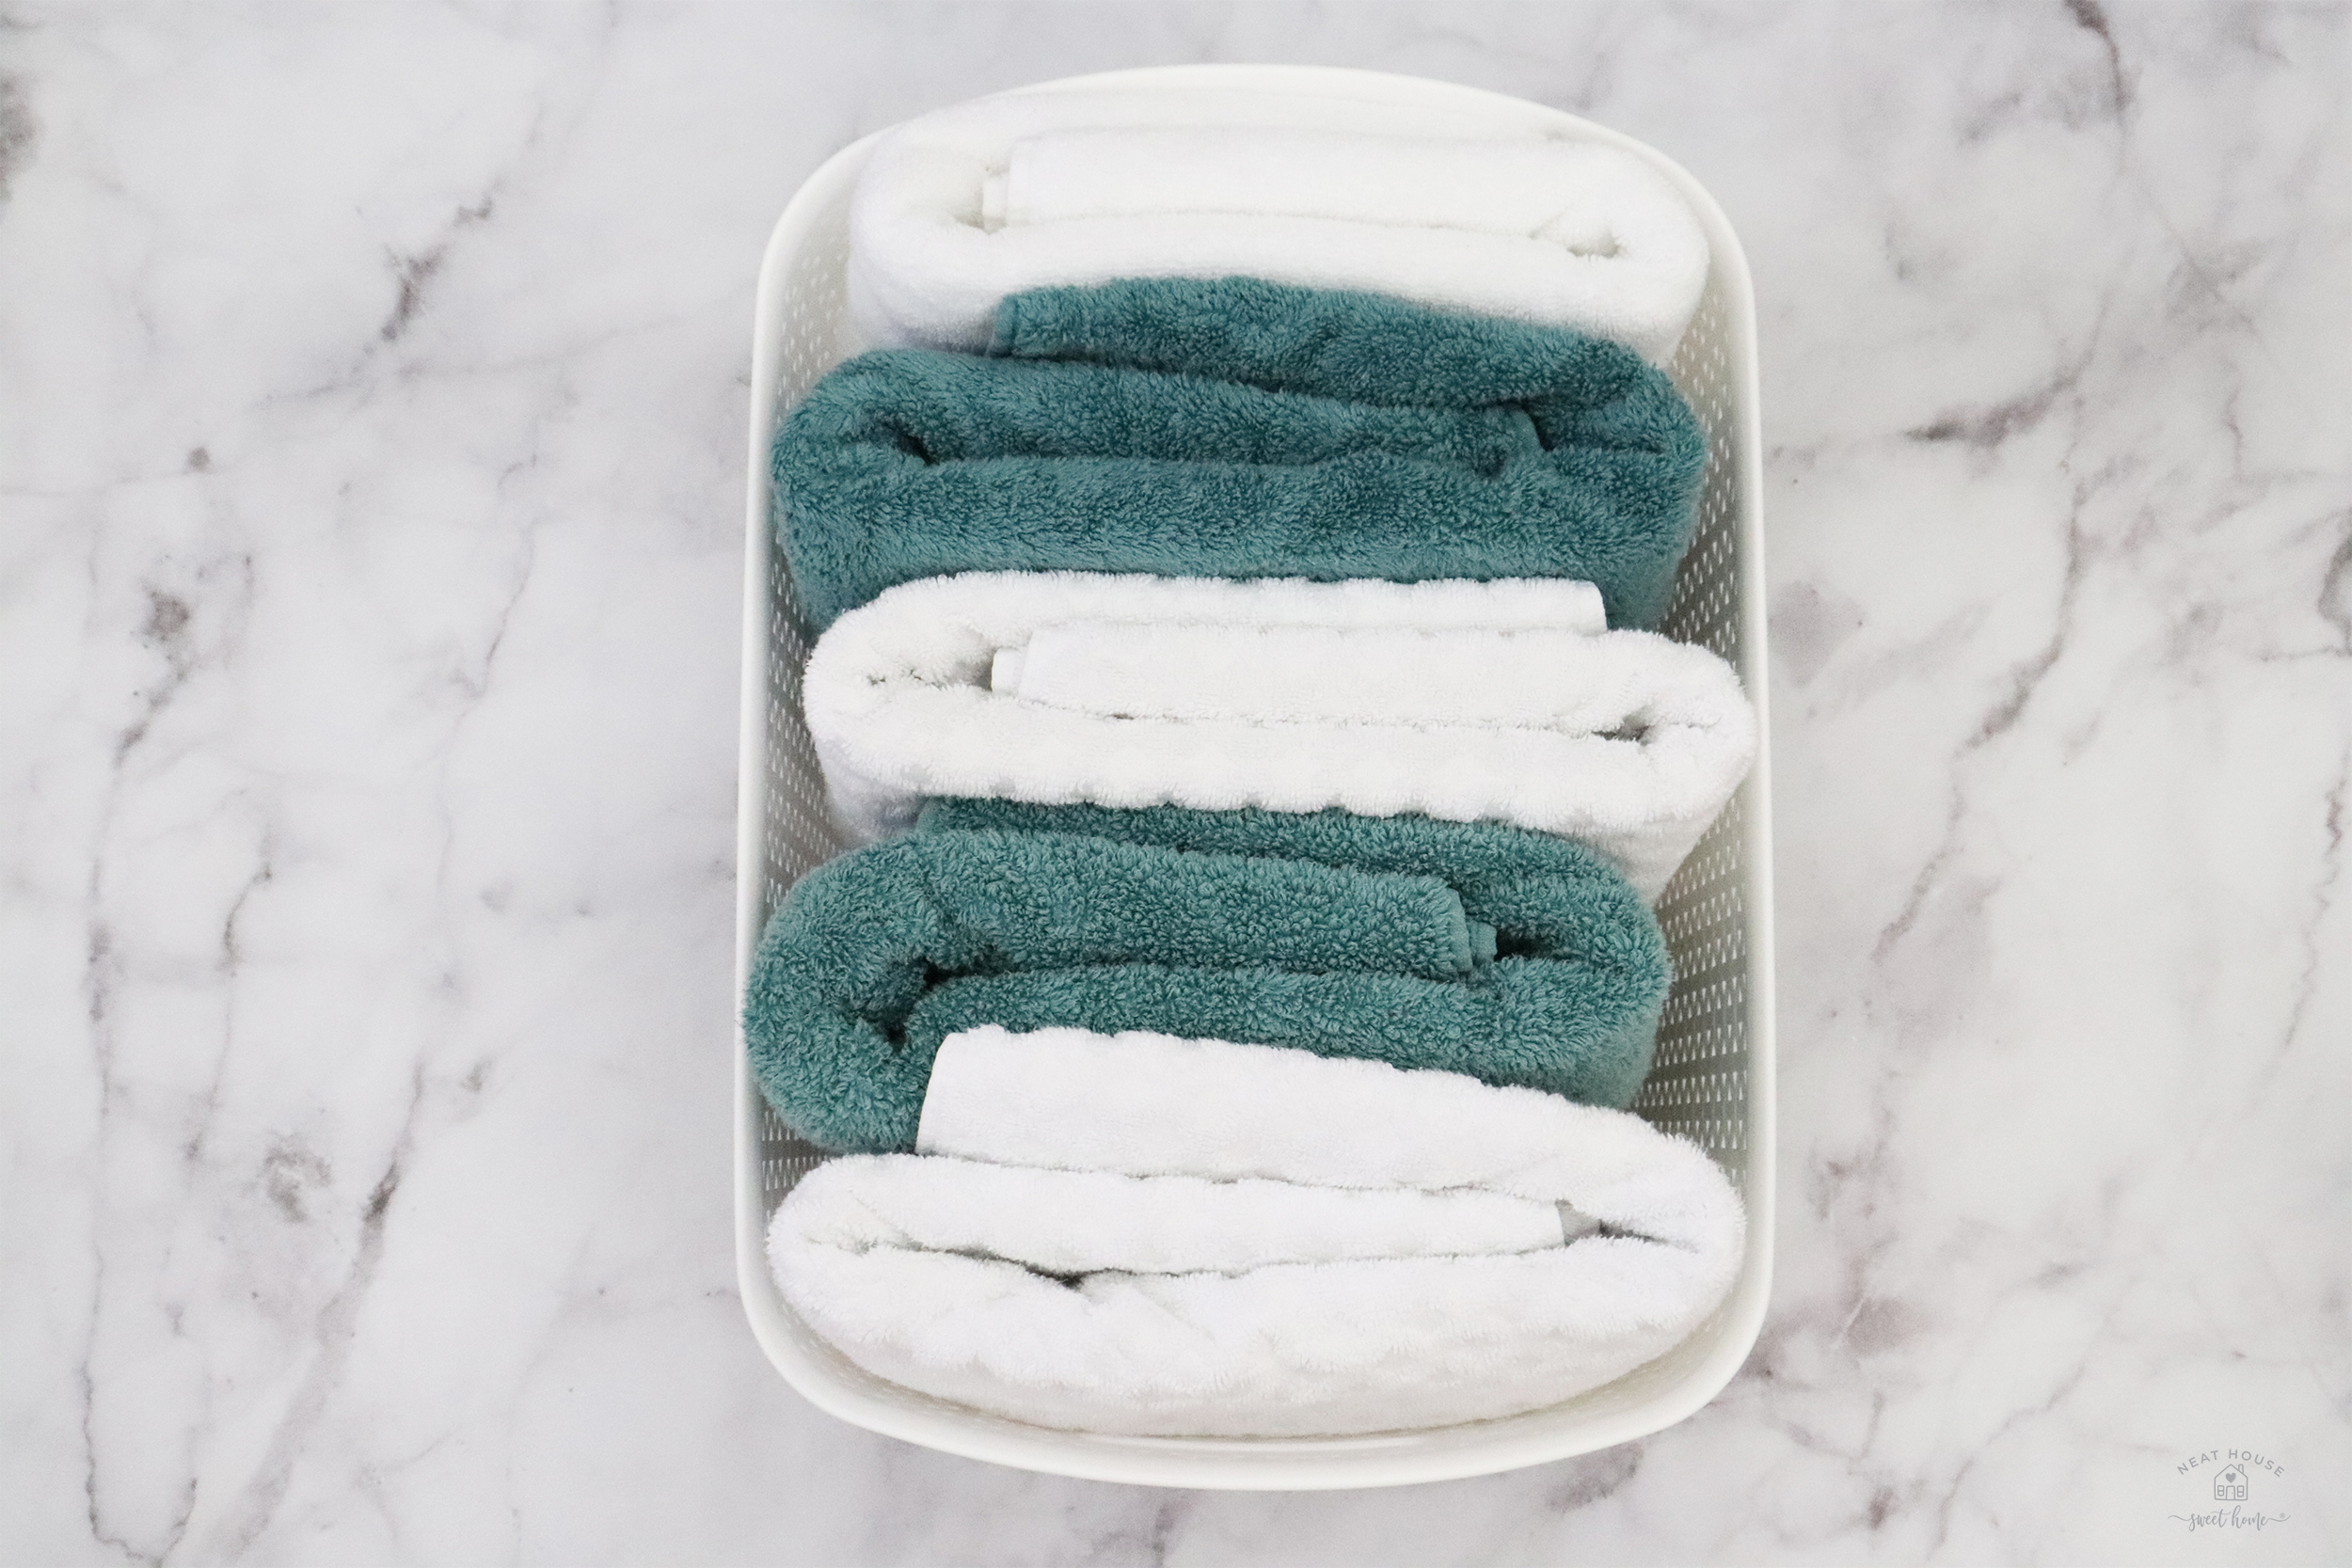
- Hand towels and washcloths.
- Travel toiletries, bags, and gear.
- Cleaning supplies.
- Other miscellaneous. These are the things I refer to when I mention that could go together. Objects that need to stay in the bathroom but do not belong to a specific category.
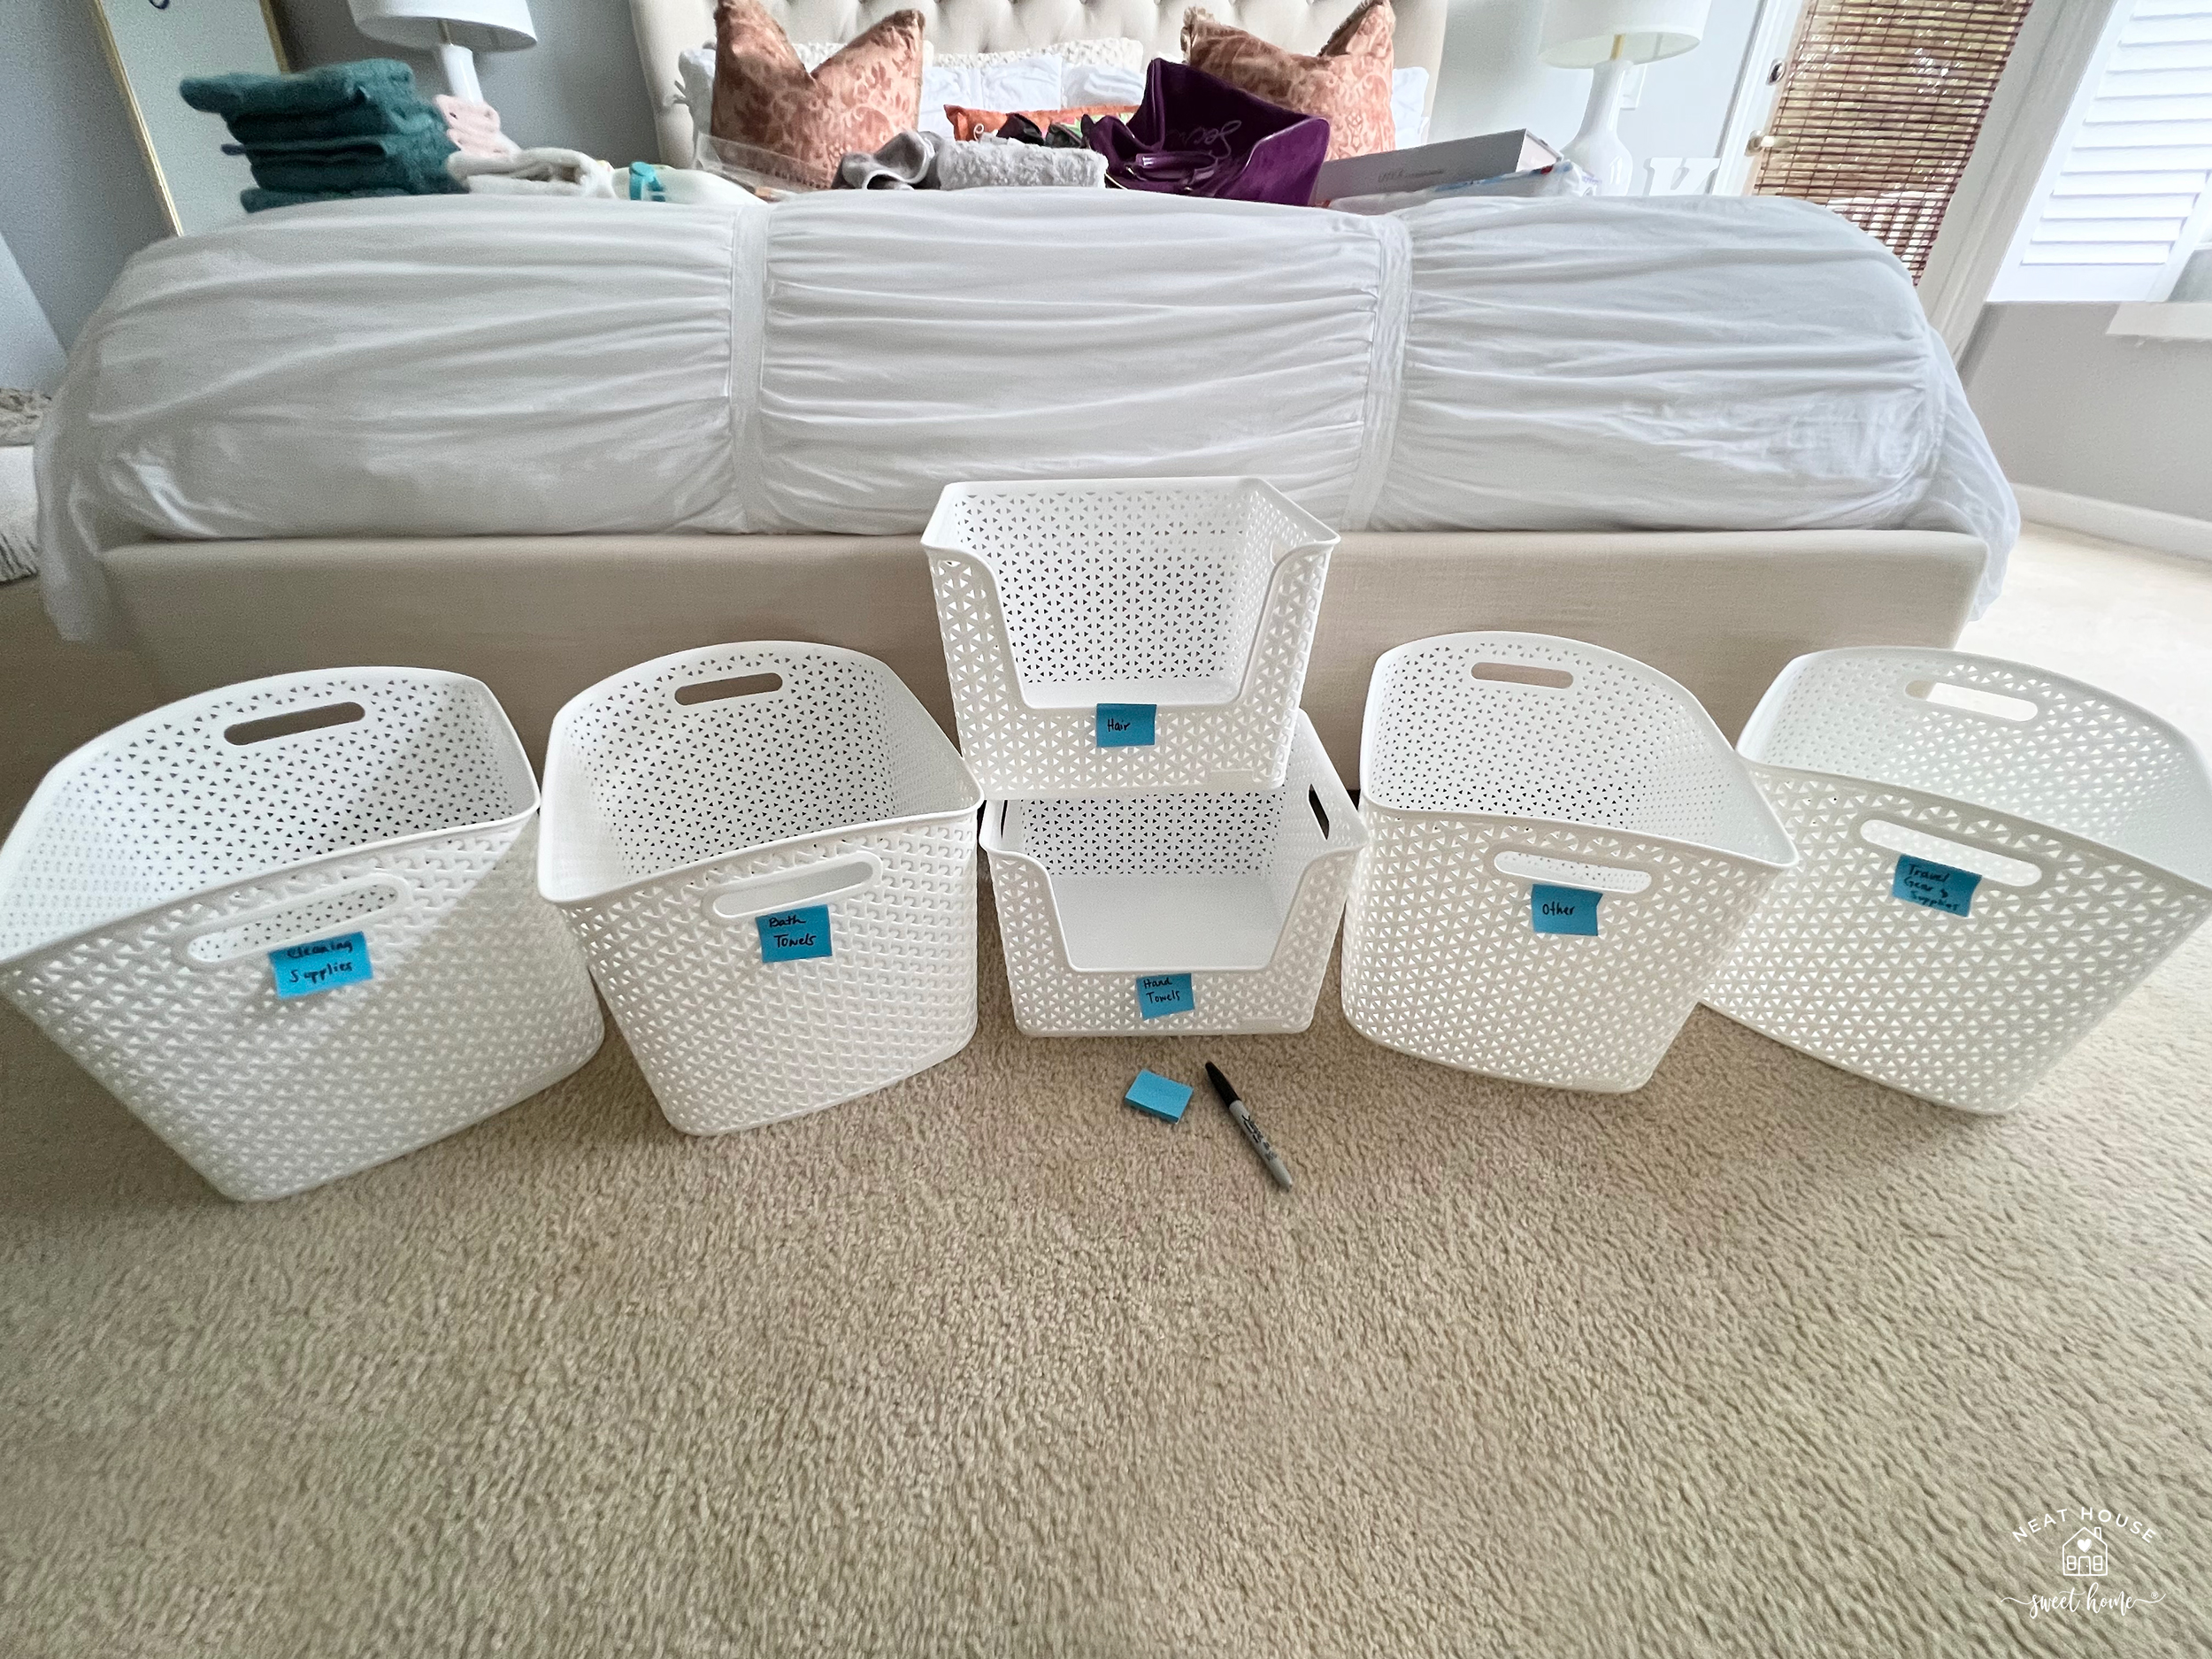
I like using sticky notes to temporarily label the baskets. You will be as surprised as my husband was to see that I did not label the baskets this time around. Sometimes, I just think of function. And as much as I love beautifully labeled bins, I don’t need to remind myself where my towels are when I can clearly see them in front of me.


Step 3. Declutter, toss, and relocate.
After making the piles and deciding on the six categories, I went through the process of decluttering, tossing, and relocating. Basically, anything that does not fit in any of the categories is either clutter, trash, or needs a new location.
I tossed a lot of old travel toiletries, made a pile of old towels for donation, and relocated a couple of things. For example, I placed the backstock of Q-tips inside my cabinet under the sink, and the baby wipes inside the cabinet near the shower.

In the decluttering process, I also decided to cut out the white giant and annoying warning labels on all my hair styling tools. While I understand they are there for a purpose, there are no little children in my home, and I am the only person who uses these tools. I also resorted to my trusty velcro cable ties and wrapped all the cables I hadn’t wrapped before. I can not stress enough how practical those ties are to help you keep all your cables organized.

Step 4. Organize!
This is what we are here for! Organizing can be very rewarding, but it is only effective if you complete the three previous steps. So, once the bathroom closet was emptied, cleaned, and all the items were purged and categorized, I proceeded with the fun part: the actual organization of the baskets.
I suggest you start with the easier categories. In my case, I knew exactly which type of basket I wanted for the hair styling tools. Wrapping the cords with velcro ties makes everything neater.

I placed this basket at eye level. Before -even though the green basket was on the same shelf – it was too deep and too large, so to reach for a brush, I had to pull the actual basket out of the closet. Now, I just have to reach with my hand.
The same goes for my hand towels. I had them in a deep basket, and eventually, it turned into a pit where everything got lost. Now, they’re all stacked neatly, and easily accessible.
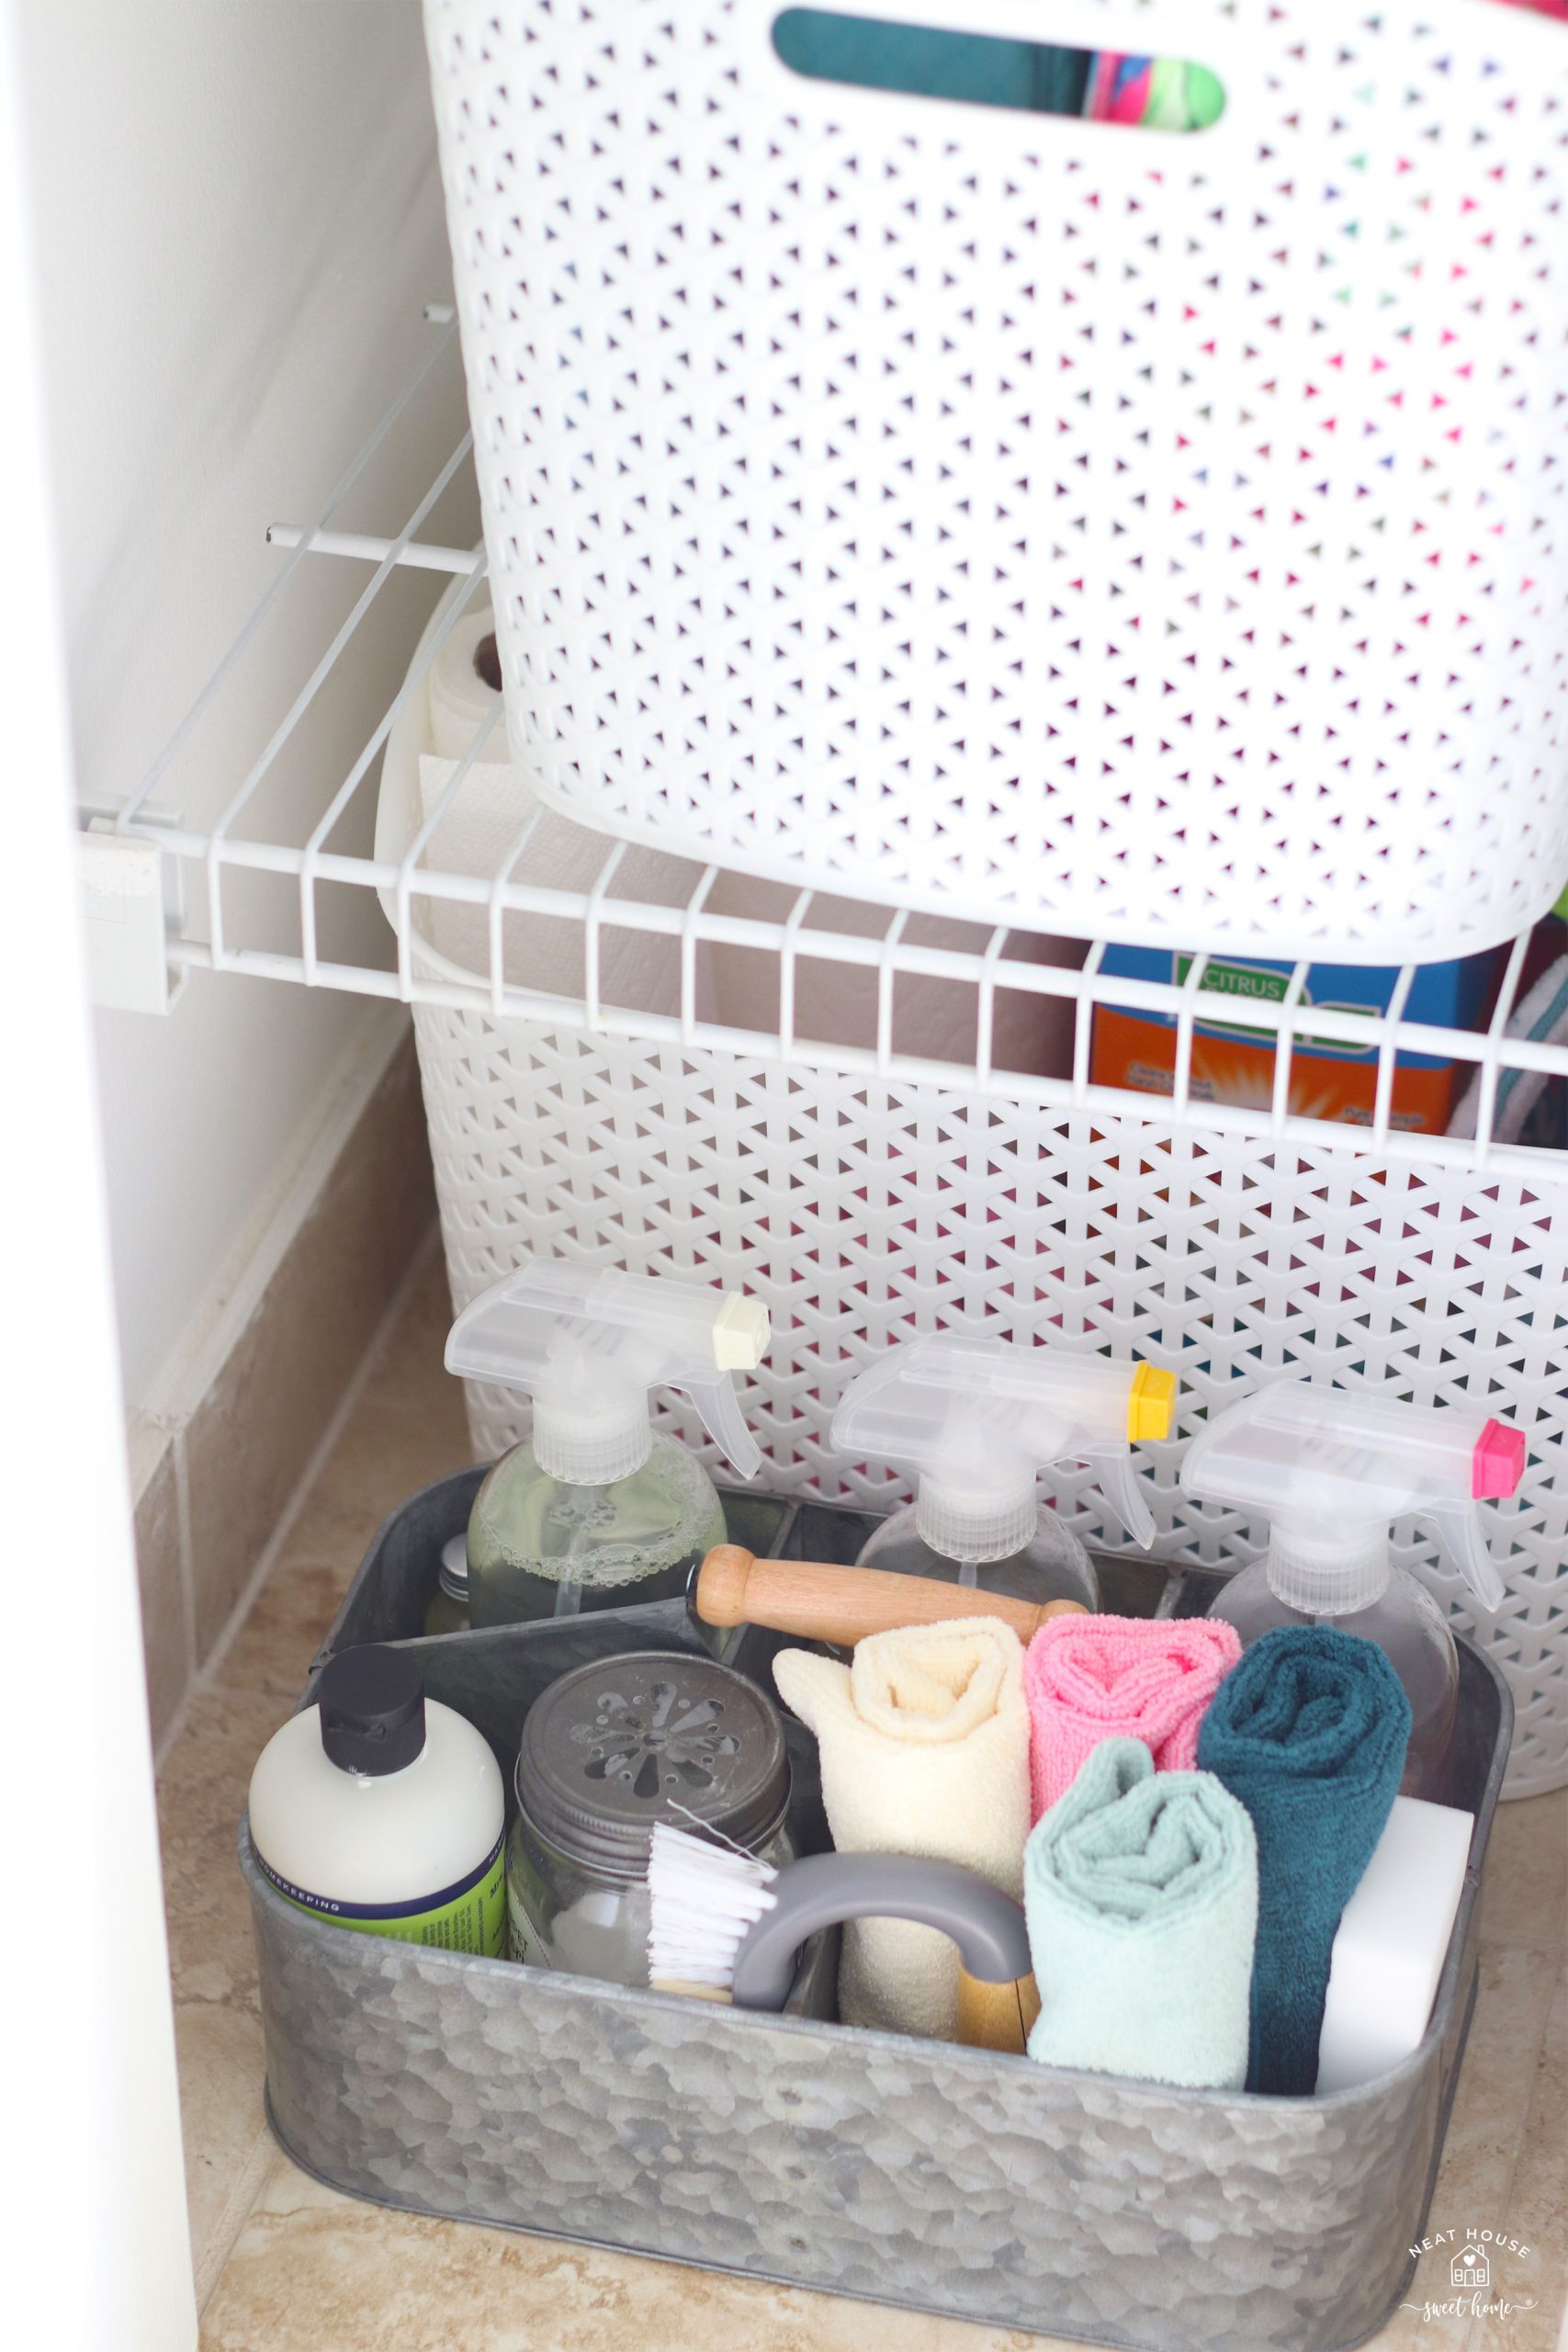
Bathroom Cleaning Caddy and Supplies
In a two-story home, is always smart to keep a caddy with cleaning supplies on the second floor. A basket and a caddy with cleaning products and supplies at the ready, make it easy for me to maintain and upkeep the bathroom and other areas upstairs on a daily basis.
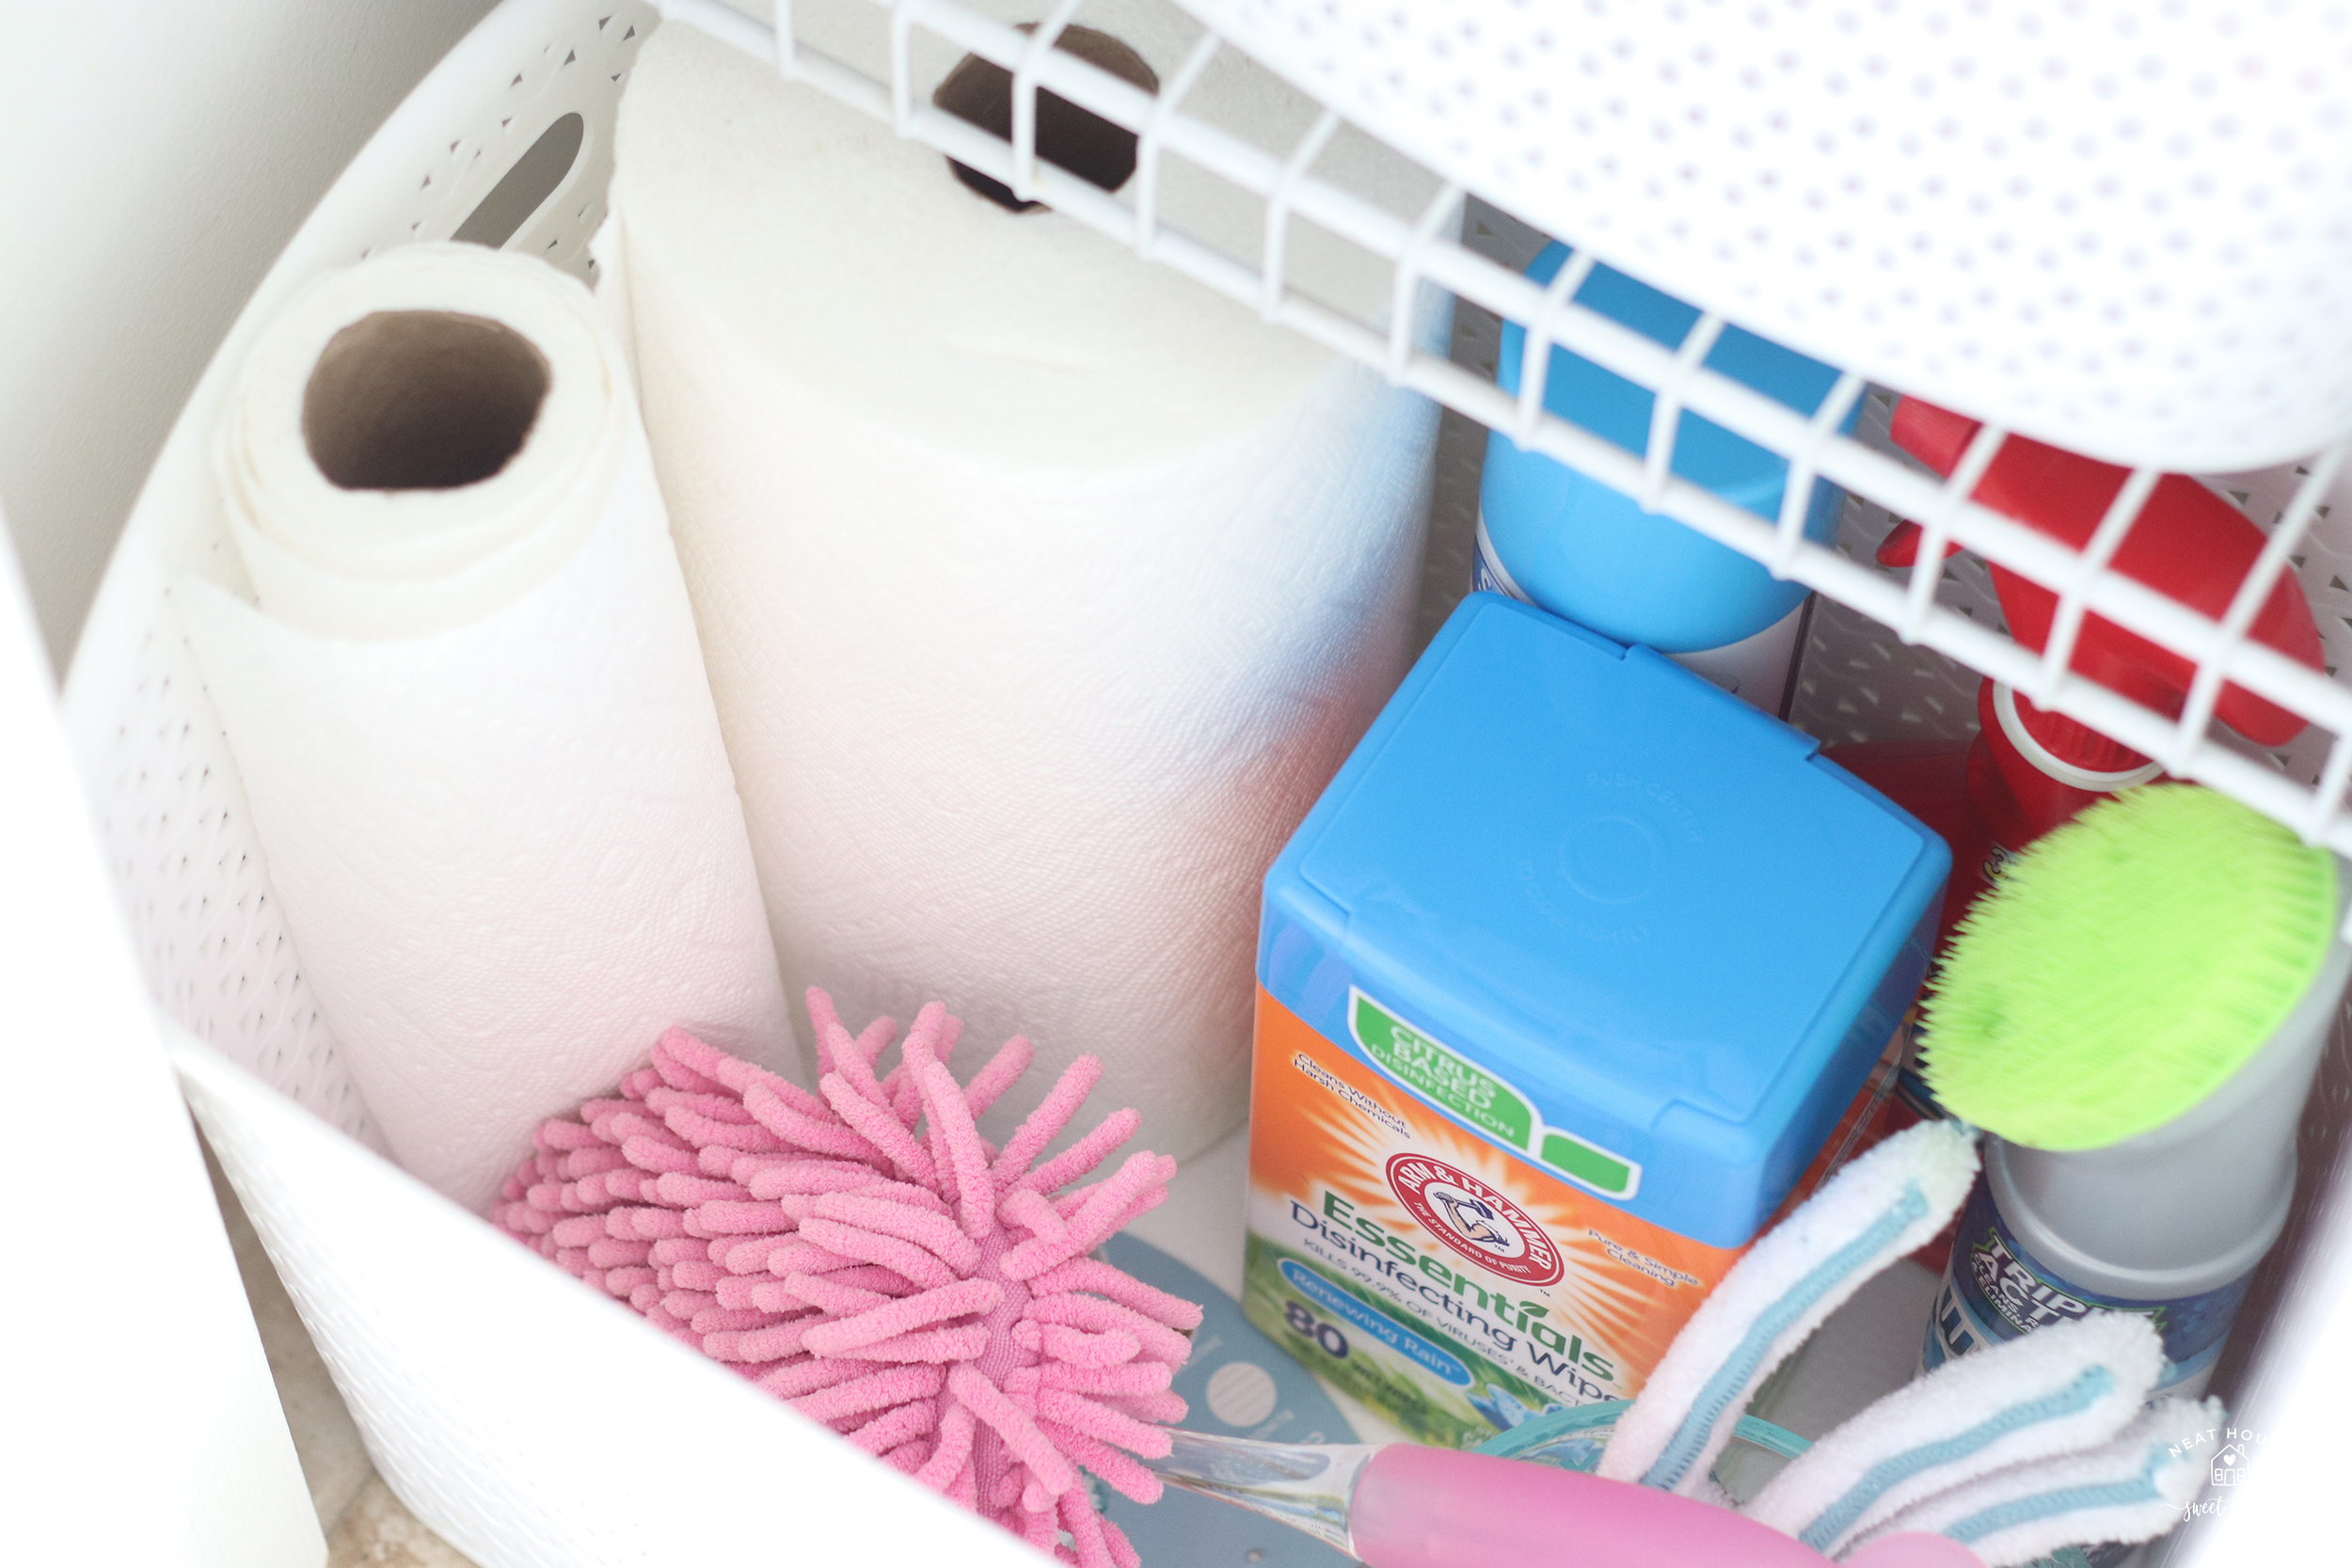
I placed a large basket with carpet and upholstery cleaner, paper towels, wipes, and a duster in the back of the closet, on the floor. In front of it, a caddy with baking soda cleaner, glass, multi-surface, shower cleaners, homemade carpet deodorizer, cloths, an eraser sponge, and a grout brush.
How to Store Uncategorized Items
When organizing any space, whether a bathroom, a closet, or a kitchen drawer, inevitably you will end up with uncategorized items. We call these odds and ends, things that don’t fit a particular category but still need to be stored neatly.
In my case, I had a bulky box with a nasal irrigation device, collecting dust on the closet floor. So I gathered all the parts and saline powder pods and stored them in a clear pouch.
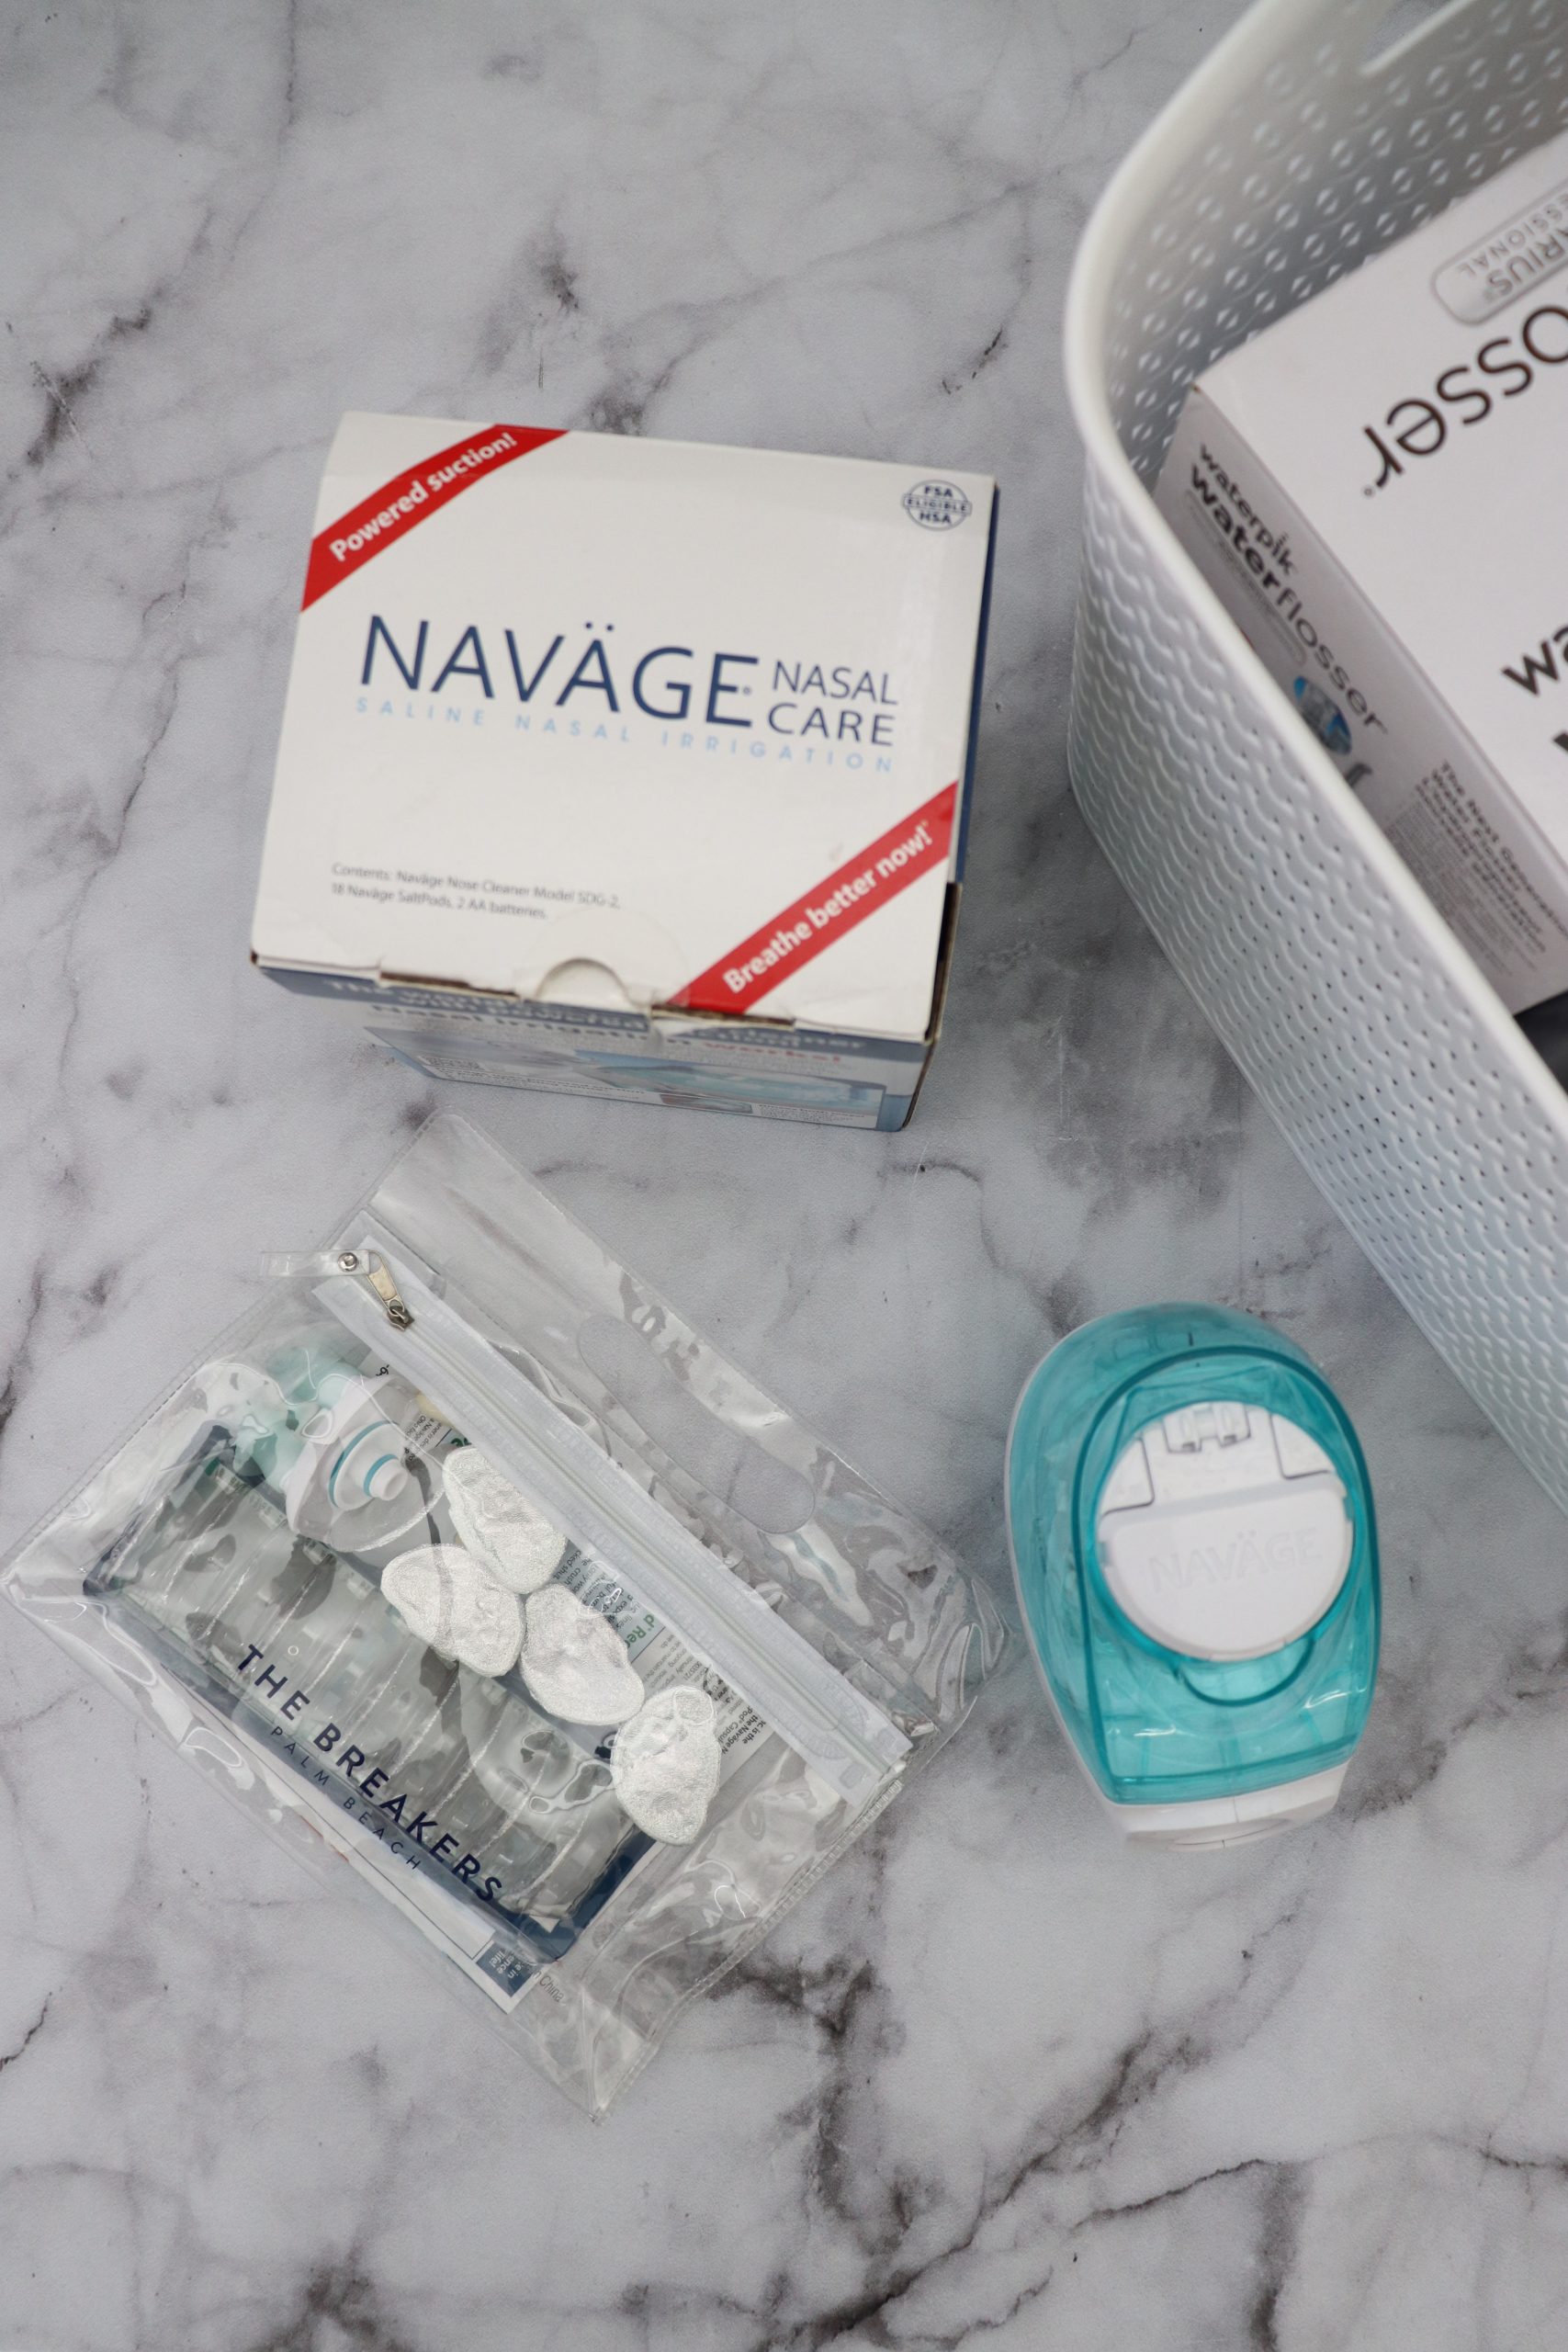
The device and pouch fit snug in a deep basket along with an unopened box of a water flosser, a gift set of makeup brushes, a first aid kit case, and an empty travel case for wipes.
This basket of organized odds and ends sits on the closet’s top shelf. Out of sight, but still easy to reach. I like that my blog posts are a journal and a visual reminder of where my stuff is.
A Final Look at This Bathroom Closet Organization
I rarely have so much room to spare in a closet. But I’m not going to complain about it. I love how open, organized, clean, and refreshed this bathroom closet looks now. Slide the arrows on the picture below to see the before and after.


First Three Shelves

Three Shelves at the Bottom

I hope you gathered a few ideas for closet organization in your bathroom or anywhere in your home. Remember to follow the four-step process: empty out, sort, declutter, and organize.
Love it, and those baskets are my fave as well!
Thank you, Zobbie! Yes, they are of good quality at a very good price. Thanks for reading! XO