DIY Wood Covers for Wire Shelving


If you hate the wire shelves in your pantry or closet and want to update them, keep reading. In this post, I will show you how to cover wire shelves with DIY wood covers and hide that ugly shelving.
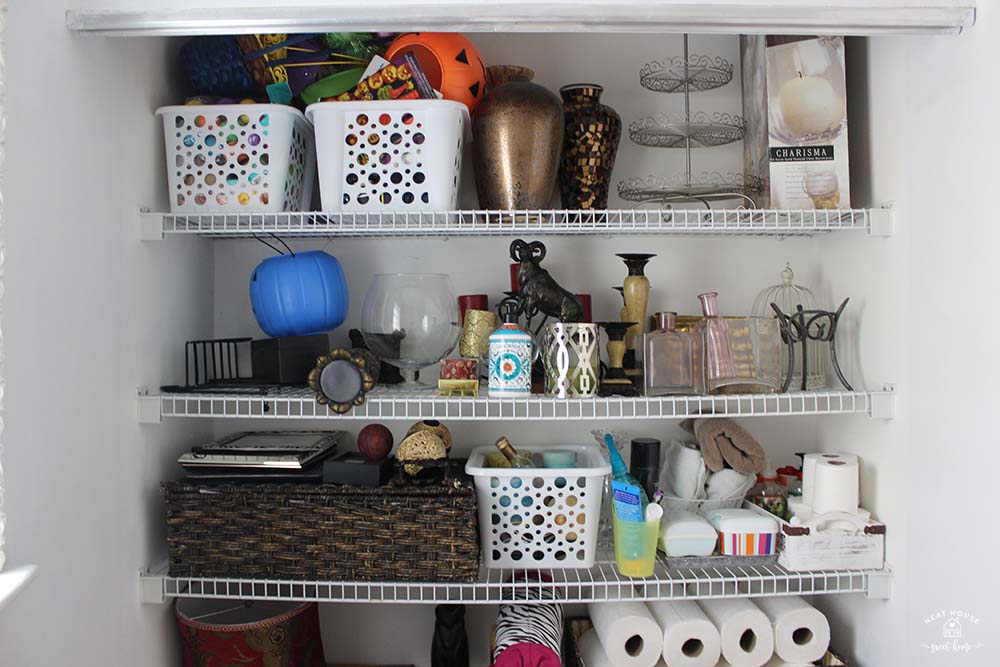
We have a roomy, useful closet with sliding doors in the half bath. I mostly store seasonal decor, paper towels, board games, and other random items in this closet. I like to corral and categorize things in baskets, but no matter how hard I try, it always looks cluttered and ugly.
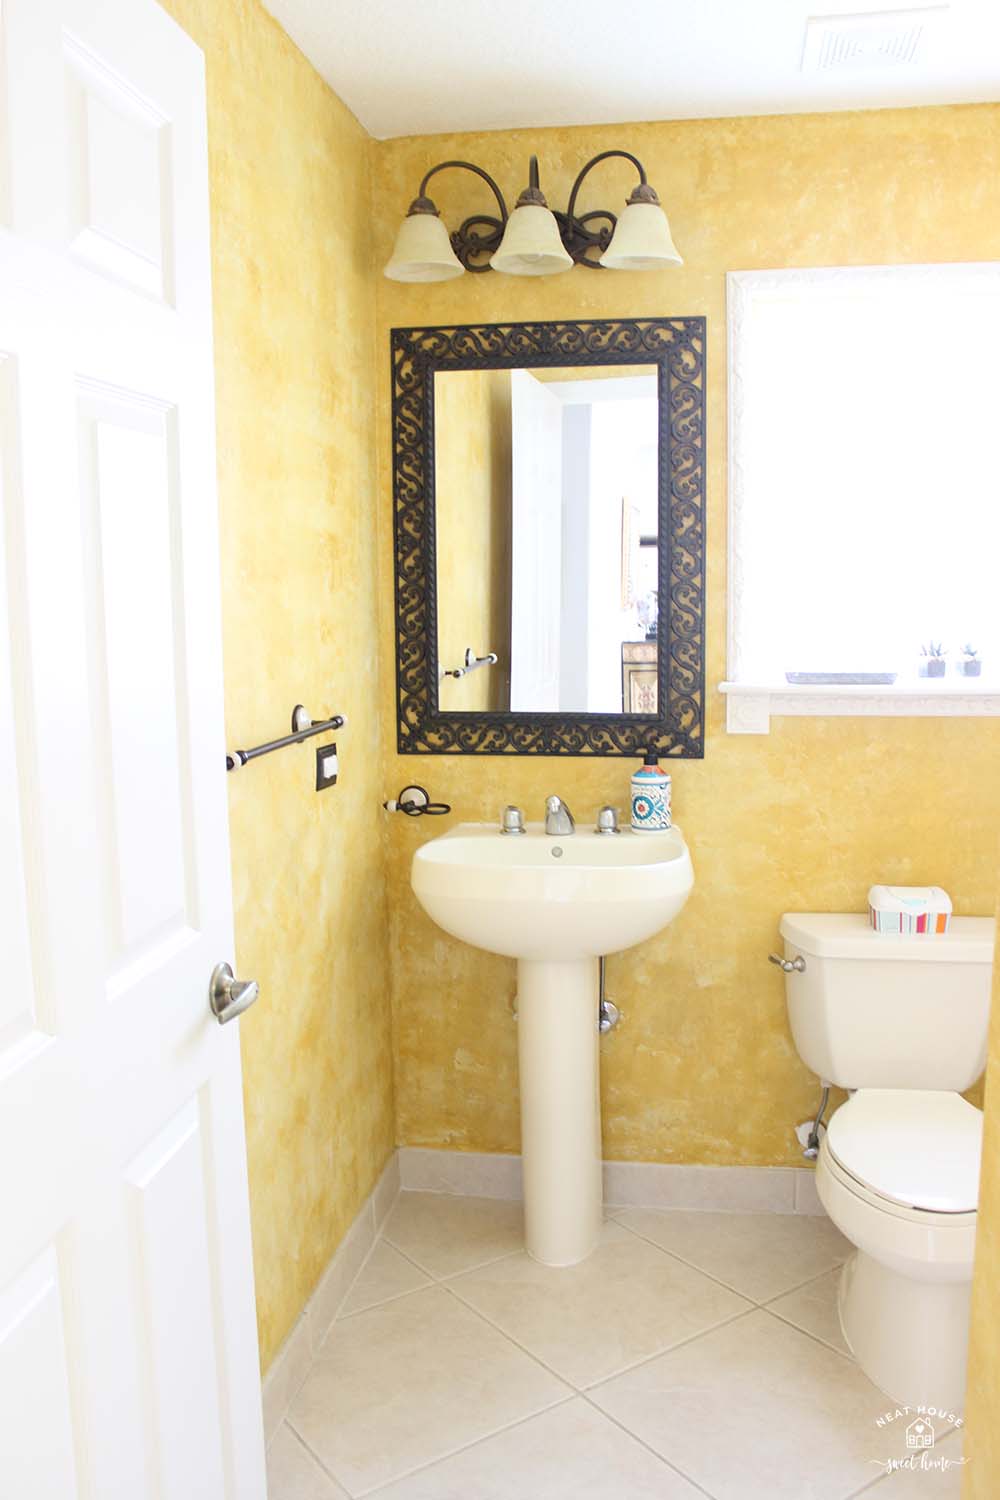
This bathroom has needed some attention for a while now. The Tuscan yellow color is an eyesore. I repainted the walls using leftover paint from when I painted the laundry room. Doesn’t it look much better now?

Would you like to save this?
Updated for 2021: Powder Room Makeover
But a coat of paint did not solve the conundrum inside the closet. All the things resting over the wire shelves were tipping over and as hard as I tried to contain So, I thought I could hide the wire shelving by covering them with wood overlays.
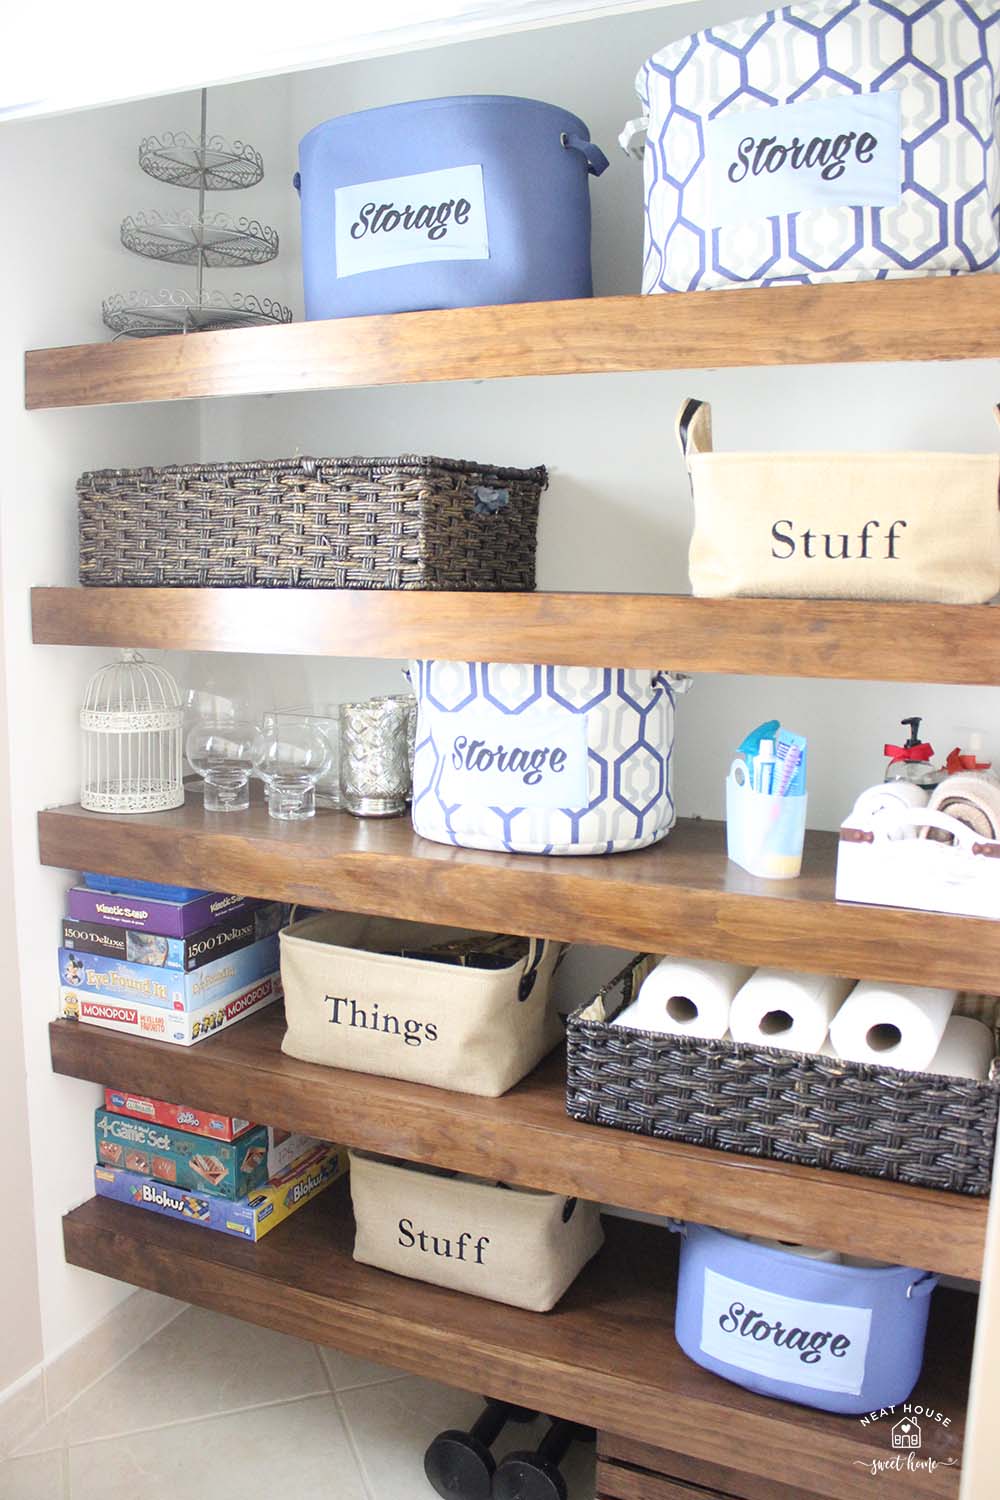
Look at it now. The wood covers completely hide the wire shelving, and it looks so good! Needless to say, I had a major decluttering session.
So, let me show you how I transformed this closet and covered the ugly wire shelving with these DIY wood covers.
This post may contain affiliate links for your convenience. For more information, please read my Affiliate Disclosure.
How to DIY Wood Covers for Wire Shelving
If you are serious about making these wood covers for wire shelving, you need to know that this tutorial is extensive, and you need advanced power tools. I understand we have an advantage in carpentry since we run a stairs and rails business. I will do my best to demonstrate how to DIY these wood shelves and slide them over to cover the wire shelving.
Tool and Materials You Will Need
- Plywood sheathing. 1/4 inch x 4 ft x 8 ft. The number of sheets needed will depend on the number of shelves you will be making and their depth.
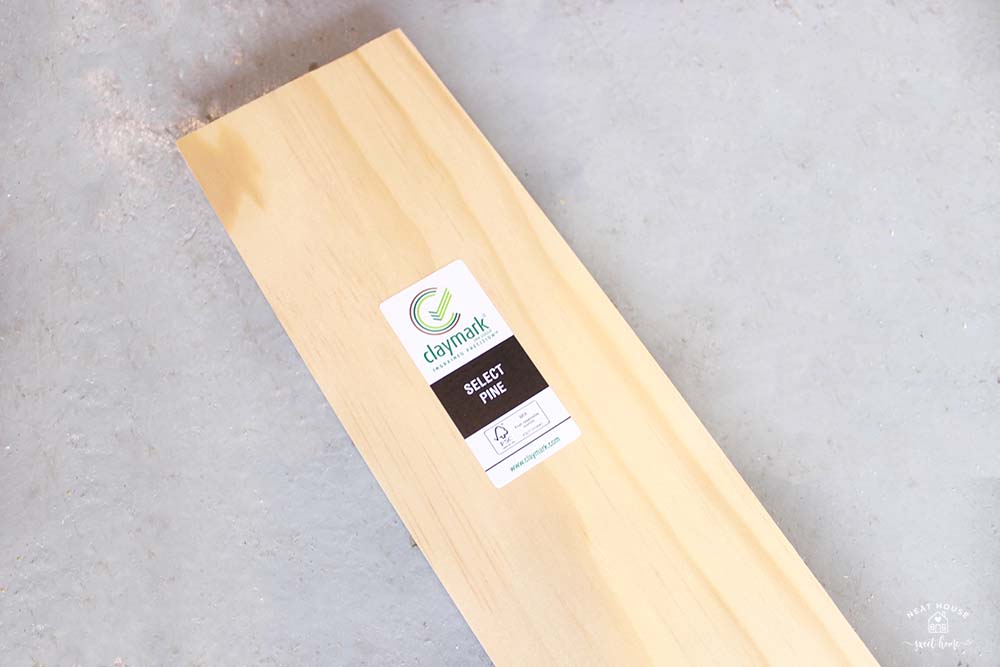
- Select Pine board: 1-inch x 4-inch x 6 ft. (Actual size: 3/4 inch x 3 1/2 inch). These are for the front face of the wood covers. The amount needed will depend on the number of shelves and their width.
- Wood glue
- Staple gun and staples. We used crown staples 1 inch long x 1/4 inch wide.
- Table saw
- Miter saw
- Wood putty and palm sander. This is optional to cover staples and sand off the surface of the wood shelves.
- One-step varnish and urethane in your choice of color.
- Paintbrush & gloves to apply the varnish.
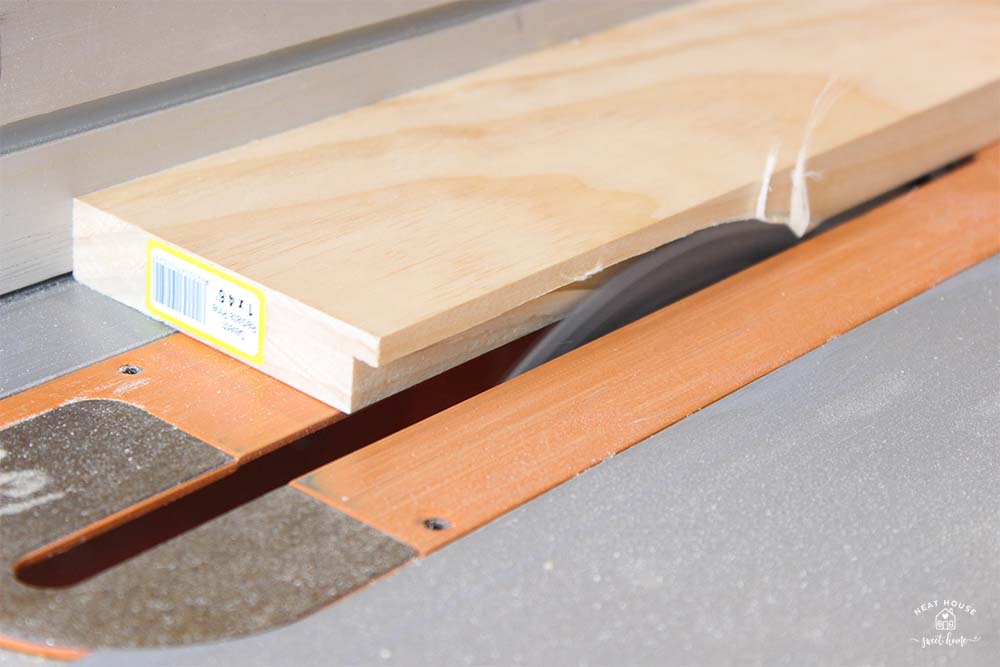
Cuts On The Table Saw for Wire Shelf Covers
To make the wood covers, you will need a table saw to:
- Rip the plywood to create what will become the top of the wood cover, and
- Cut a channel on the pine board to create what will become the face of the wood shelf that will hang over the front of the wire shelving.
Repeat the following steps as many times as the number of wood covers you need to make.
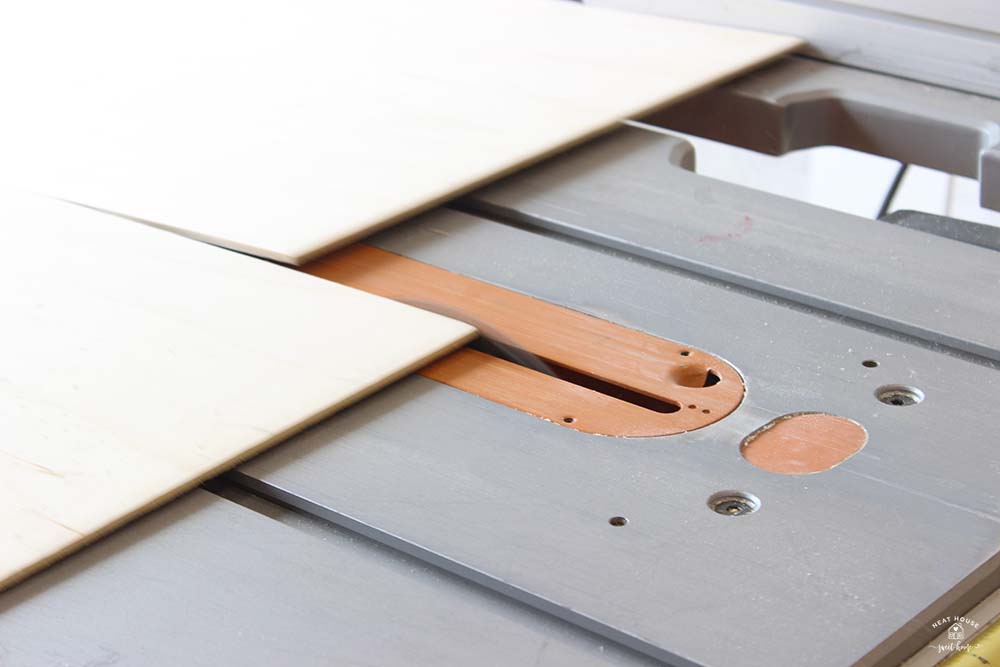
Step 1. Make the Top of the Wood Cover
Adjust measurements on the table saw, and place the plywood sheet in position to cut it to the necessary depth. This is the same dimension as your current wire shelves. My shelves are 16 3/4 inches deep.

Run the plywood sheet on the table saw and cut the entire length at the depth needed. You will end with two plywood pieces. One will become the top wood cover for the wire shelf, and you can set the other remaining piece of wood aside. Save it for another project!
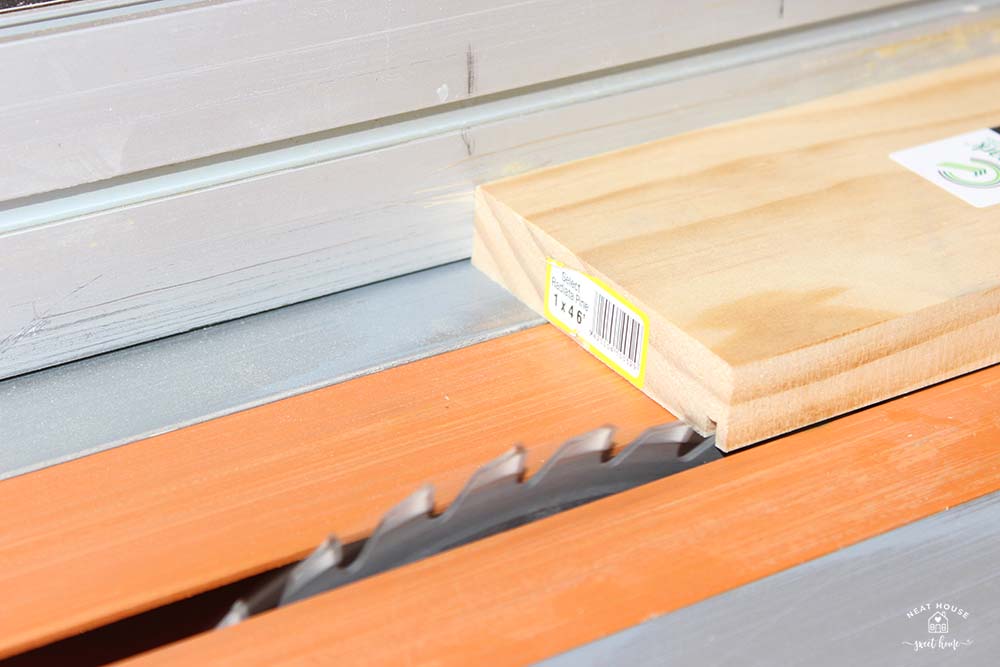
Step 2. Make the Front of the Wood Cover
We purchased pine board labeled as 1 x 4 x 6 ft Select Pine, at Home Depot, (actual measurements are 3/4″ H x 3 1/2″ W x 6′ L.)
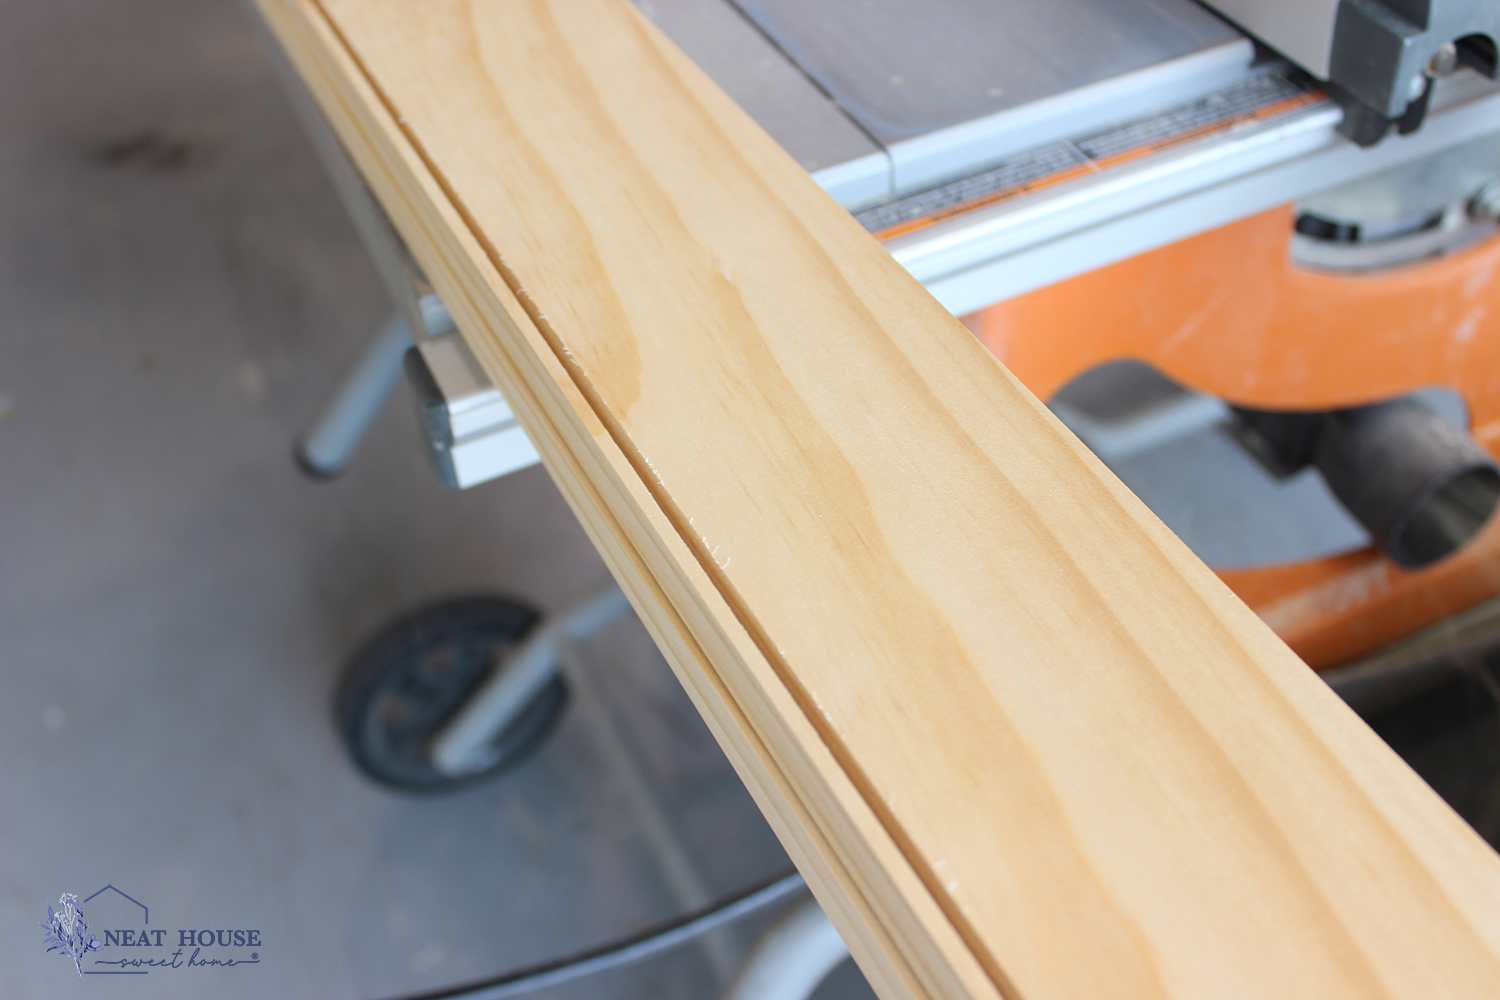
- Adjust the table saw blade and cut a 1/2″ deep channel on the 3/4″ side of the pine board.
- Adjust again and cut a 1/4“ deep channel on the 3 1/2″ side.
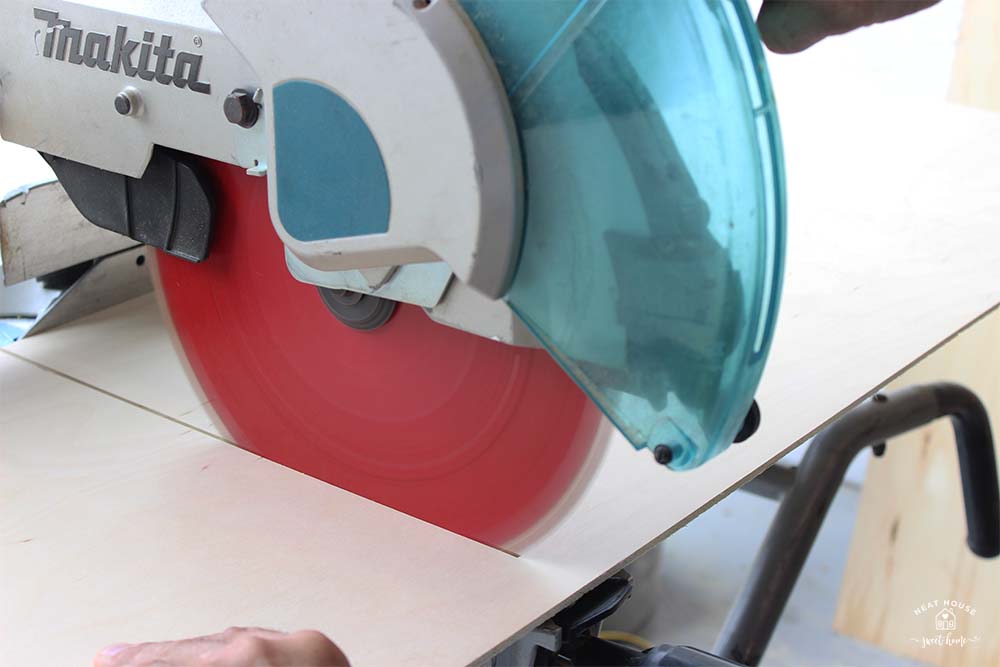
Cuts on The Miter Saw For Wire Shelf Covers
On the miter saw, you will cut both pieces of wood, plywood and pine board to match the width of your wire shelves. Give around 1/2″ clearance so the covers can slide easily right over the shelves.
Repeat the following steps as many times as the number of wood covers you need to make.
Step 3. Cut the Plywood
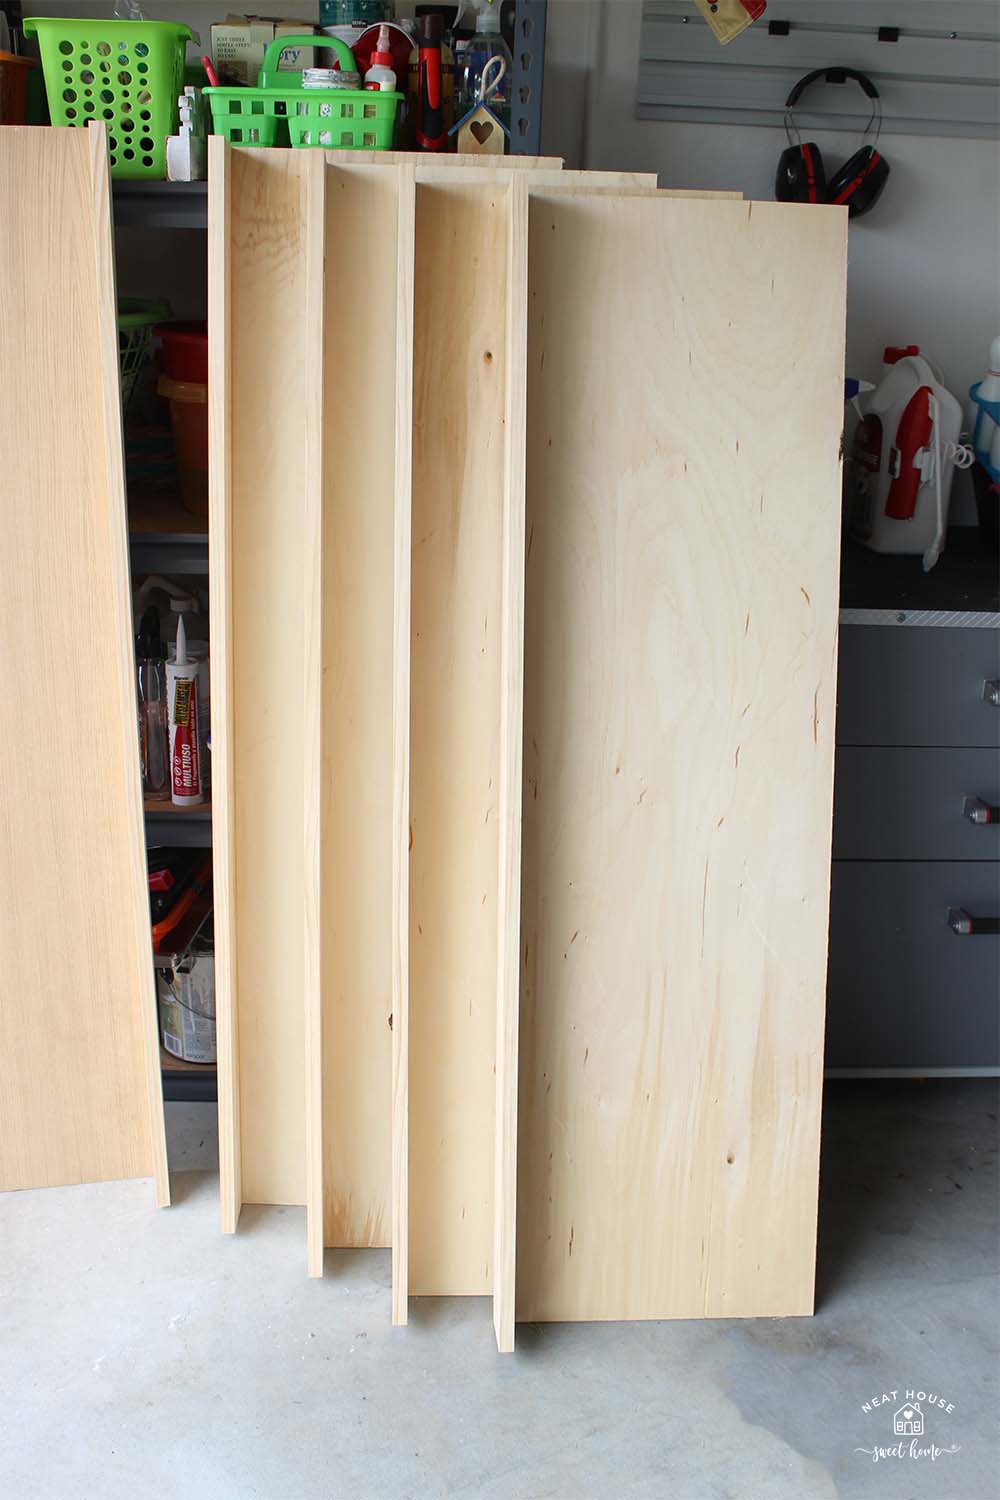
Cut the plywood sheathing to the length needed. When finally cut to the right depth and length, each plywood sheet is the top part of the wood shelf. This is the large piece of wood that lays directly on top of the wire shelves to cover them.
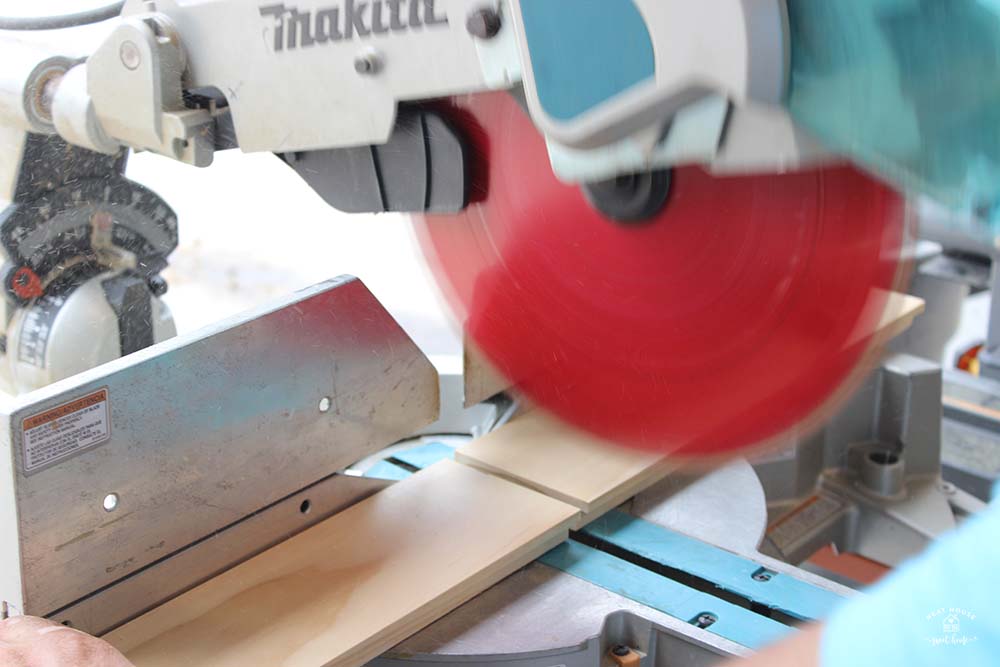
Step 4. Cut the Pine Board
Cut the pine board to the same width. This is the facing piece that goes perpendicular to the plywood sheet. It will be the front piece of the wood cover.
How to Assemble The Wood Covers
It’s time to assemble the wood covers. In the next steps you will need the wood glue and the staple gun.
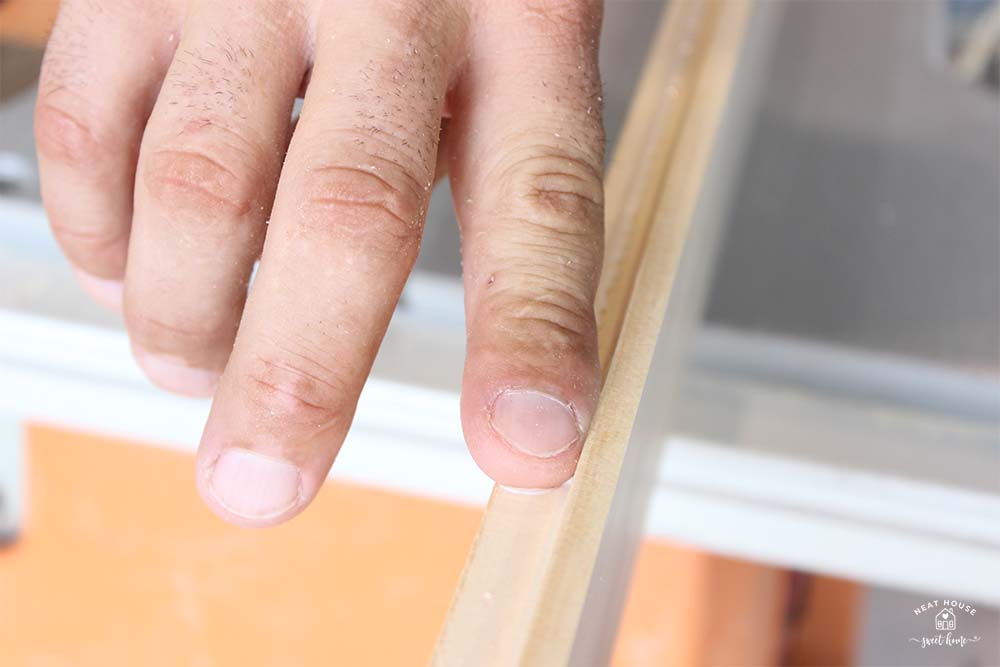
Step 5. Apply Glue to the Pine Board
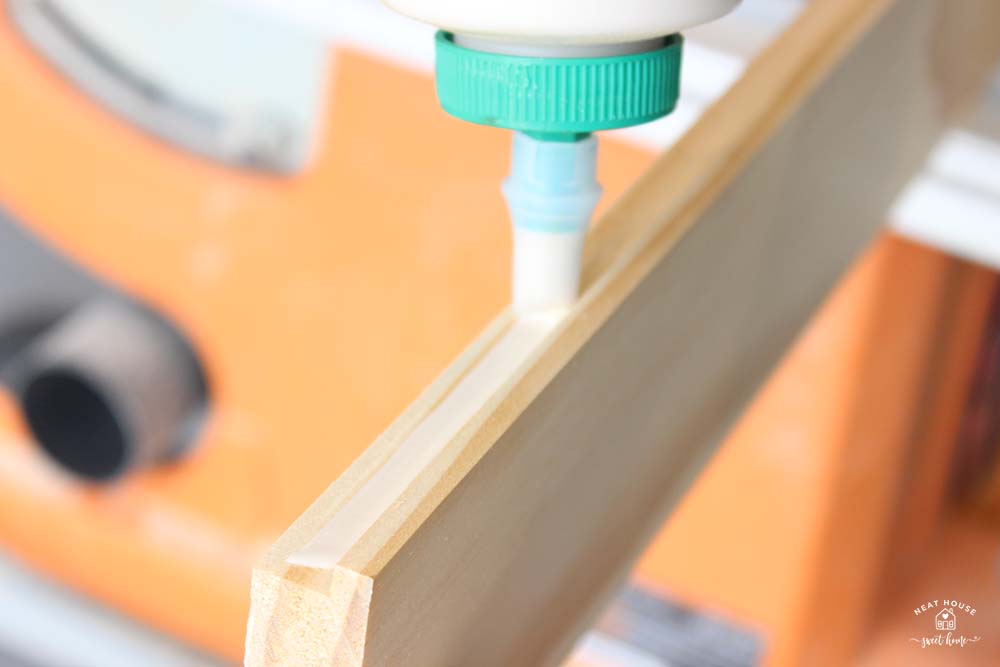
Using the glue nozzle, apply enough glue along the length of the pine board. You can run your finger over it to smear the glue over the channel.
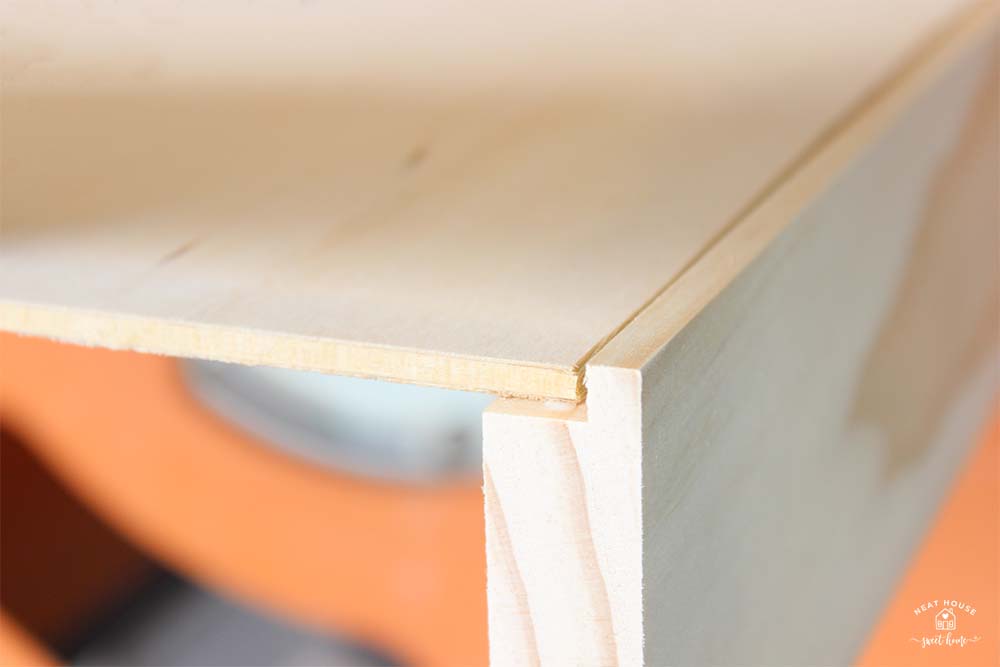
Step 6. Join the Two Wood Pieces
Place the sheet of plywood (shelf cover) over the channel smeared with glue.
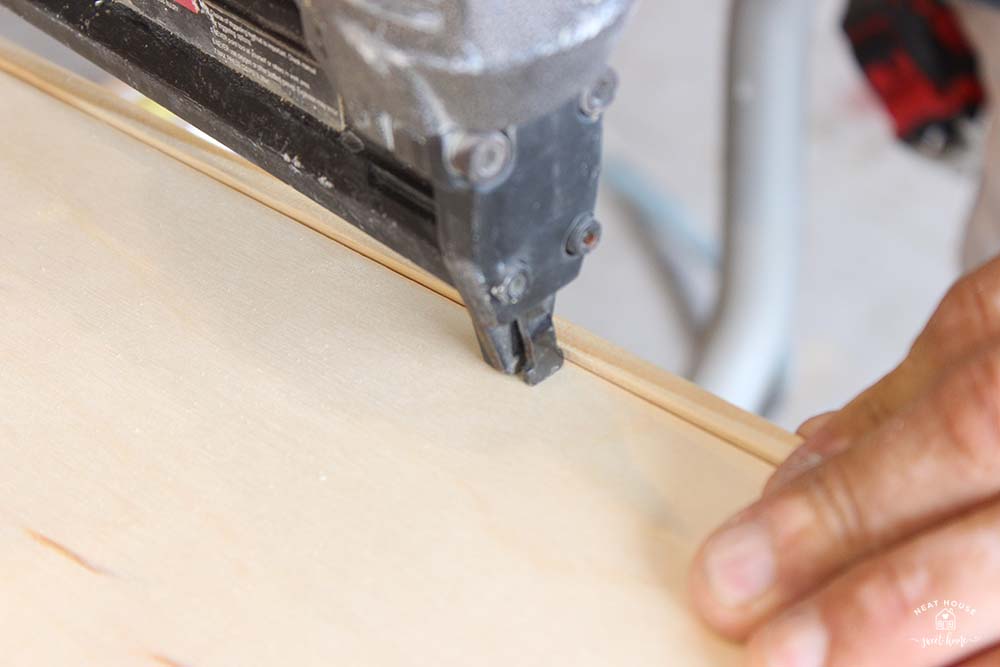
Reinforce by stapling the plywood boards on the pine board. Place staples about 8 inches apart.
After we assembled all the wood covers, we brought them to the garage to stain them.
Sand and Stain the Wood Covers
Although both the plywood and the pine board have smooth surfaces, you may need to do a little sanding if you happen to find some rough areas. If you want to cover the nail holes, now is the time to do it. Use some putty if necessary.
Step 7. Stain the Wood Covers
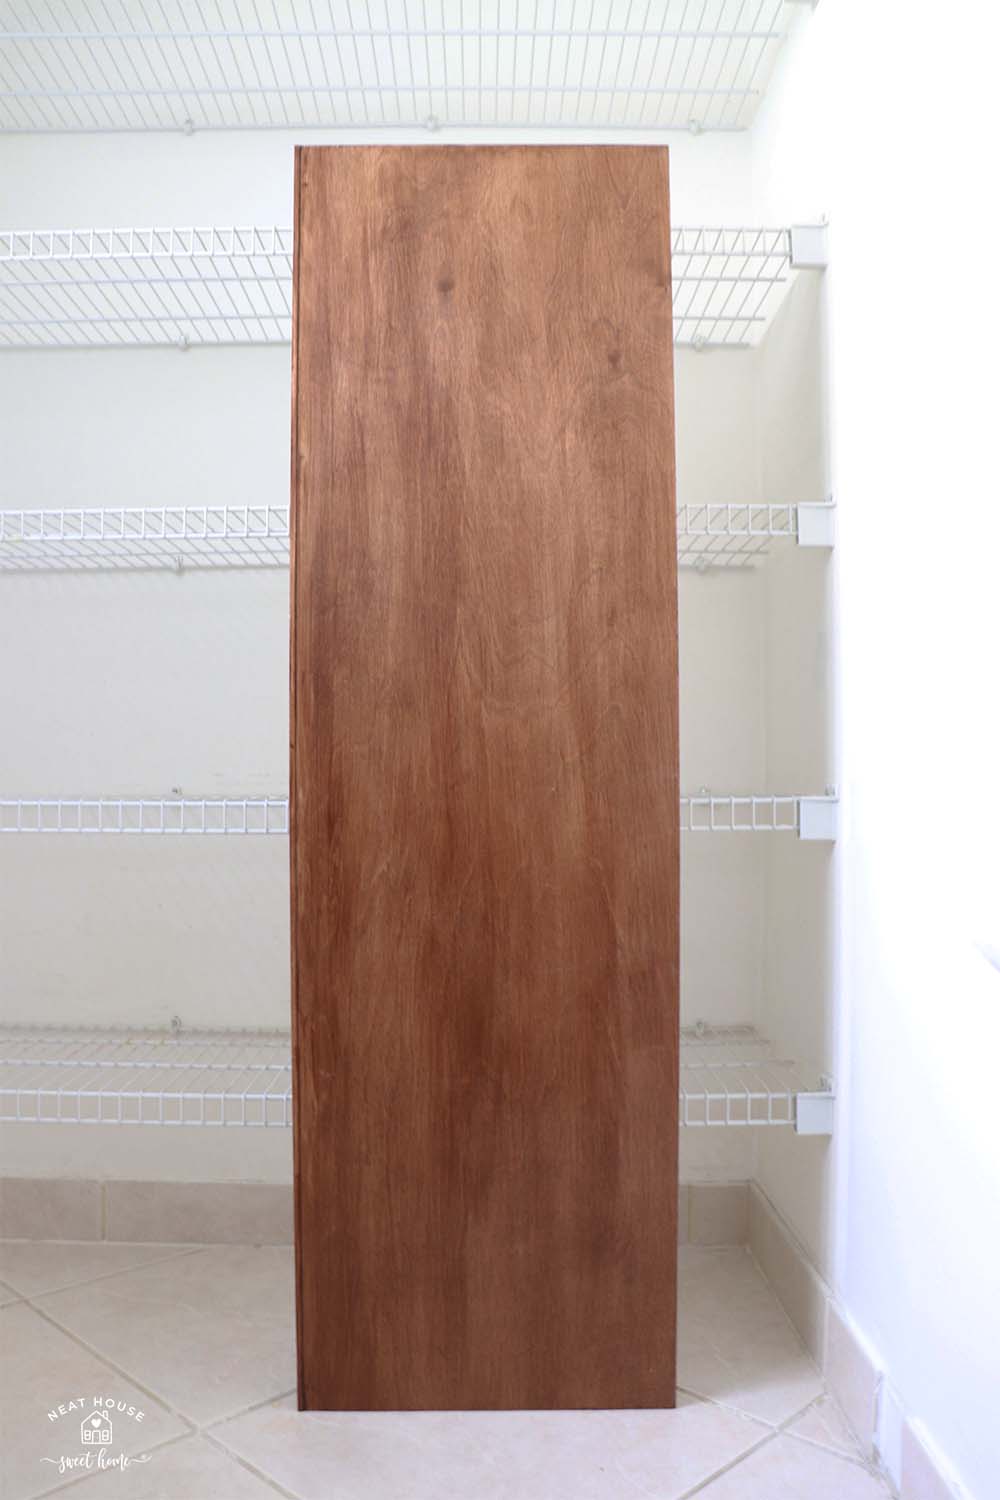
Place the shelves over a working surface. I like to use a folding table to work on my projects. Stain the shelves and let them dry completely before sliding over the wire shelving.

Here’s a side view of the covers.
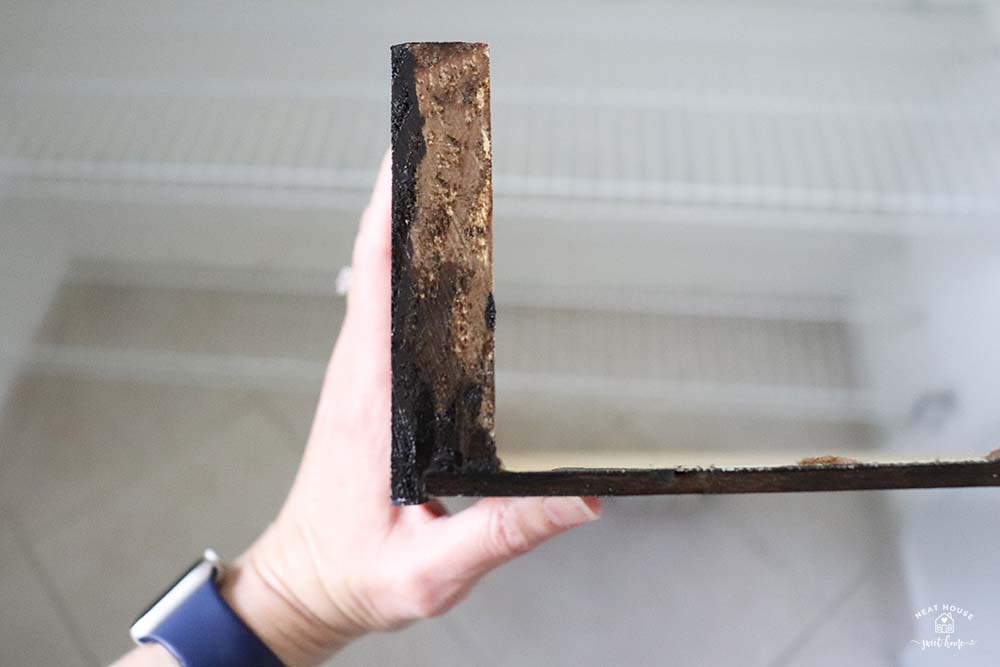
This project was completed and published in June of 2016. Here’s an updated picture from September of 2021. The wood covers are still in perfect condition. They are not heavy, and the wire shelves have not collapsed from the weight of the wood covers and the items placed on them.
Video: Install the Wood Covers Over the Wire Shelving
Closet Makeover With New Shelves
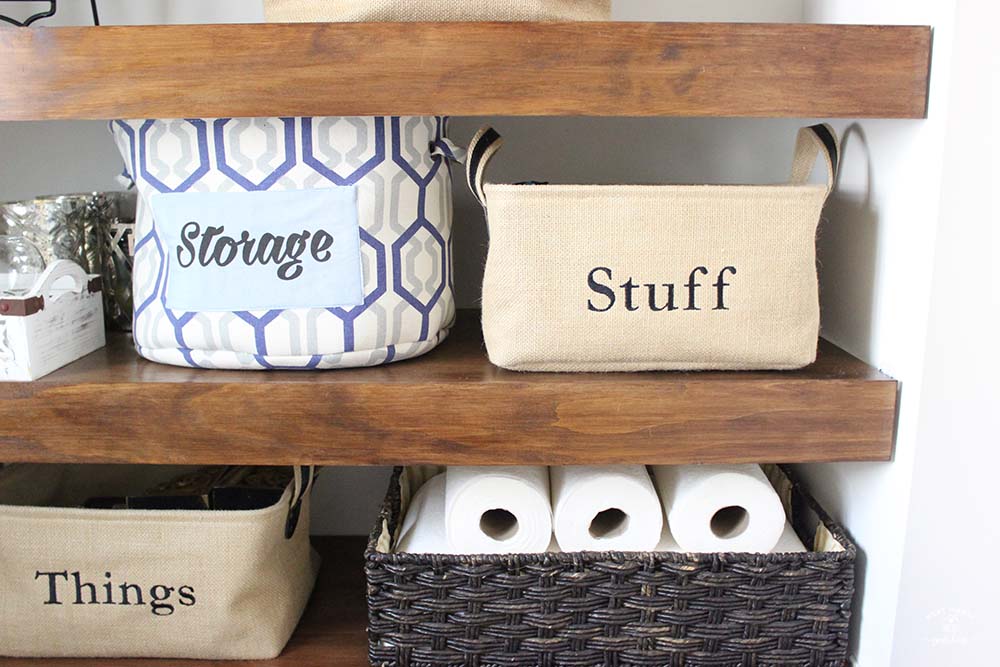
The closet looks beautiful with the custom-made wood covers. The wood covers easily slide in and out over the old wire shelving.

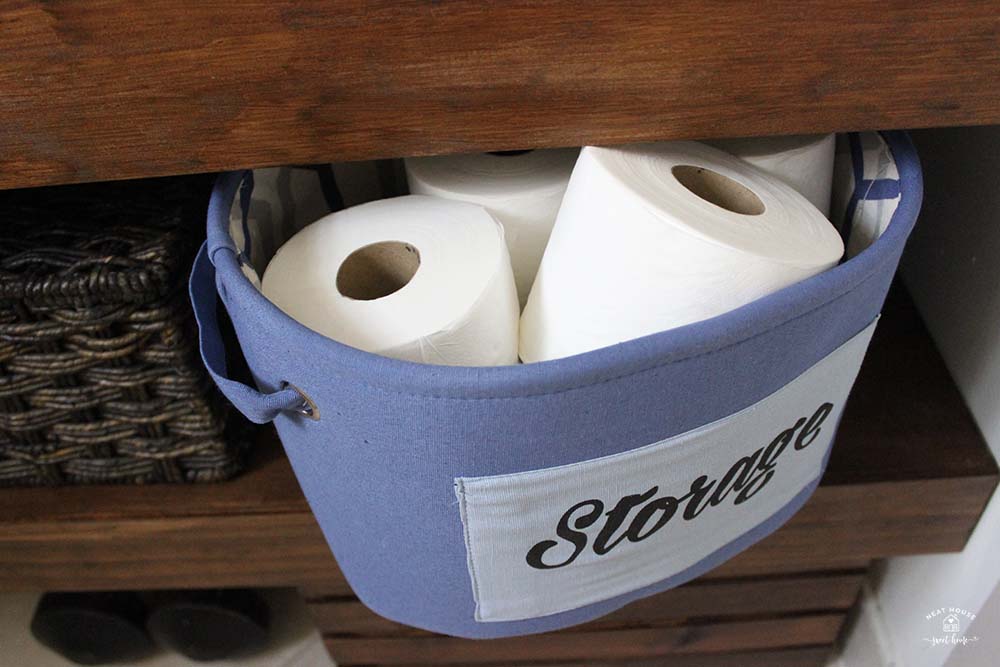
Everything is concealed in pretty decorative baskets. There is nothing like it to complete the tidy look. Bath tissue is at your fingertips without having to look at that ugly closet mess. The tall baskets hold all random seasonal home decor. Candles and candle holders are easy to hide inside the baskets but also easy to pull out when I need them.

The bath tissue, found a new home in a deep basket, on the second shelf from the bottom up.
In this deep and long basket, paper towels are easy to store and reach. Everything is concealed!
Take one last look at the amazing transformation. The wire shelves are completely covered with these custom wood shelves.

Update: Take a look at this same closet organization in 2021.

It looks good
Where did you get the containers? It all looks fantastic!
Hello! The ‘storage’ blue and white baskets were a TJ Maxx find. And the burlap baskets are from Michaels. Thanks for reading!
This is an amazing transformation! So beautiful!
Thank you, Melissa! You get to see it in person 🙂 XO
Super cute way to cover up that old wire shelving! Love how this turned out and how organized your closet looks now. Such a wonderful transformation!
Thank you, Celeste! I’m in love with my ‘new’ closet! Thanks for stopping by!
Love the cover for the wire shelves. What a great idea!!
Thank you, Renata! Happy to inspire 🙂
Not to throw a wet blanket but if I had a table saw and those kind of skills i would have built wooden shelves in the first place. The wire shelves are for the unskilled non-DIY’ers like me (we need something simpler). Looks great, though.
Hi MacDuude! Wire shelves are not necessarily for the unskilled; they install them in homes with “builder grade” finishes. This is what we found in this house when we moved in. I try to keep my projects on the lower end of the budget so others can recreate them without spending a fortune. Regardless of budget though, I like to aim for classy and functional projects, and this is one for the books. Thanks for stopping by!