5 Steps to Organize Your Makeup
This is a super easy makeup drawer organization tutorial. This effective in-drawer makeup storage system will keep your vanity clutter-free.
Lately, I have been on a bathroom organization kick, and this week it was time to declutter and rearrange my makeup drawer with new organizers. My in-drawer makeup storage system was outdated, and most cosmetics were scattered on the vanity.
You probably don’t know this about me, but I am a makeup junkie! Like most girls, I have loved makeup since a very young age. But I particularly love it because I was a print and runway model when I was in college and an international beauty queen when I was 22 (I bet you didn’t know that!). Also, as a lover of arts and crafts, putting on makeup daily is therapeutic for me; it’s like painting on a canvas.
All this to say, I have a lot of makeup and makeup tools for a woman who stays home most of the day. I like to think that putting on good-quality makeup and skincare products and having a solid routine helps my skin stay hydrated and young. It may sound like a paradox, but because I put on makeup daily, I have created the habit of cleaning and taking care of my skin nightly before going to bed—something I did not do in my 20s.
Last week, I purchased new bathroom drawer organizers and cleaned out the one and only drawer I have in my vanity. Here are the steps I took to transform my makeup drawer.
This post contains affiliate links for your convenience. For more information, please read my Affiliates Disclosure.
My Current Makeup Storage Situation
I have always stored my makeup inside the drawer in my bathroom vanity. But when my collection started to grow, I had no choice but to use up counter space and the storage cabinet under my sink. So, my makeup and makeup tools were all scattered in three different places in the bathroom.
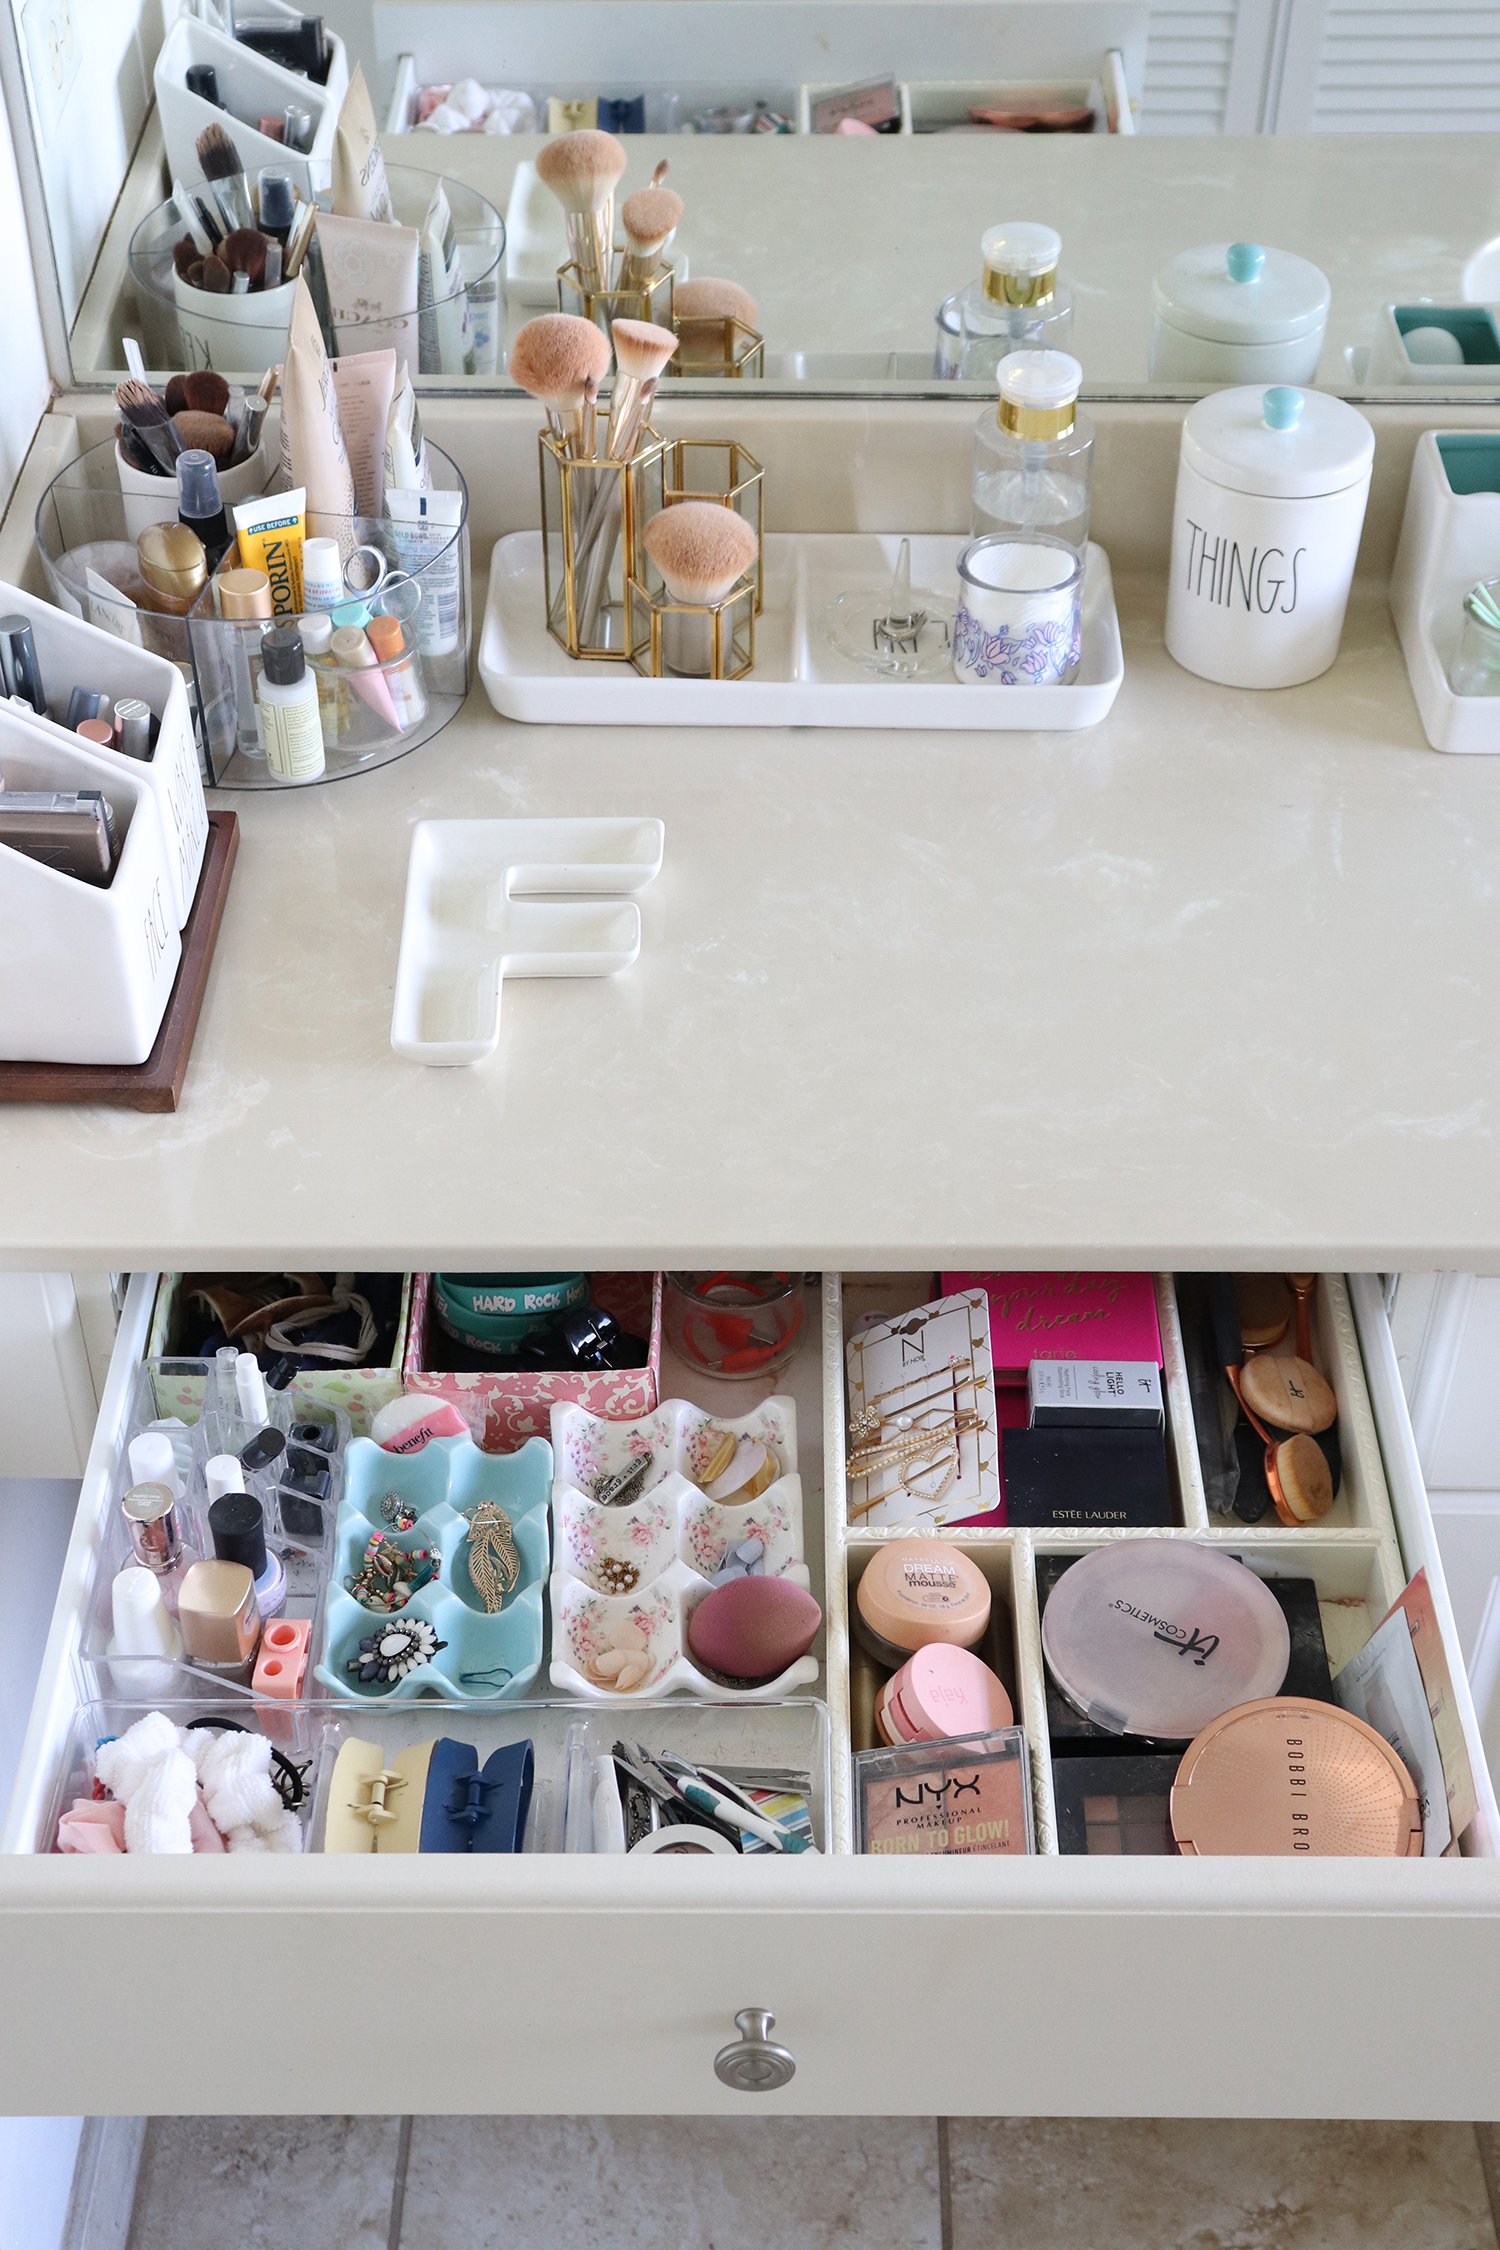
Makeup Inside the Drawer
The organization of my bathroom vanity and makeup drawer has been on my mind since January 1st. I purchased new cosmetics during the holidays, so it was time to declutter and rid the drawer of the old ones. Being this is the only drawer I have in the bathroom, it always ends up being a catch-all bin of all the things that don’t have a home (makeup or not!).
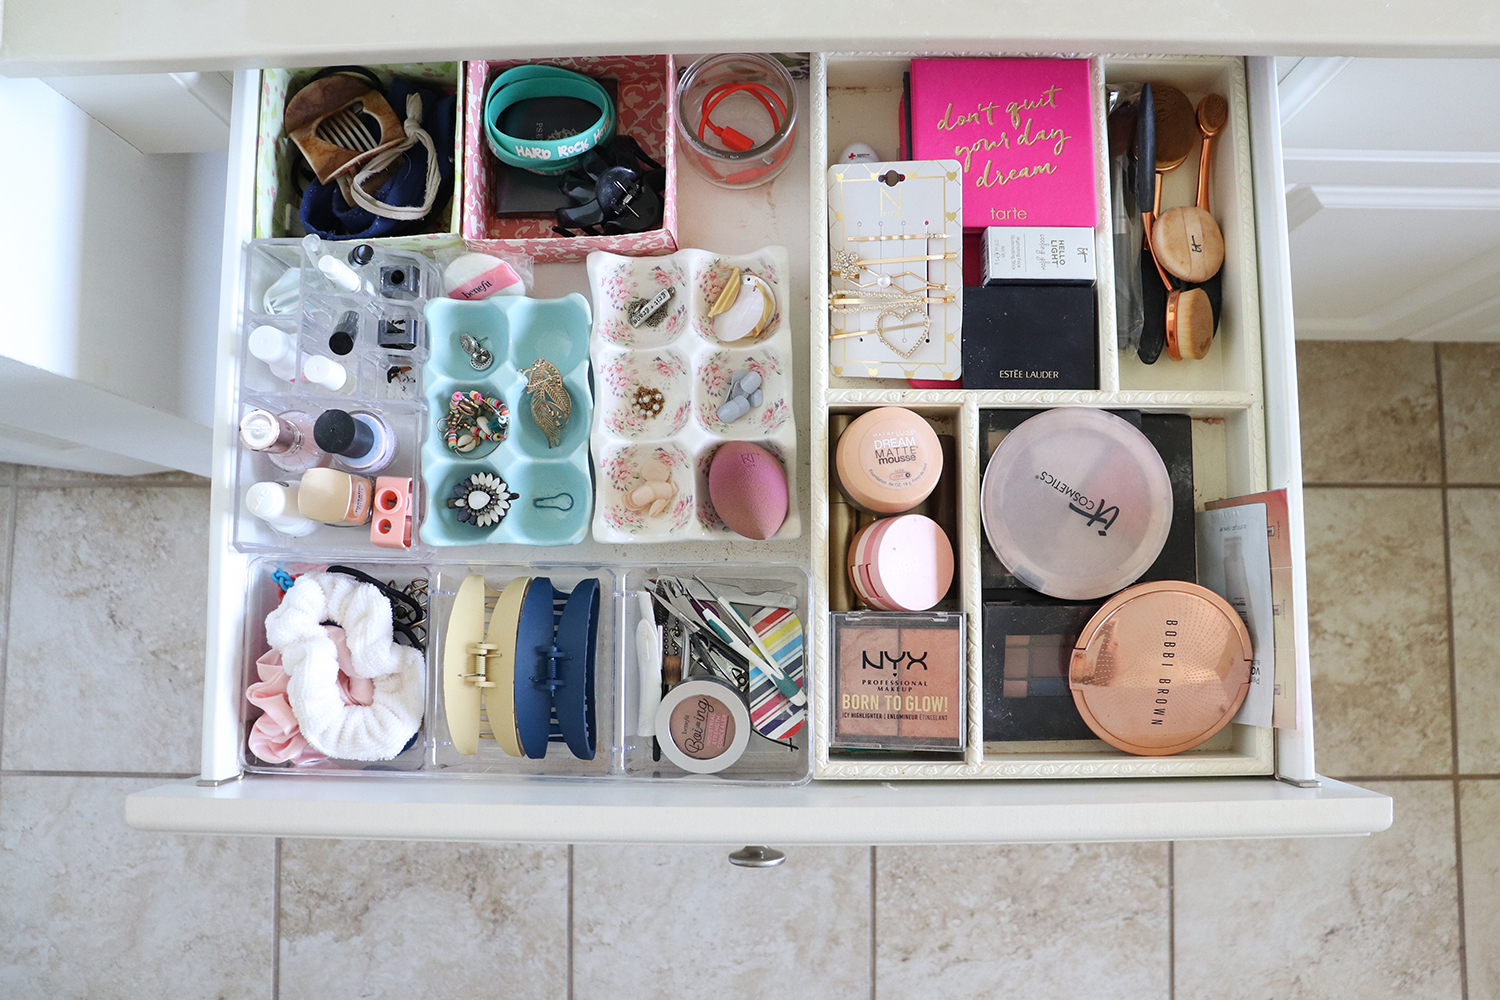
The mismatched containers bothered me the most about this makeup drawer situation. While I love to embrace using recycled materials or DIY boxes to organize drawers, it was time for an upgrade. For example, I love using Oui yogurt jars and egg holders. When I see a cute porcelain egg holder, I purchase it because they make great organizers for small jewelry and odds and ends.
But I relocated those egg holders and my old vanity tray and purchased clear bathroom drawer organizers for a clean and sleek look.
Makeup On the Counter
Before I organized my medicine cabinet last month, my bathroom counter looked even more cluttered than it does now. After purging the medicine cabinet, I moved there a lot of products I had on the bathroom vanity. I have a lazy Susan with compartments (similar), which I love for holding anything!
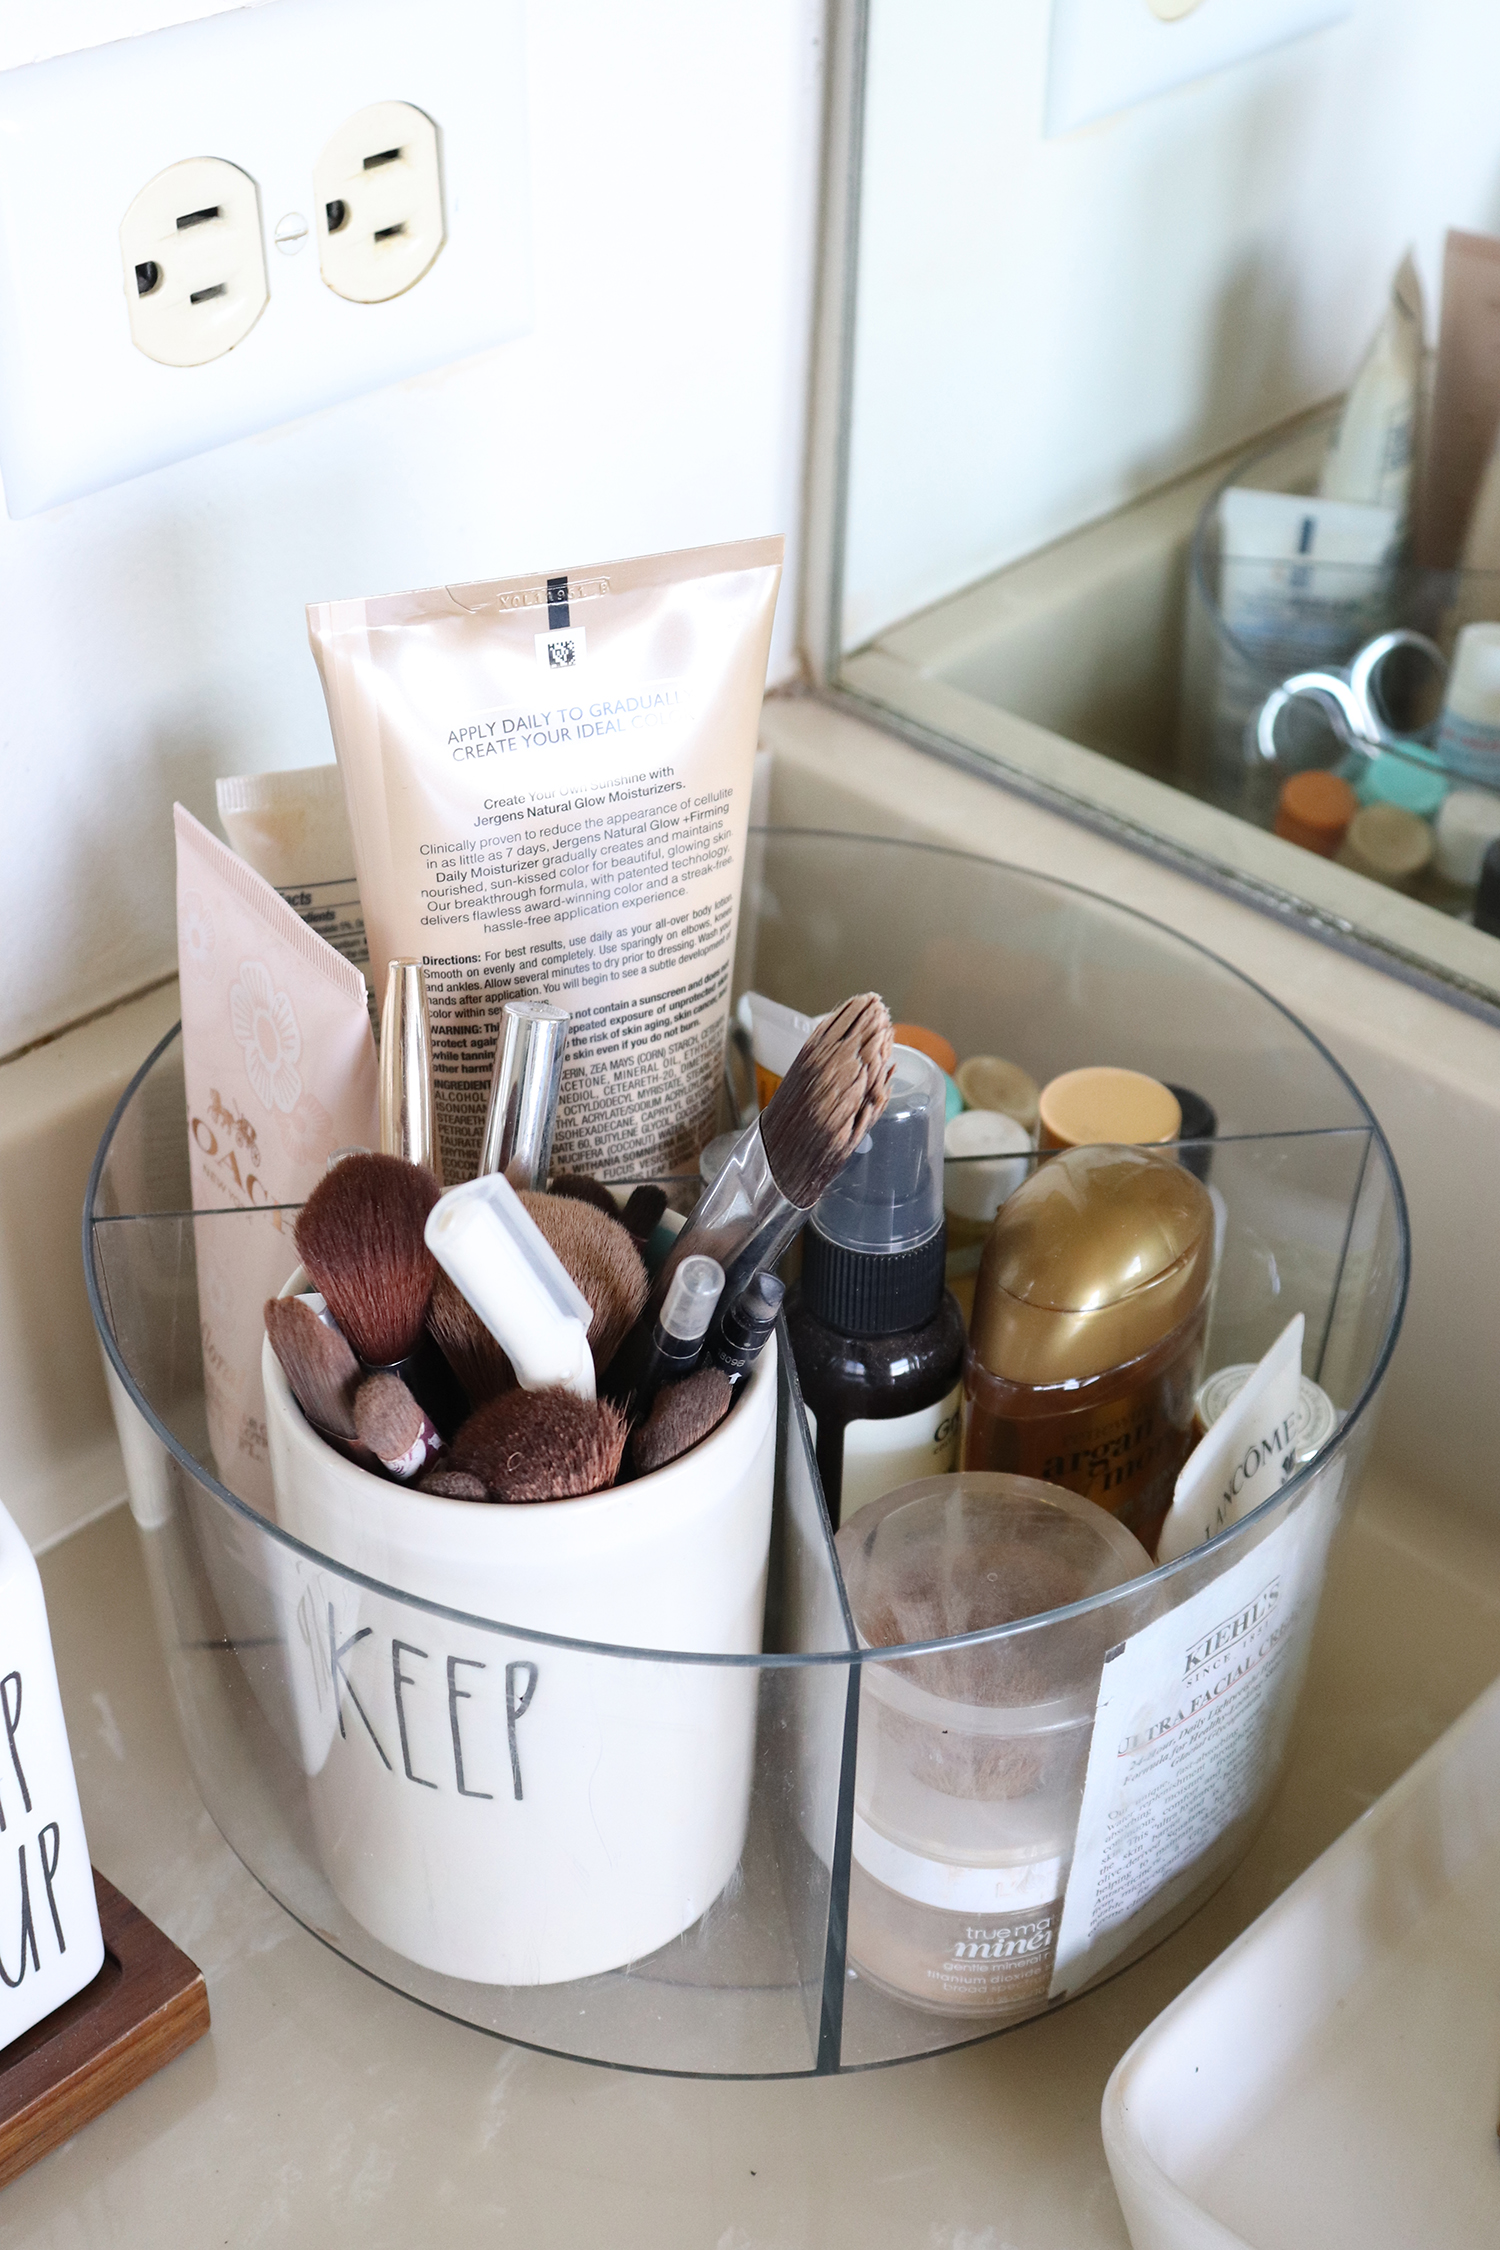

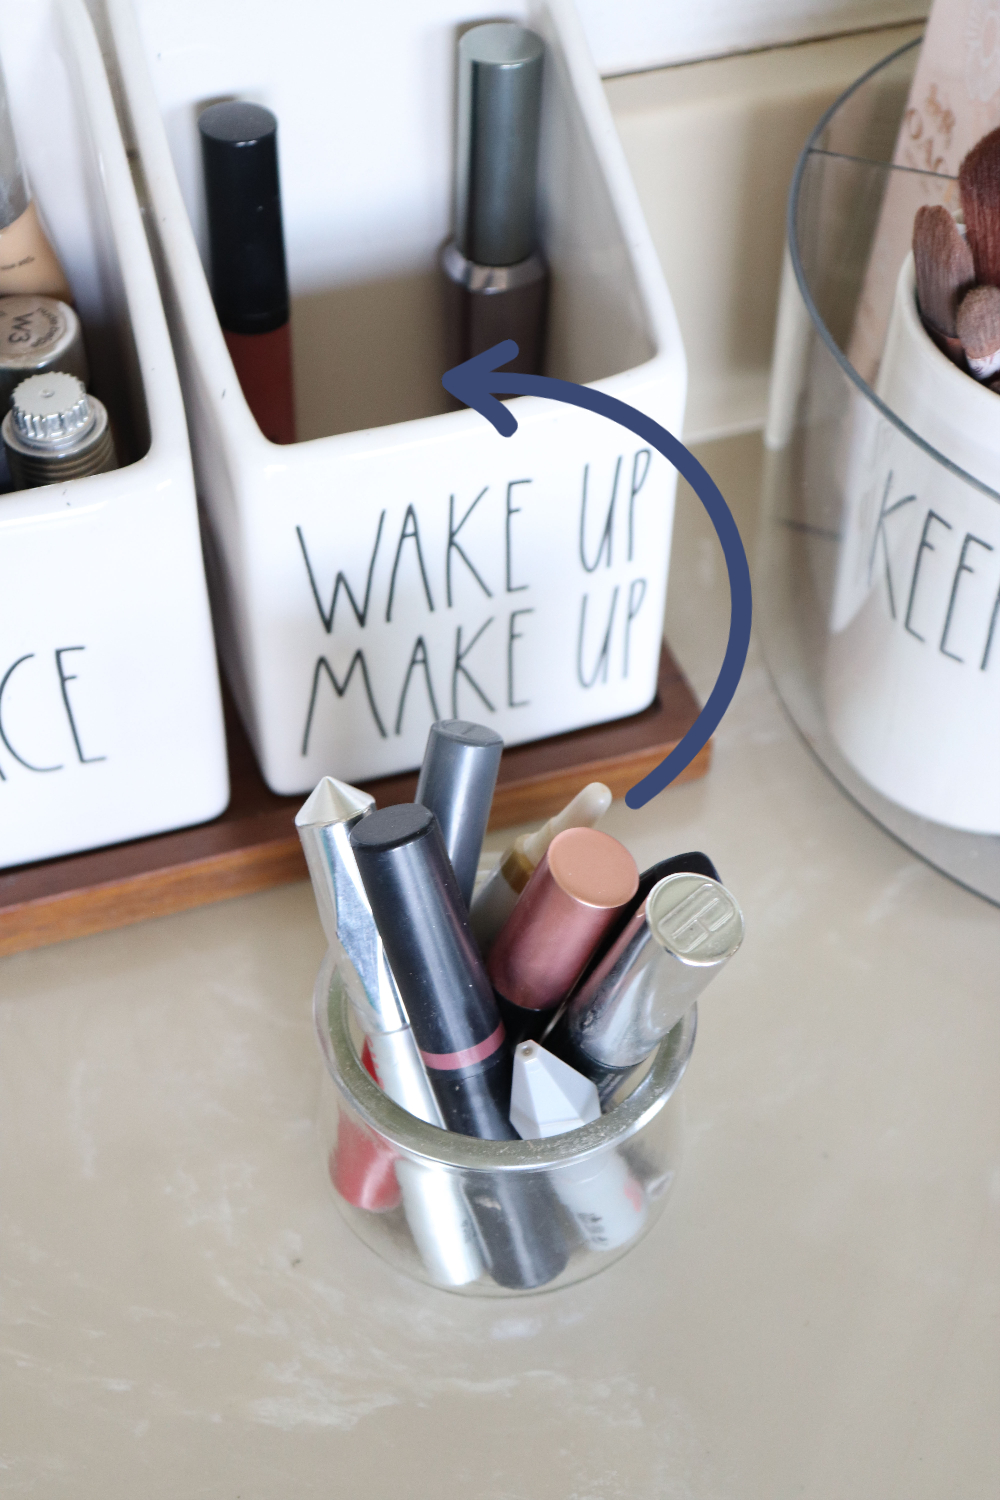
But throwing ‘anything’ into the lazy Susan translated into clutter. Hence, the decision to declutter the drawer to make room and organize all the makeup and tools I had in there. I also have a few Rae Dunn bathroom counter organizers that I don’t want to part with yet. And I use way too many yogurt jars!

Makeup Drawer Organization
Now that you know the situation I was living in, let me show you how I organized all my makeup inside the drawer using inexpensive bathroom drawer organizers. Here’s the step-by-step process I followed to organize my vanity drawer.
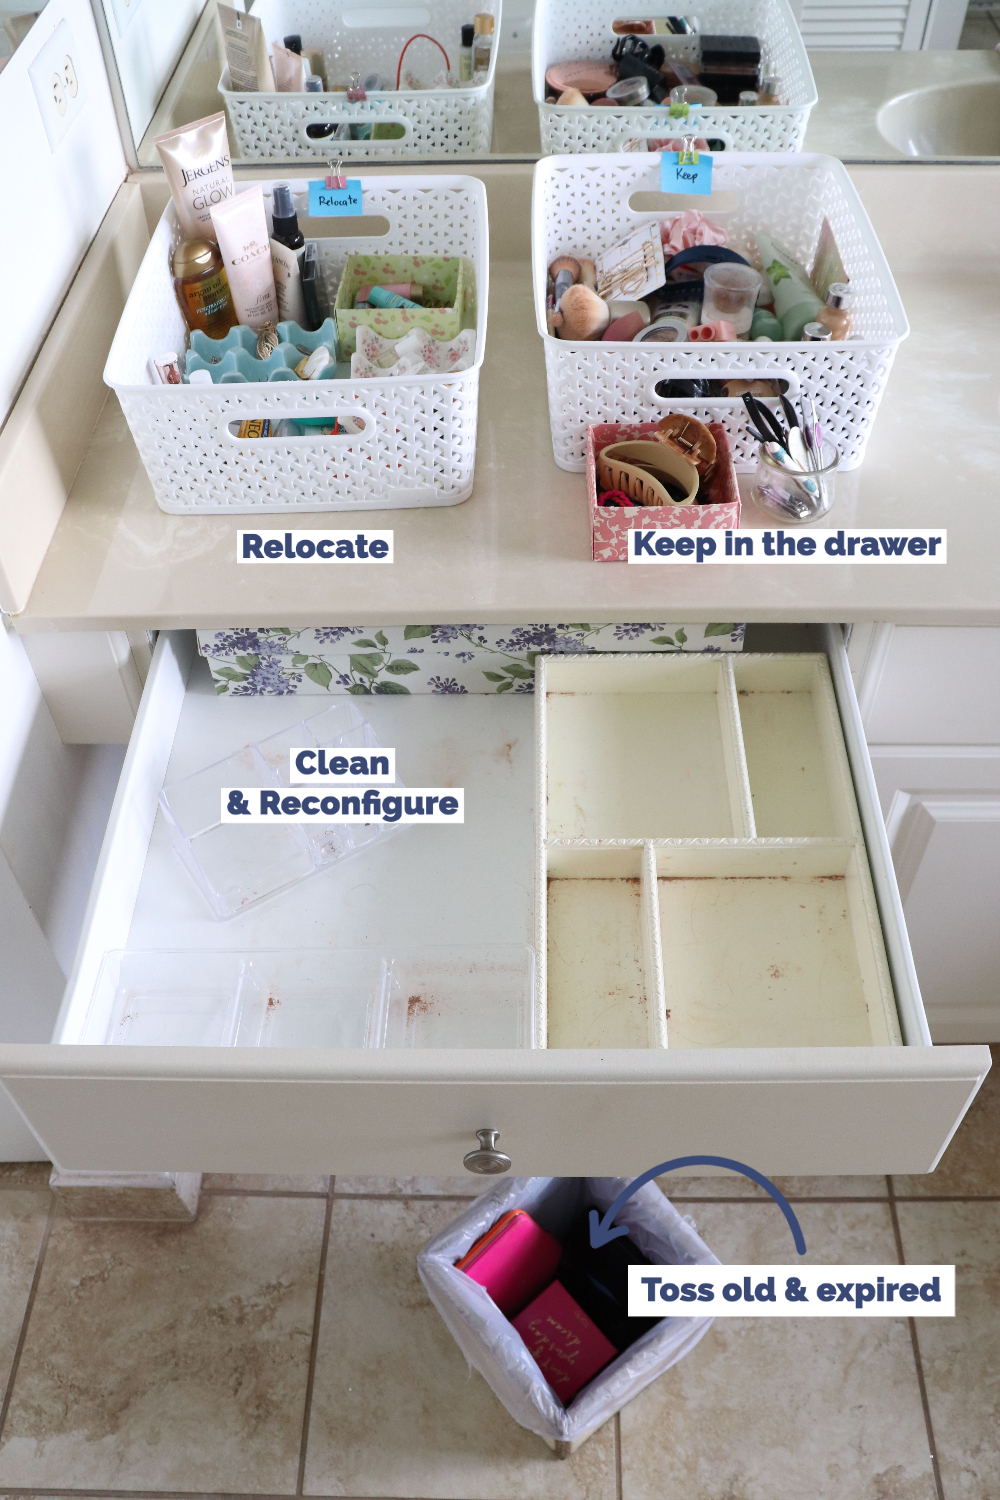
If your makeup drawer is overflowing with makeup and beauty products, it’s time for a makeover. With this 5-step decluttering tutorial, you will gain control of the clutter quickly! I will show you an easy and effective way to store and organize your cosmetics so your vanity can be both organized and stylish.
Step 1. Sort Items Into These Three Groups
Every organization project starts with three baskets (or groups). In most cases, I would keep, toss, and donate. In this case, I didn’t have anything worth donating. I used two baskets and a trash can to start the organization process of my makeup drawer.


In this step, do not worry about making categories. Your main goal is to get out of the way whatever does not belong inside your makeup drawer (Relocate and Trash).
Toss Old and Expired Makeup
Old and expired makeup can take up space and cause skin irritations and product wastage. Old eyeshadows, mascaras, and foundations should be thrown away as these are more prone to bacteria growth. Check labels for an expiration date or your best guess when it has been too long since you bought that product. If no expiry date is listed, toss it out if it’s been two years or more since you first opened it.
The ‘Relocate’ Basket
Place in this basket anything that isn’t makeup and that somehow made its way inside your makeup drawer or countertop. Set it aside to relocate everything else at a later time.
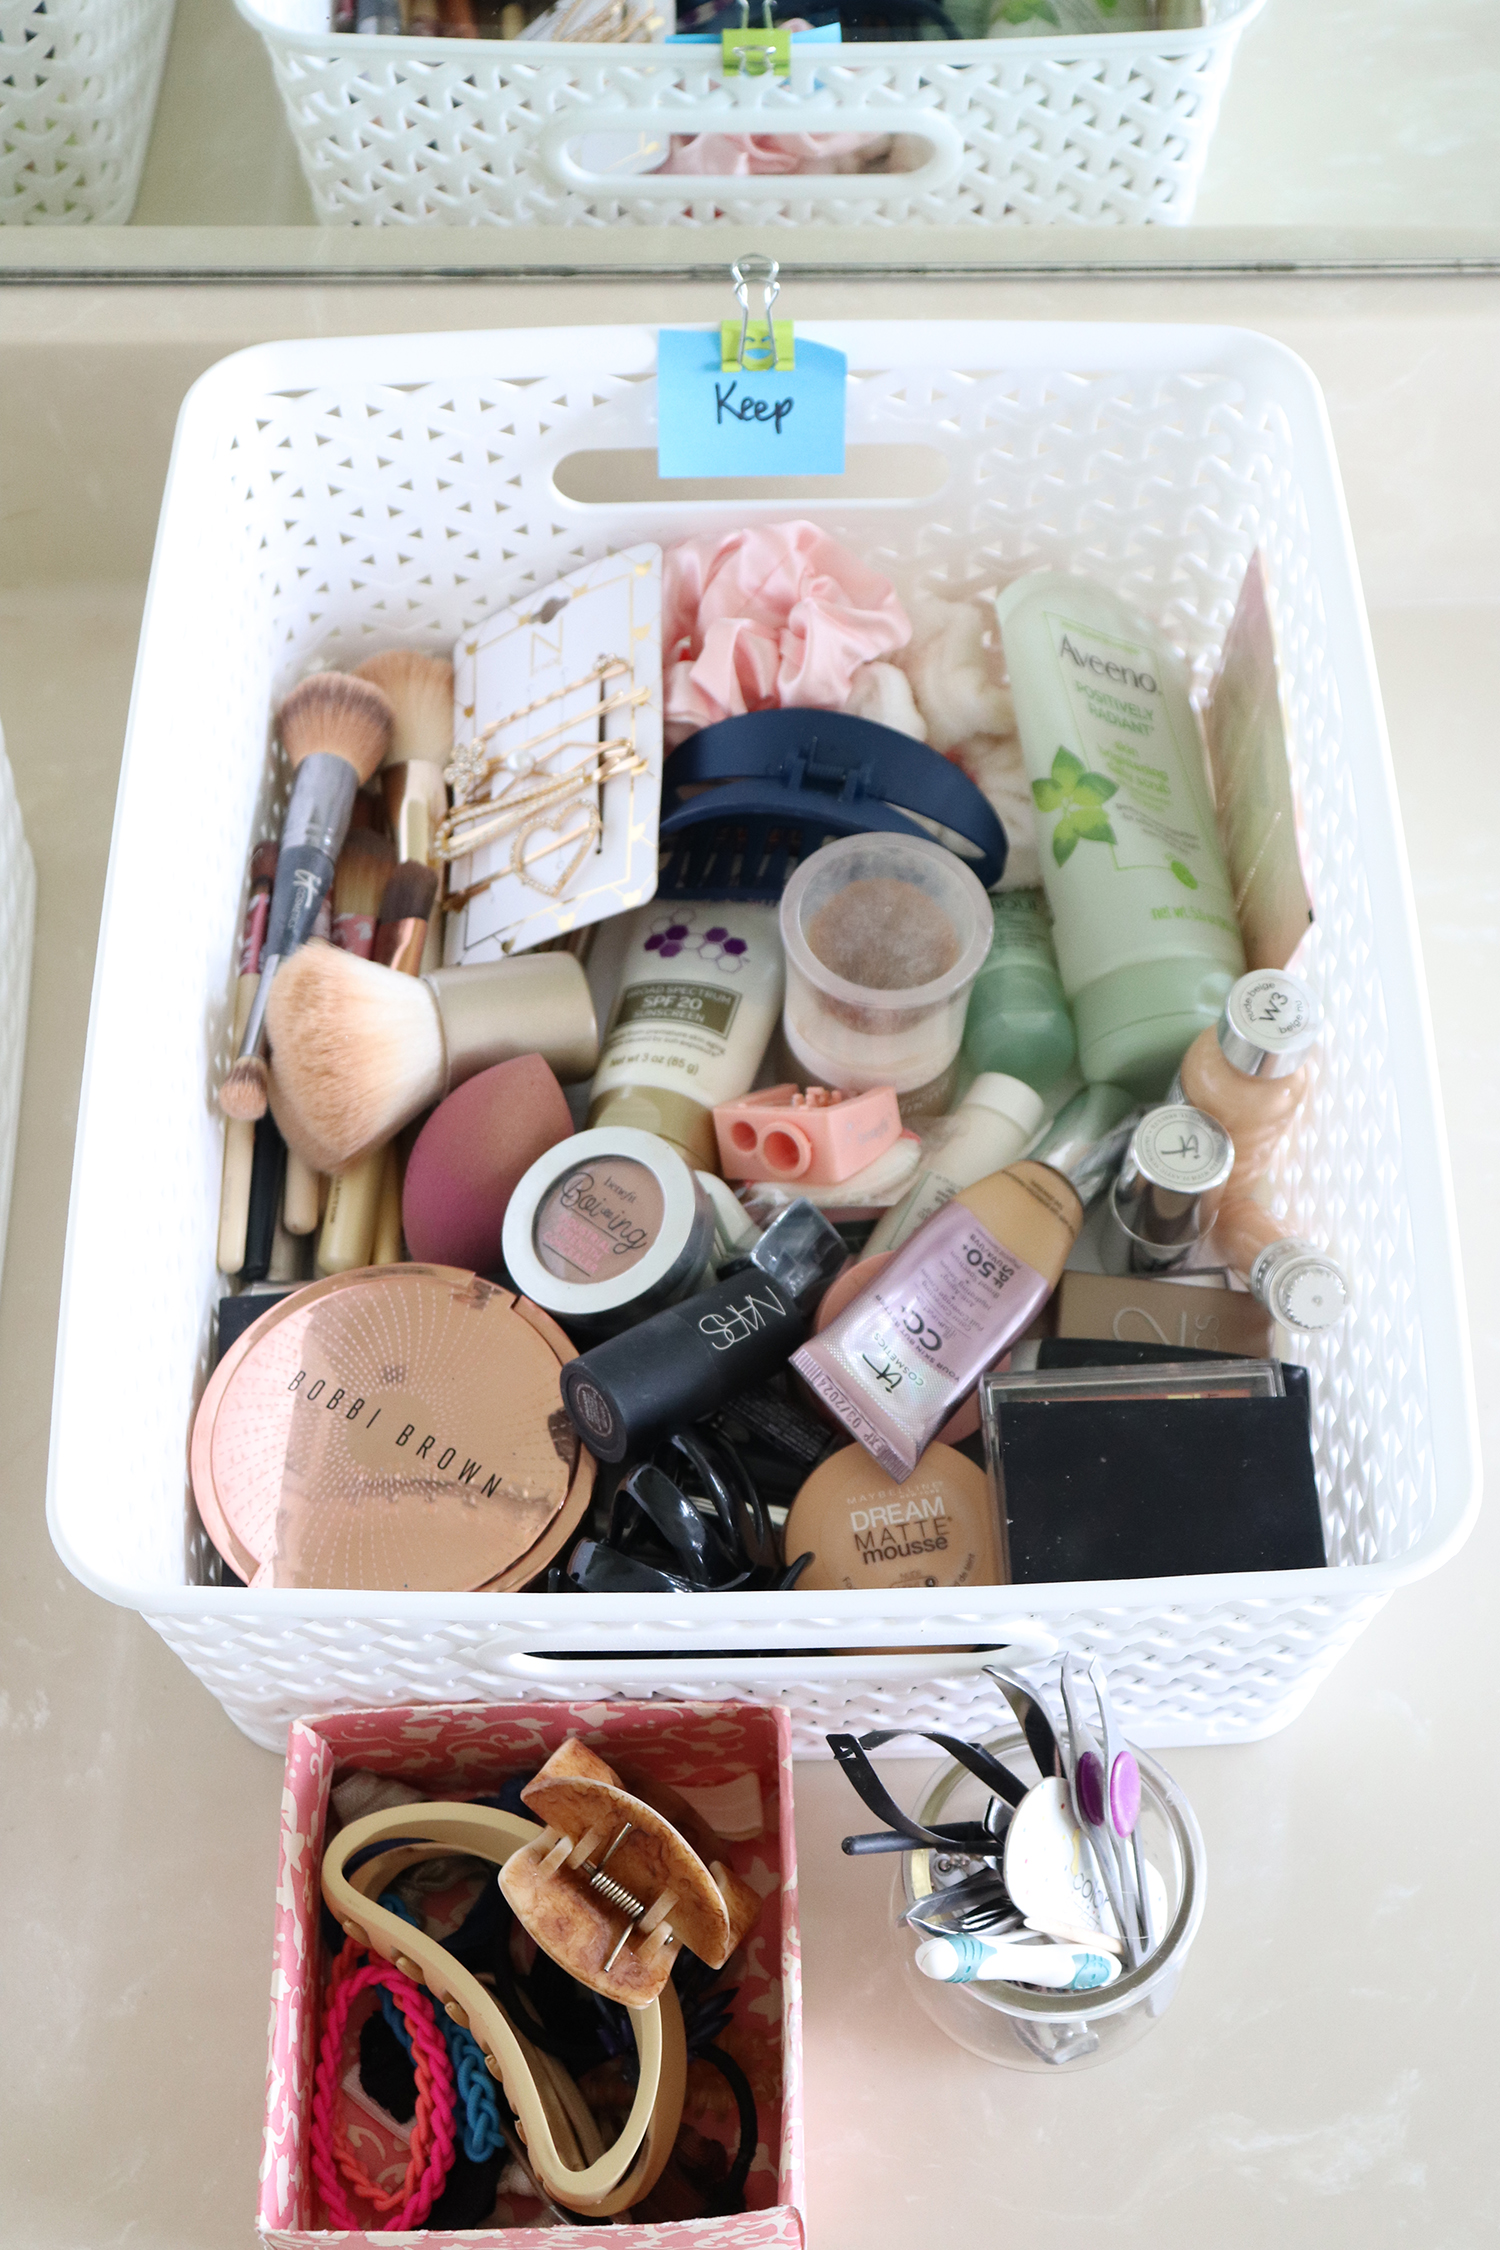
The ‘Keep’ Basket
Place in this basket everything you want to keep inside your makeup drawer.

Step 2. Clean and Spruce Up
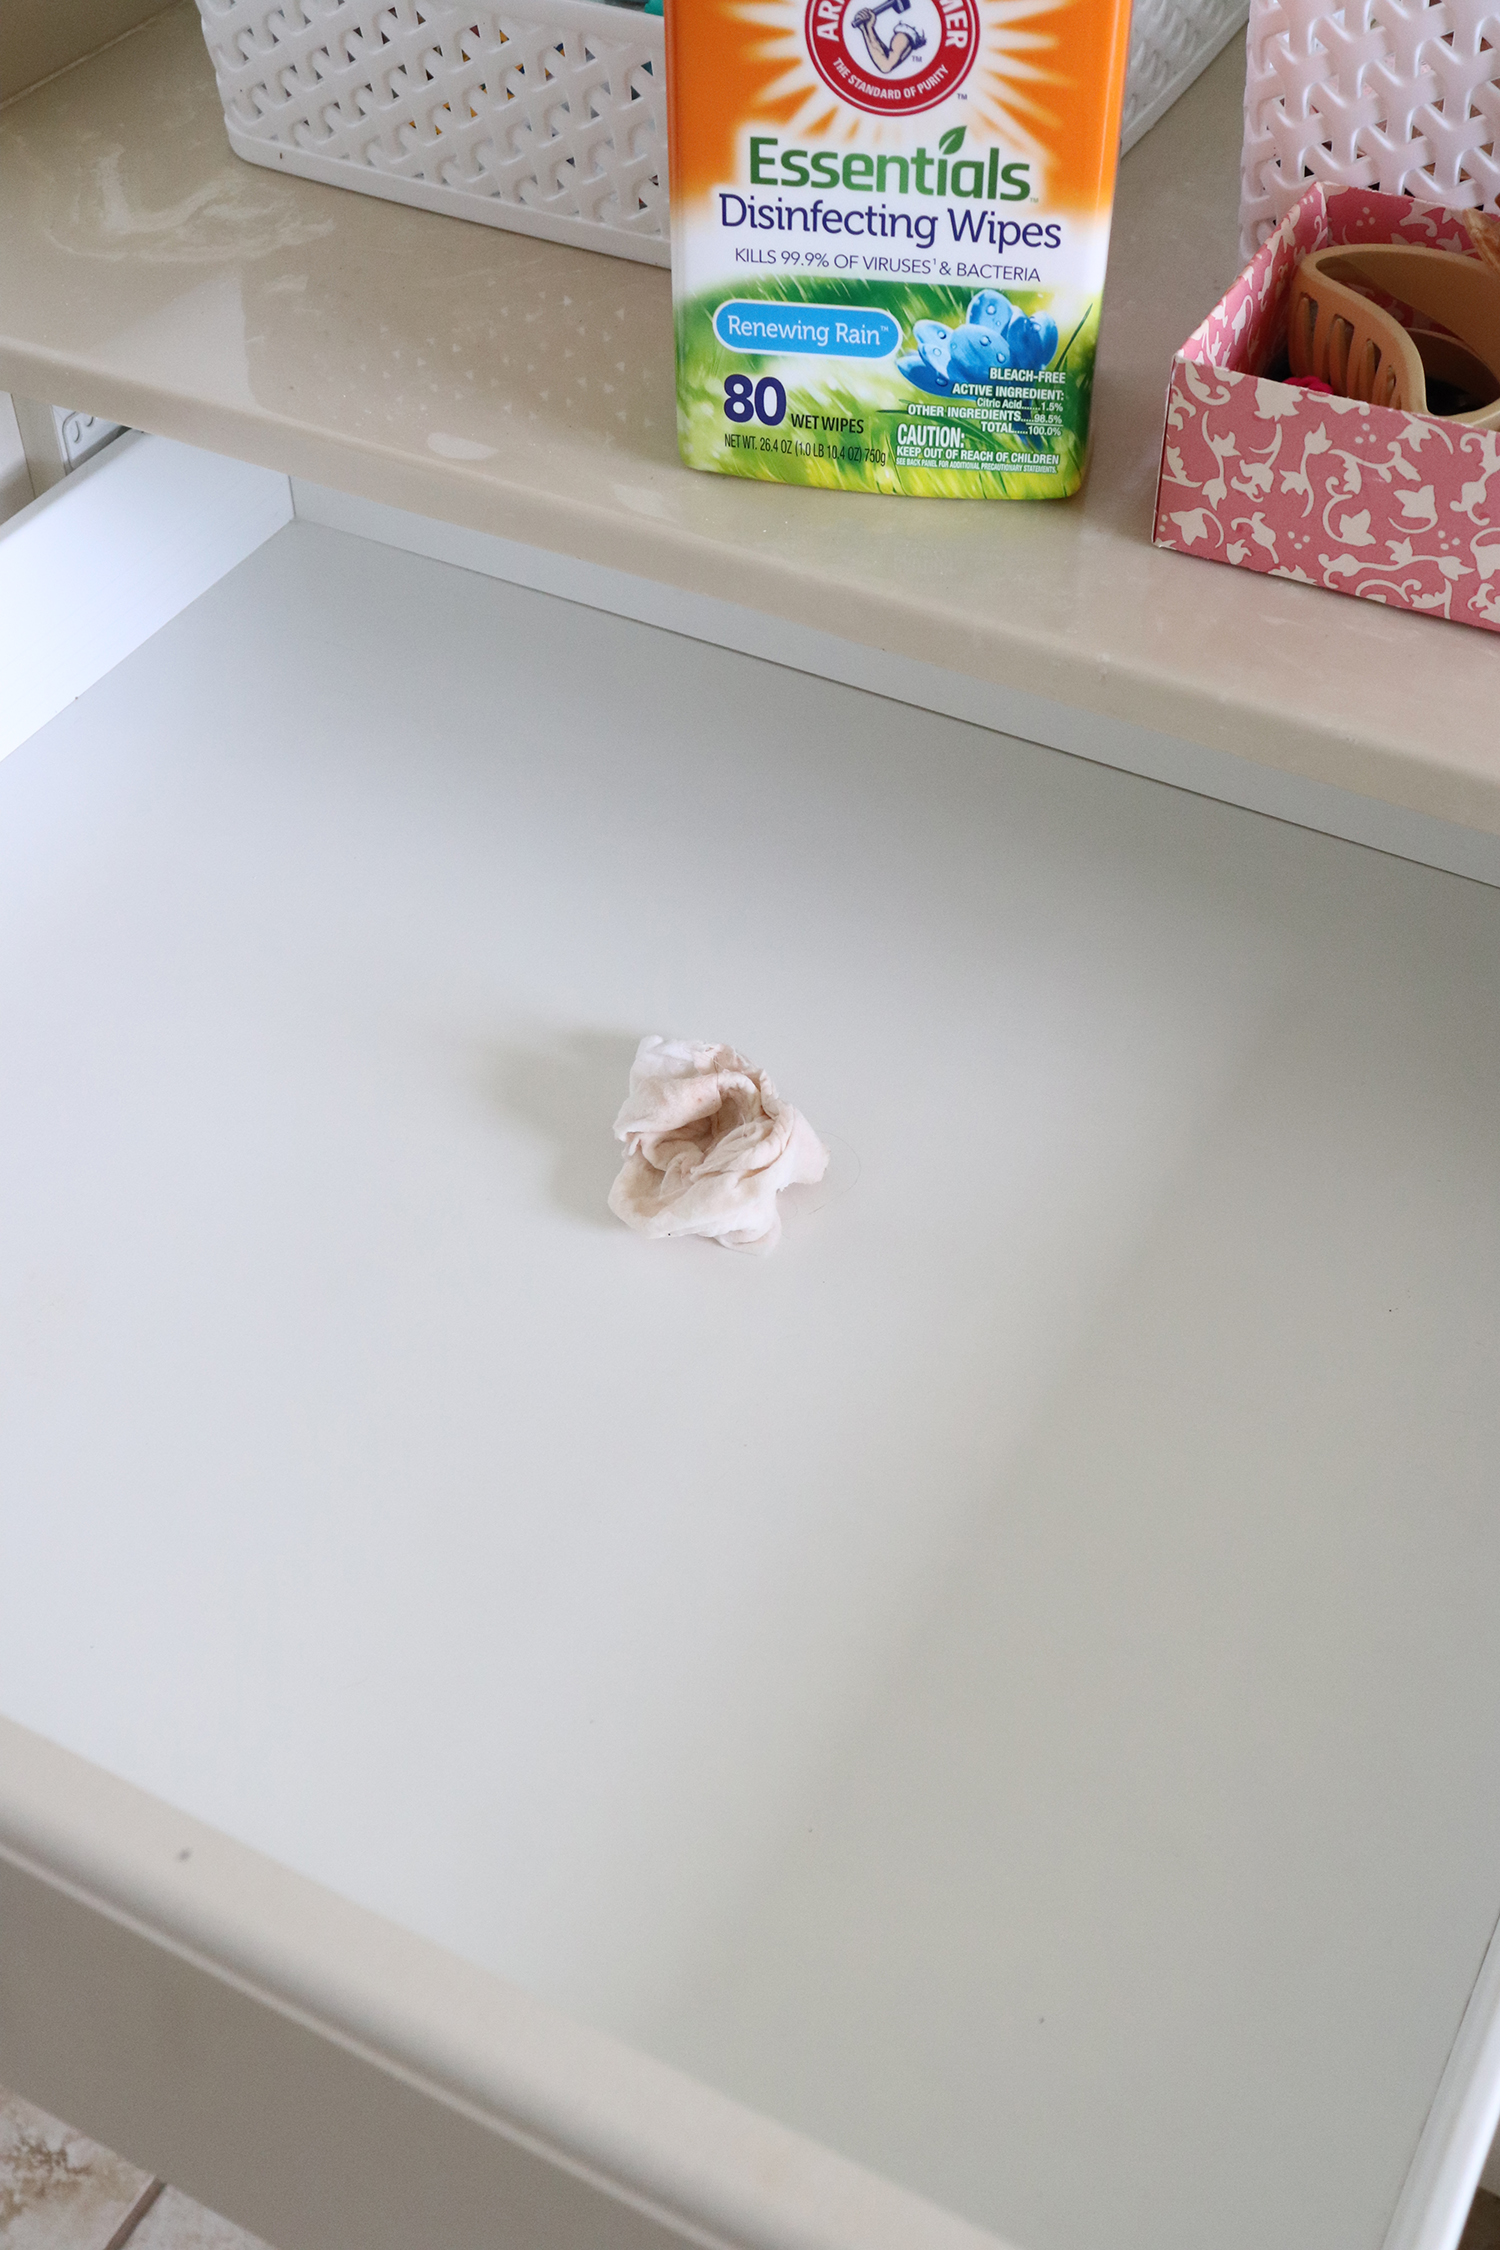
Clean the empty drawer thoroughly. I removed all the old organizers, set them aside, and cleaned the entire drawer with disinfecting wipes. After cleaning the drawer, you can move on to the actual makeup organization project. However, if you want to spruce it up, you can line the drawer for aesthetic or functional reasons.
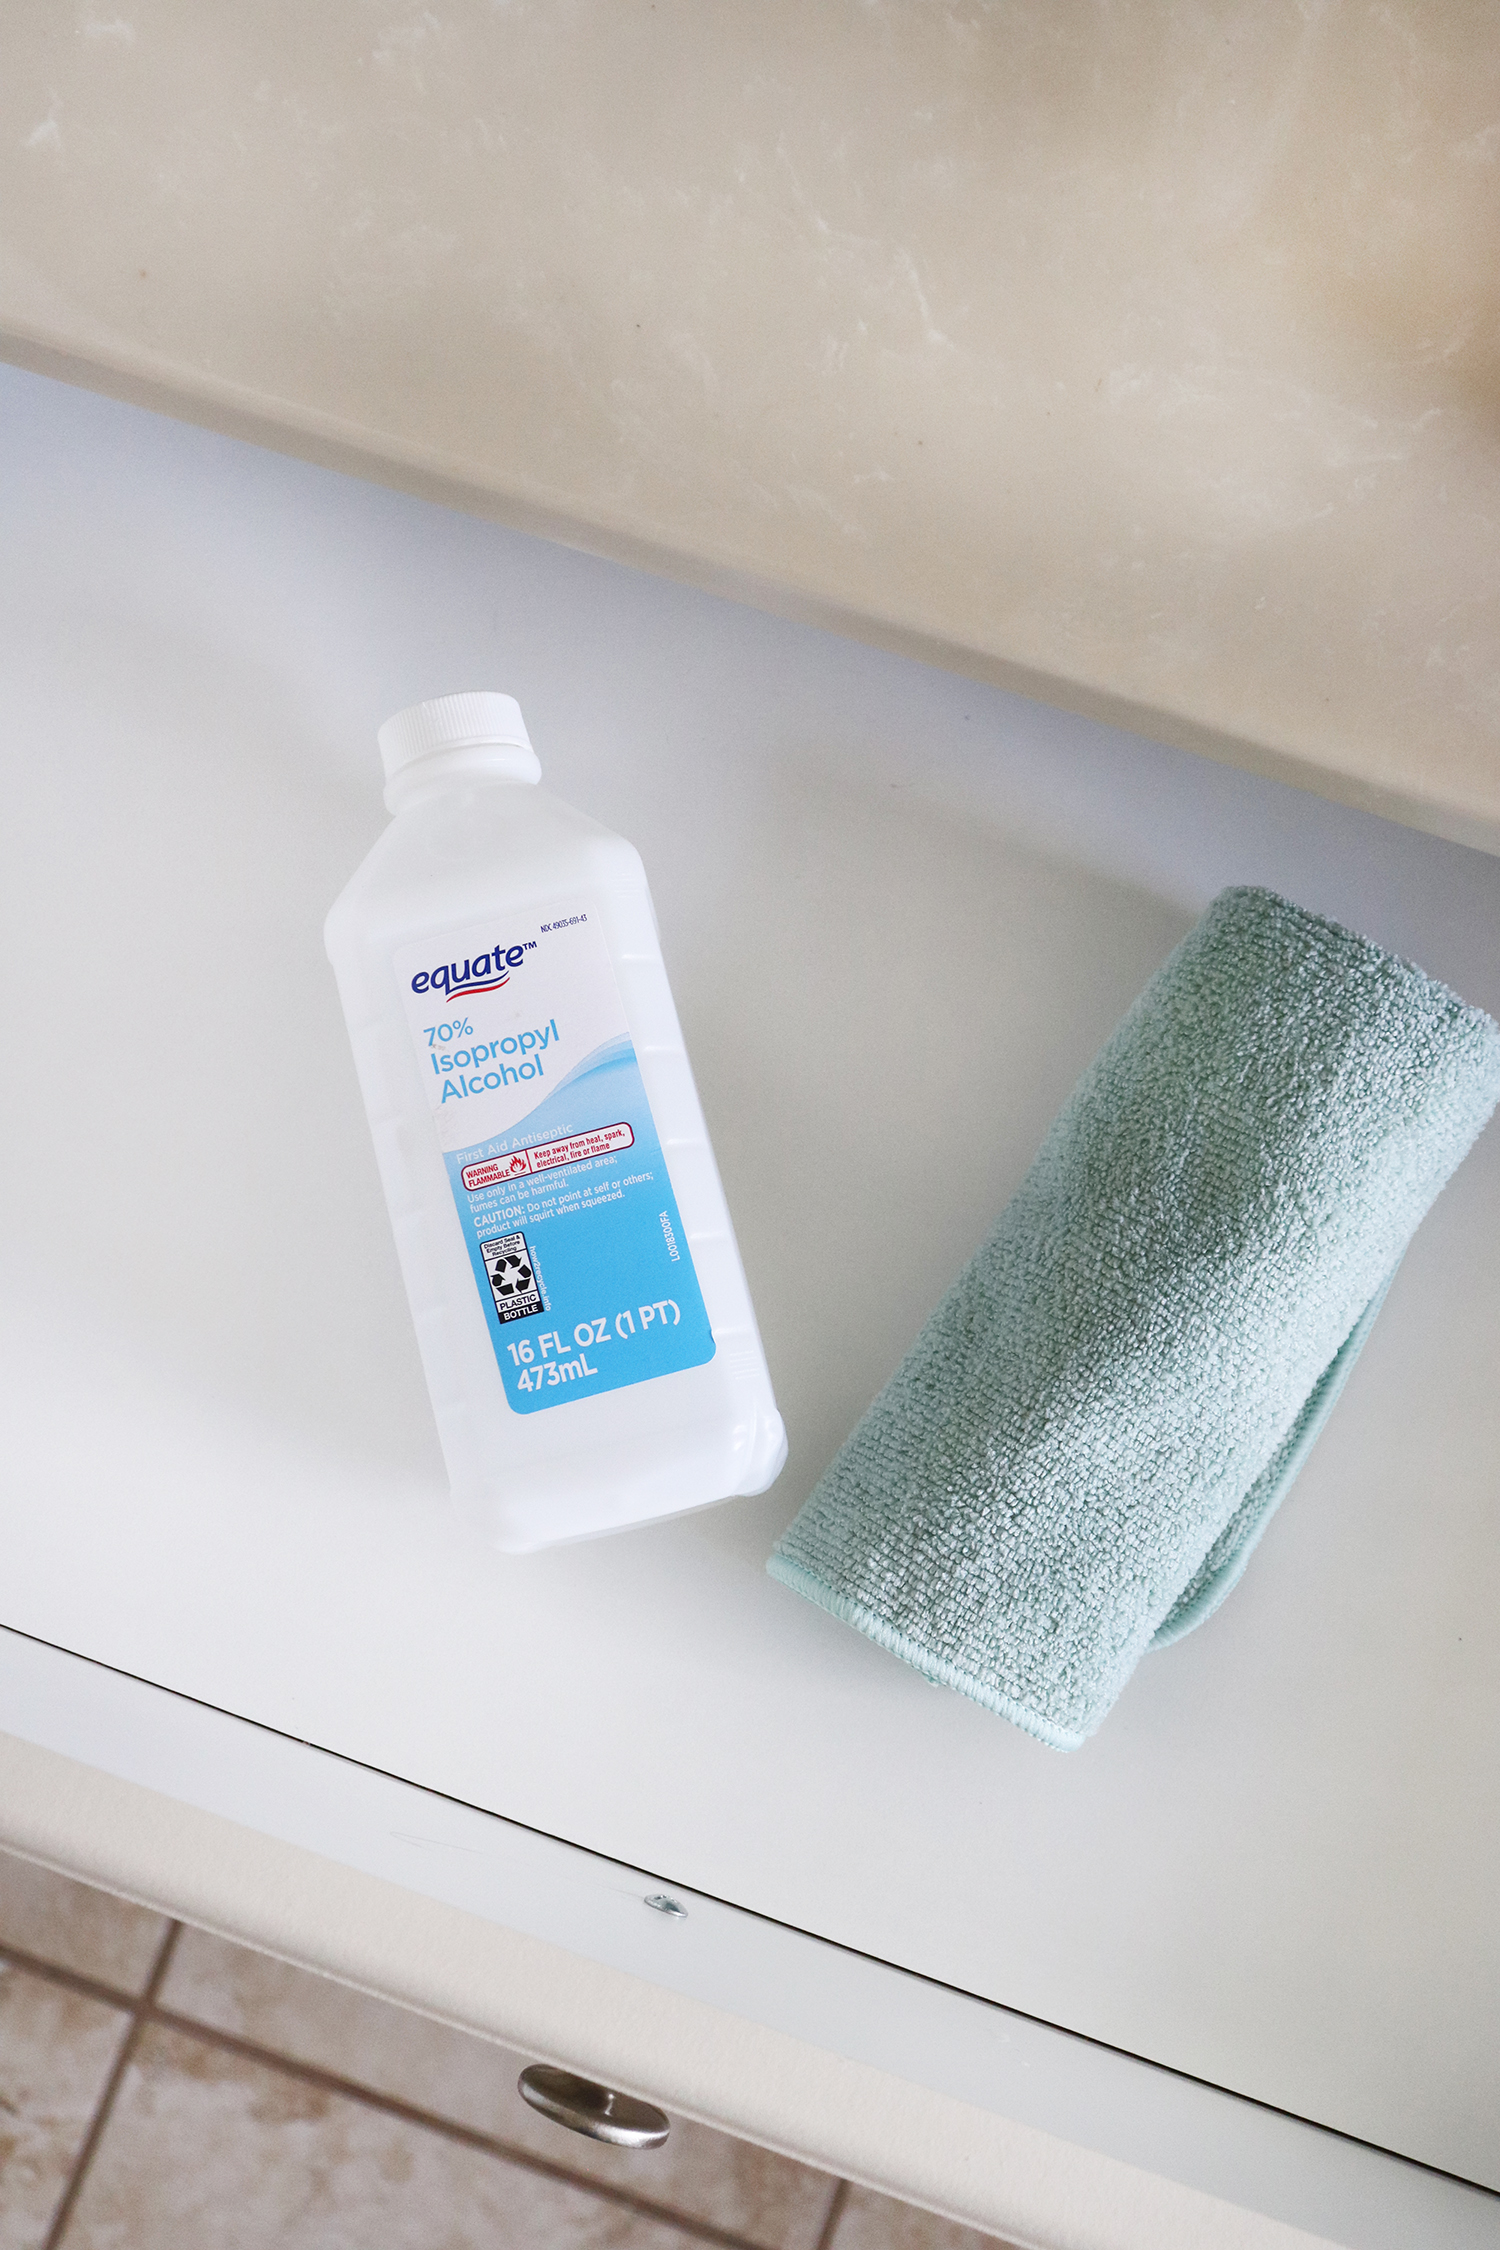
I lined the drawer with the same removable contact paper I used for my medicine cabinet makeover last month. Before installing the contact paper, I cleaned the drawer with rubbing alcohol to degrease the entire area. I measured and cut the contact paper to size.
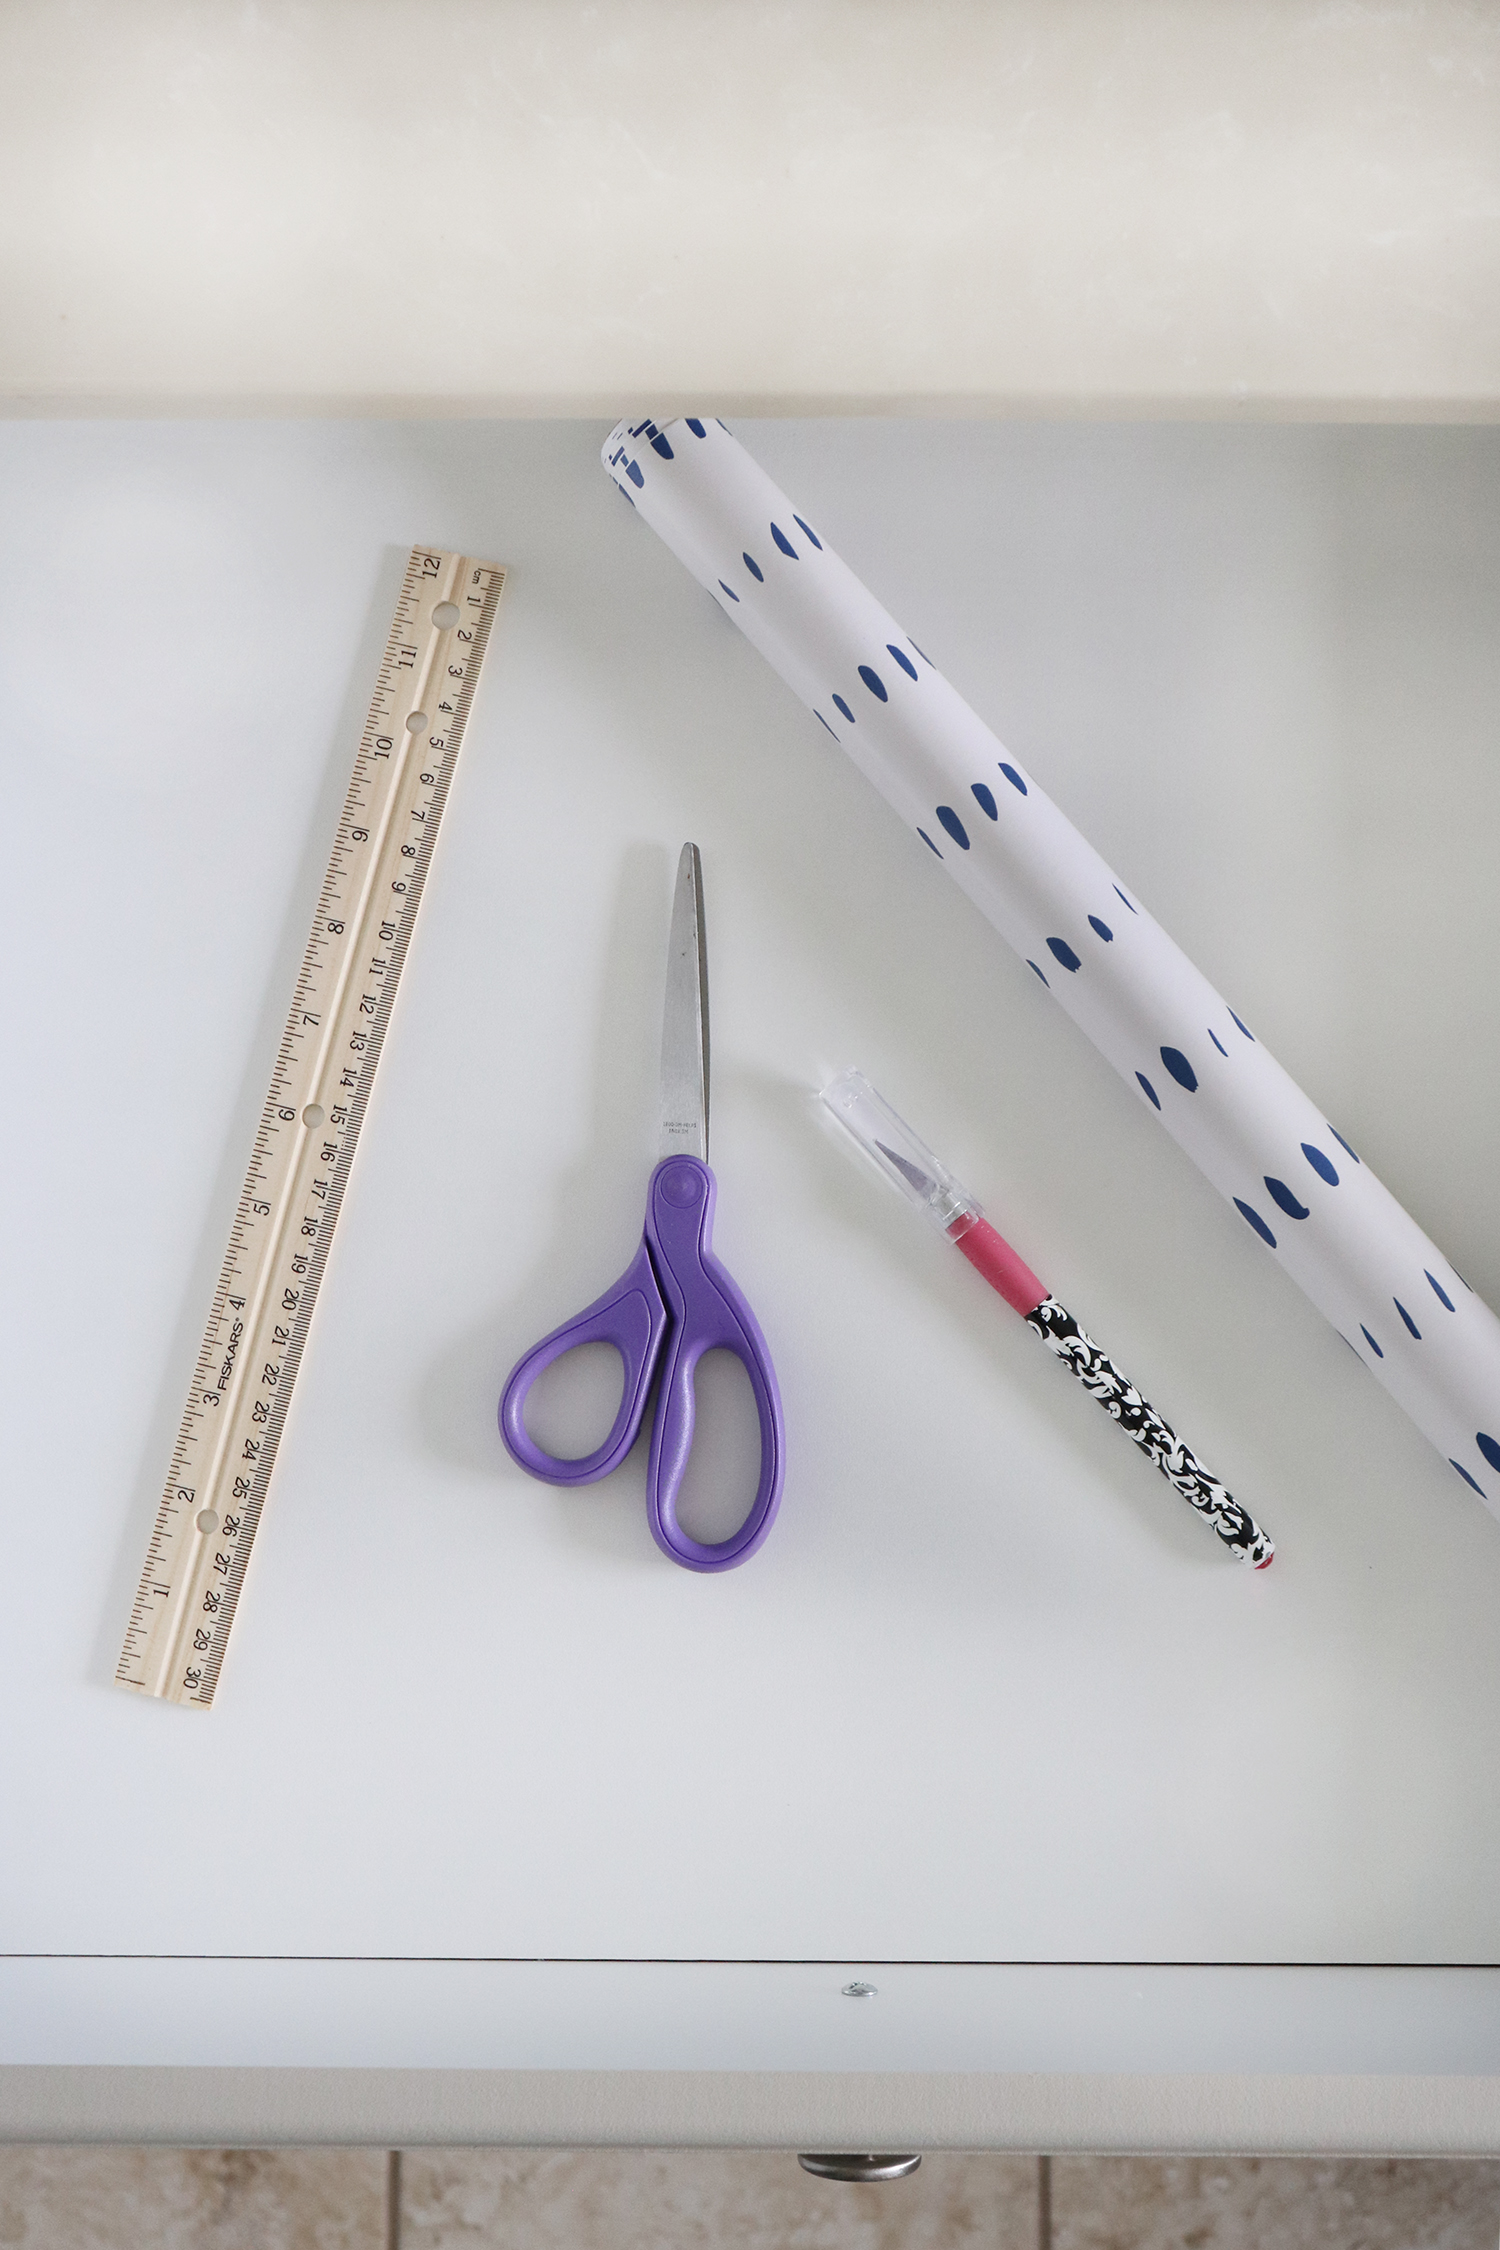
The contact paper’s width was short by only 1/2 inch, so I sacrificed the back of the drawer. No need to cut a 1/2-inch wide strip and make a seam. So, no big deal!

Needless to say, this step is optional (the contact paper part!). After cleaning, you can leave the drawer as is or use a cute scented paper liner.
Step 3. Play Around With the Configuration
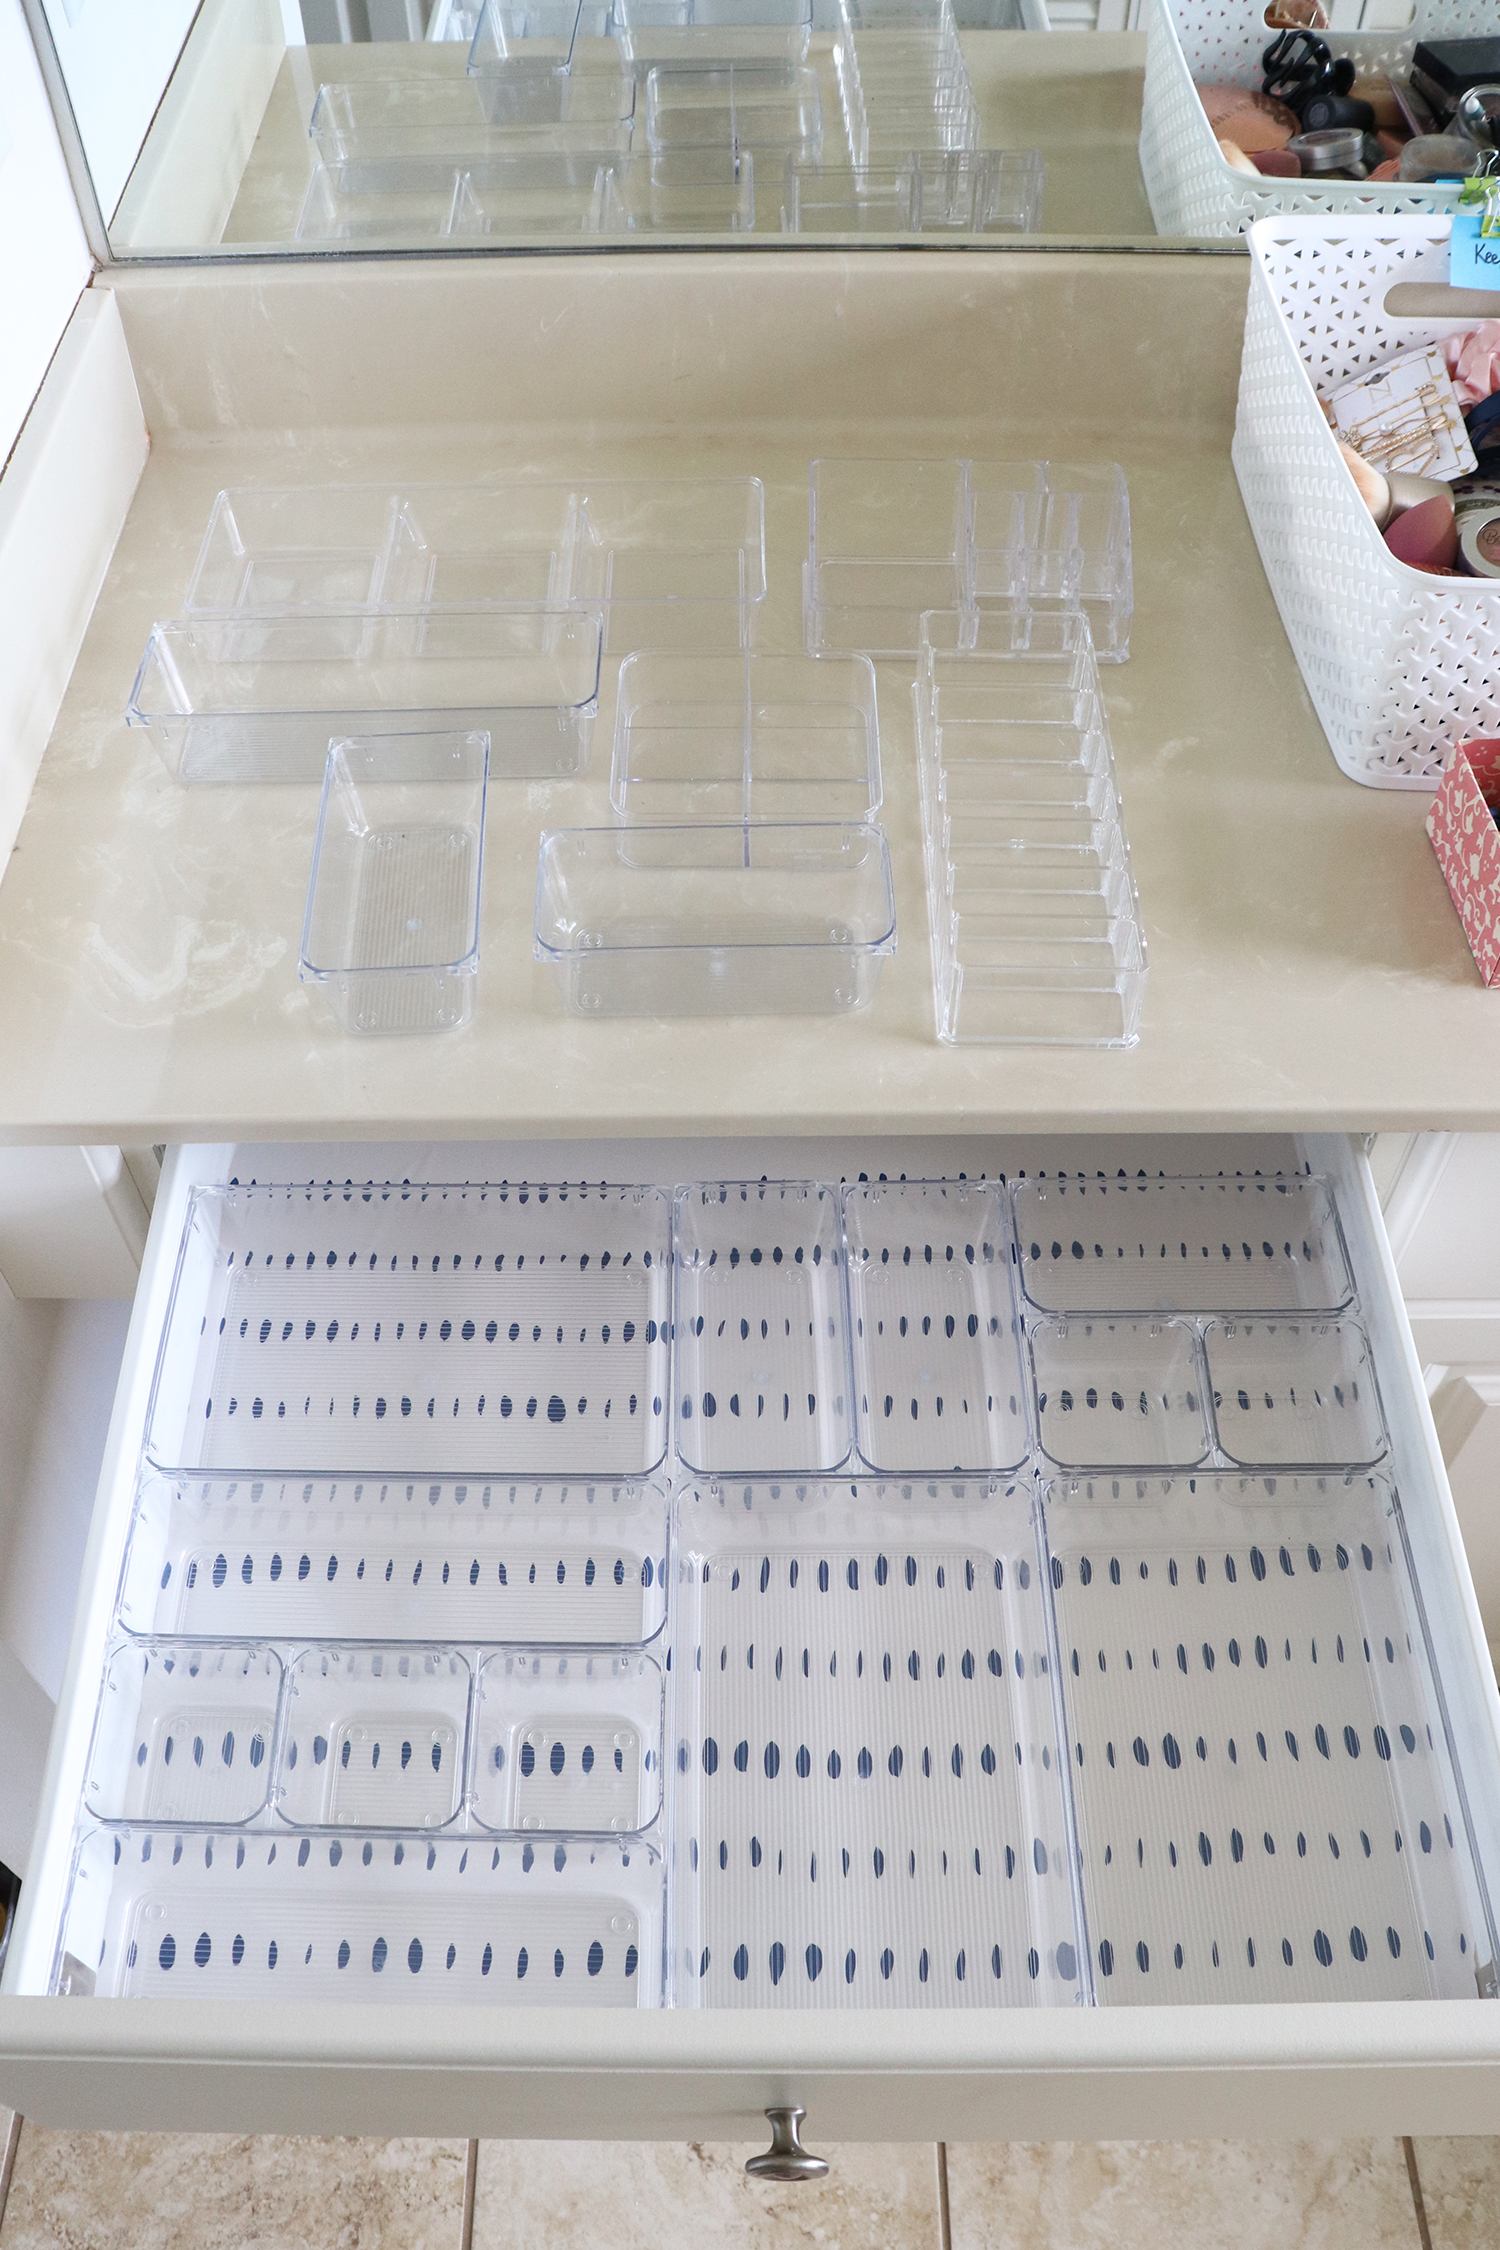
For this project, I purchased an inexpensive set of 25 clear drawer organizers, but I also mixed and matched them with a few clear organizers I already had. First, I laid out every size inside the drawer and saw how they fit.
The set I purchased has four sizes so that you can make any possible configuration. You can see in the image below how organizers fit neatly and snugly inside the makeup drawer. But do you see the 1/2-inch gap in the back? I have a solution for that. Keep reading!
An essential part of decluttering and organizing your makeup drawer is finding the correct type of storage container to hold all of your beauty items. There are many different types of organizers for makeup, including drawer dividers, multi-leveled shelving systems, and even drawstring bags.
Before you start decluttering, it’s essential to decide which bathroom drawer organizers you need and measure out your vanity space. Assessing what you have will help prevent you from overbuying or buying too much packaging material that could be wasted space in your already constrained area.
Step 4. Categorize Your Makeup
After measuring the area and finding the proper storage containers, it’s time to categorize and subcategorize your makeup!
Categorizing makeup makes finding things more accessible and saves you time when getting ready. Common categories could include blushes and bronzers, face products (foundation, powder, primer, concealer), eye products (eyeliner, mascara), lip products (lipsticks and glosses), nail products, hair products, etc.
Once you know the product type in each storage organizer, you can transfer the items to your bathroom vanity drawer.
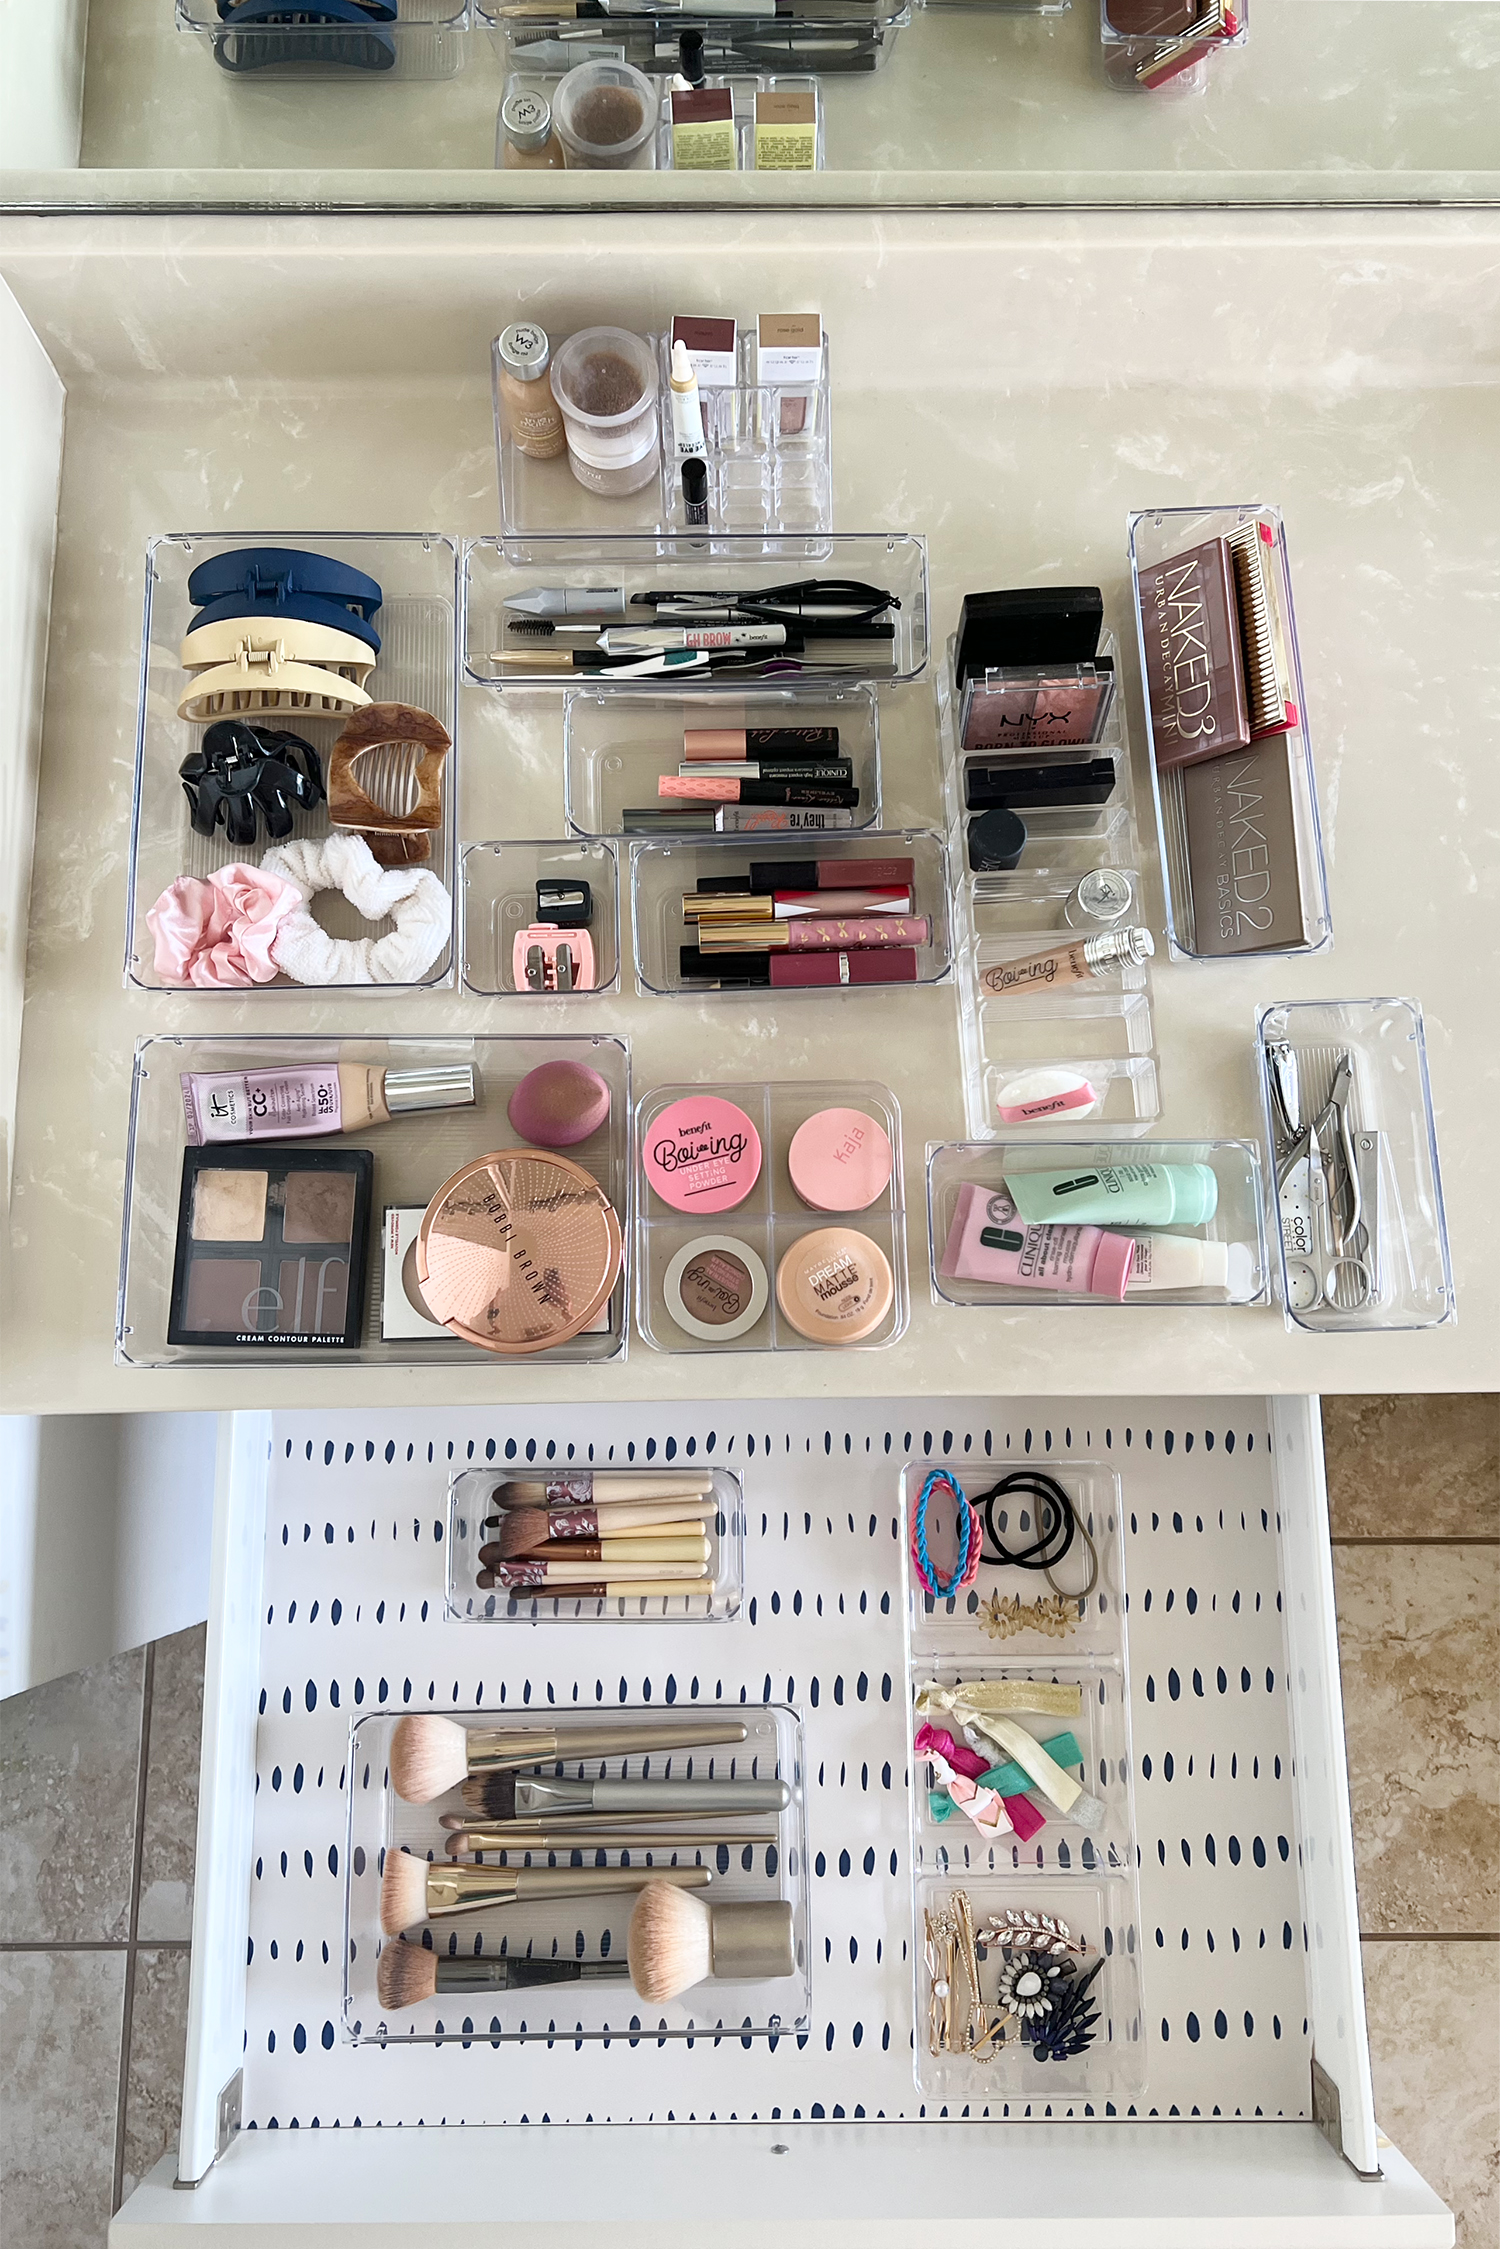
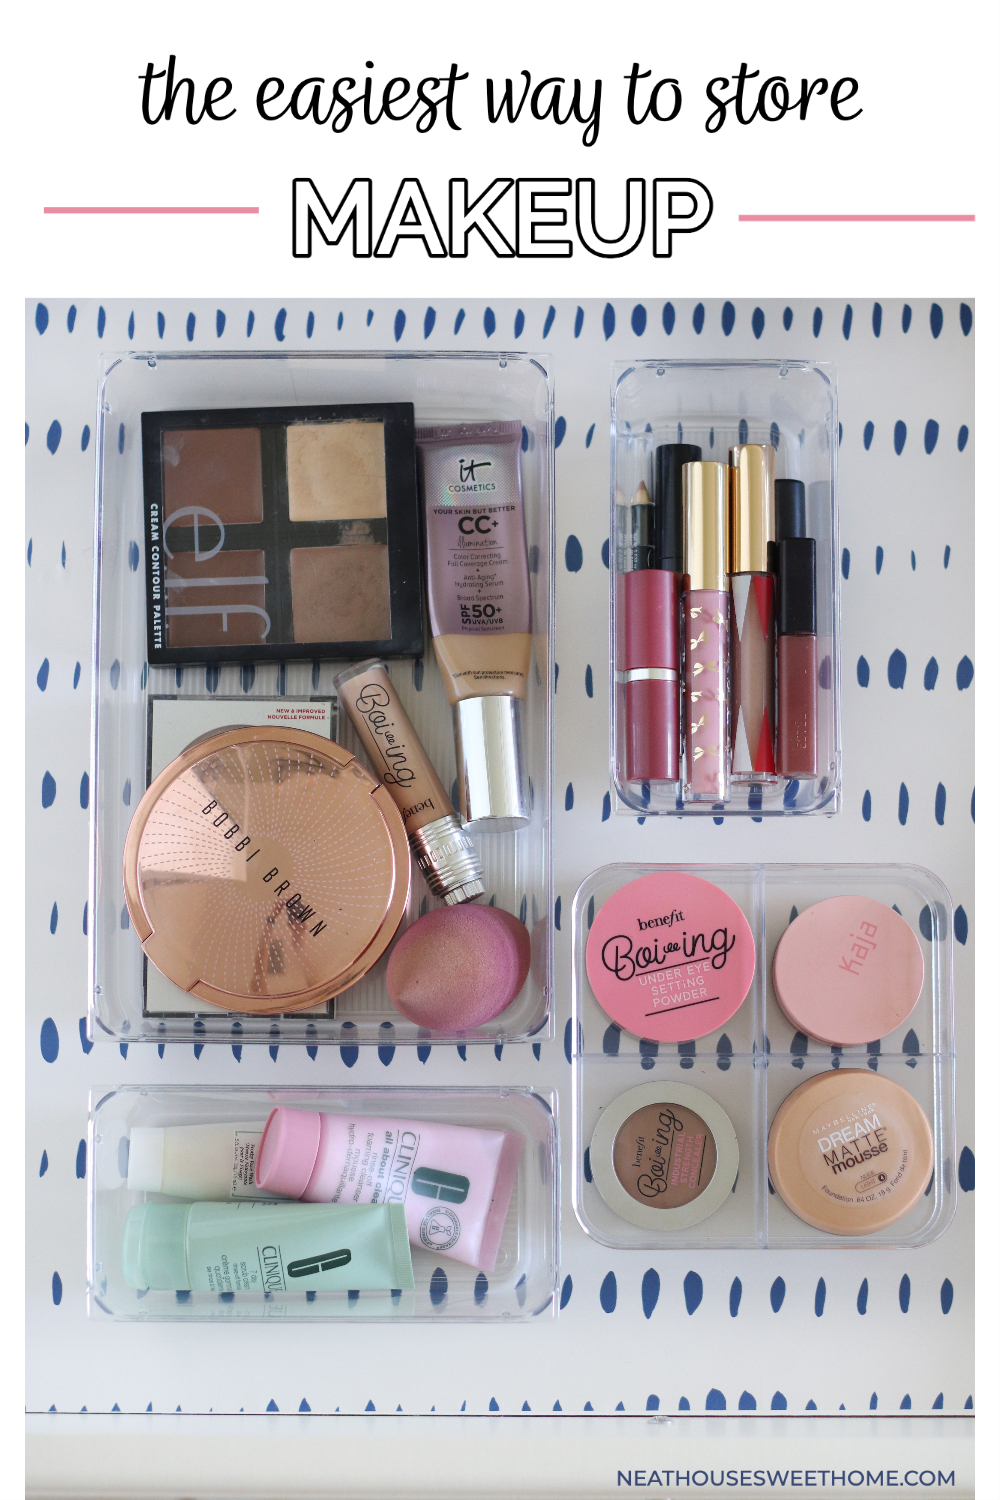
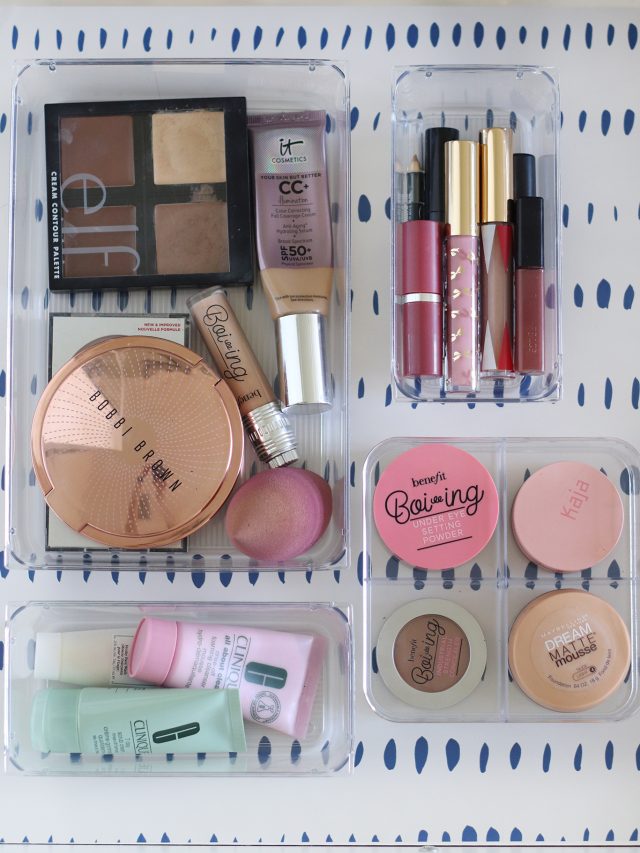
I sorted my makeup and other tools into many categories and subcategories. I created these categories and subcategories for my makeup organization while sorting them into the new and old bathroom drawer organizers with different shapes and sizes.
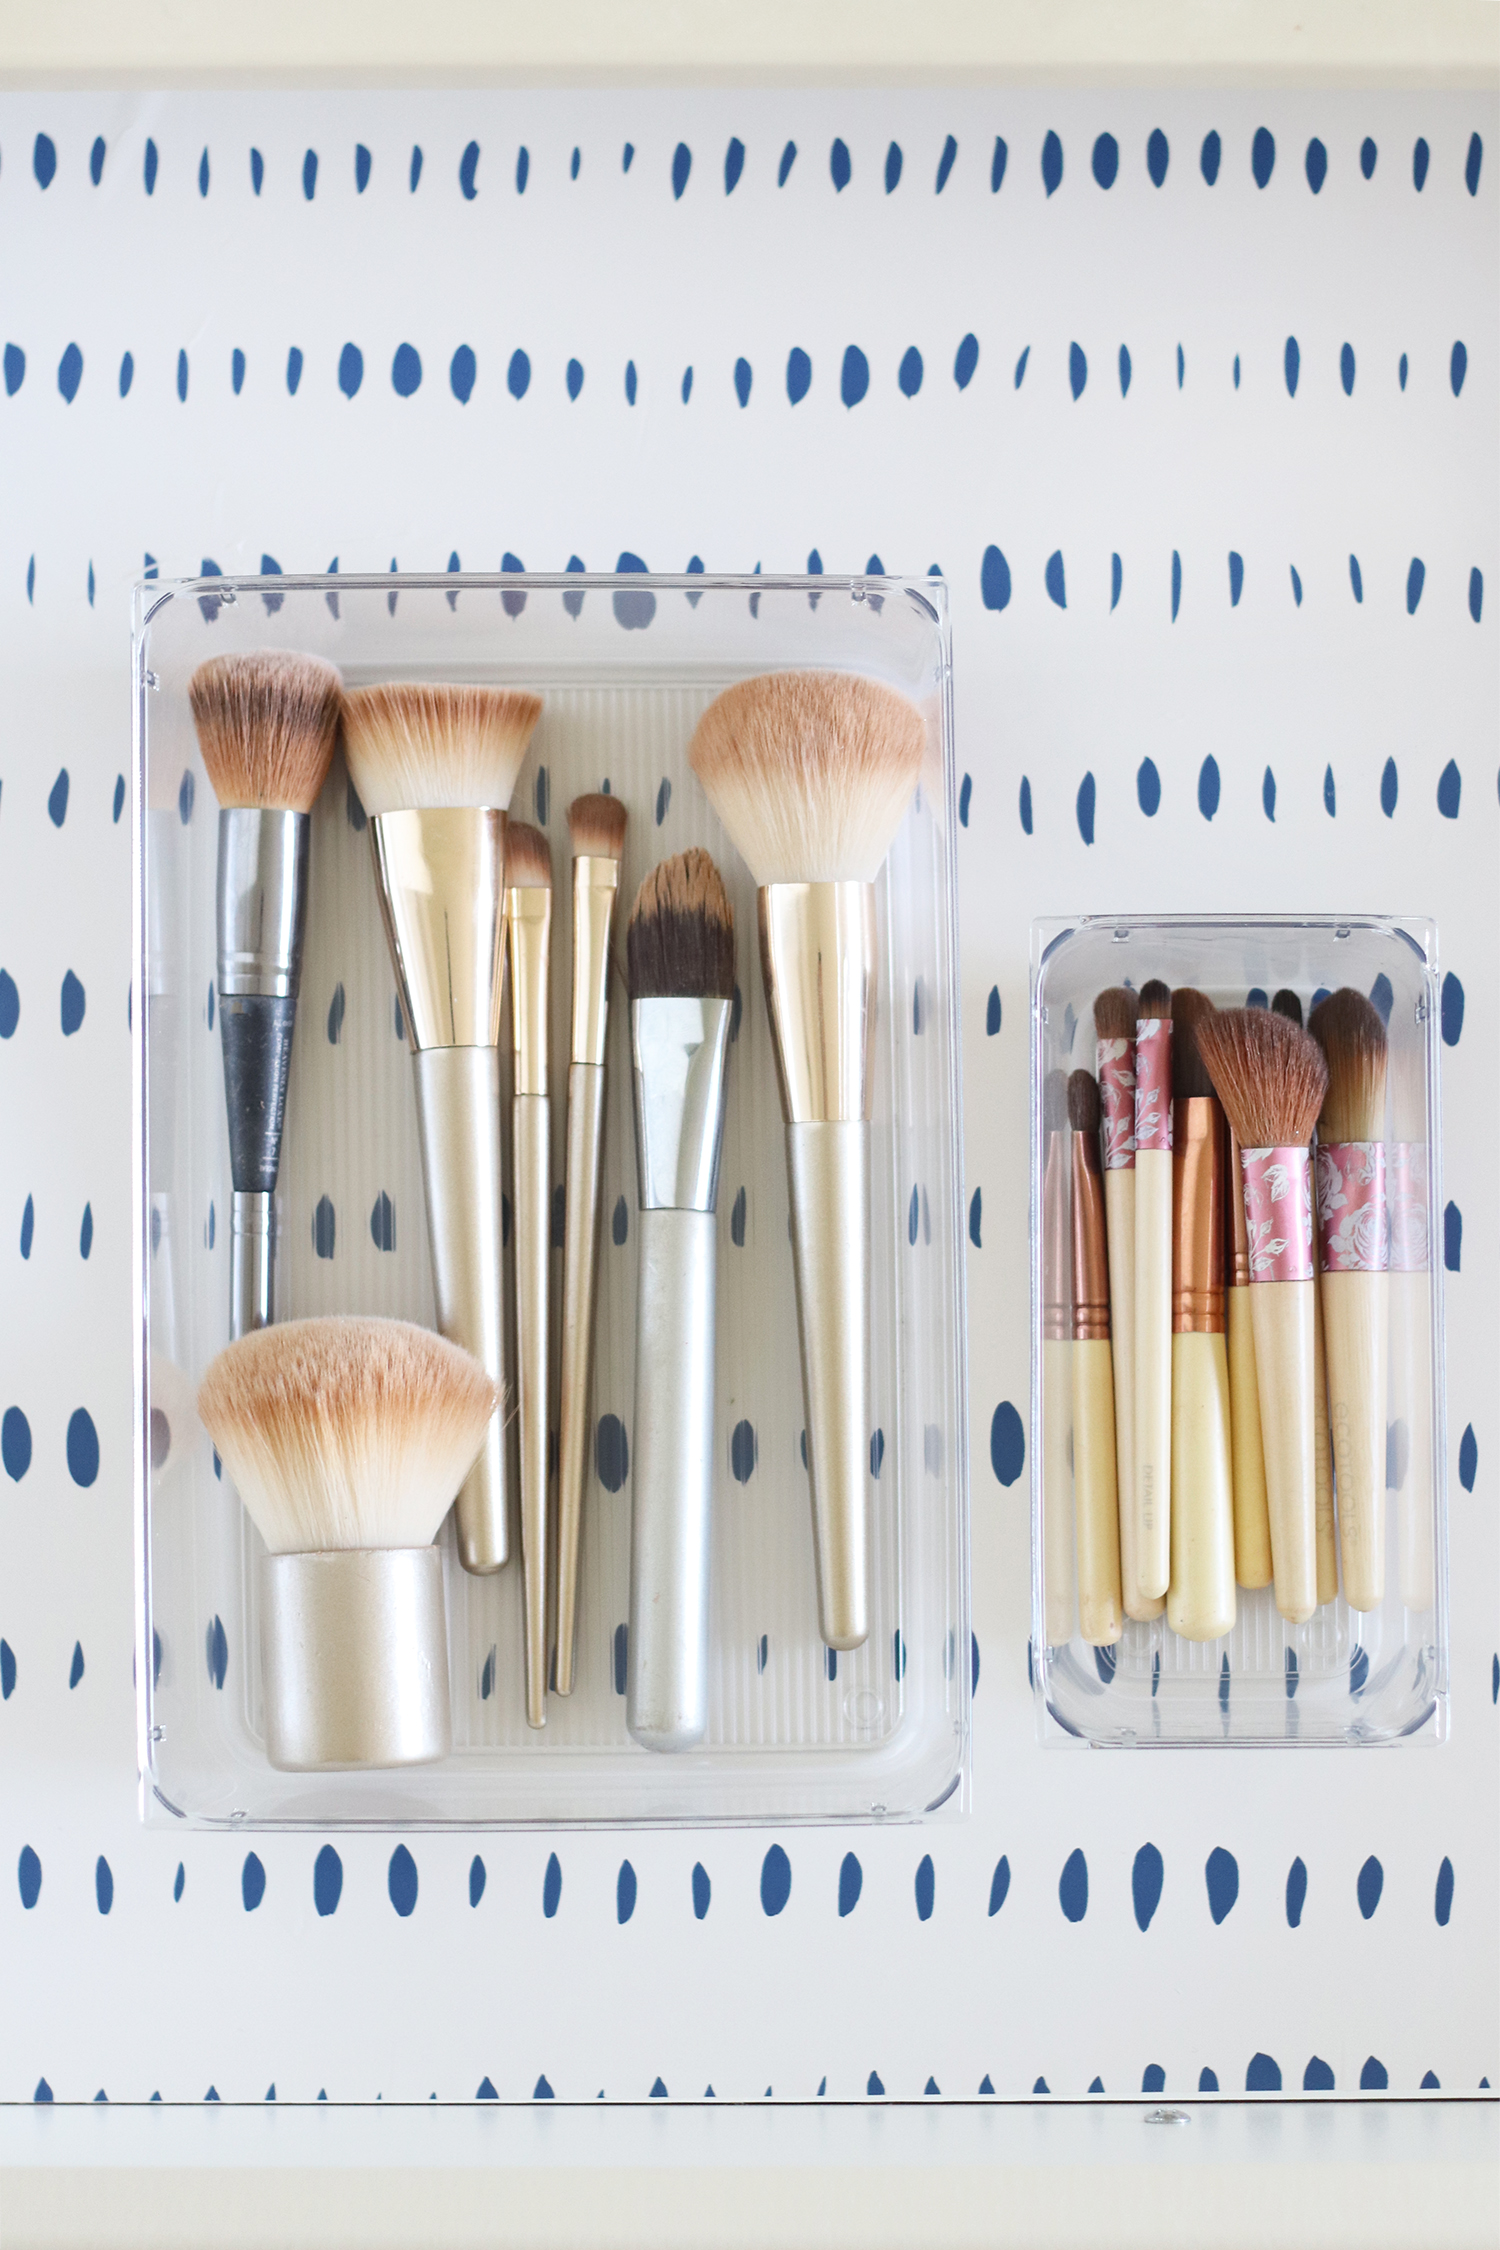
Makeup Brushes
- Long brushes for loose powders, blush, bronzers, brow highlighting brushes, and finishing brushes.
- Short brushes for eyeshadow and smudging.

Eye Makeup
- Eyeshadows.
- Eyebrow makeup and tools.
- Eyeliners and mascaras.
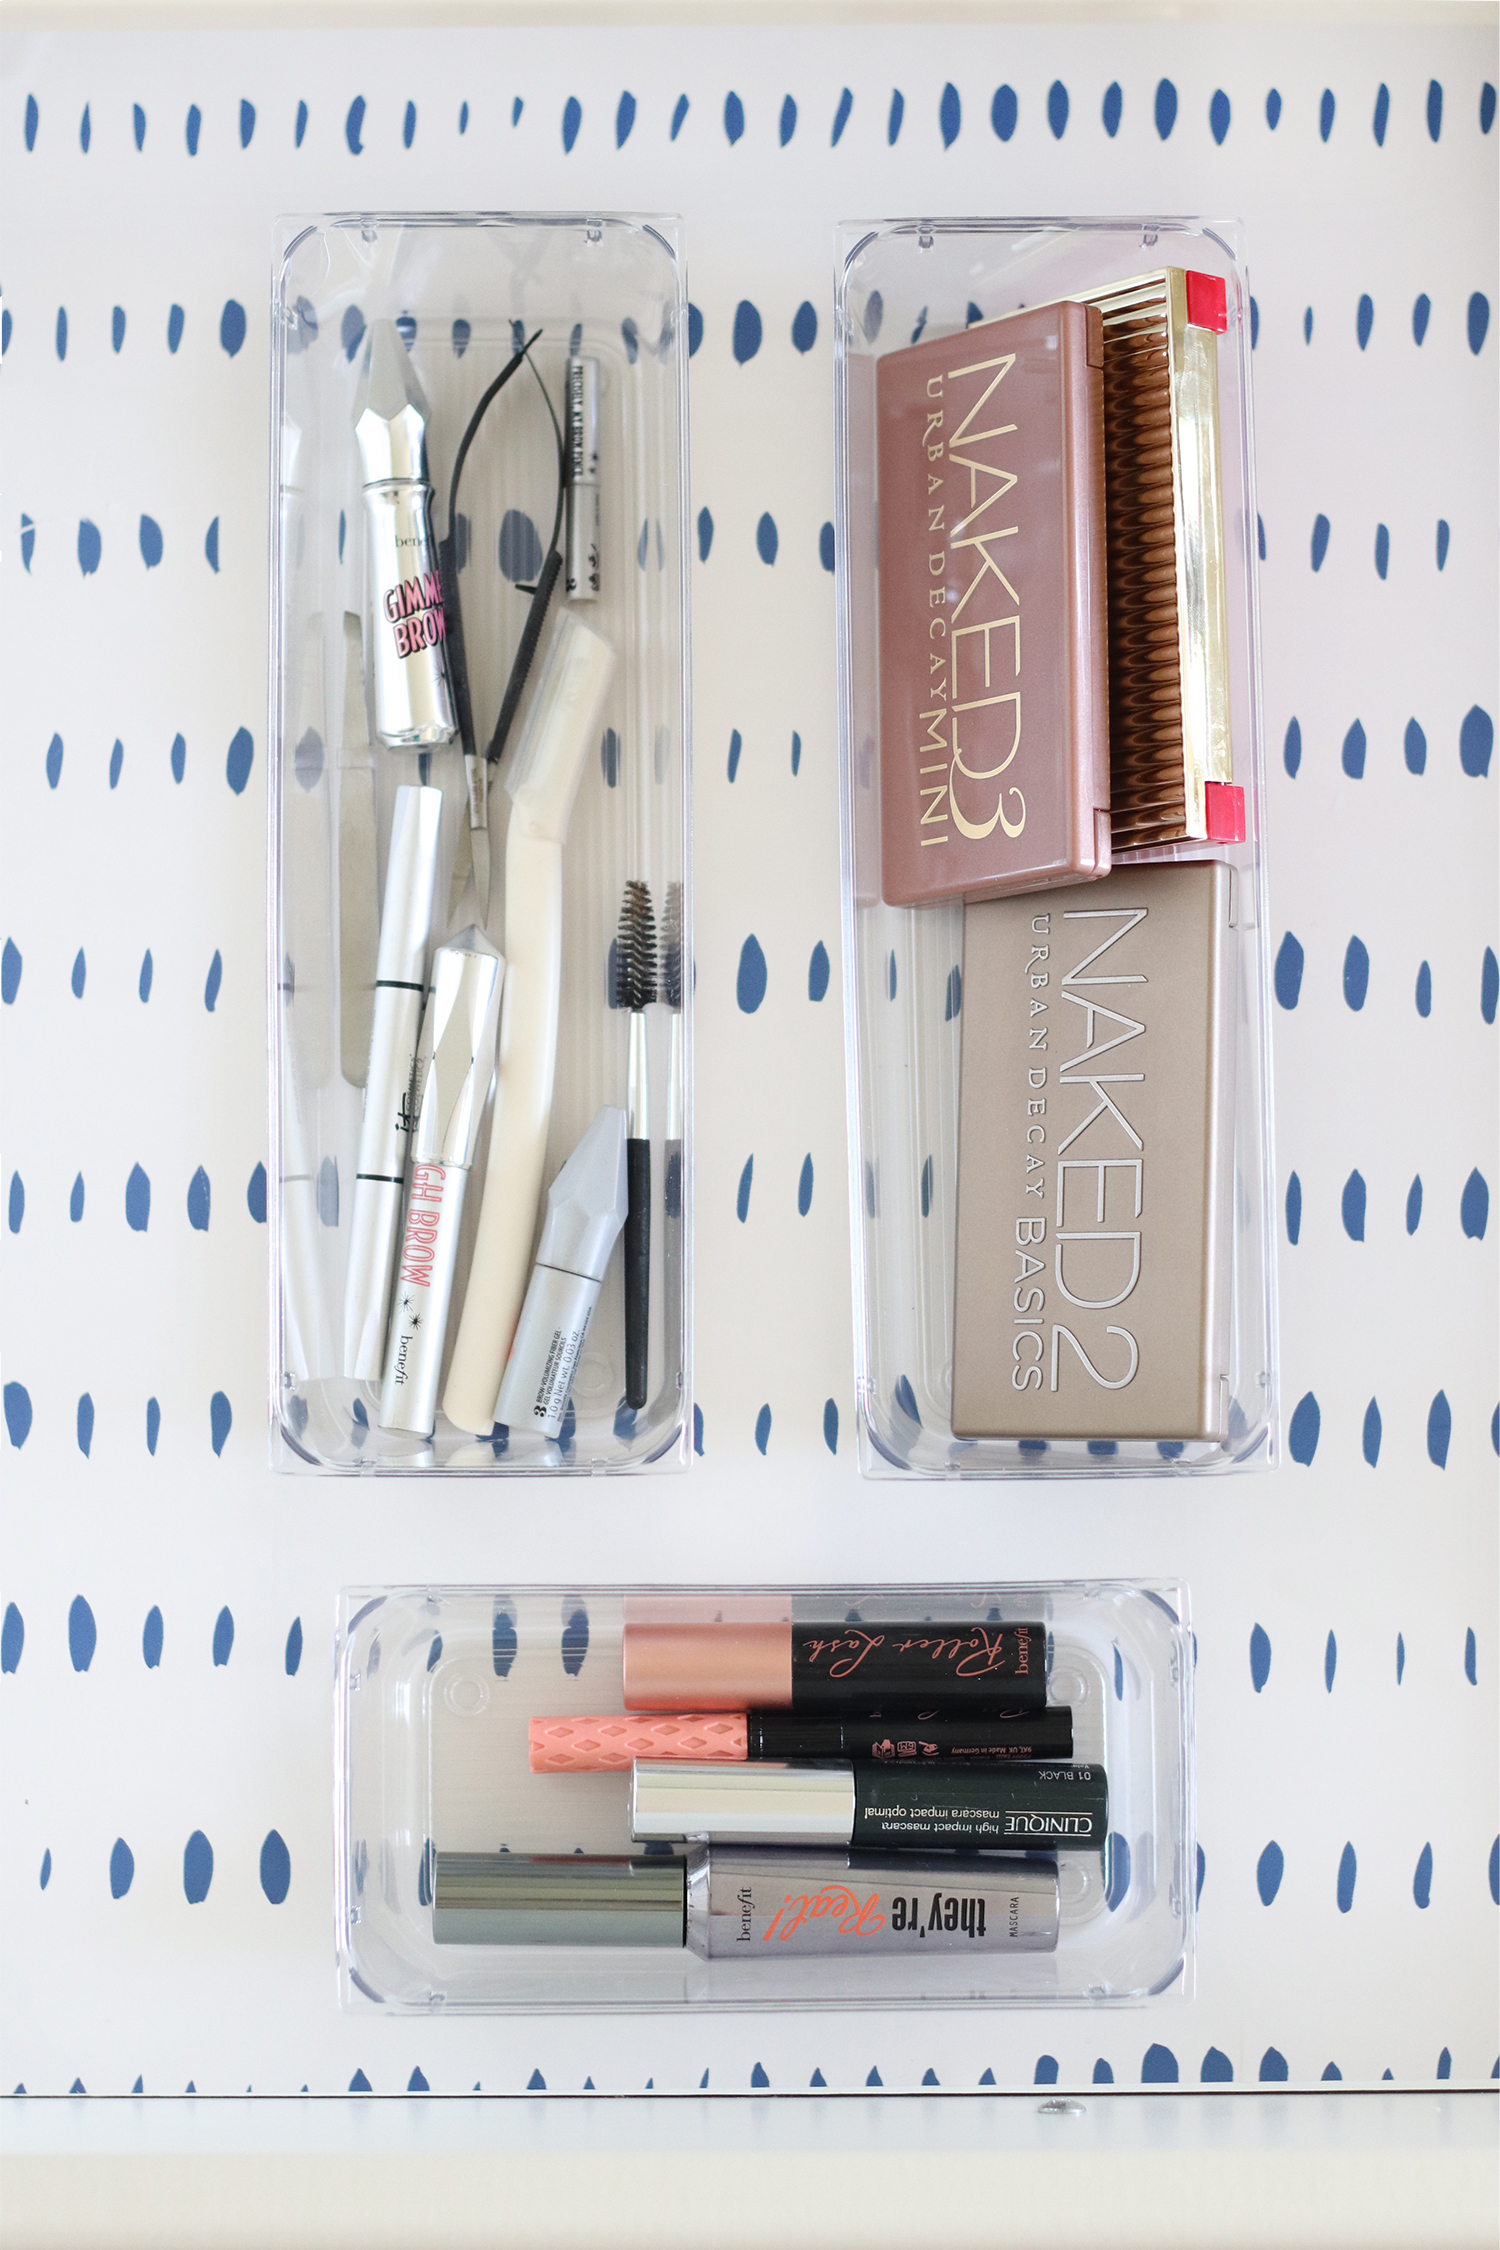
Pro Tip: The more you can keep things categorized and even sub-categorized, the easier it is to find something and put it away. For example, I sub-categorized the eye makeup category into eyebrows, eyelashes and eyeliners, and eyeshadows. If I mix the eyebrow pencils with the eyeliners, I must dig through the bin to find the right pencil. But because they’re in separate bins, it gets easier.
Face
- Foundation
- Concealer
- Face powder
- Contour palettes
- Translucent powder
Lips
- Lipstick
- Lipgloss
- Lipliners
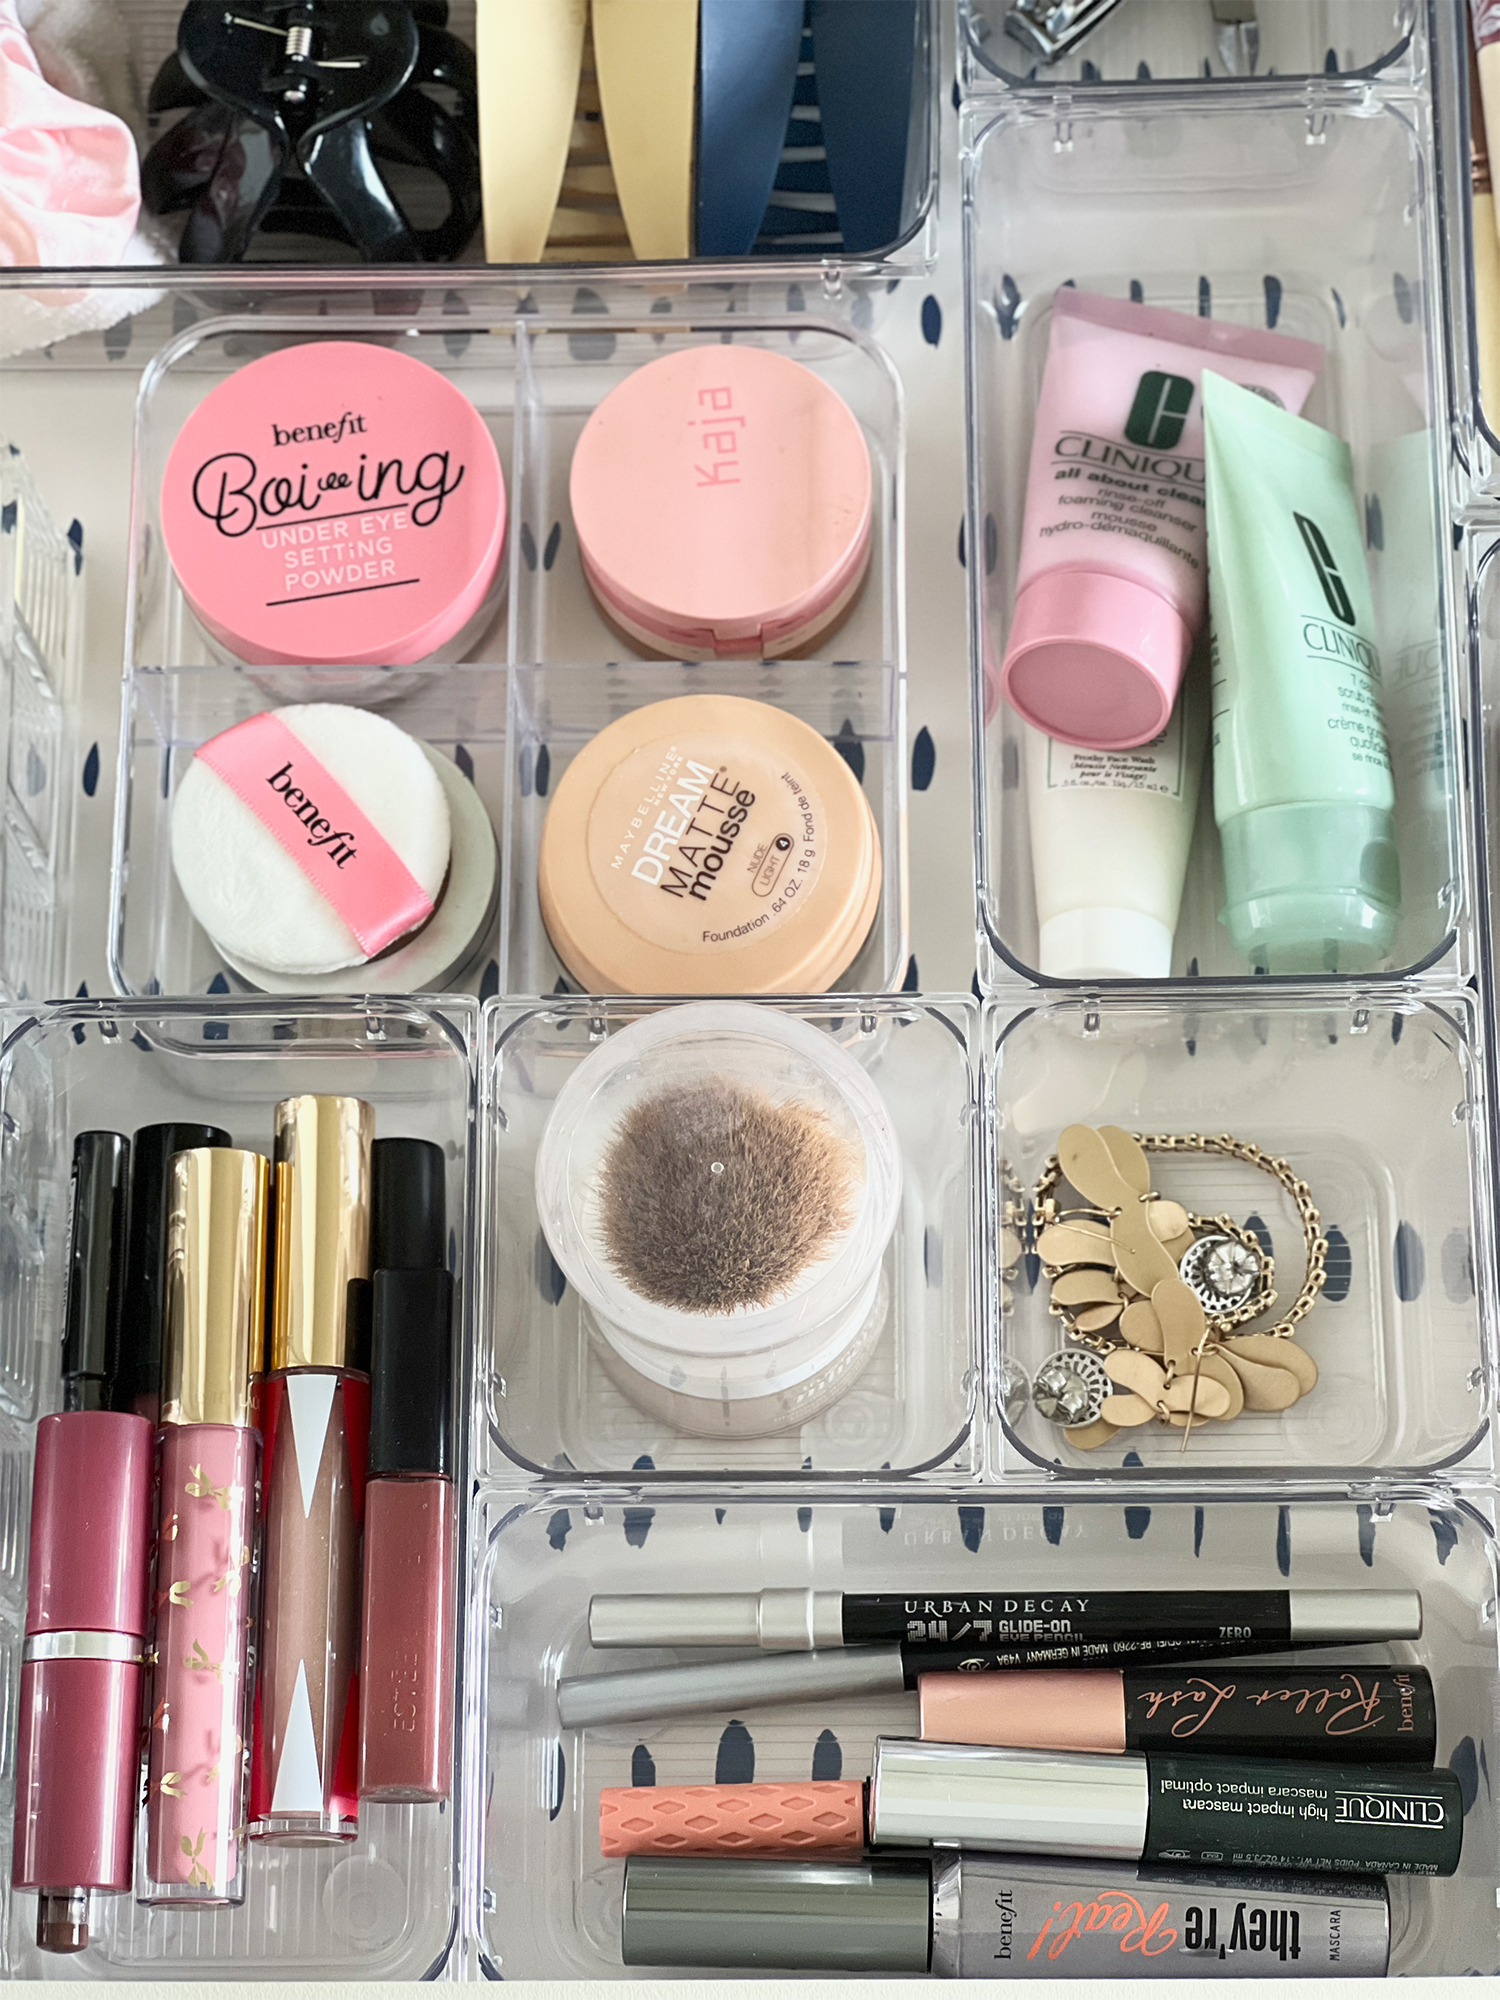
I have small round makeup (varied) that always get lost in the drawer. So I decided to give each a small compartment in a small square organizer with four compartments (Target Bullseye find). I also chose a small bin to hold my makeup remover (face wash) that I use nightly.
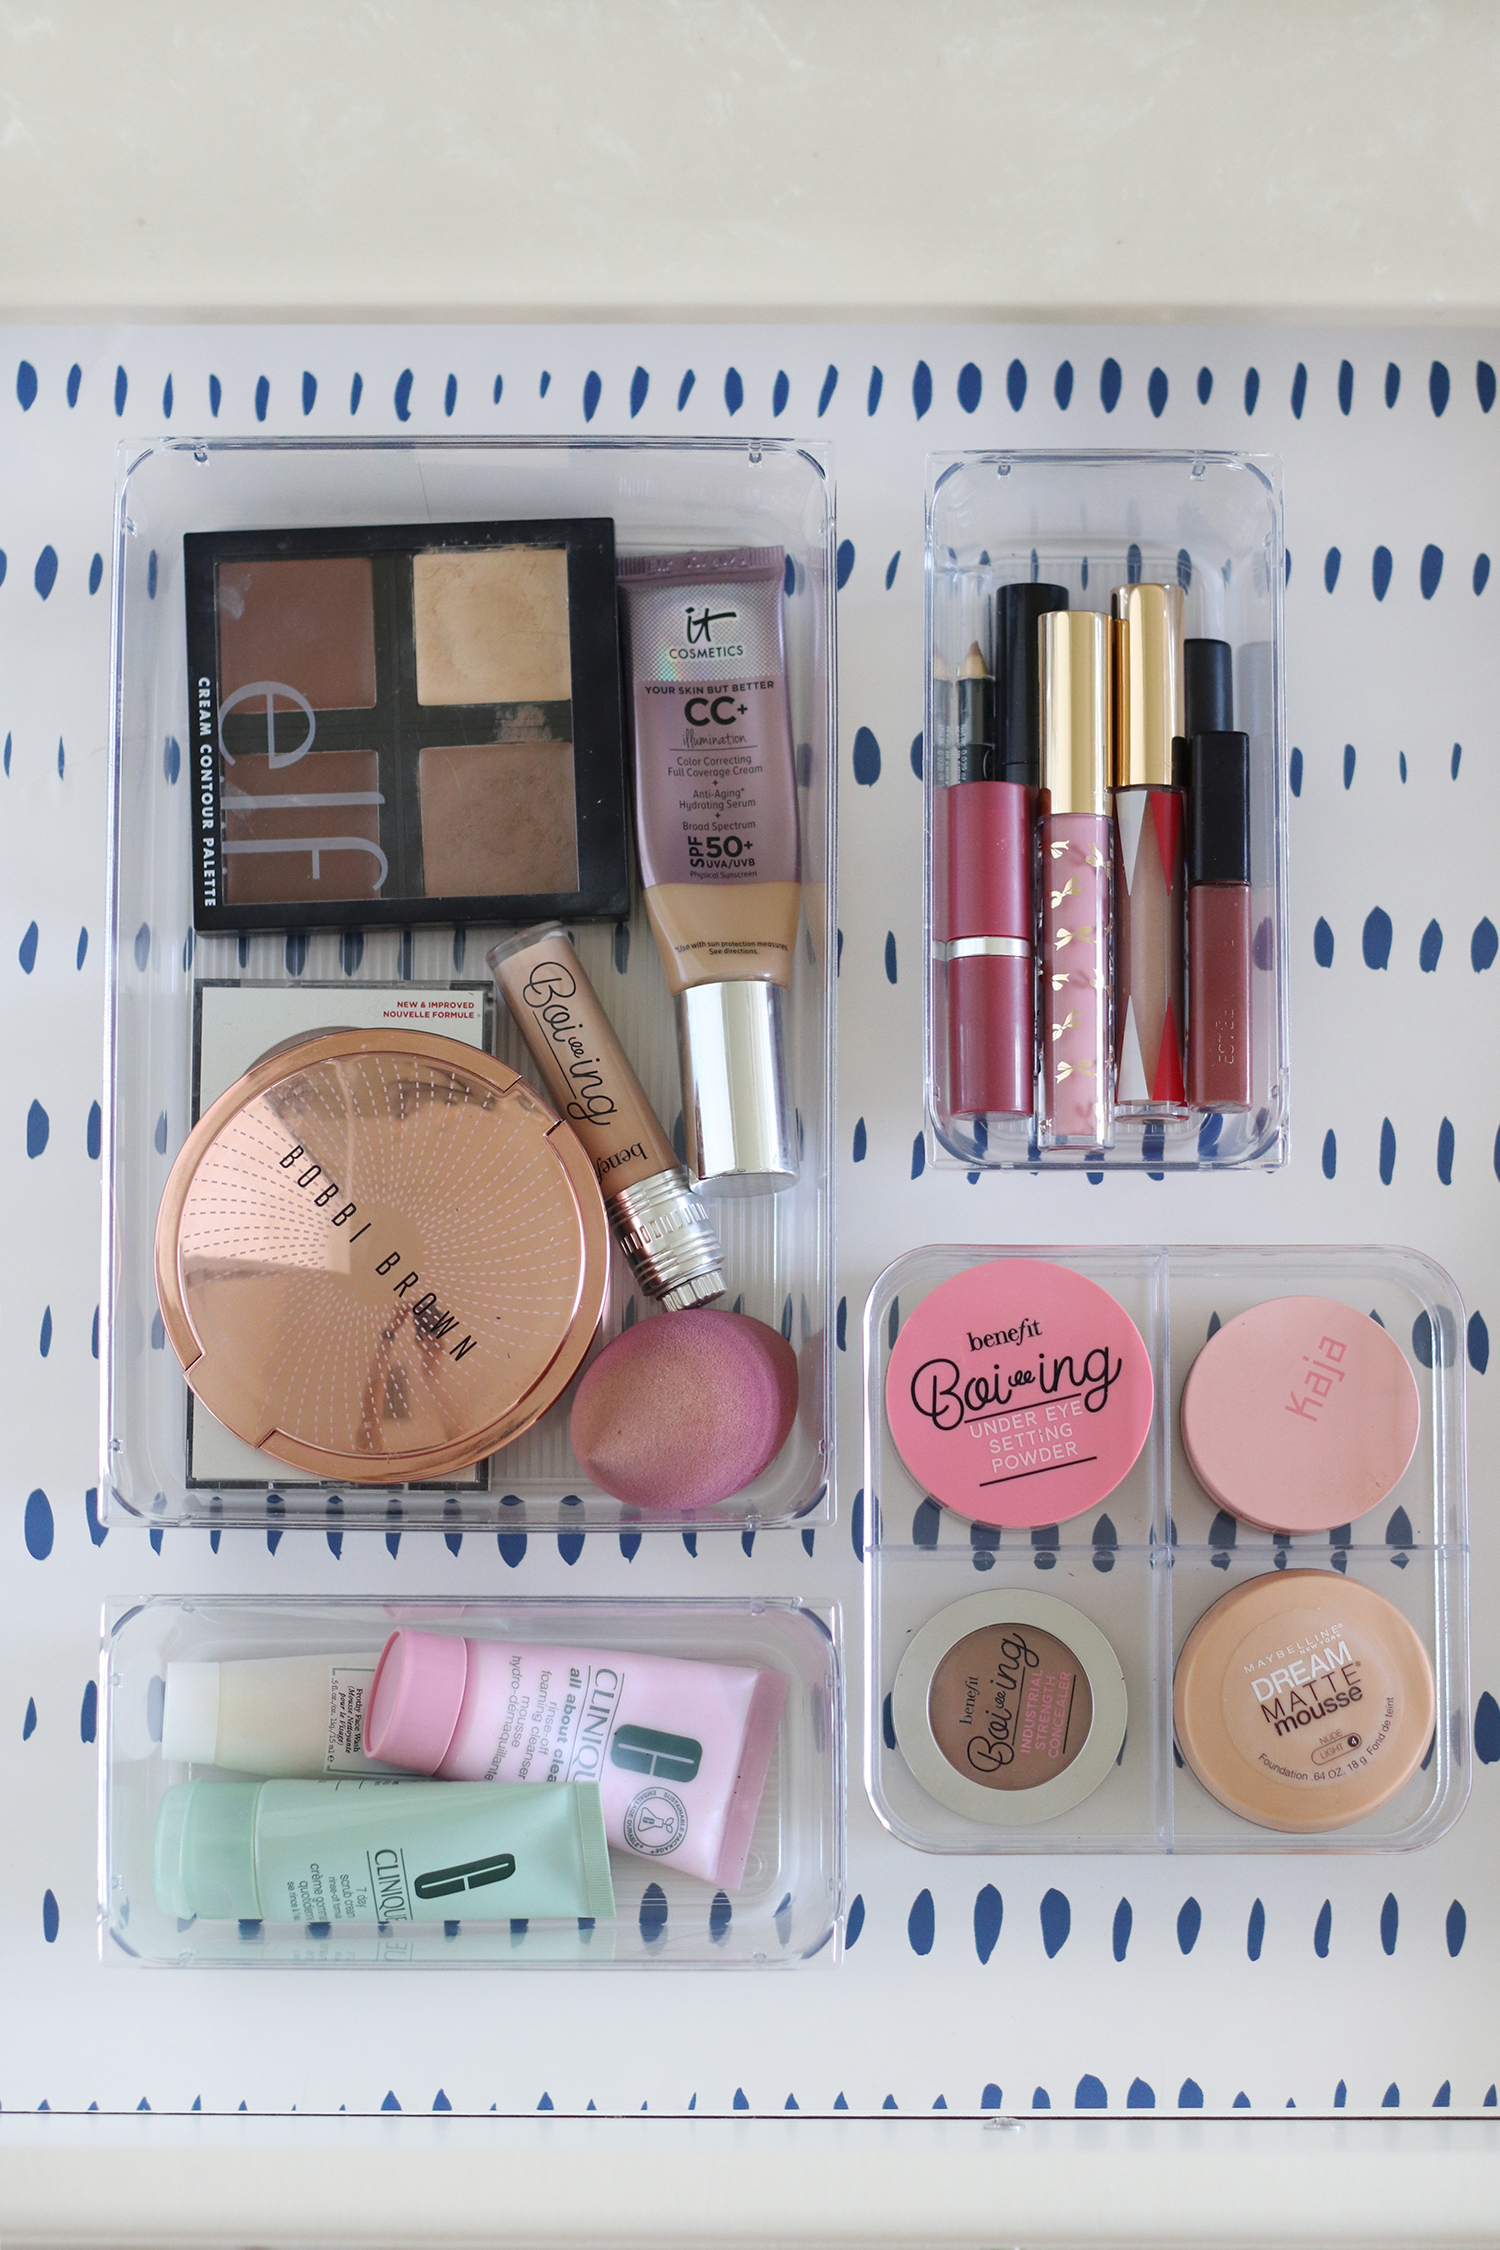
Hair, Nails, and others.
- Clips and scrunchies.
- Hair ties
- Barrettes
- Nail tools
- Miscellaneous (odd shape, too small, or unique)
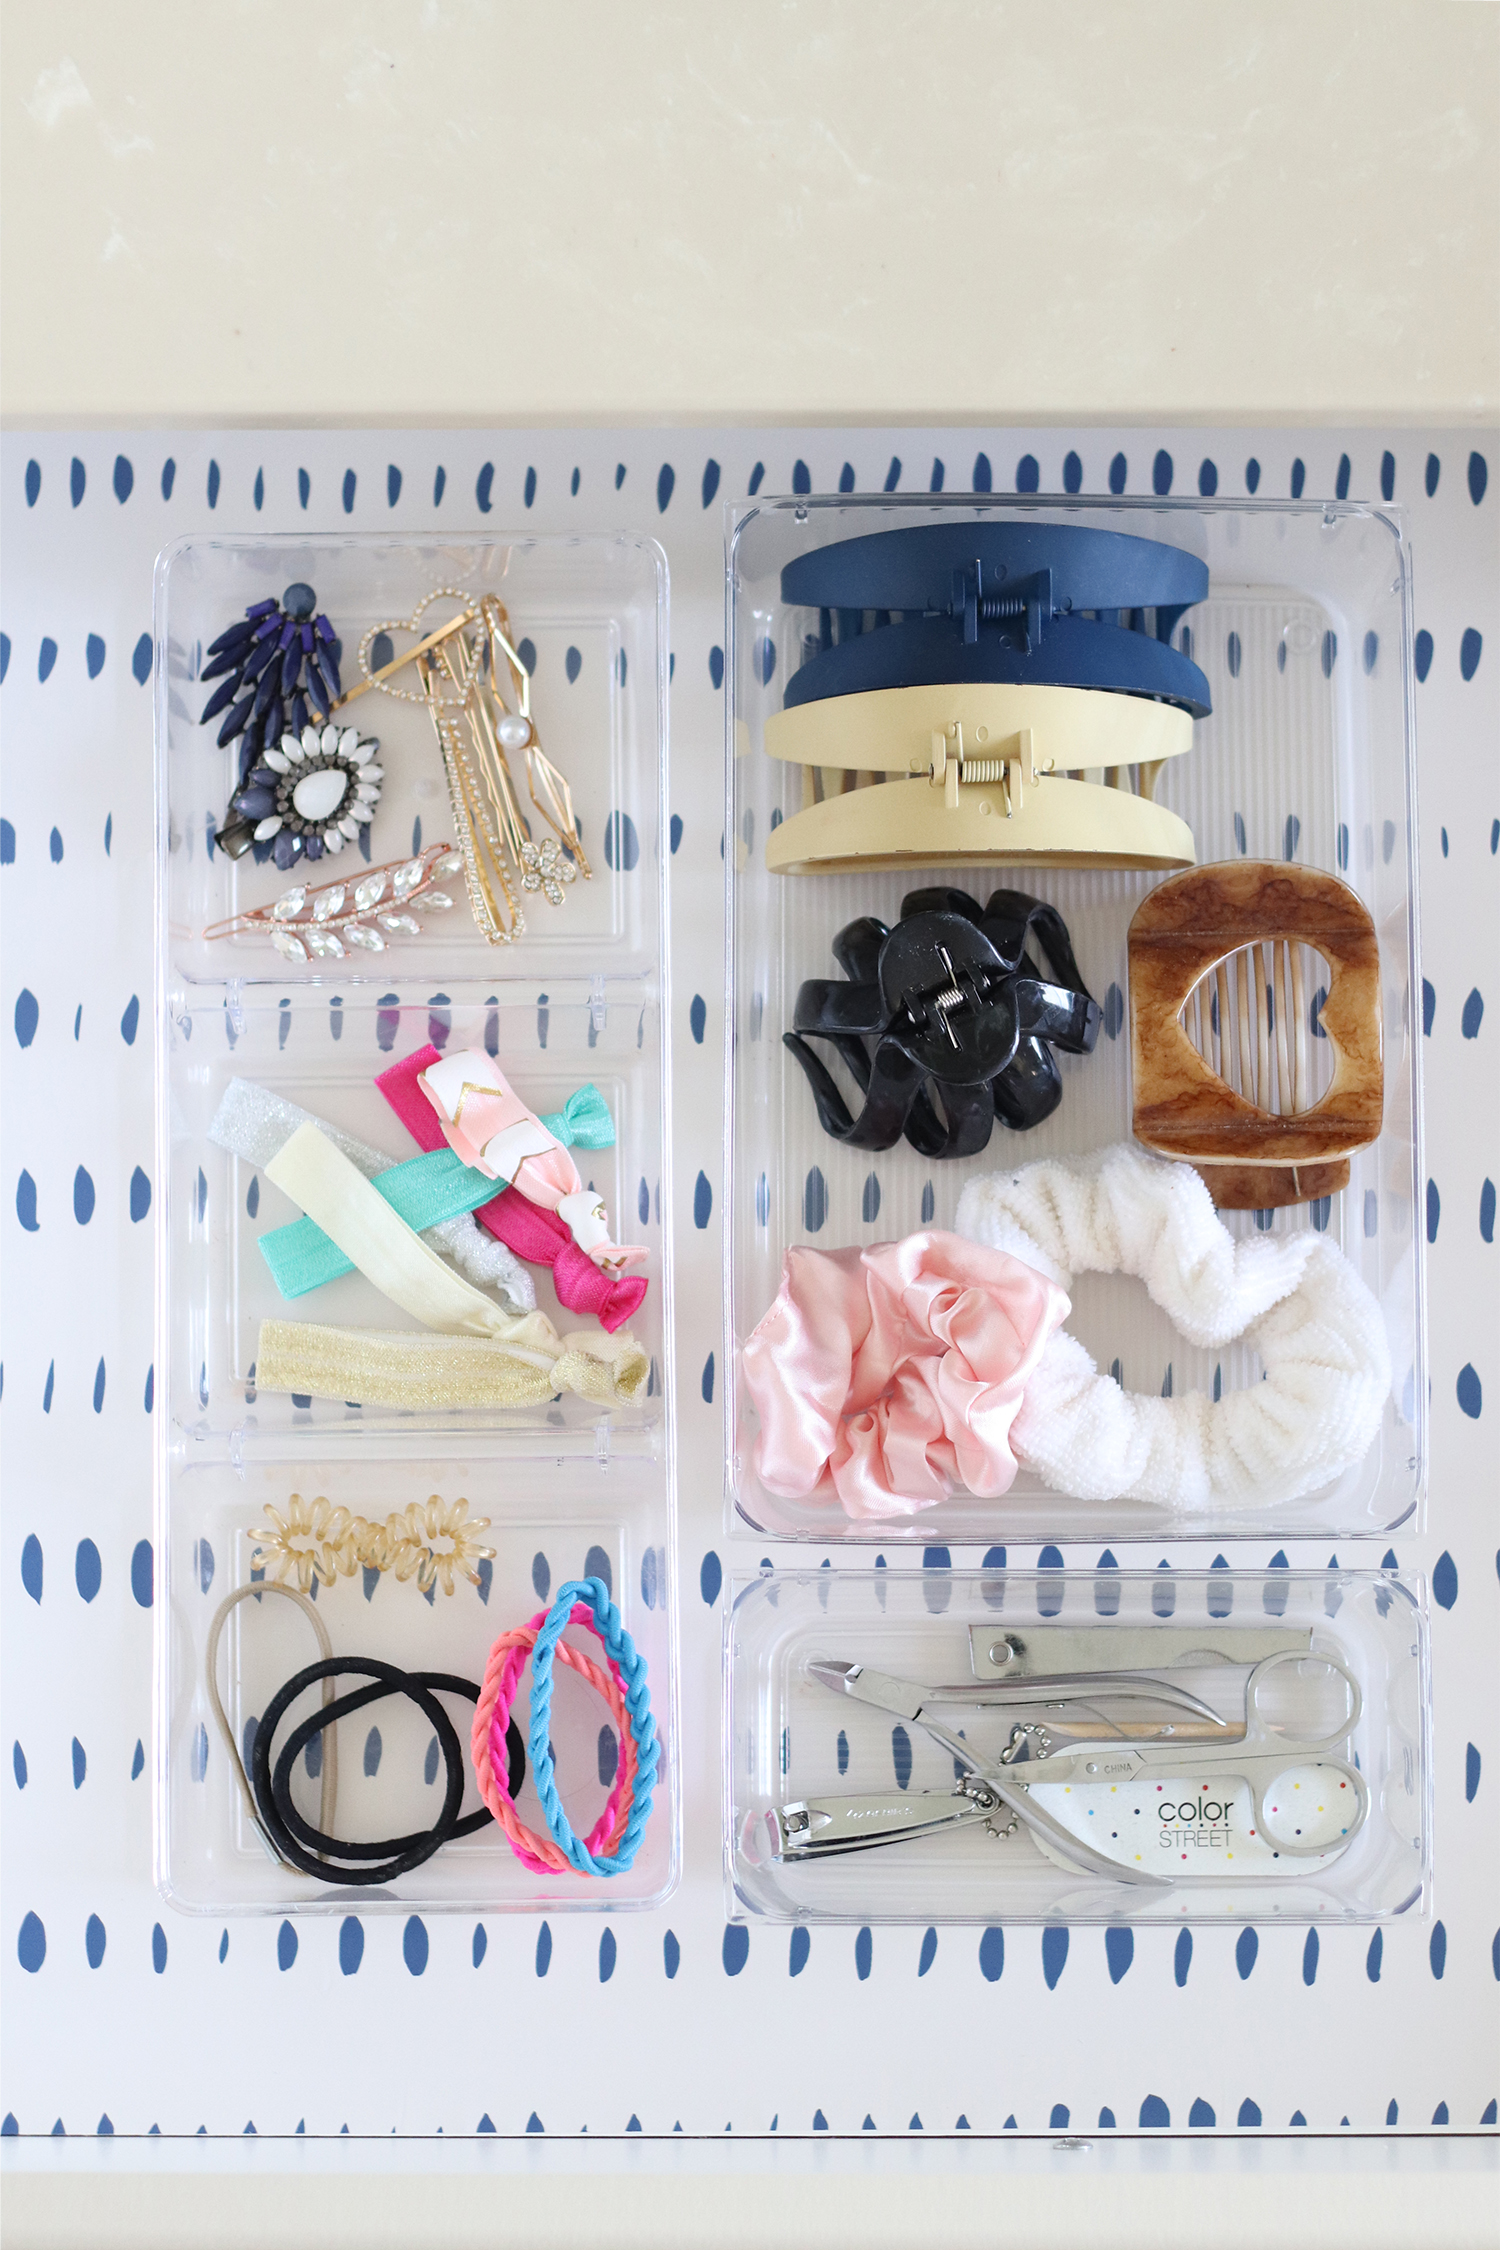
Step 5. Place the Organizers Inside the Drawer
Ideally, I would have loved to separate everything how I initially sorted it. However, I got carried away with subcategorizing hair supplies (ha!), and I had to sacrifice a couple of organizers and rearrange.
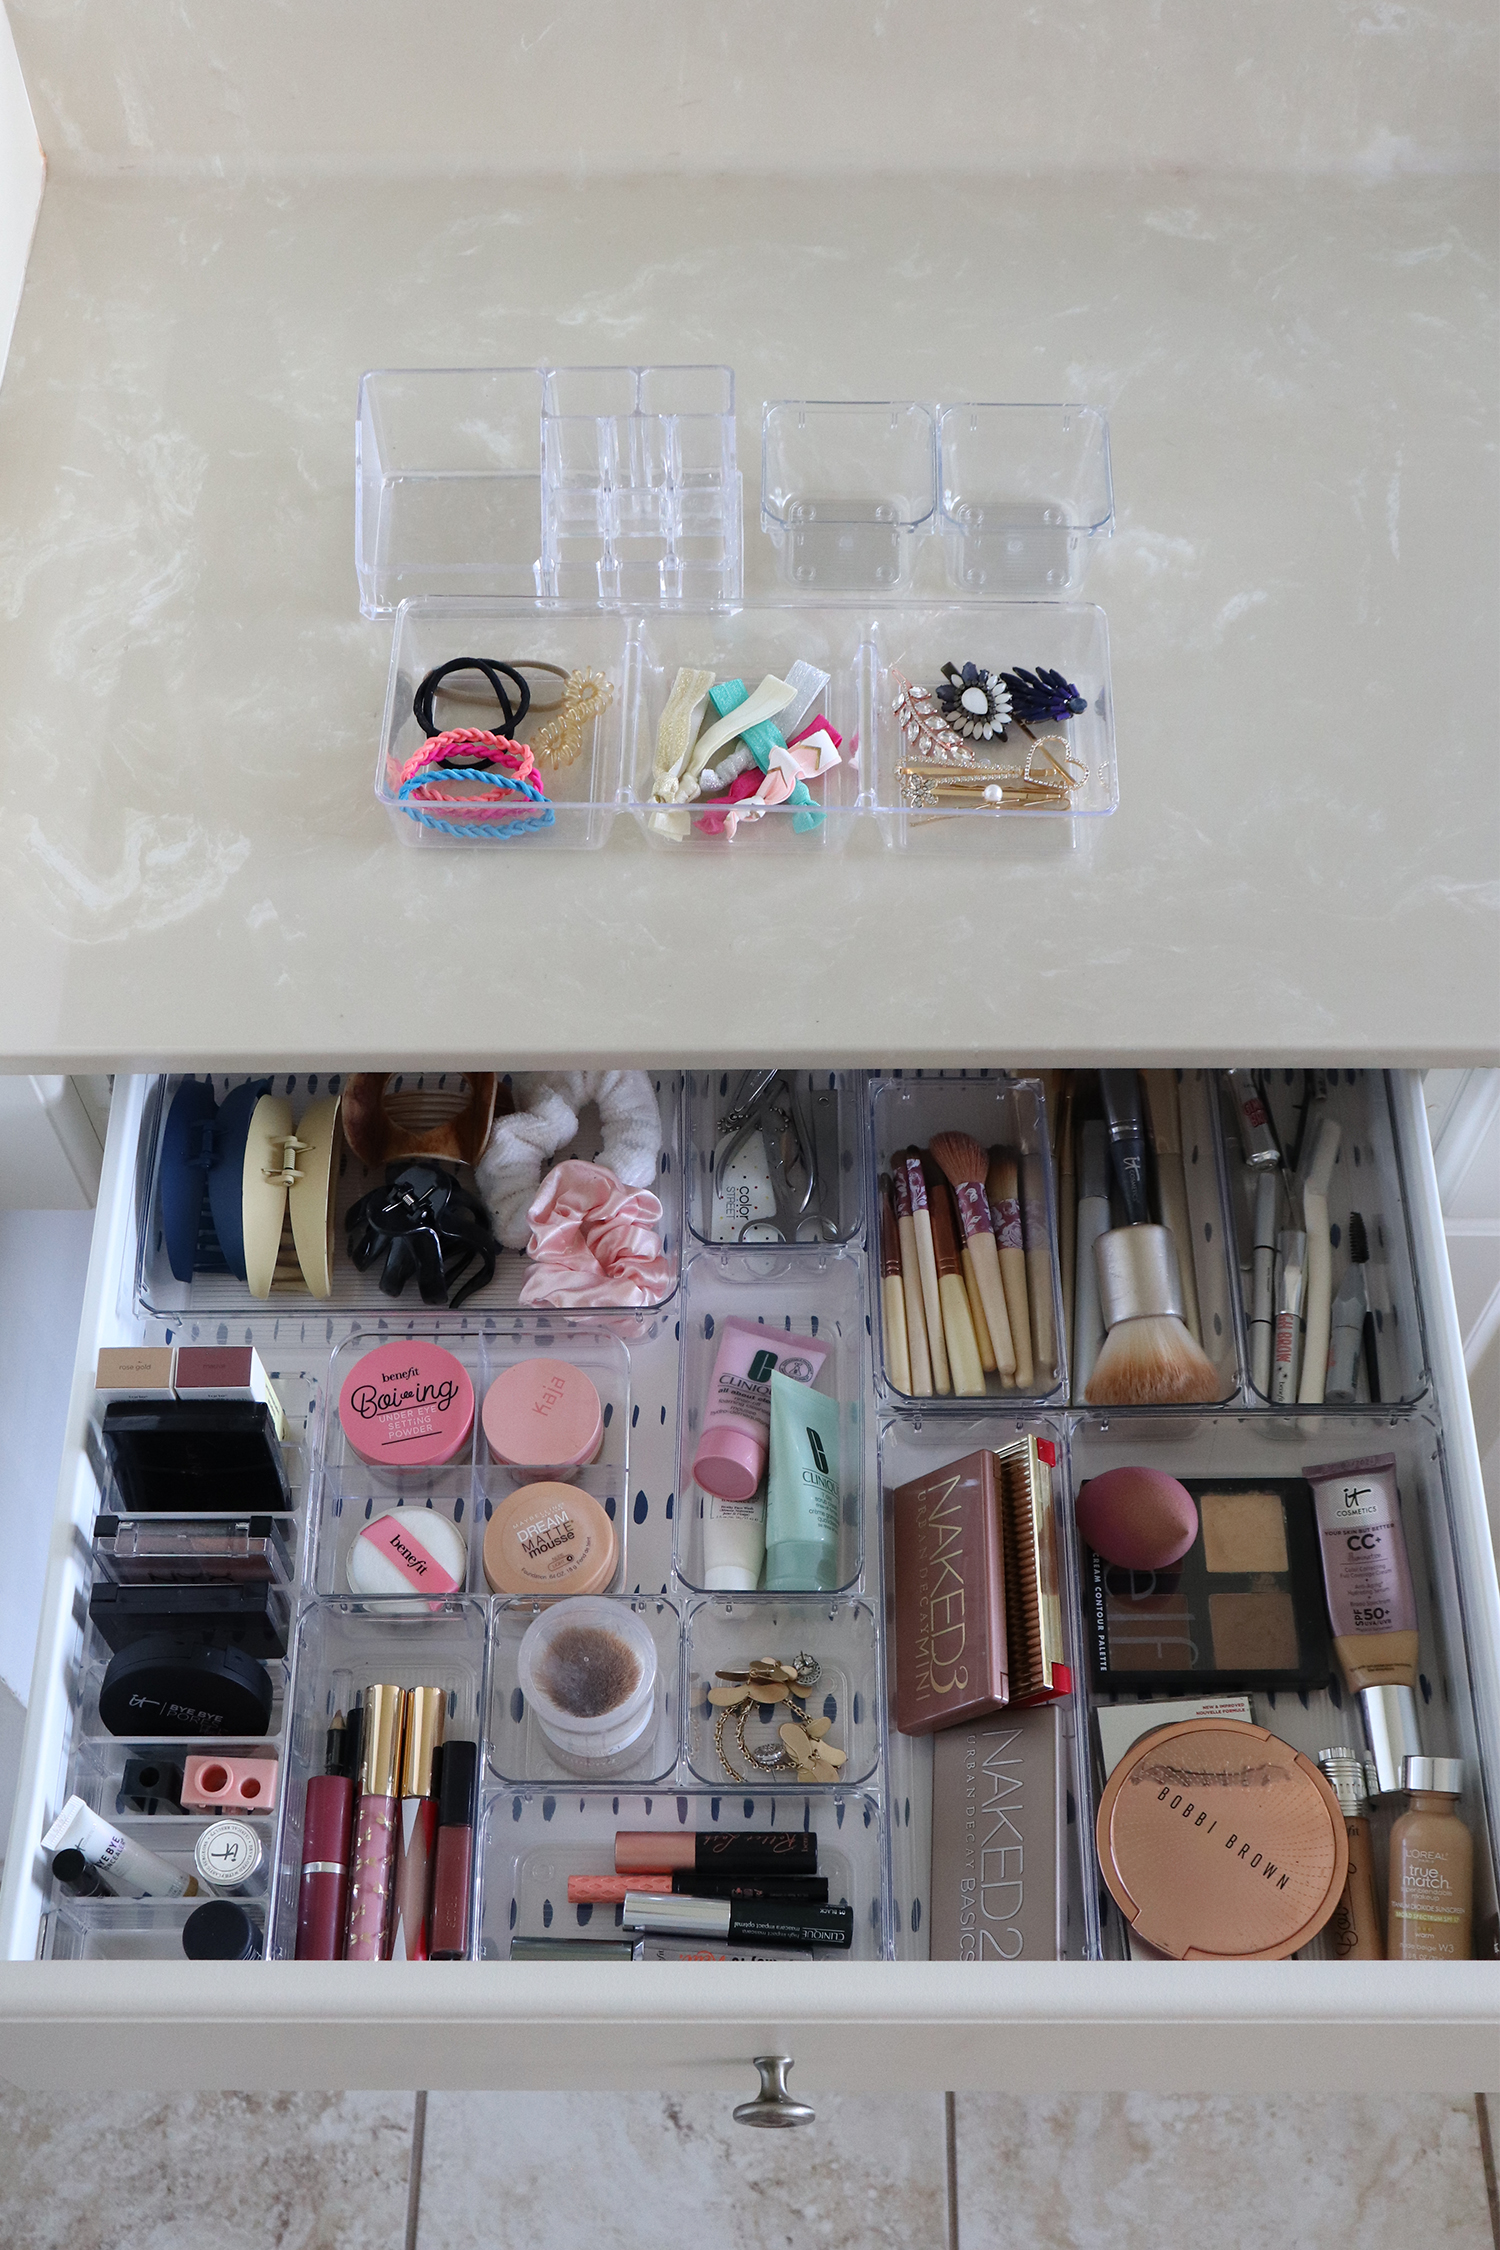
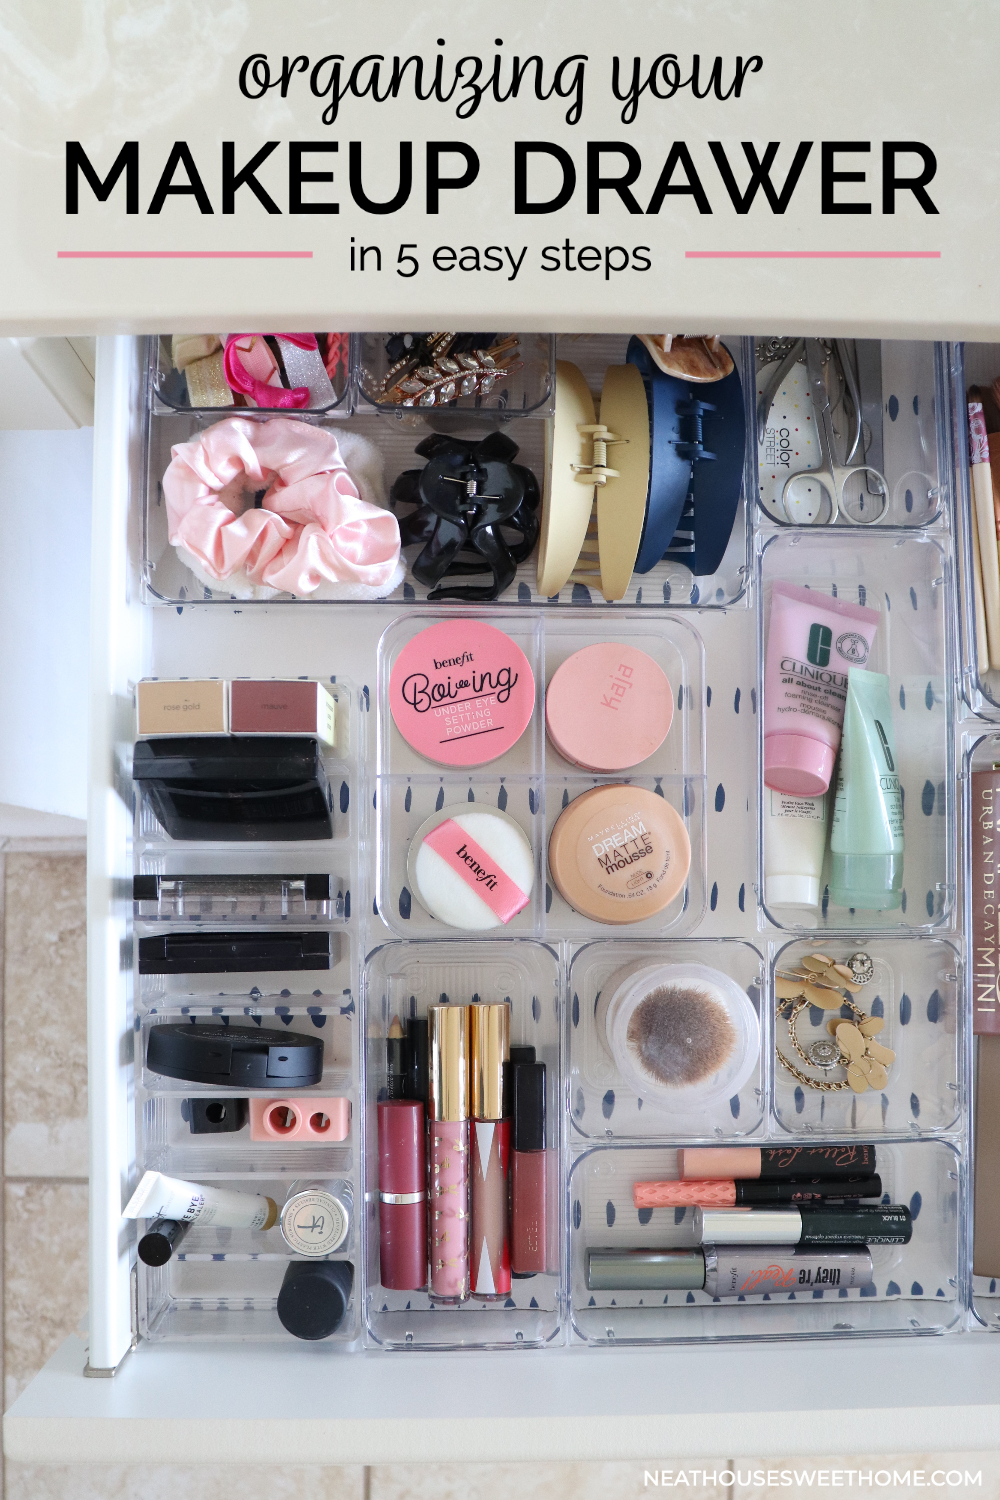
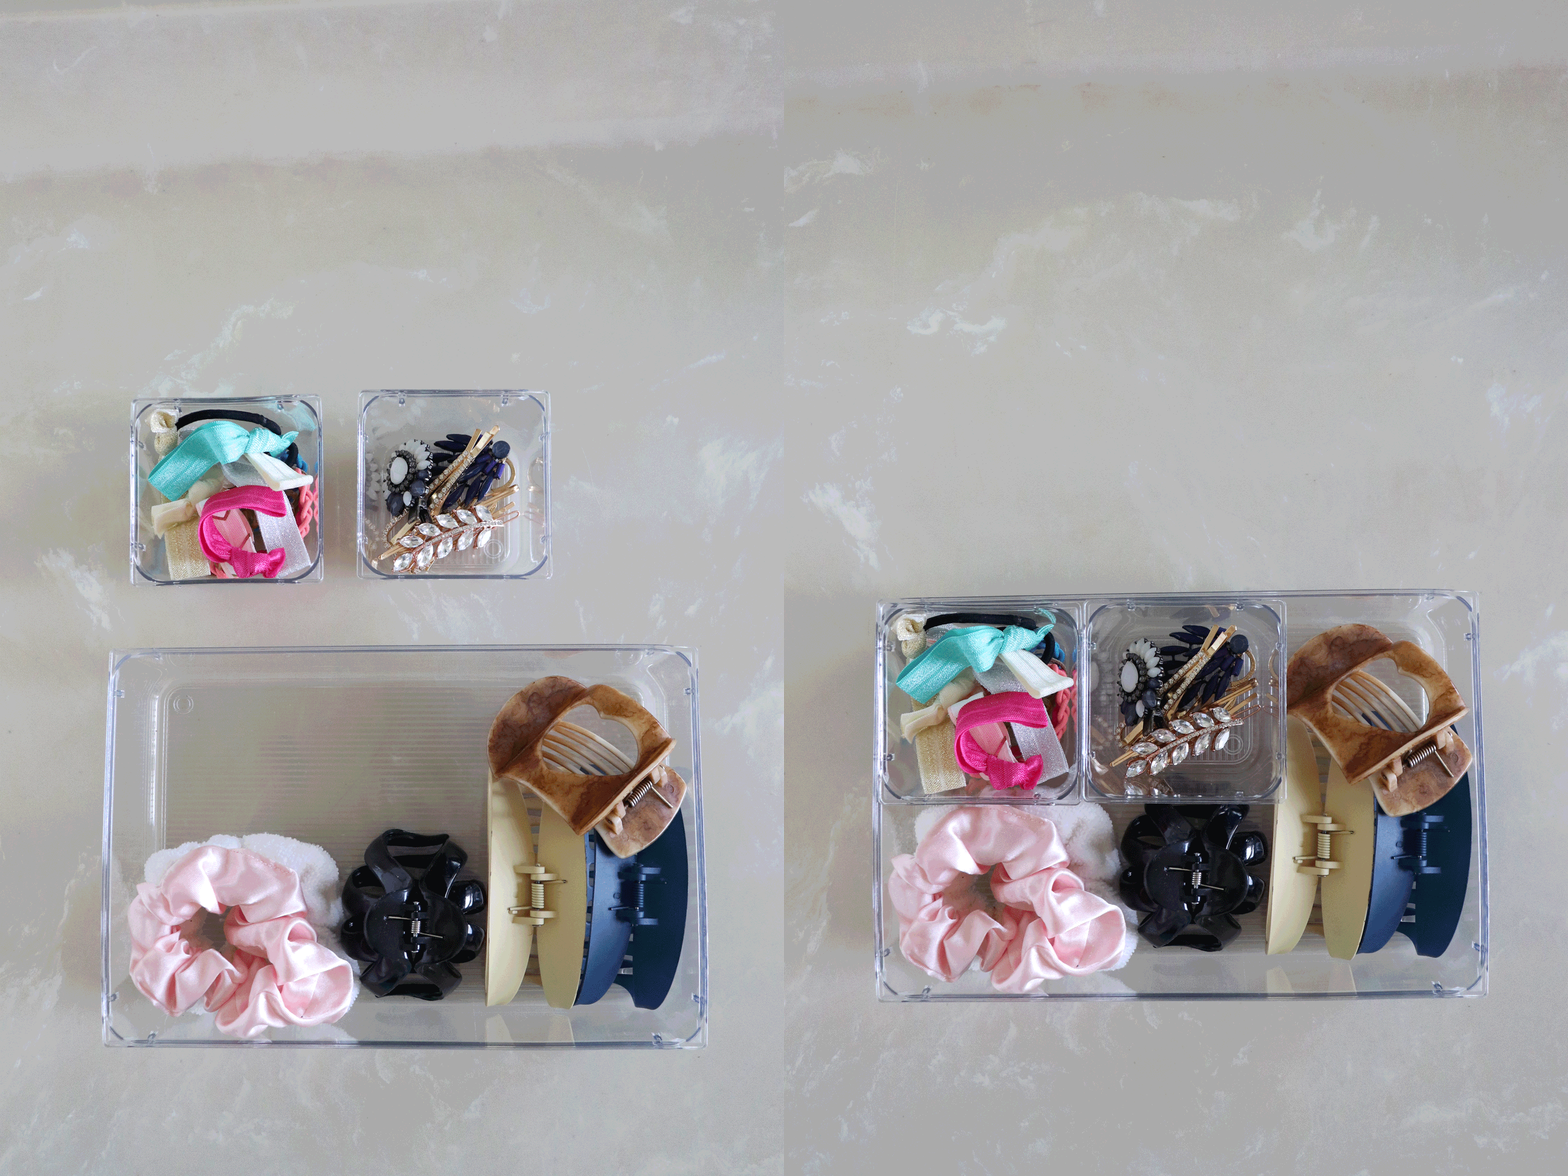
So, I combined all the hair accessories into one bin, nesting smaller ones inside a bigger one. I also nested the short makeup brushes inside a larger bin.
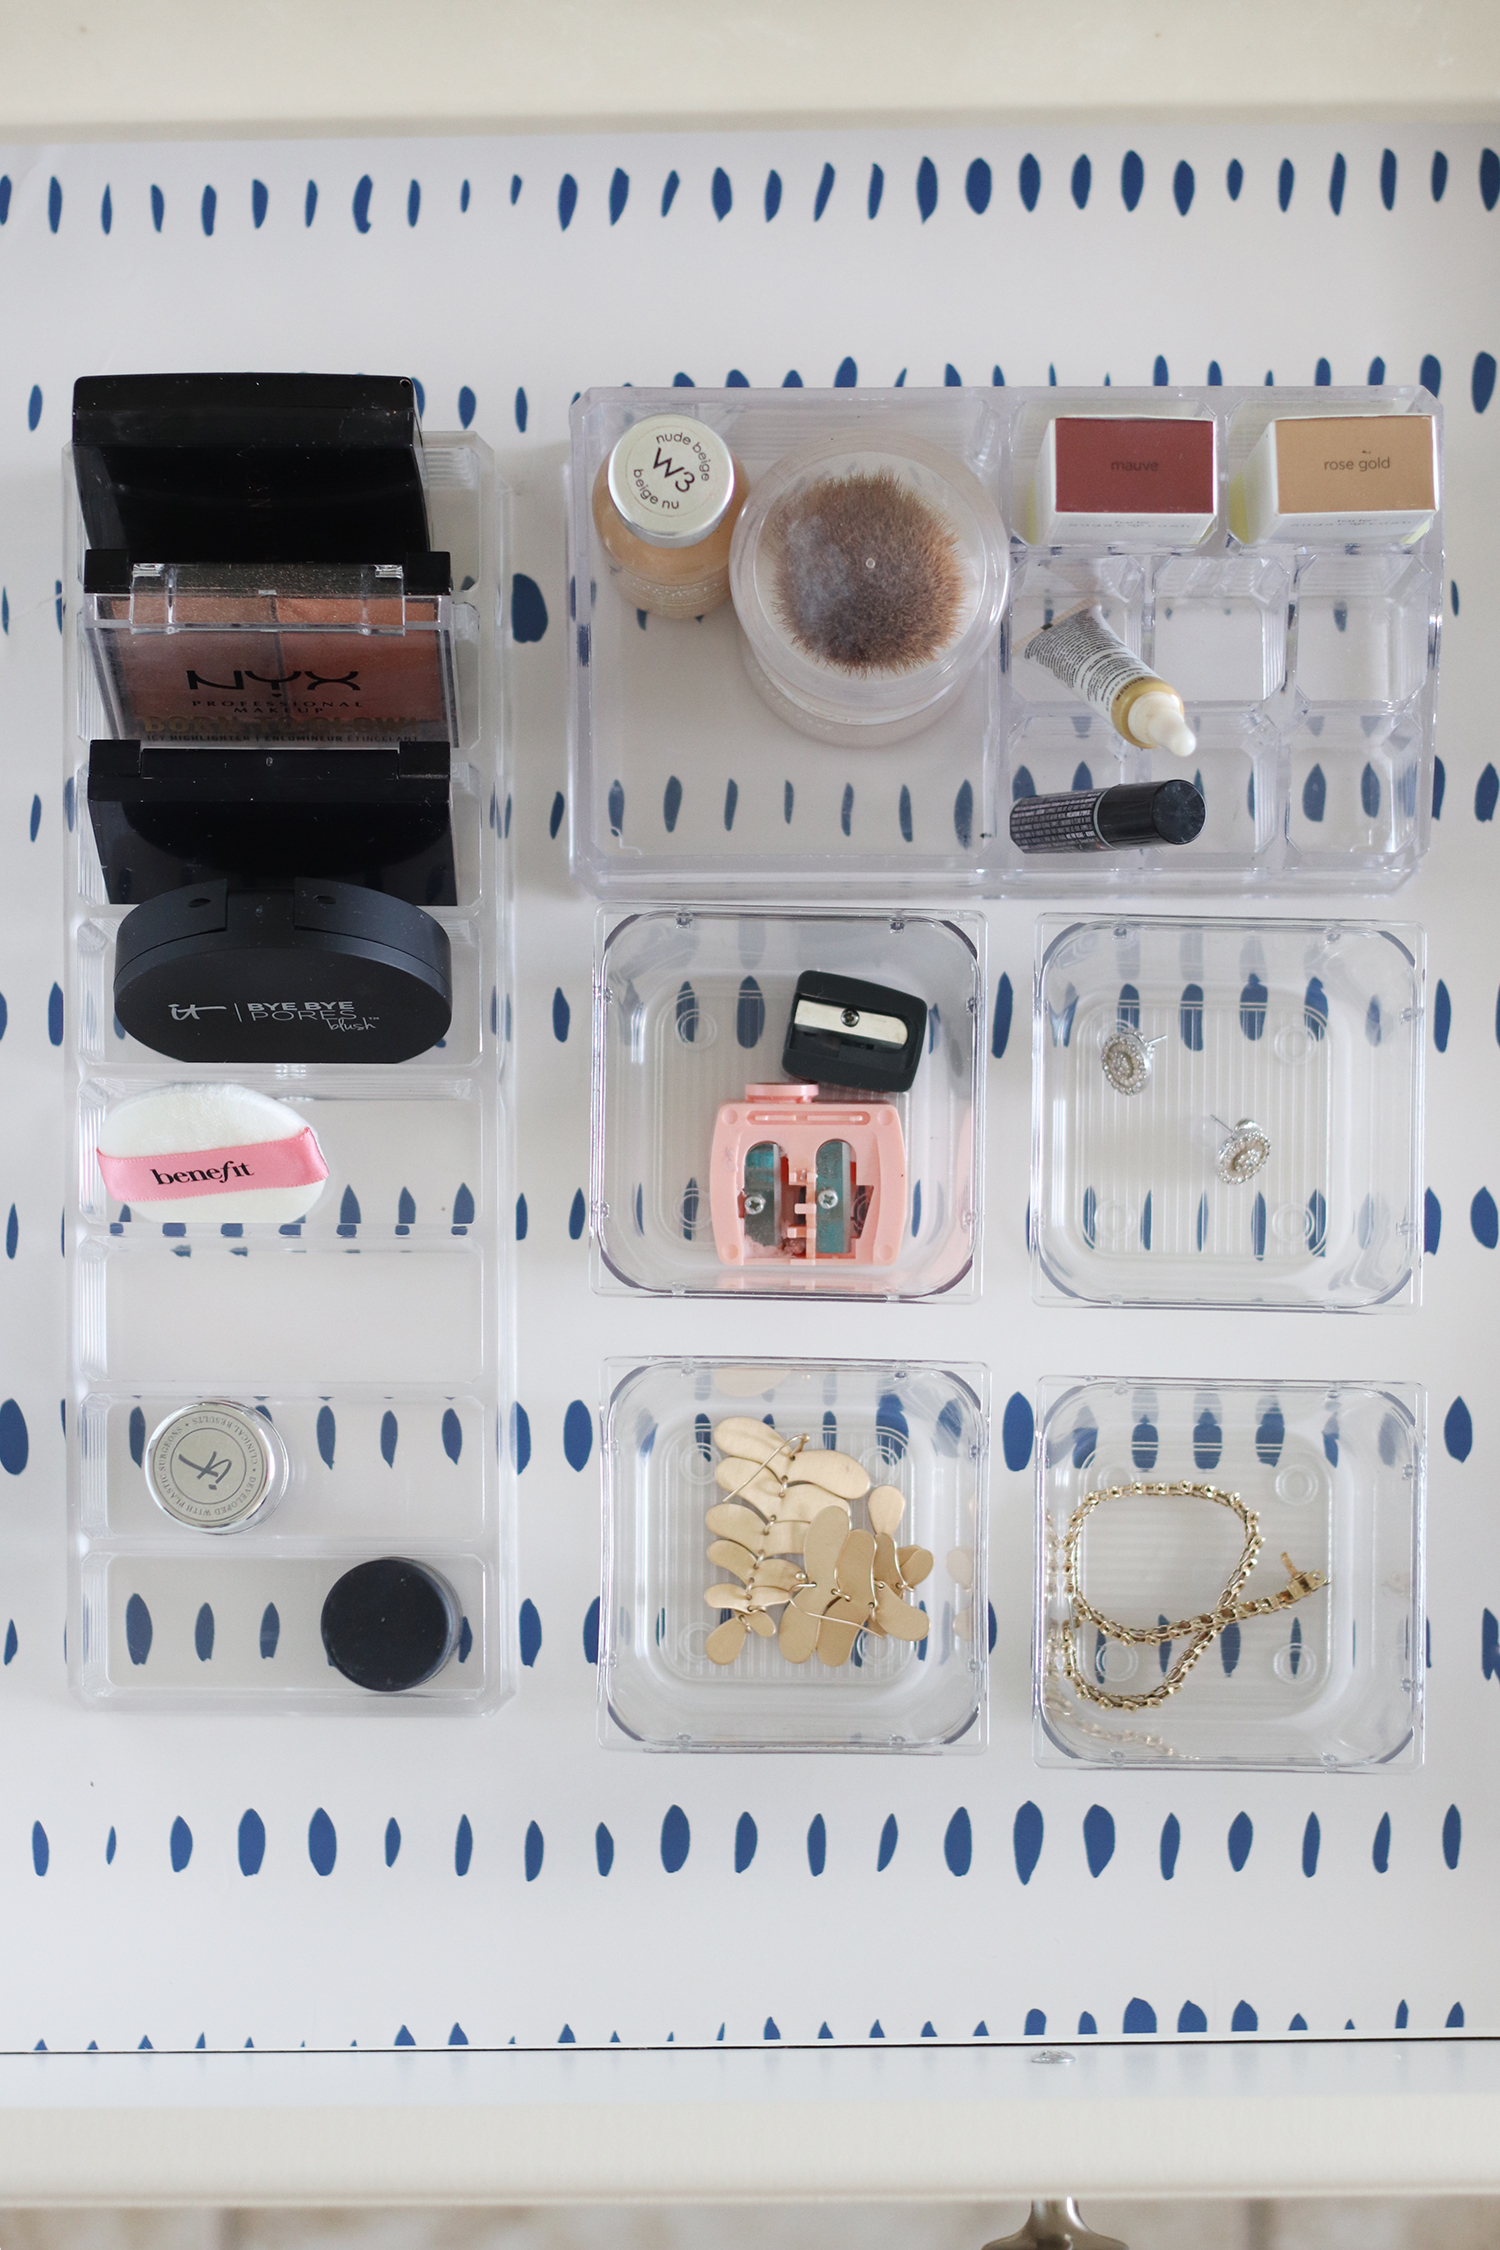
I wanted three small bins to drop in my earrings and bracelets at night. I keep one or two pairs of earrings in the makeup drawer and rotate them when I am in the mood for a change. Again, I went overboard subcategorizing, so I had to eliminate two small square bins and the organizer on the top right in the photo below.
Optional. Step 6. Affix the Organizers to the Bathroom Drawer
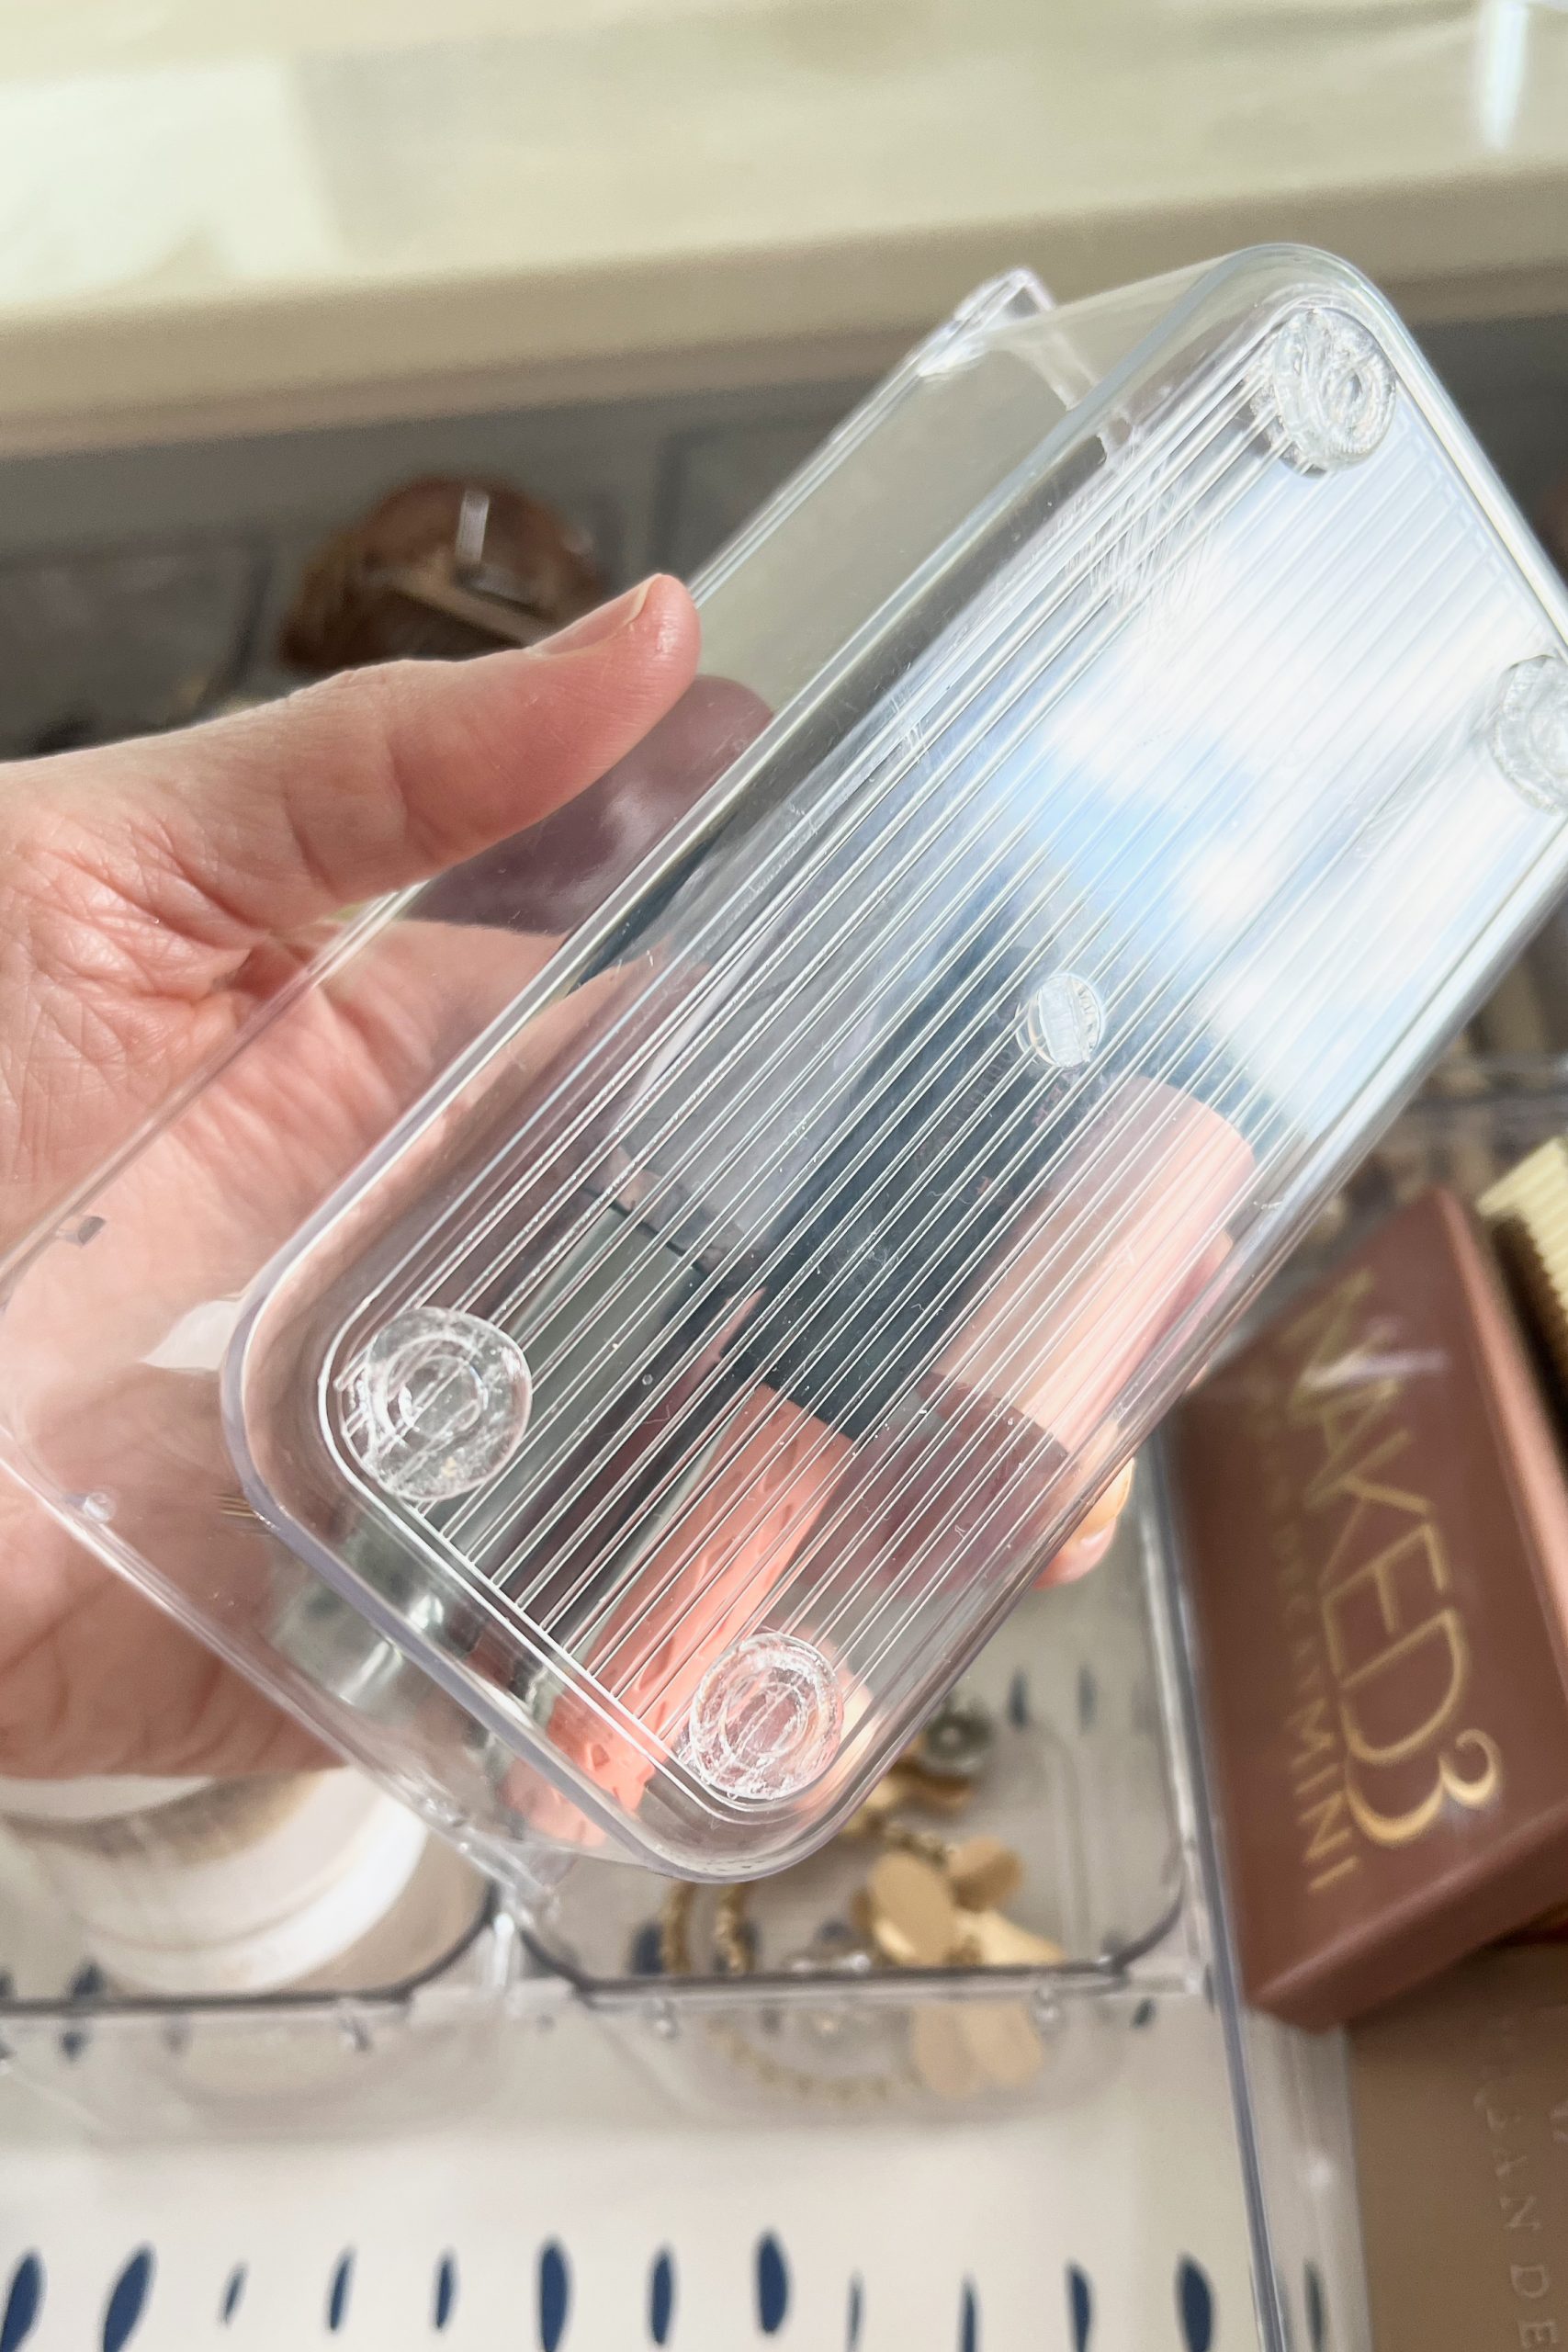
Lastly, you can affix the organizers to the drawer using Museum Gel, so they don’t slide when you open and shut the drawer. This step is optional. But, if you use a paper liner, contact paper, or nothing at all, you might need to do this. I did.
When I organized my junk drawer, I used a nonslip liner, also called a grip liner. So, even though my drawer organizers do not fit snugly inside that particular drawer, they do not slide at all. So, using a grip liner is a good option, and you can skip this step altogether.
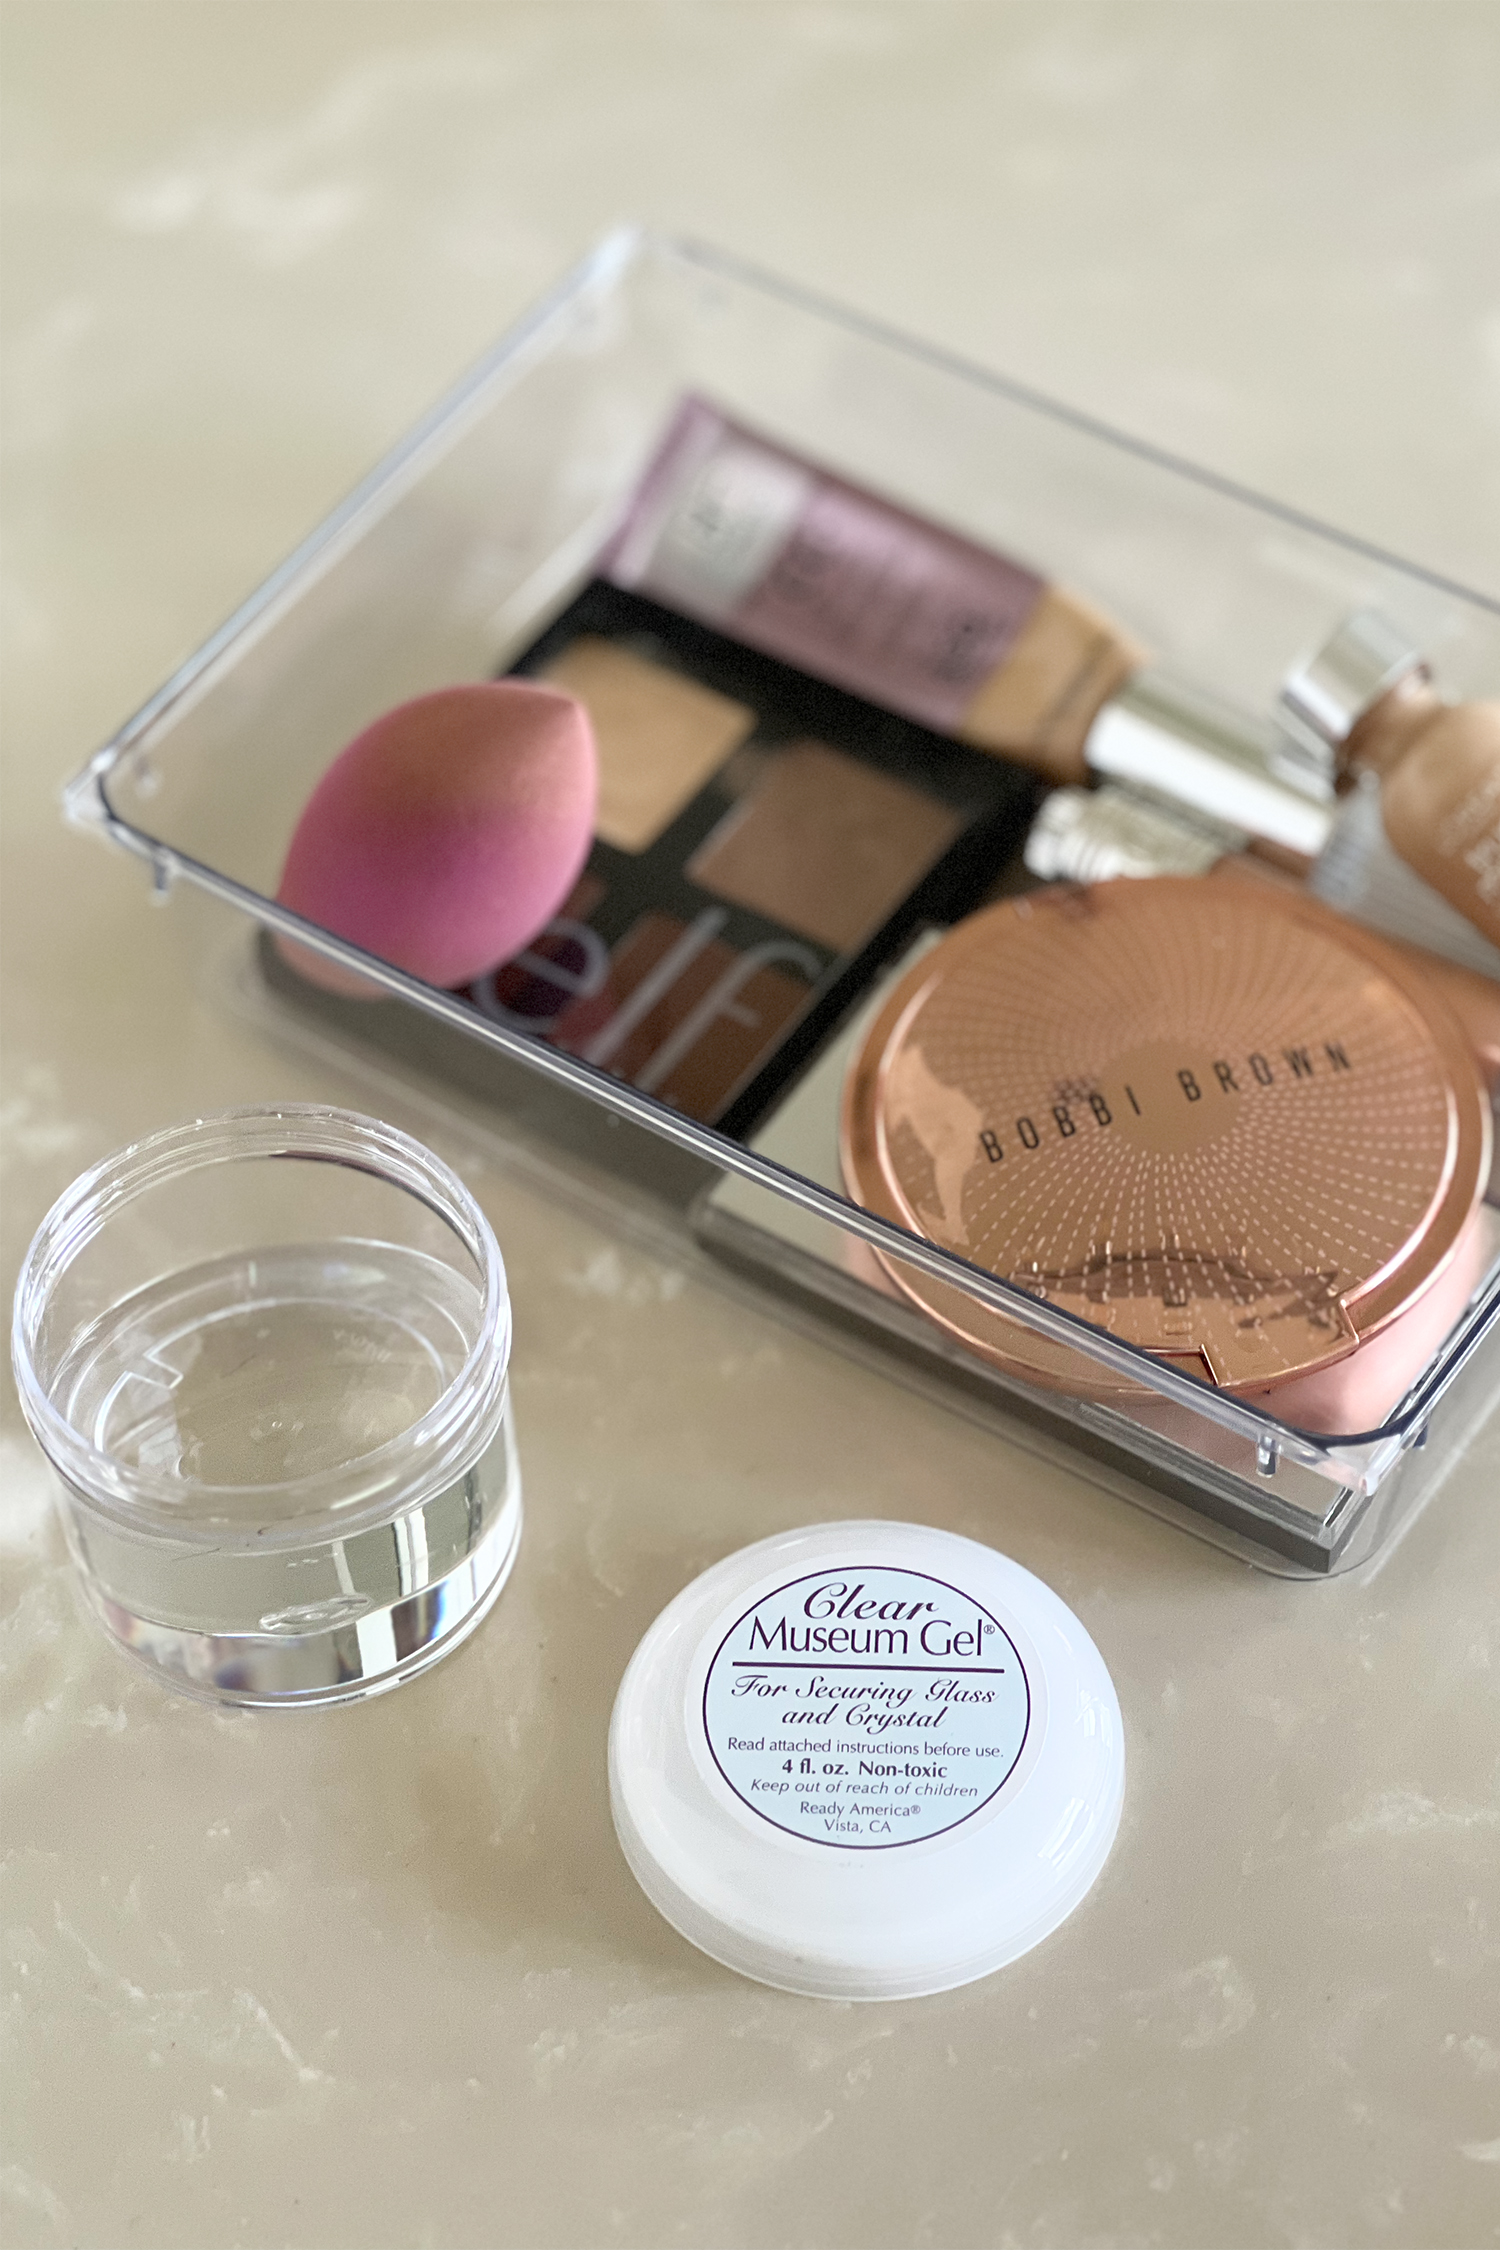
The museum gel is non-toxic and super easy to use. I call it ‘sorcery’ because it’s this strange magical thing that is not sticky when you’re handling it, but after you apply it, it is super strong. You have to make small spheres of the gel with your fingers (like playing with playdough) and stick them to the bottom of the organizers.
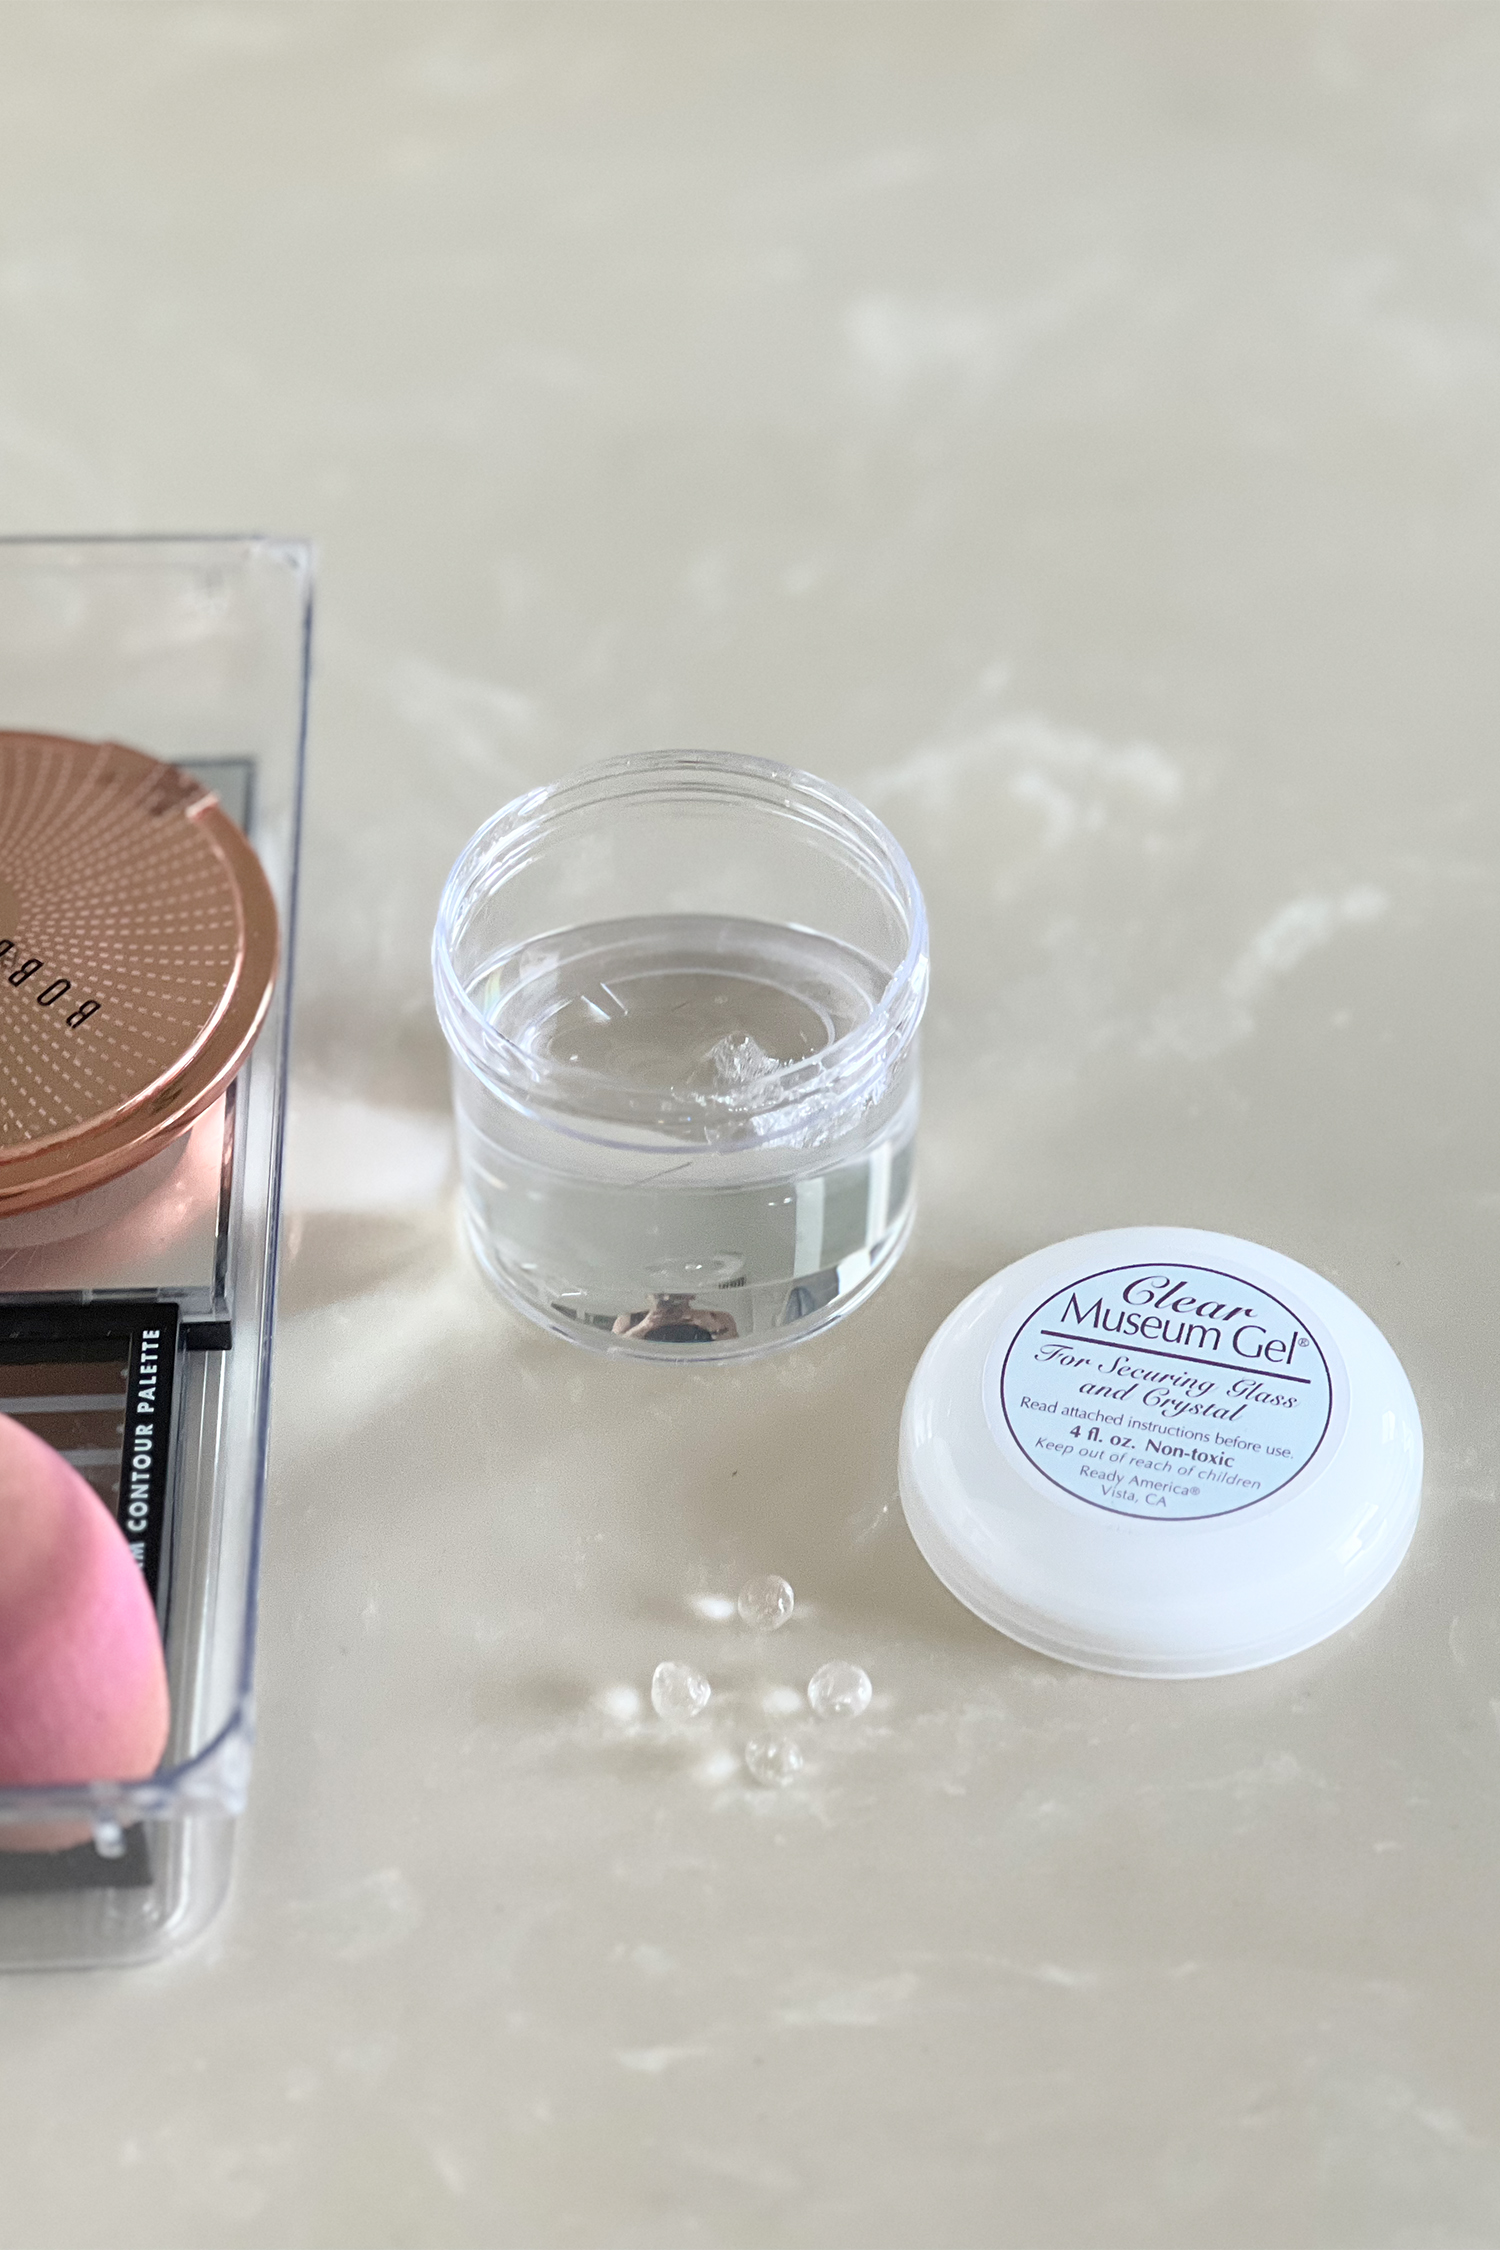
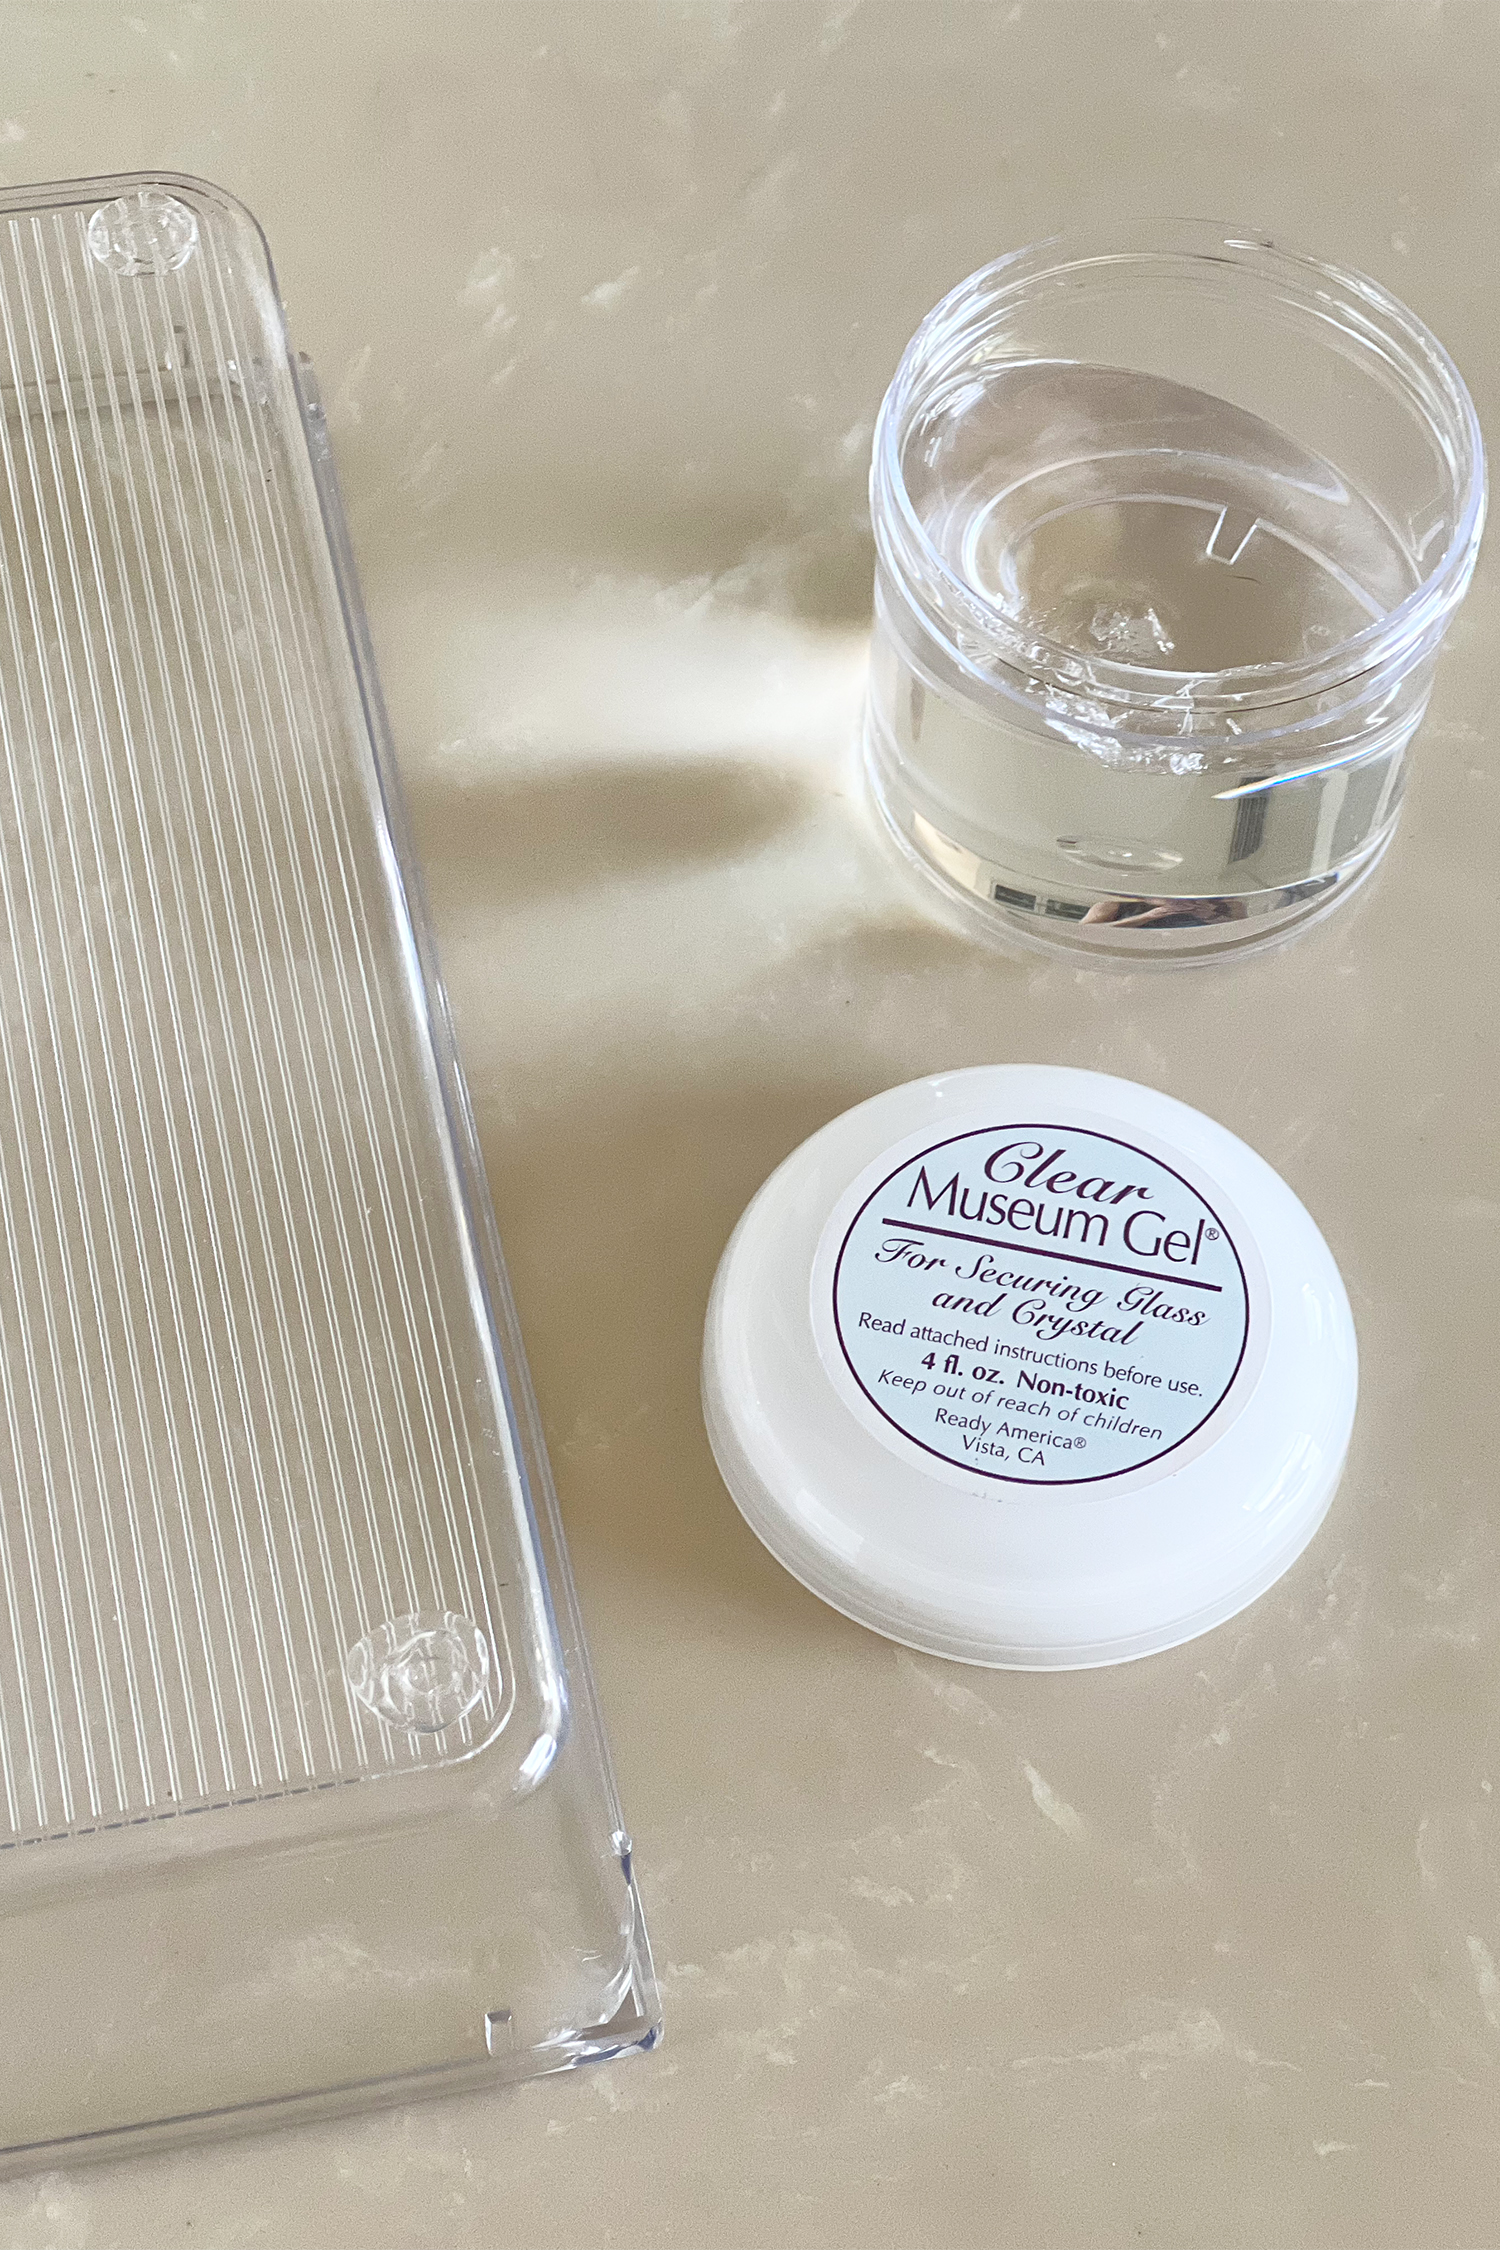
Take this step once you are completely satisfied with the configuration of your drawer organizers. I haven’t tried removing any containers, but they are stuck in the drawer!
Organized Makeup Drawer
Here’s the final result after all the cleaning, decluttering, sorting, and drawer organizer shuffling! I love it! Do you?


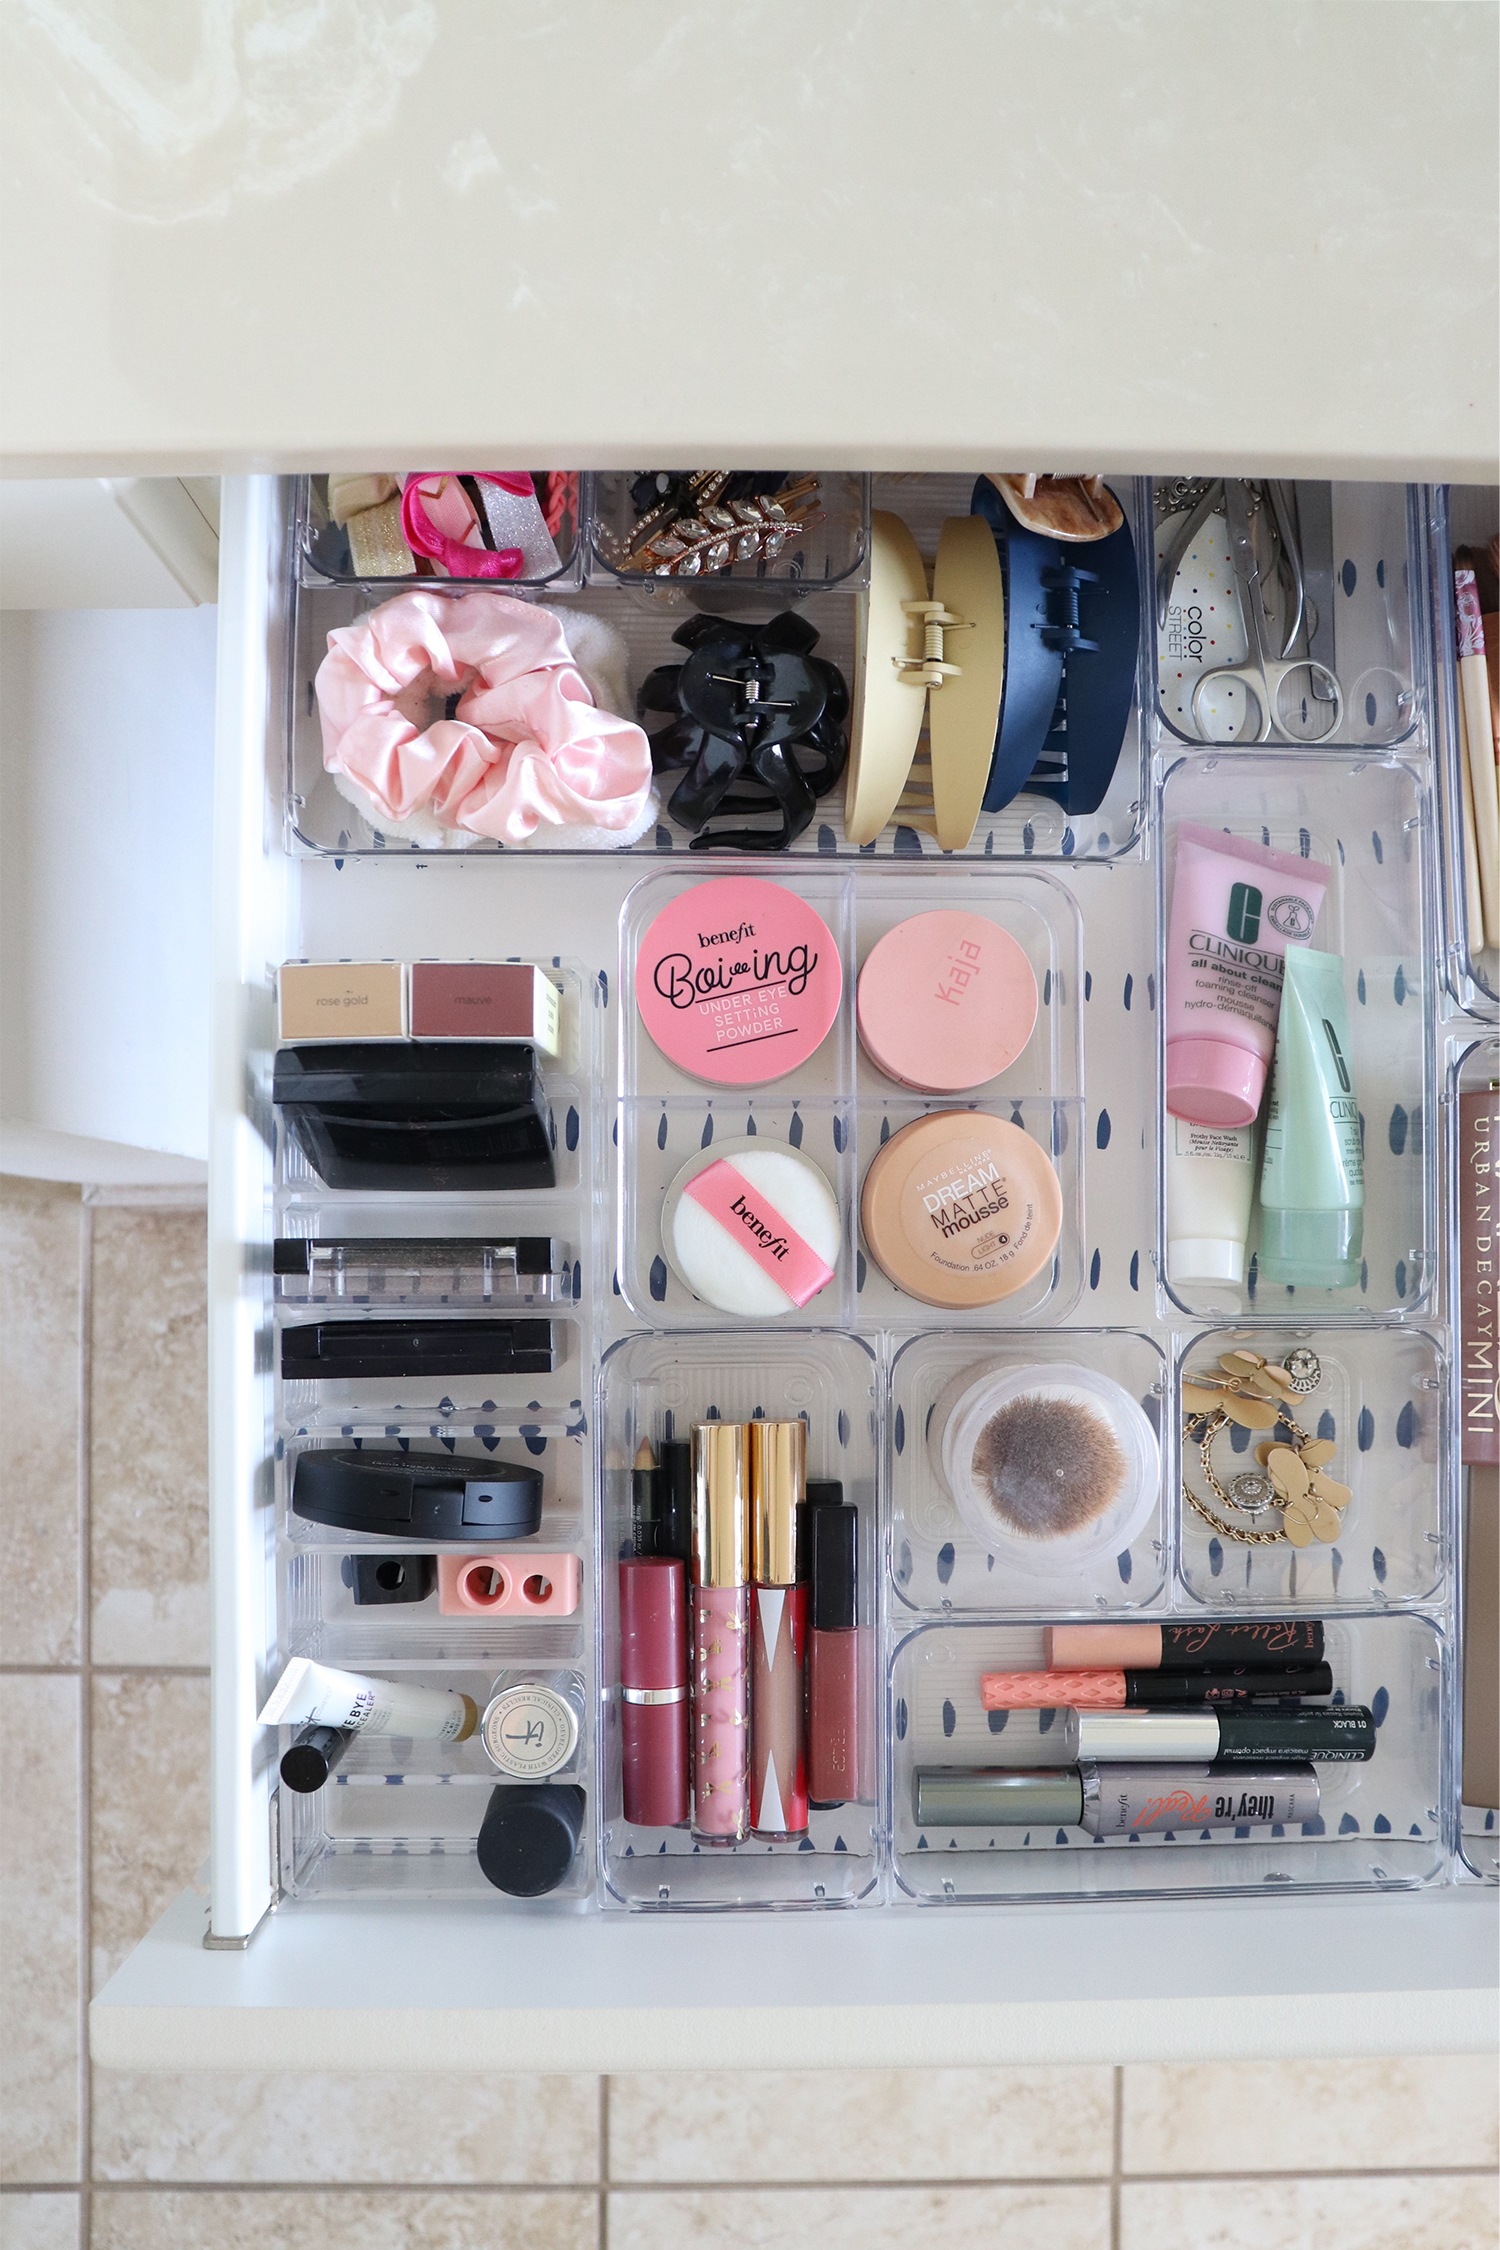

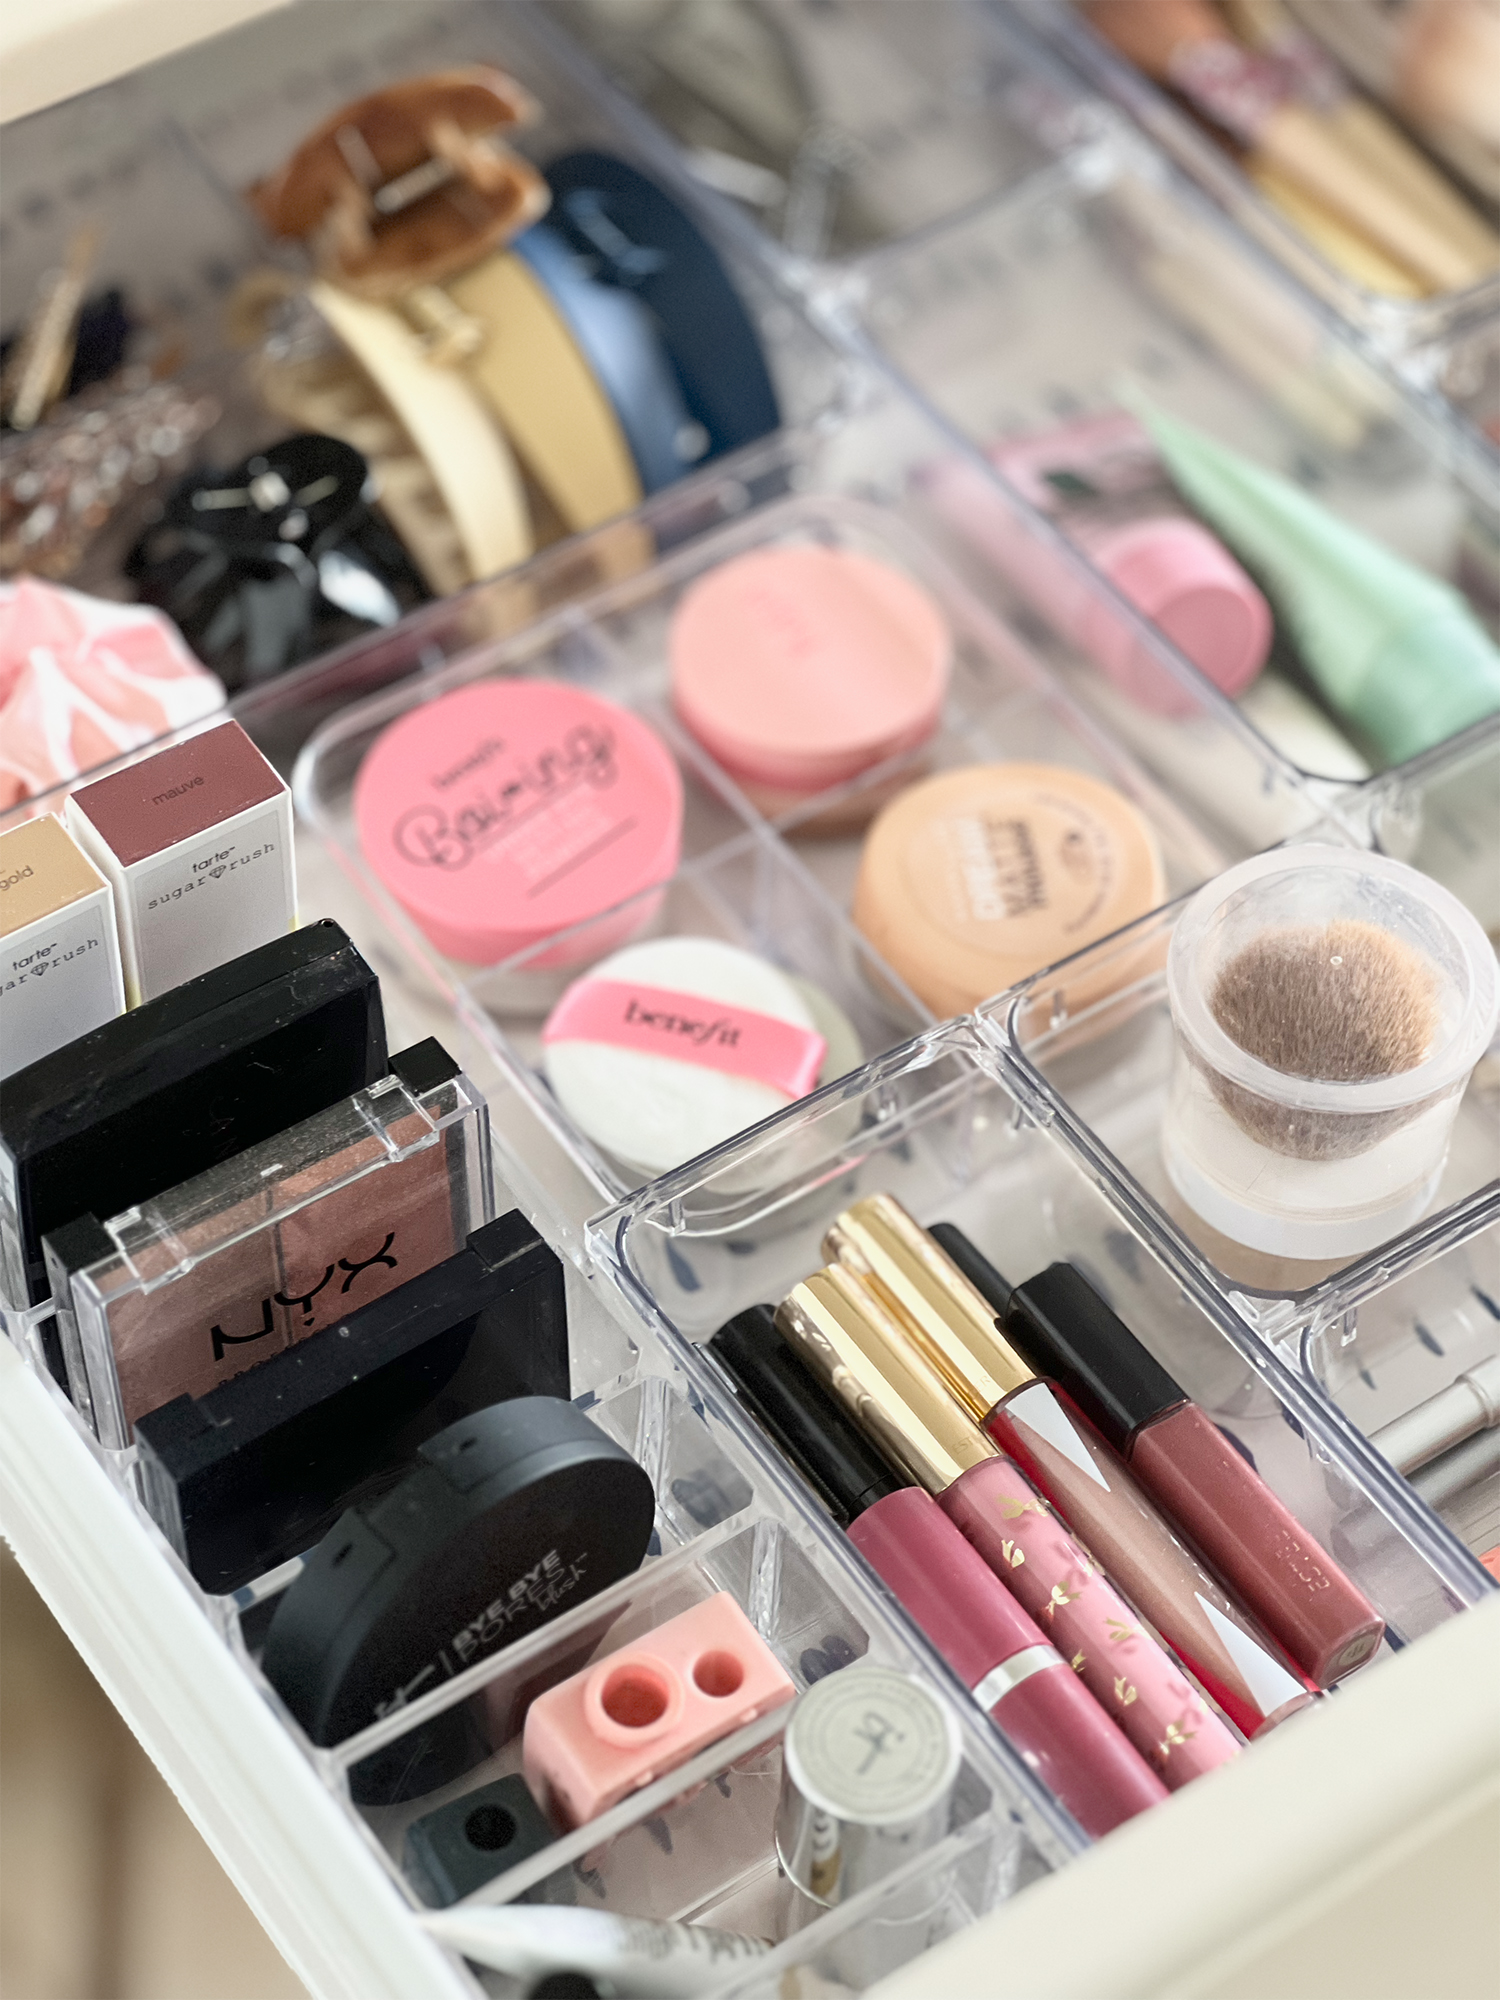
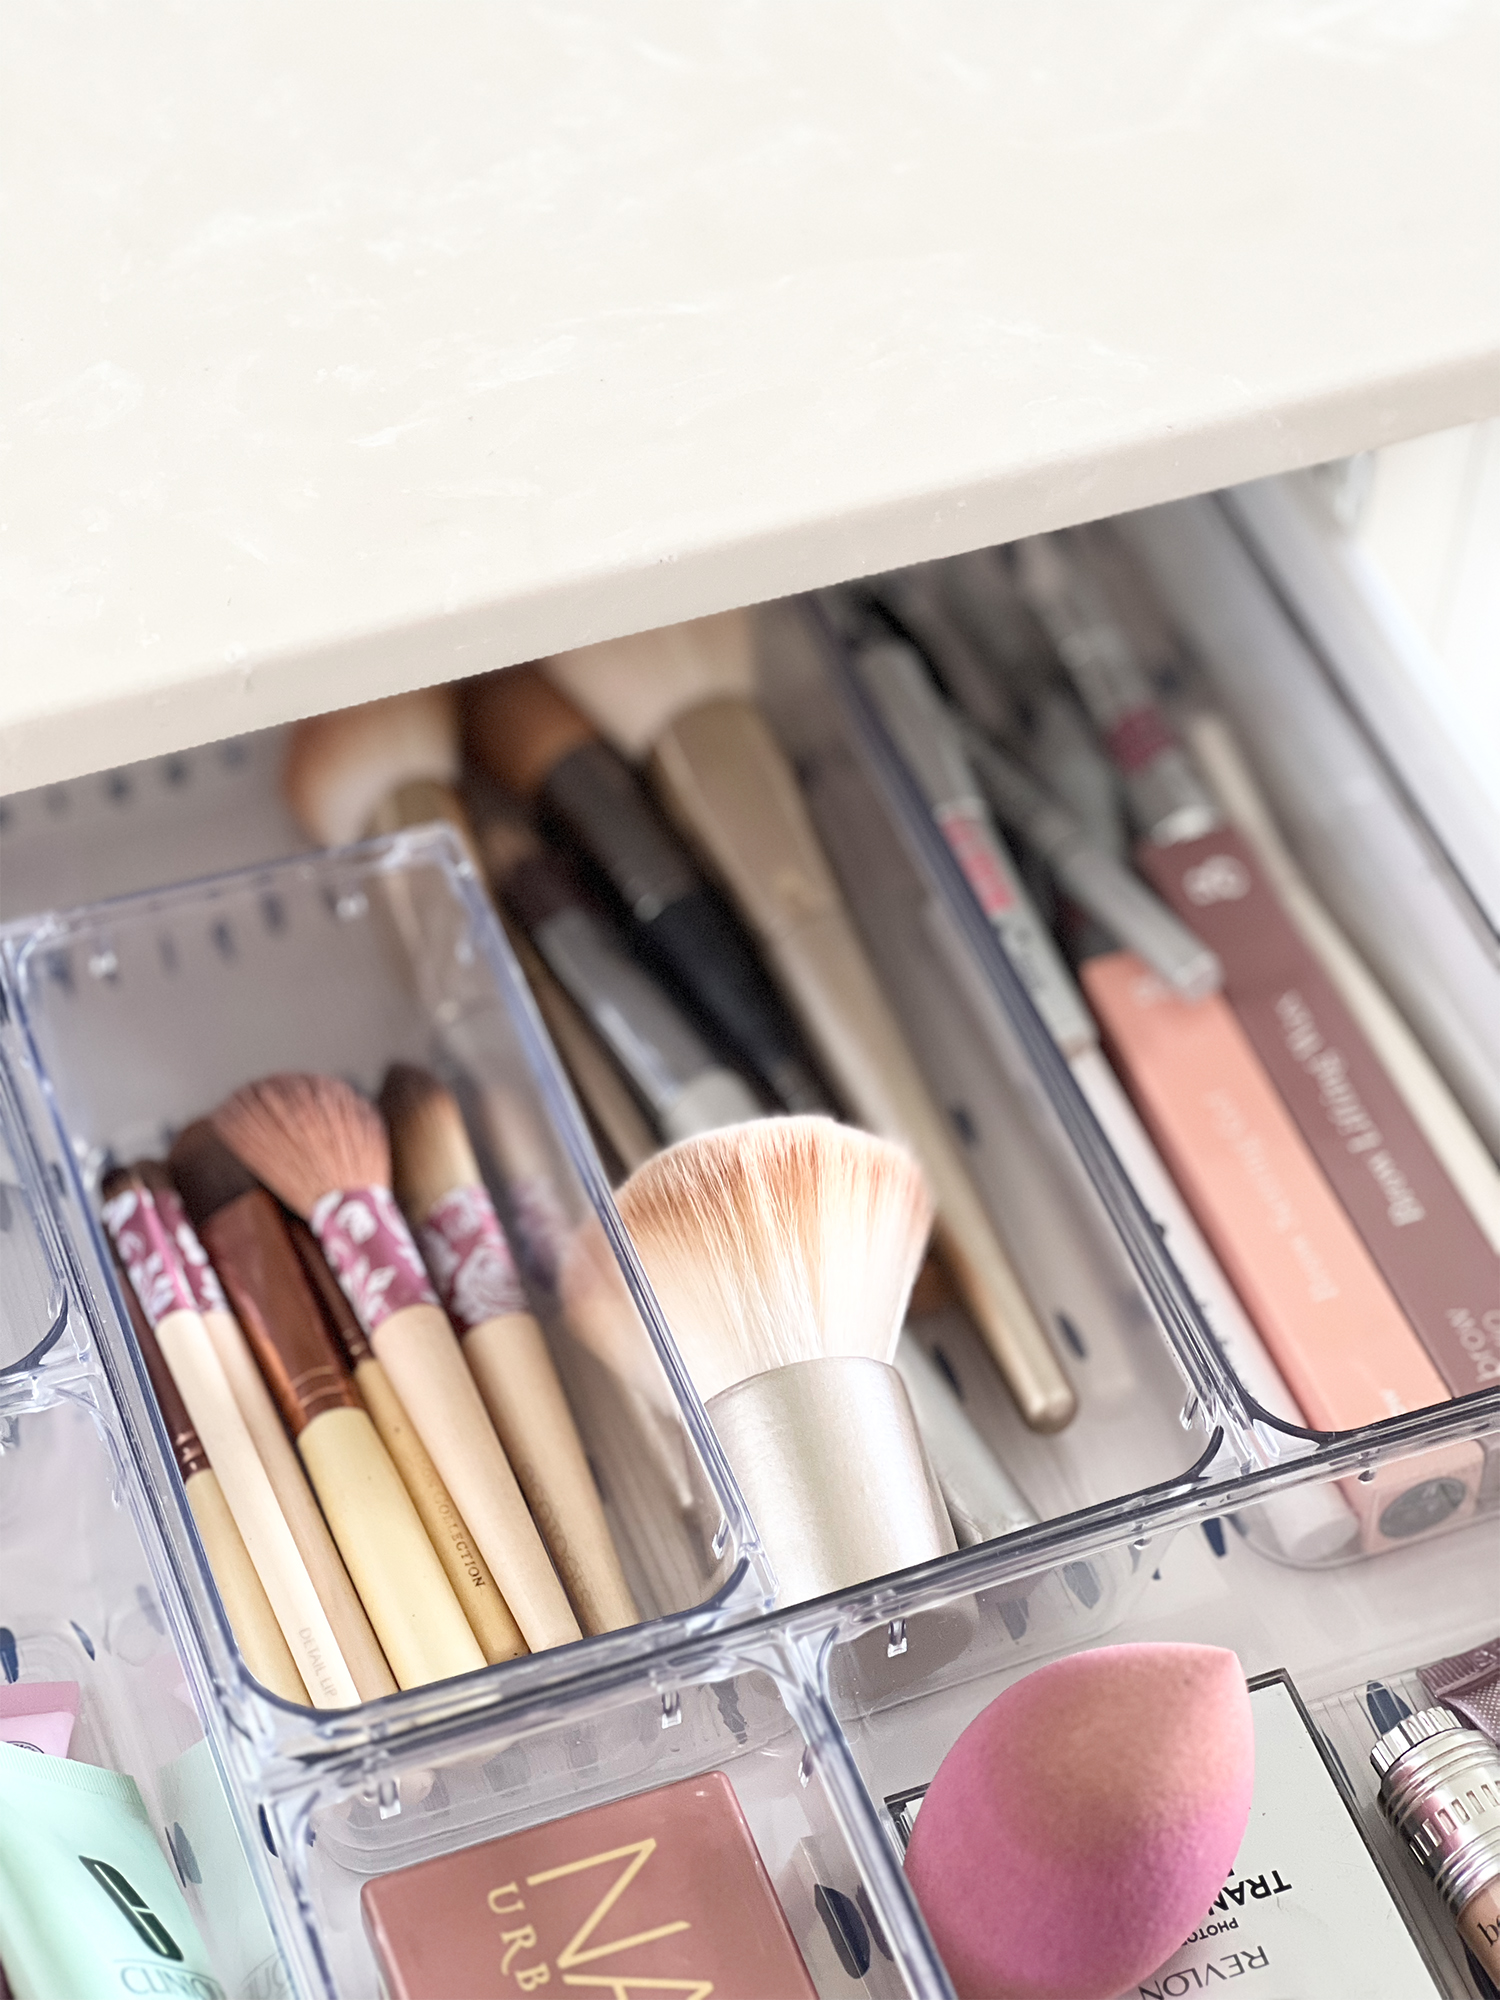
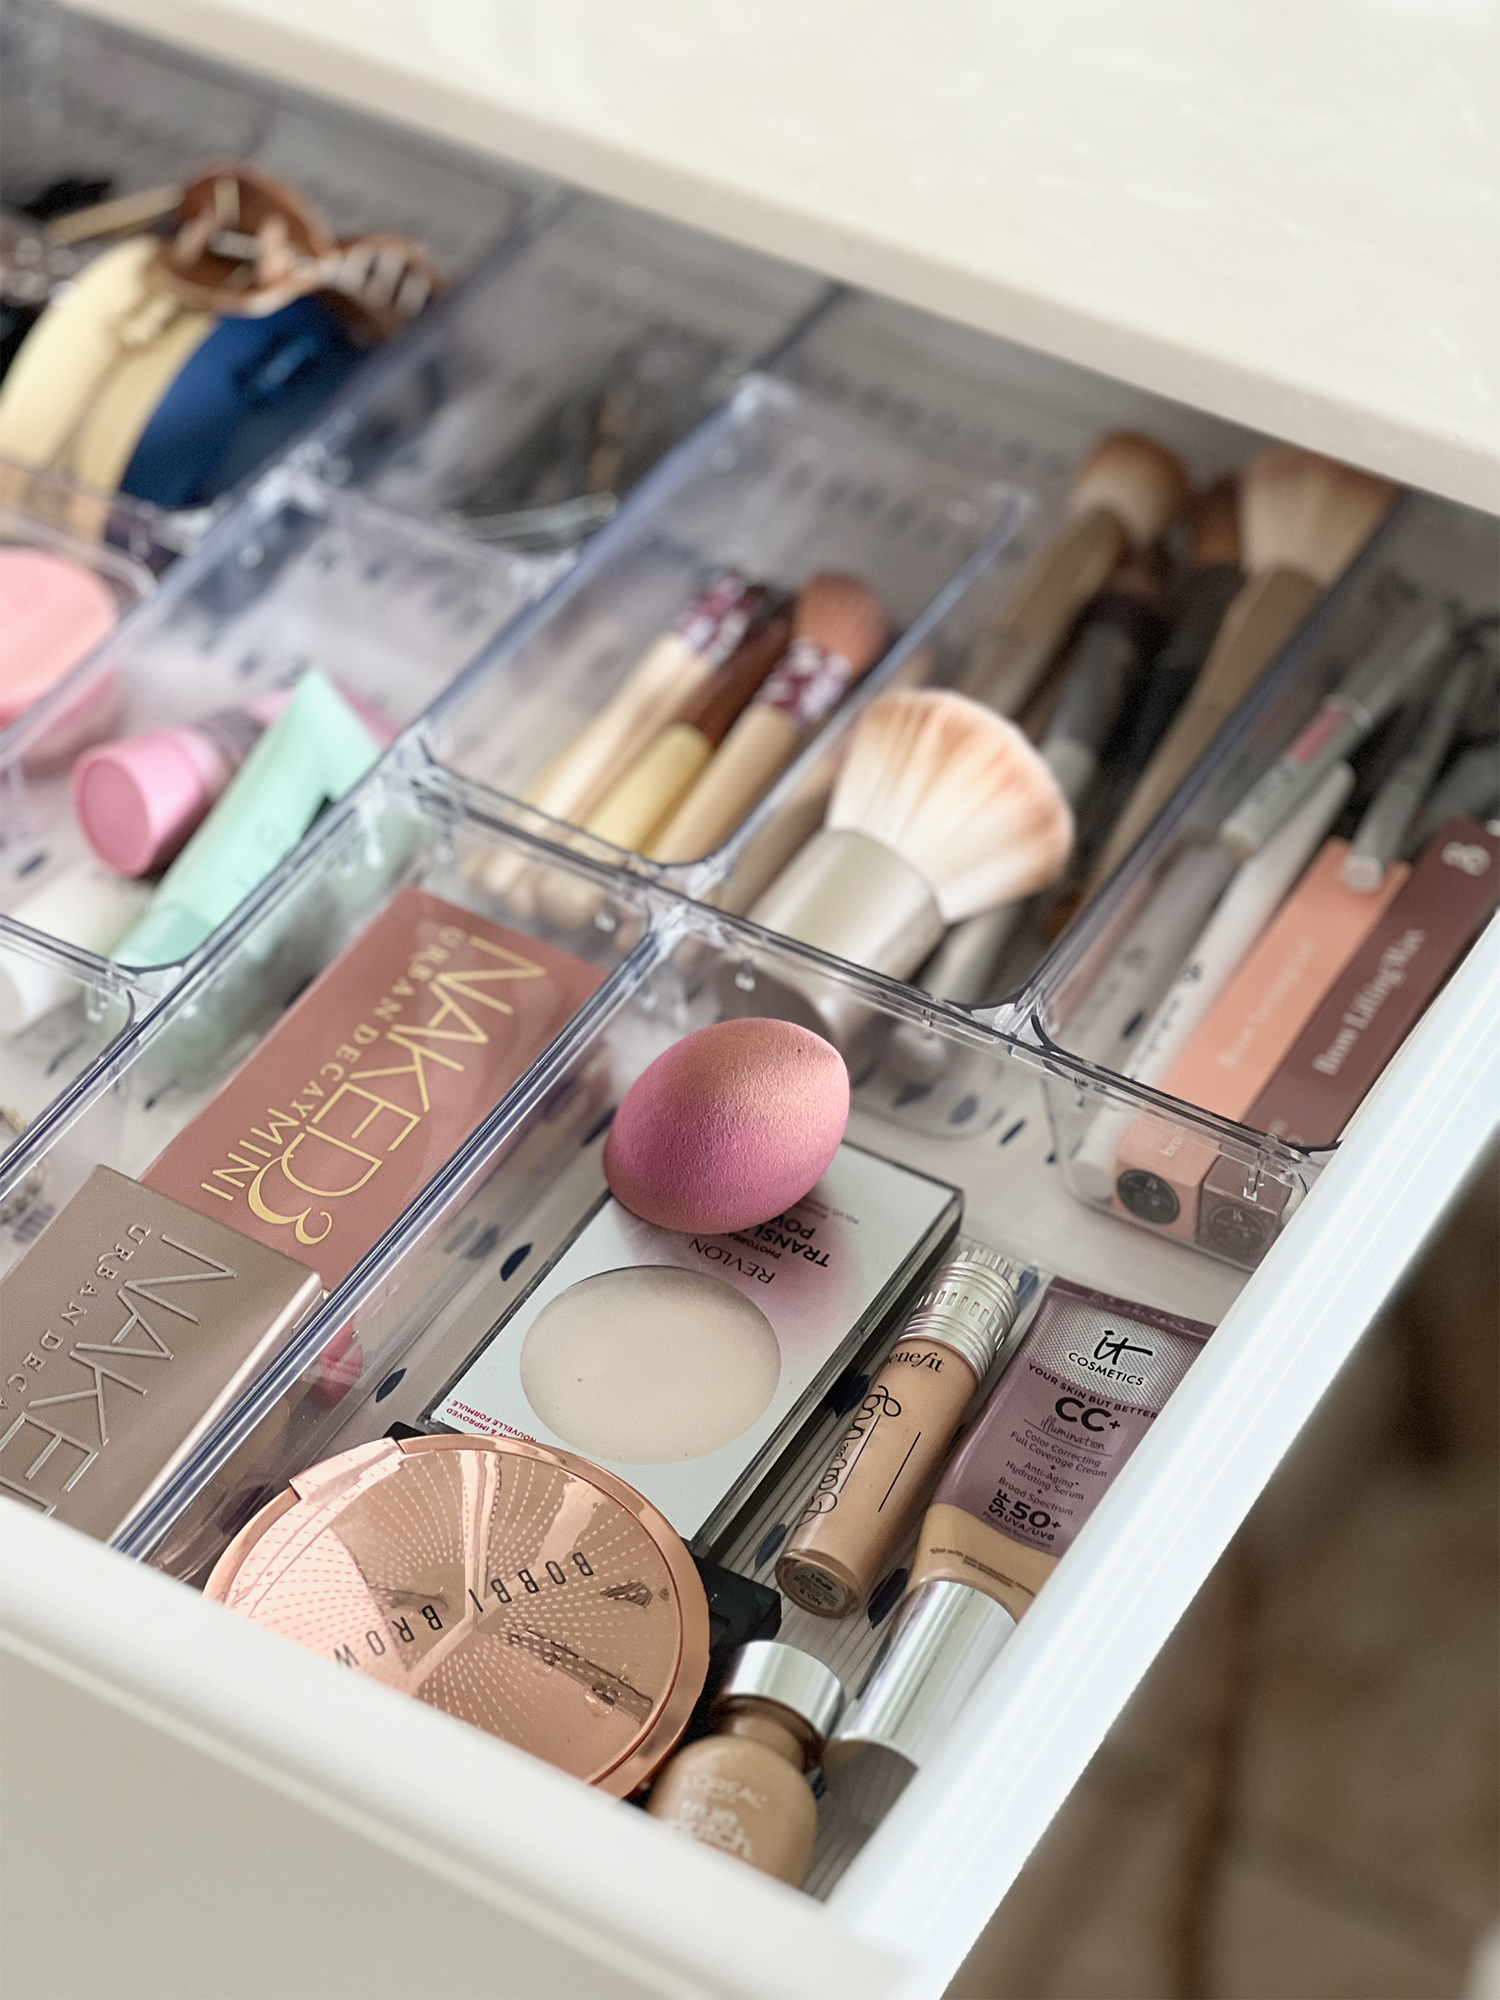
I don’t know -in person- many people who enjoy organizing drawers and playing around with configurations as much as I do. I am sure most organizers like me feel this indescribable satisfaction in creating a perfect and functional space to store things. No matter how many tries it takes. My professional organizer peers and bloggers would agree with me!
My makeup drawer deserved all the decluttering, cleaning, and categorizing I did, and it sure looks pretty!

