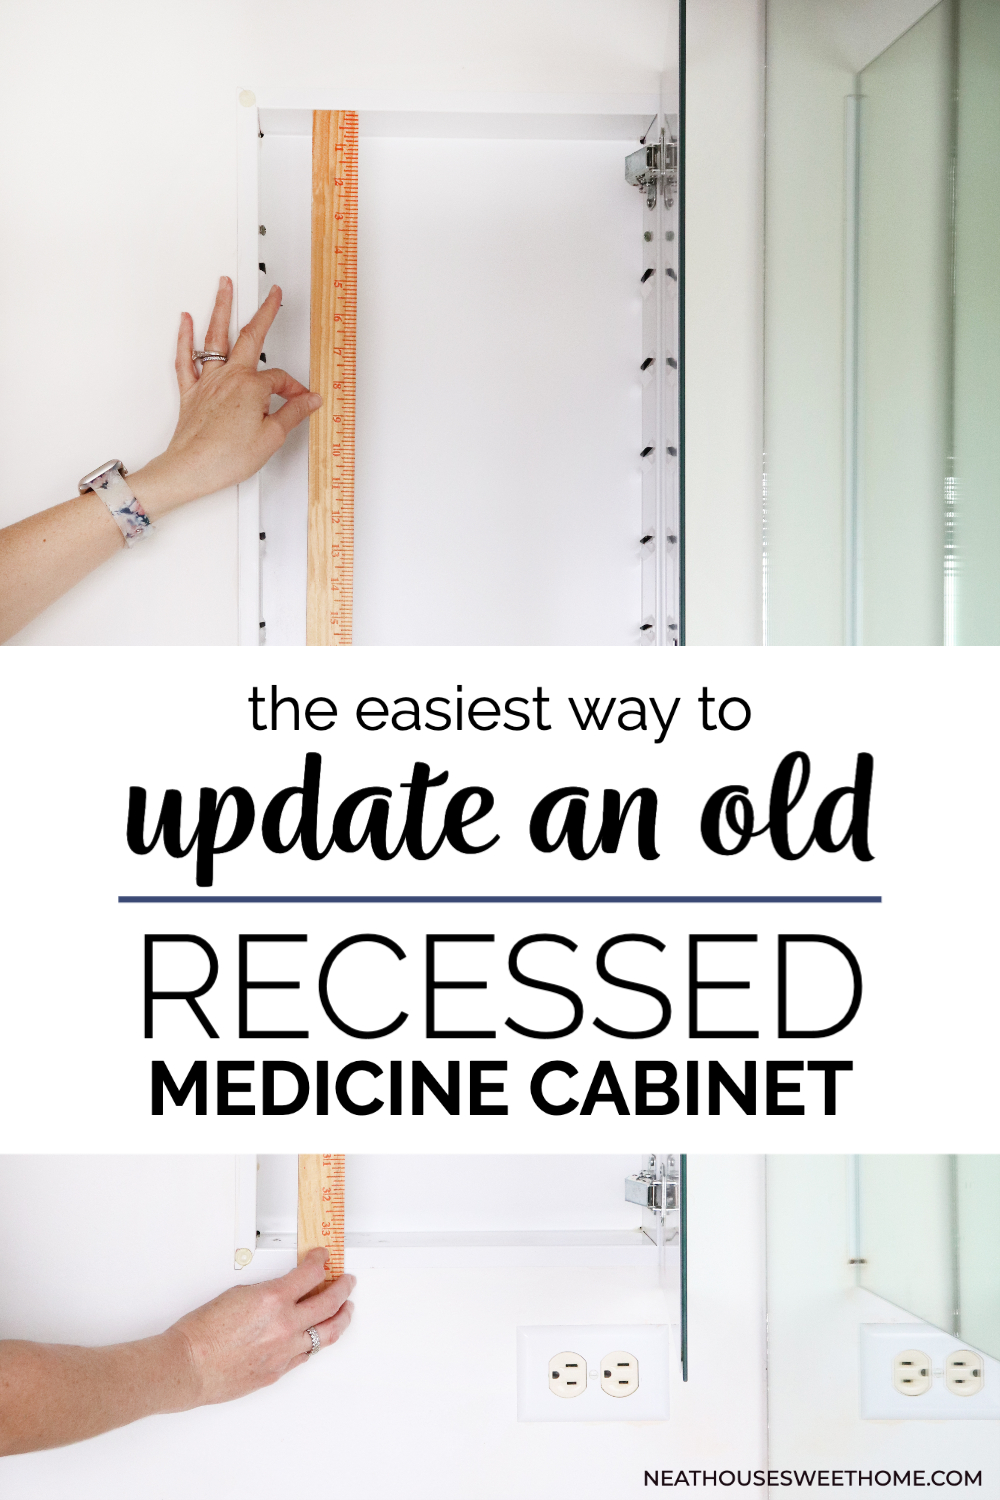
How to Quickly Update an Old Medicine Cabinet With Contact Paper
The medicine cabinet in my bathroom looked old, tired, and a bit rusty, so I gave it a small makeover in just a couple of hours. This DIY project wasn’t anywhere on my mind, but when I saw a cute removable contact paper at Target, I had a few ideas to update some spaces in my home, including this recessed medicine cabinet.
Although they’re mostly ‘blah’ and lack design features and appeal, recessed medicine cabinets are very functional for organizing medicine -obviously- health and beauty supplies. The fact that they are built-in into the wall makes them practical and easy to keep neat and organized.
Would you like to save this?
If you have been looking for ideas on how to update your medicine cabinet, this easy DIY makeover will show you how to do just that!
This post may contain affiliate links for your convenience. For more information, please read my Affiliate Disclosure.
Supplies and Materials for Medicine Cabinet Makeover
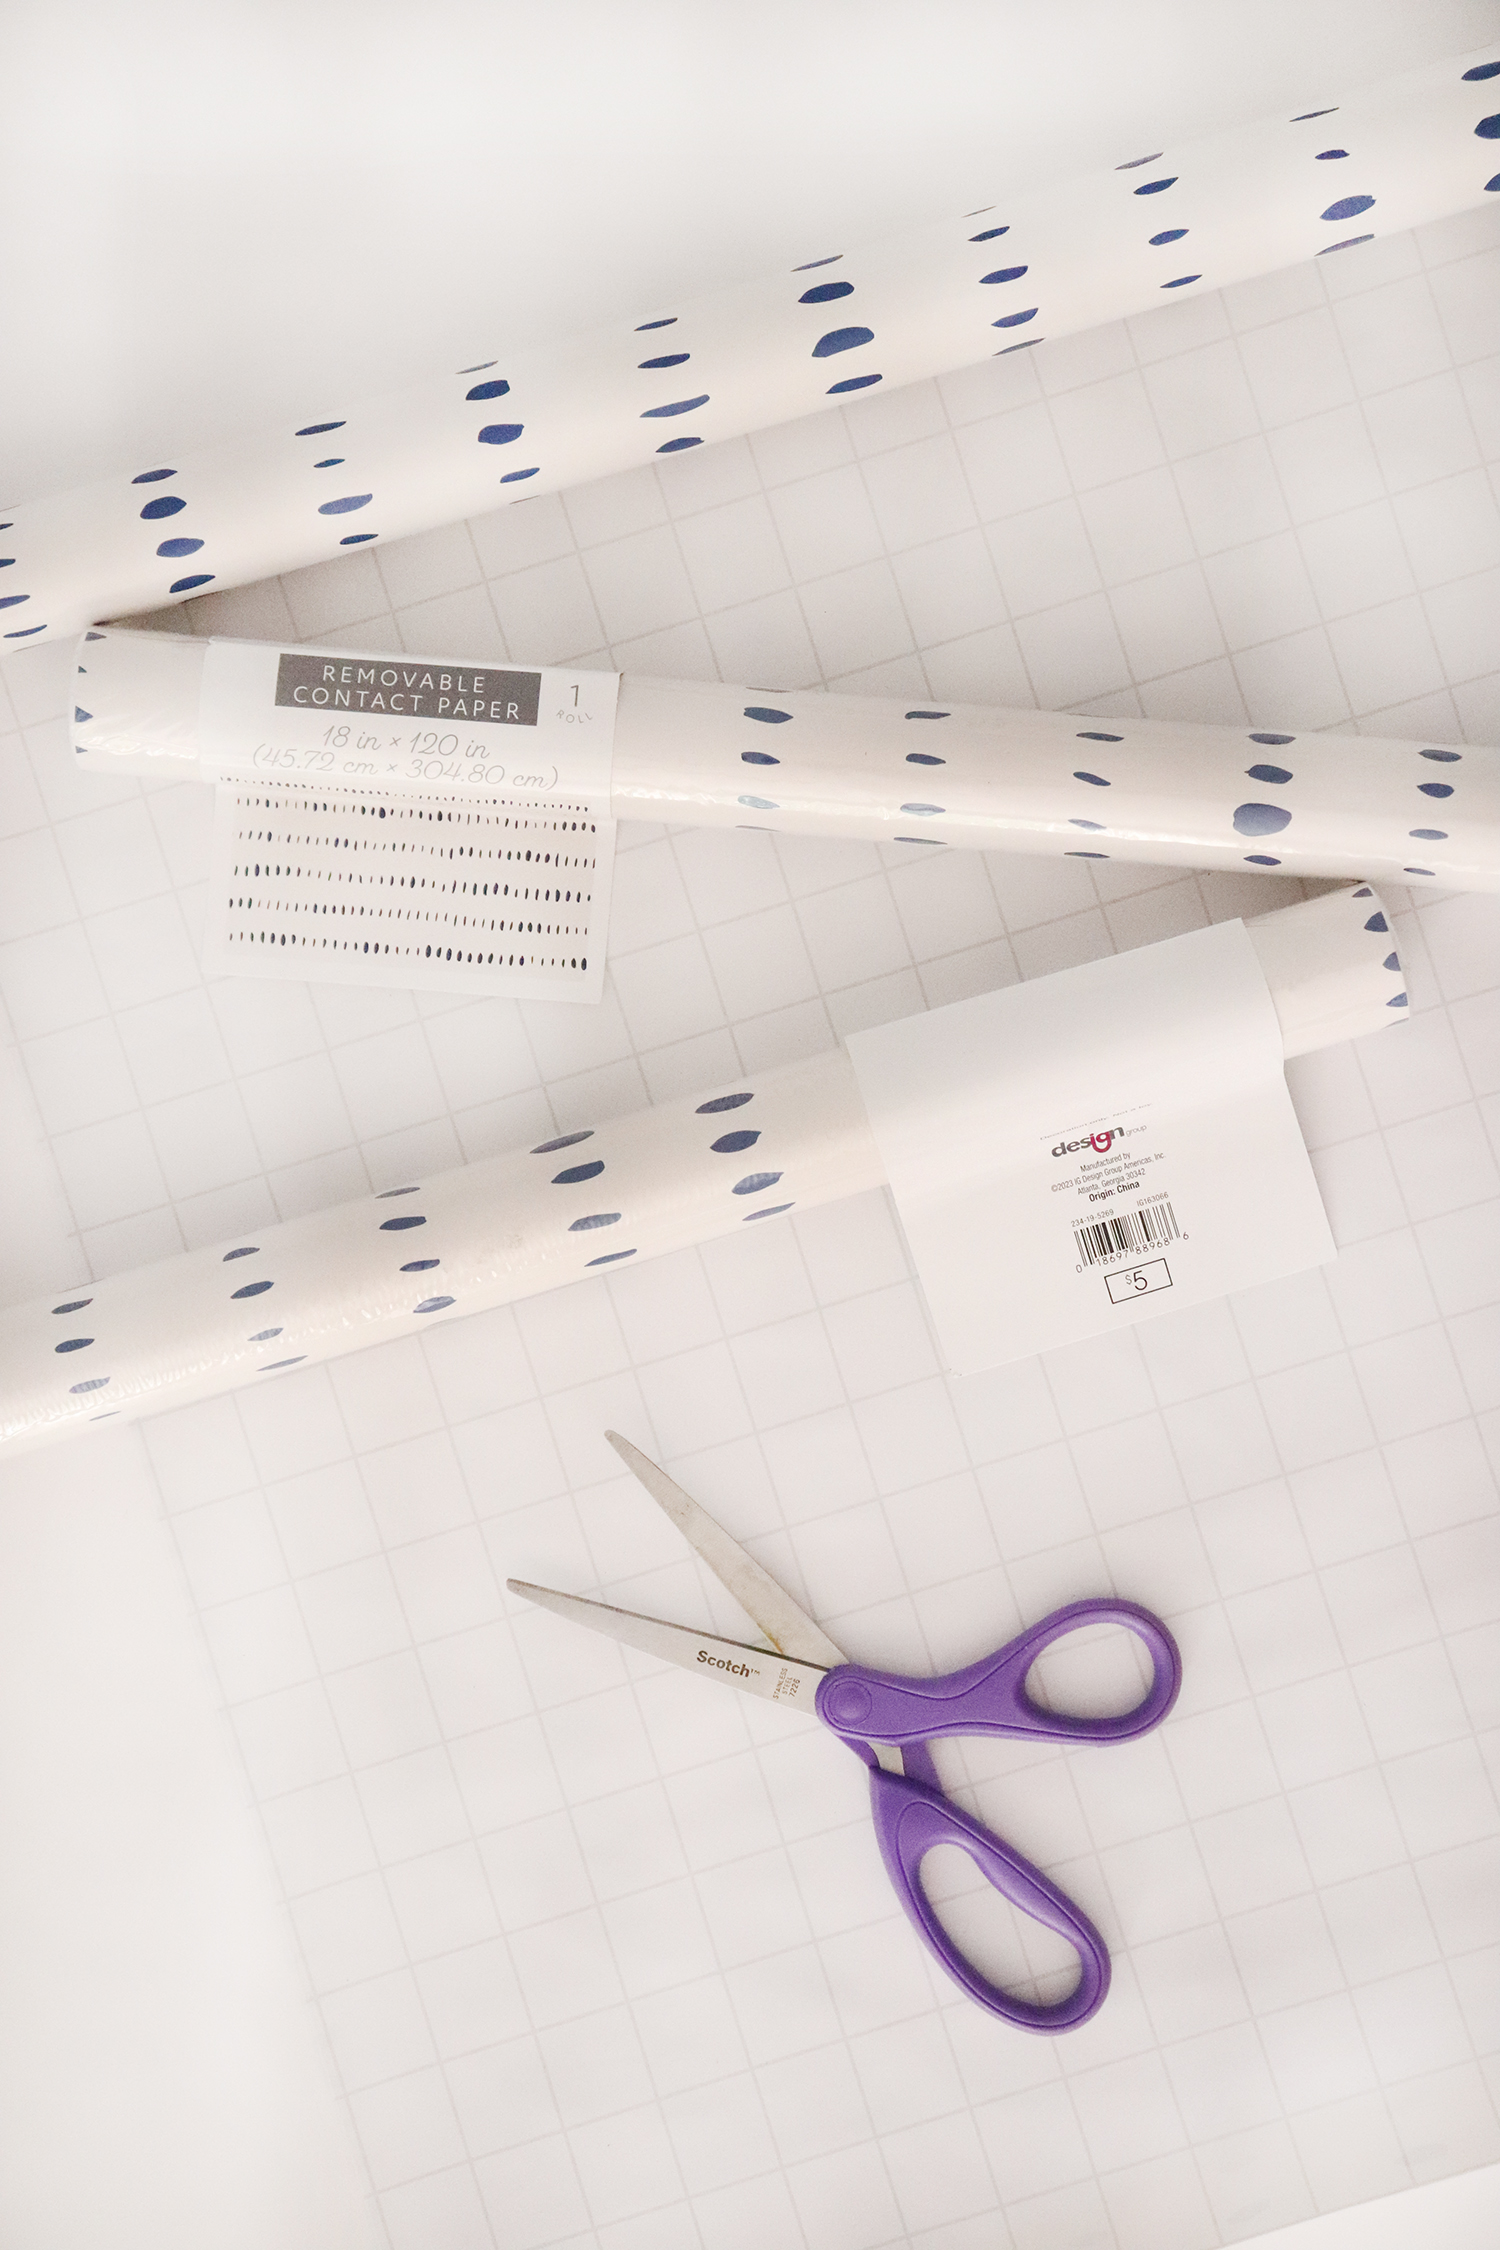
Here’s a list of tools and supplies I used to update the medicine cabinet. Unfortunately, the exact removable contact paper I used is not sold online. I picked it up at my local Target, in the Bullseye Playground section ($5 per roll). But a quick search of ‘removable contact paper’ on Amazon yields many results in all price ranges.
- Removable contact paper – Similar linked.
- Yardstick (or measuring tape).
- Craft knife
- Scissors
Finding this contact paper really motivated me to makeover and later organize the medicine cabinet. Because I only spent $5 per roll, and the contact paper is removable, I knew I didn’t have much to lose if I messed anything up. While it did not turn out perfect, the imperfections are unnoticeable, and let’s be real: who’s coming into this bathroom to nit-pick the inside of my medicine cabinet?
Steps to Update a Recessed Medicine Cabinet
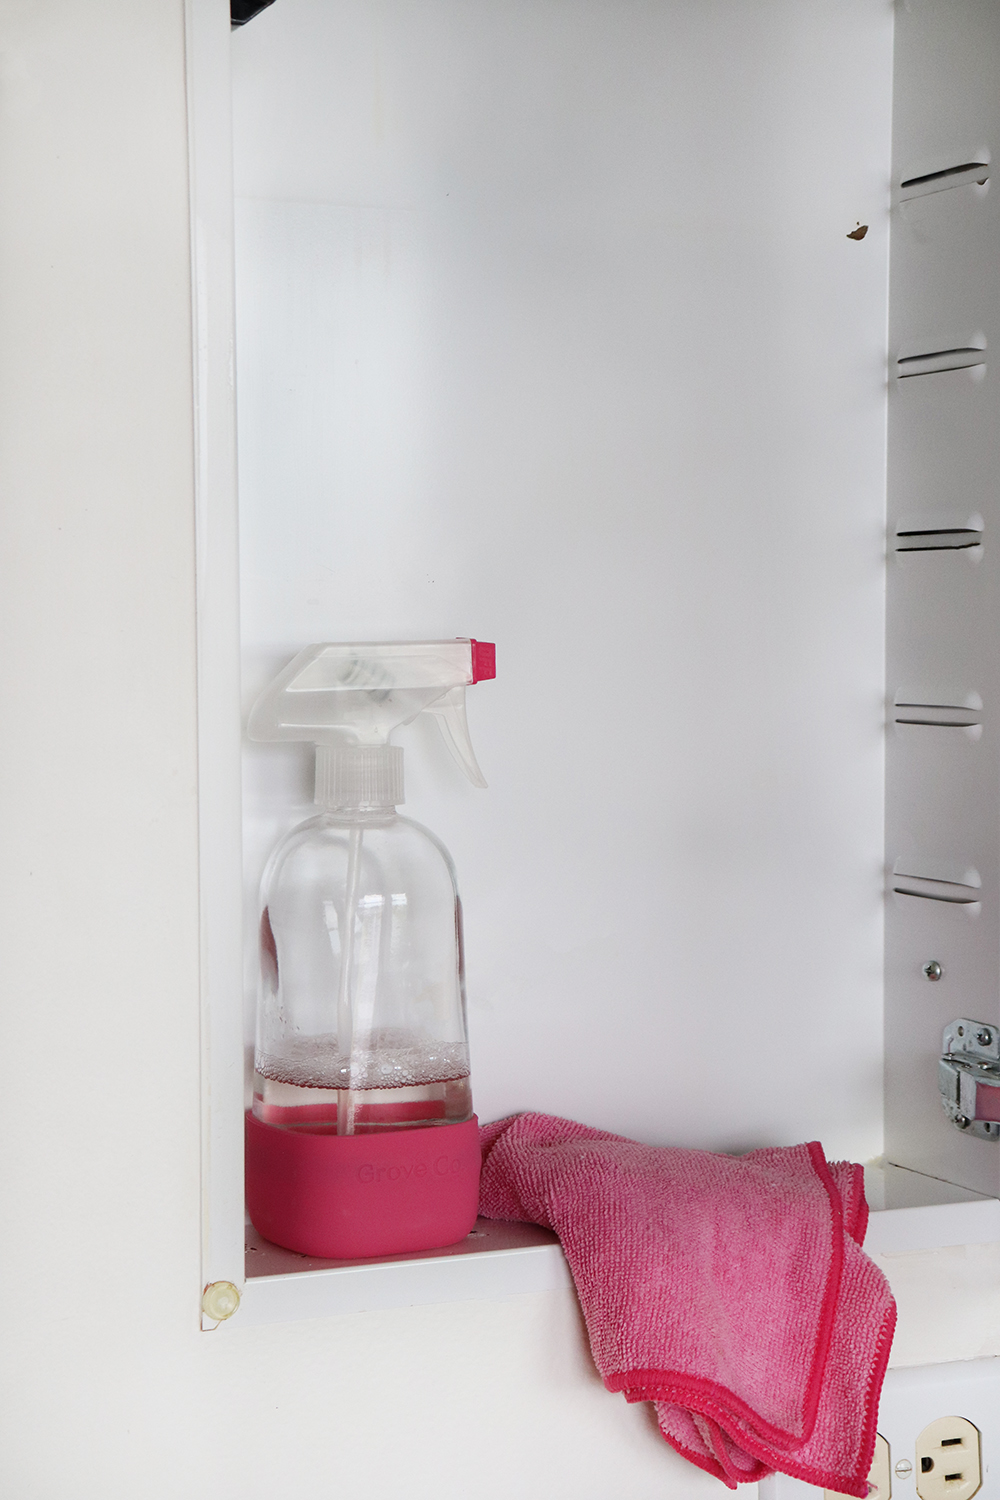
To update the medicine cabinet, the obvious thing that I had to do first was empty it out and clean it thoroughly. First, I used a multipurpose cleaner to wipe off dust and residue from the products I kept inside. I scrubbed some tough spots with baking soda cream, and finally wiped the cabinet down with rubbing alcohol. Wiping the surface with rubbing alcohol helps prep for the installation of the contact paper.
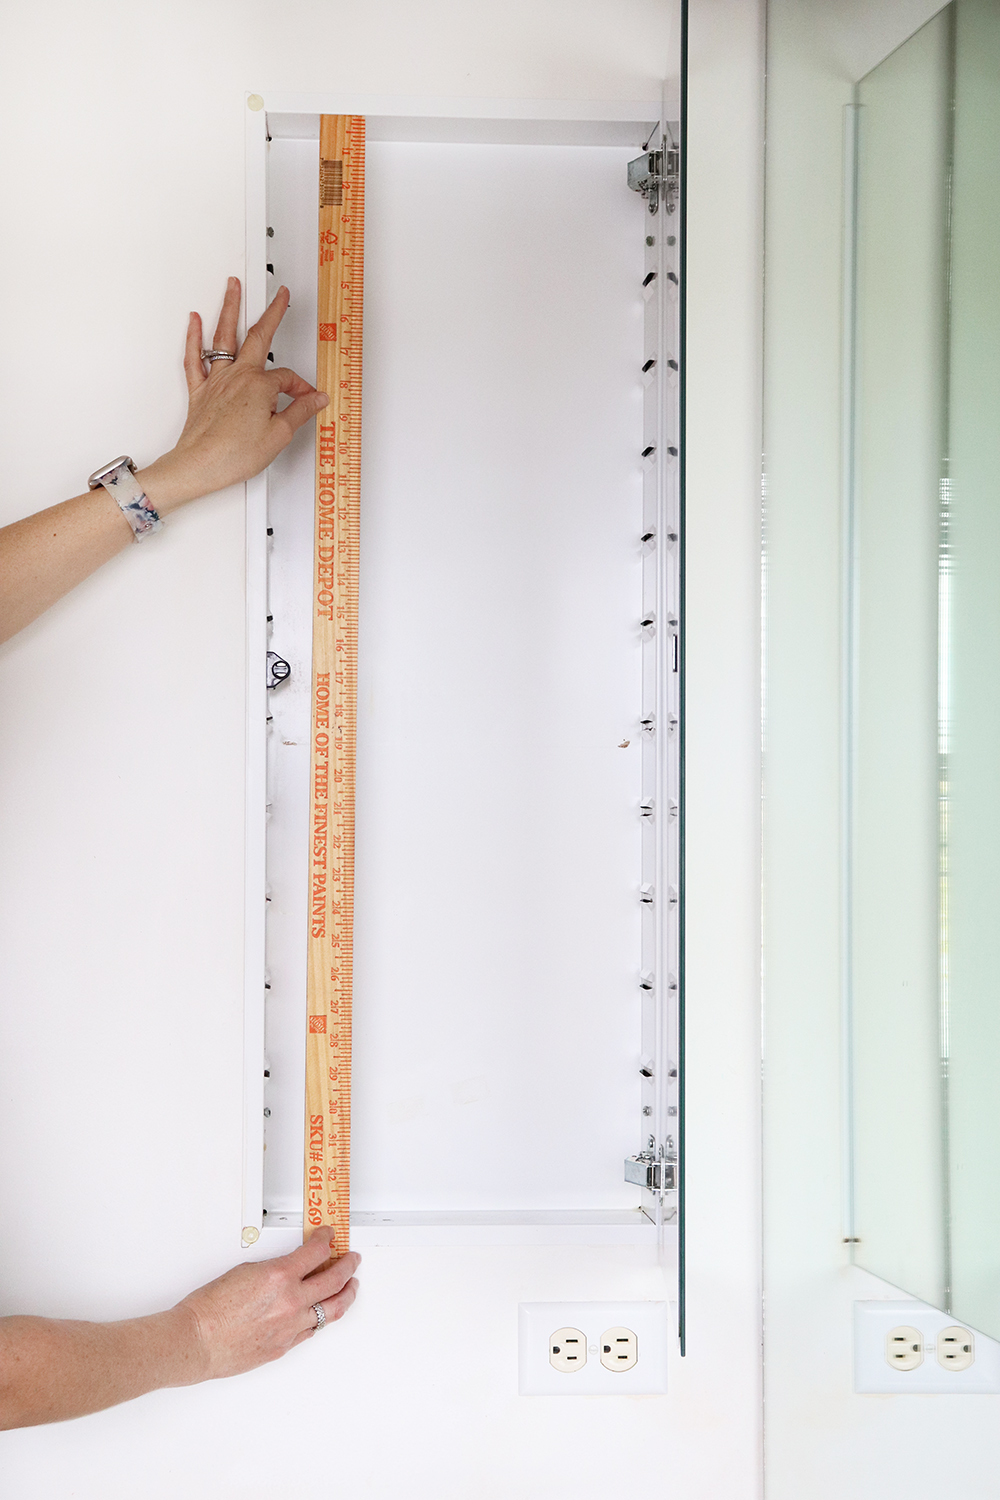
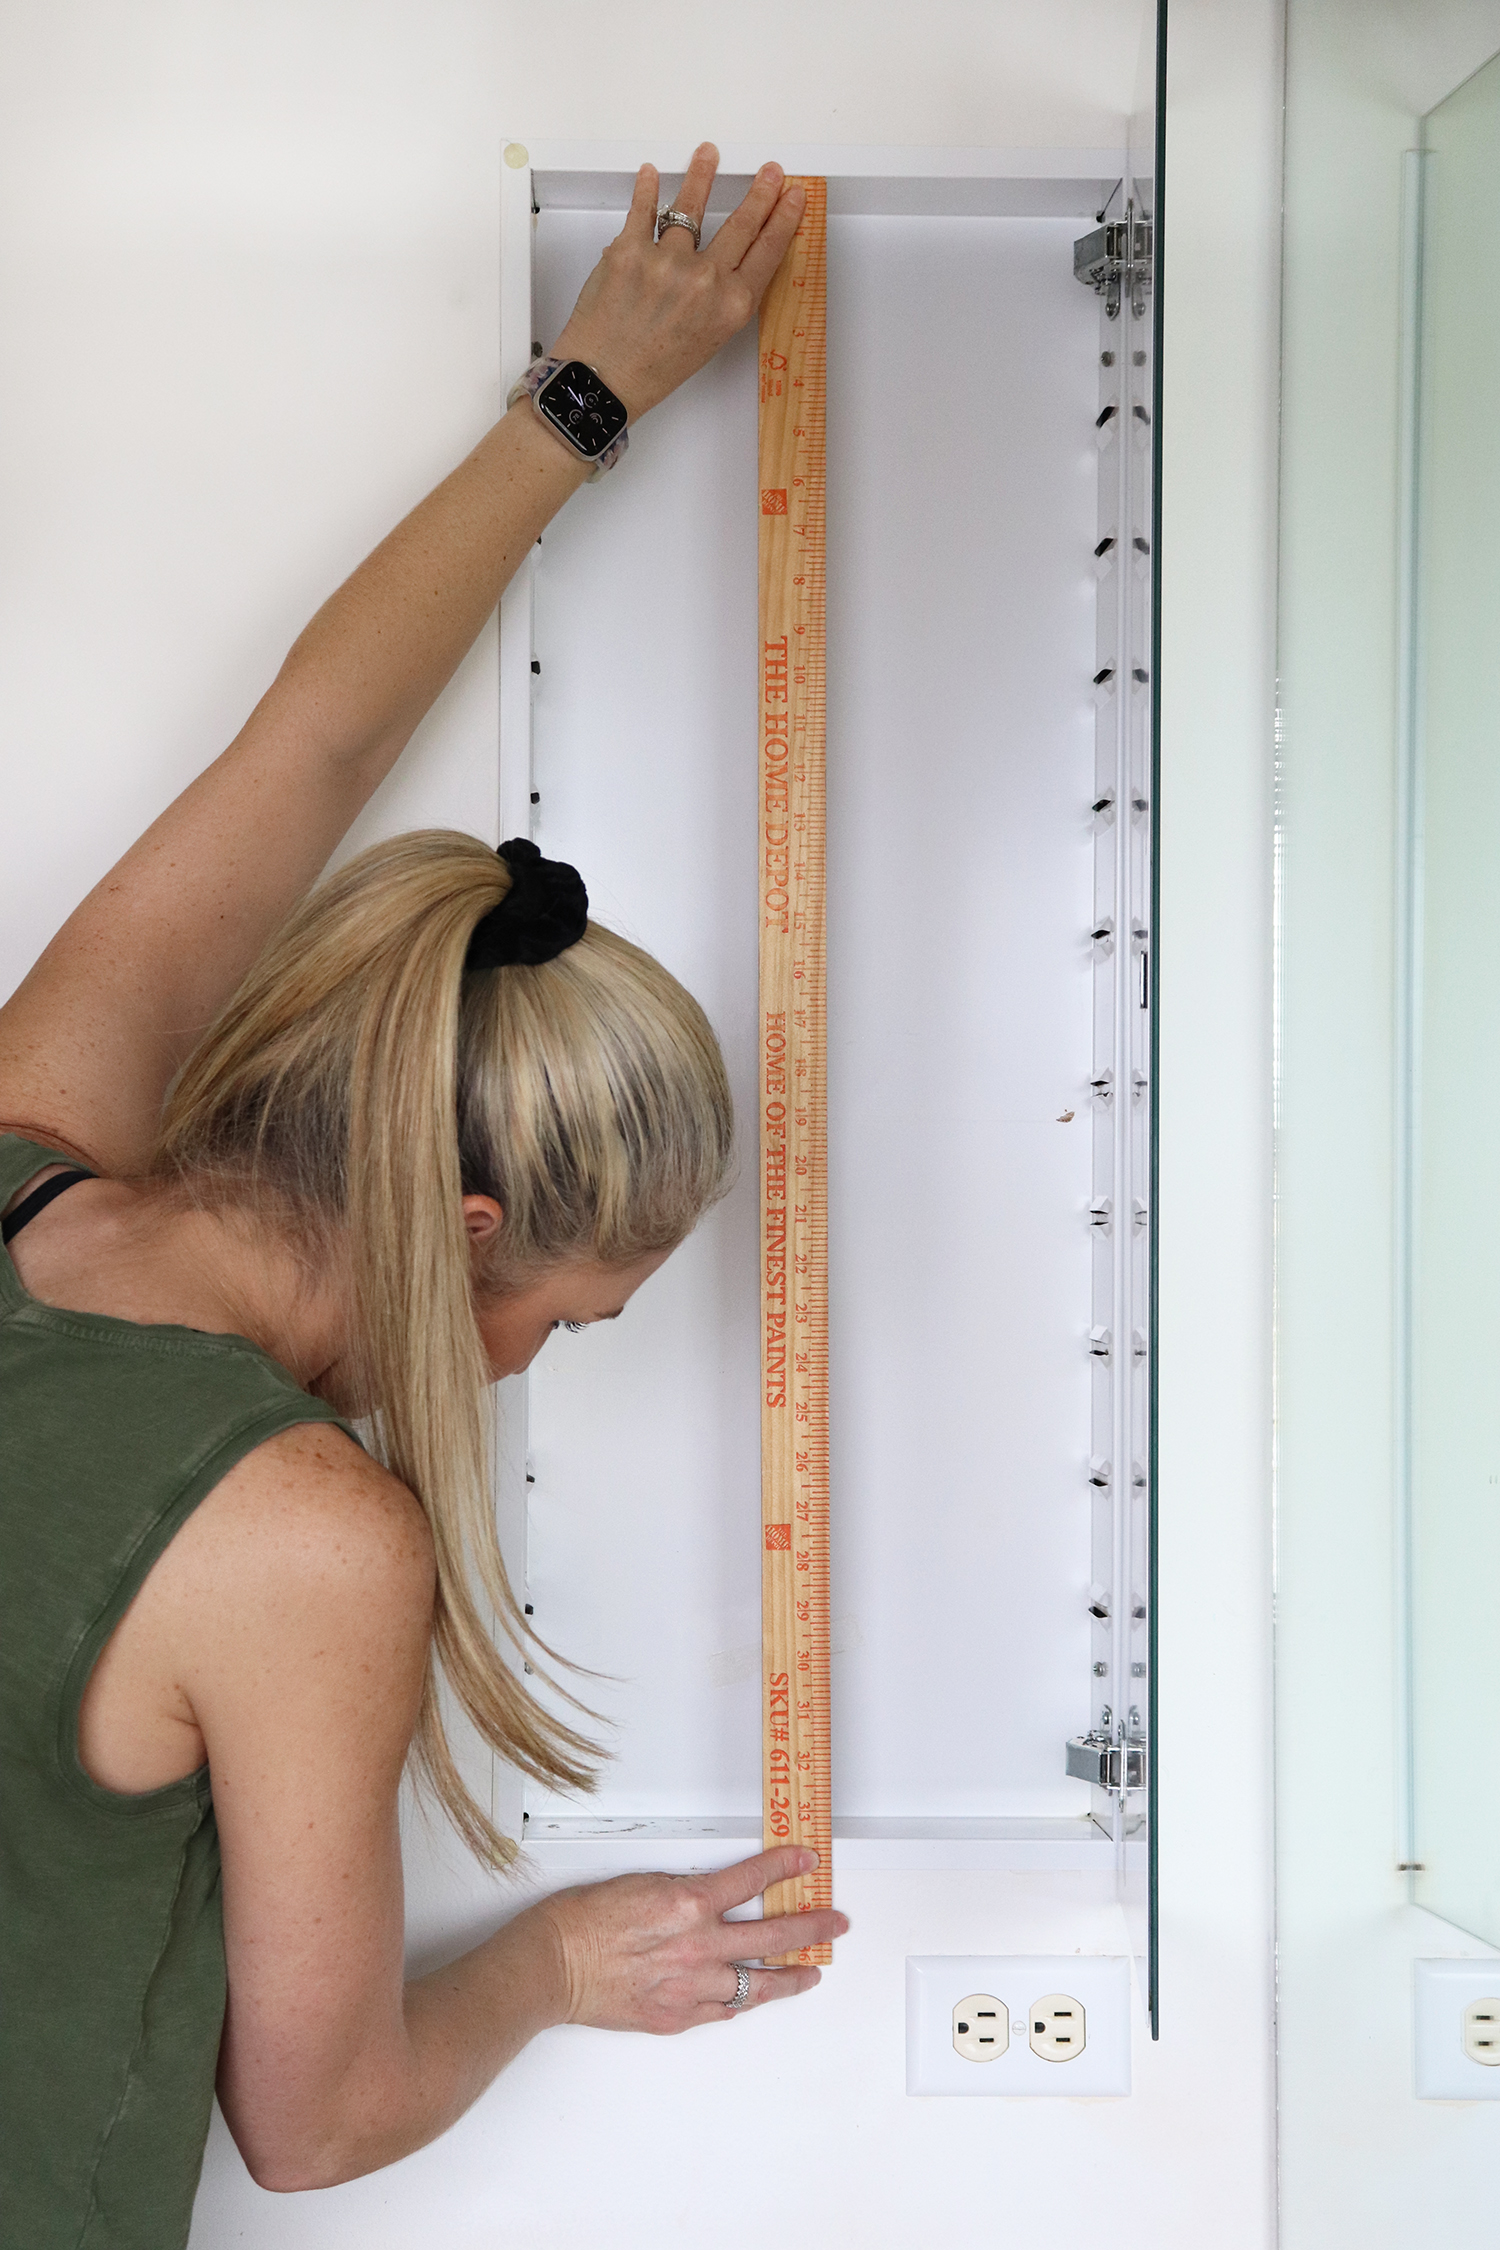
Step 1. Take Inside Dimensions
With a yardstick or a measuring tape, measure the width and height of the inside of the medicine cabinet.
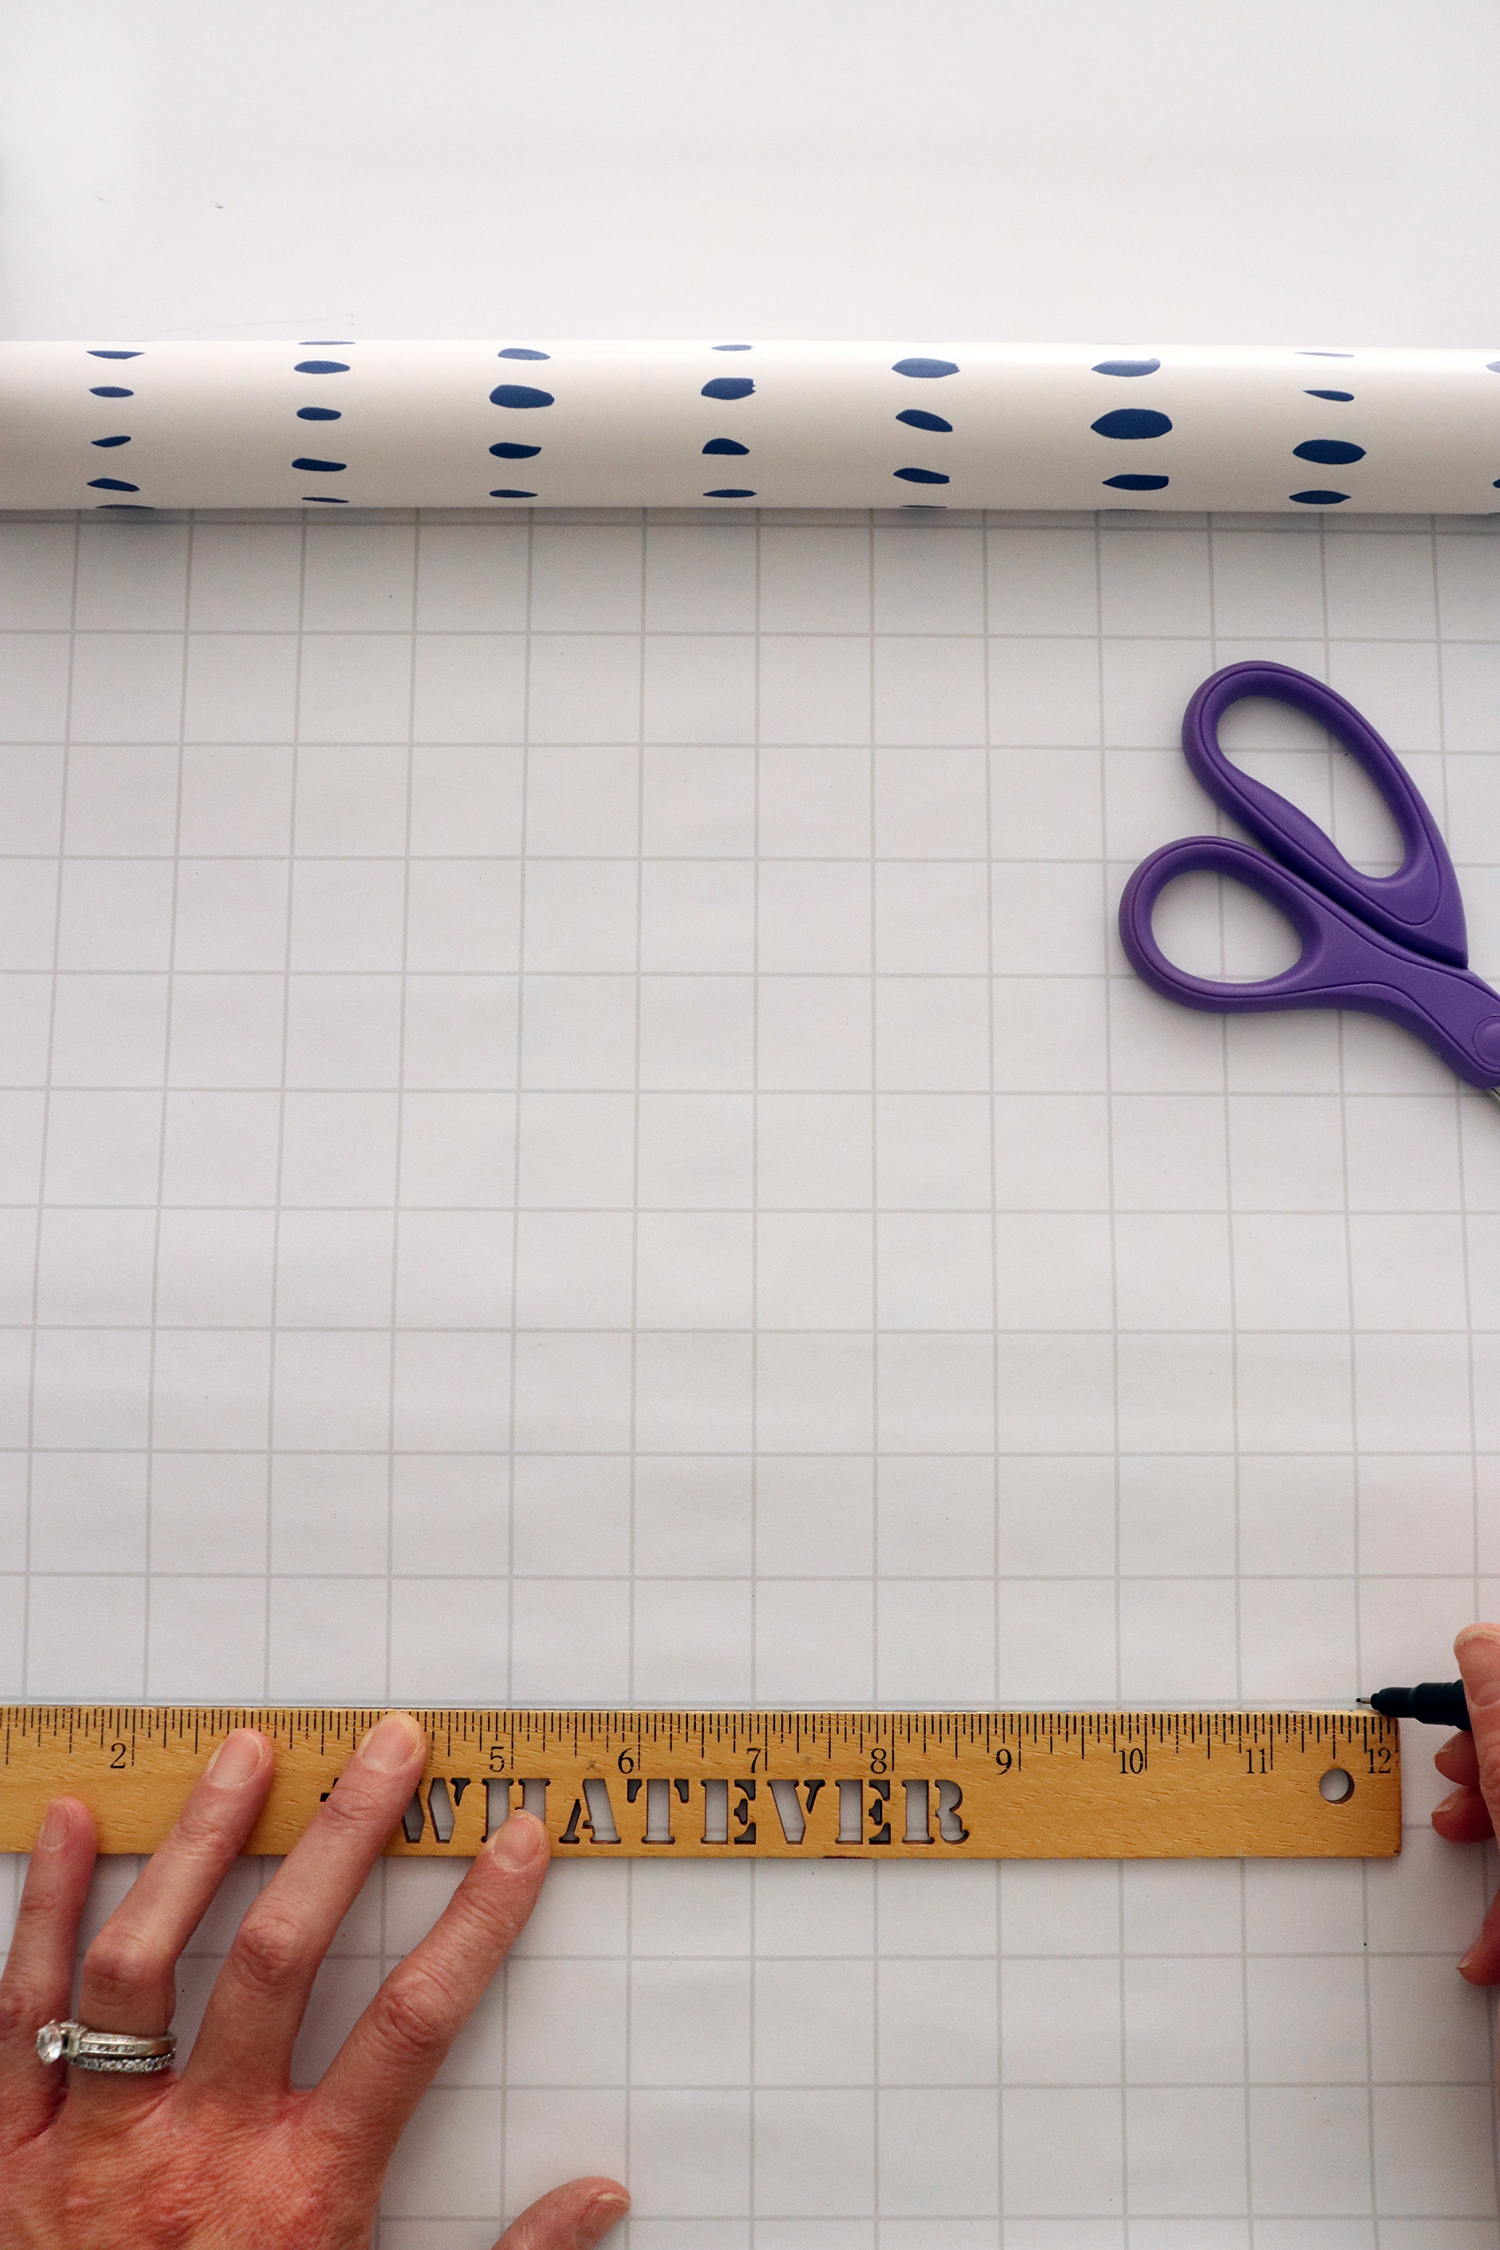
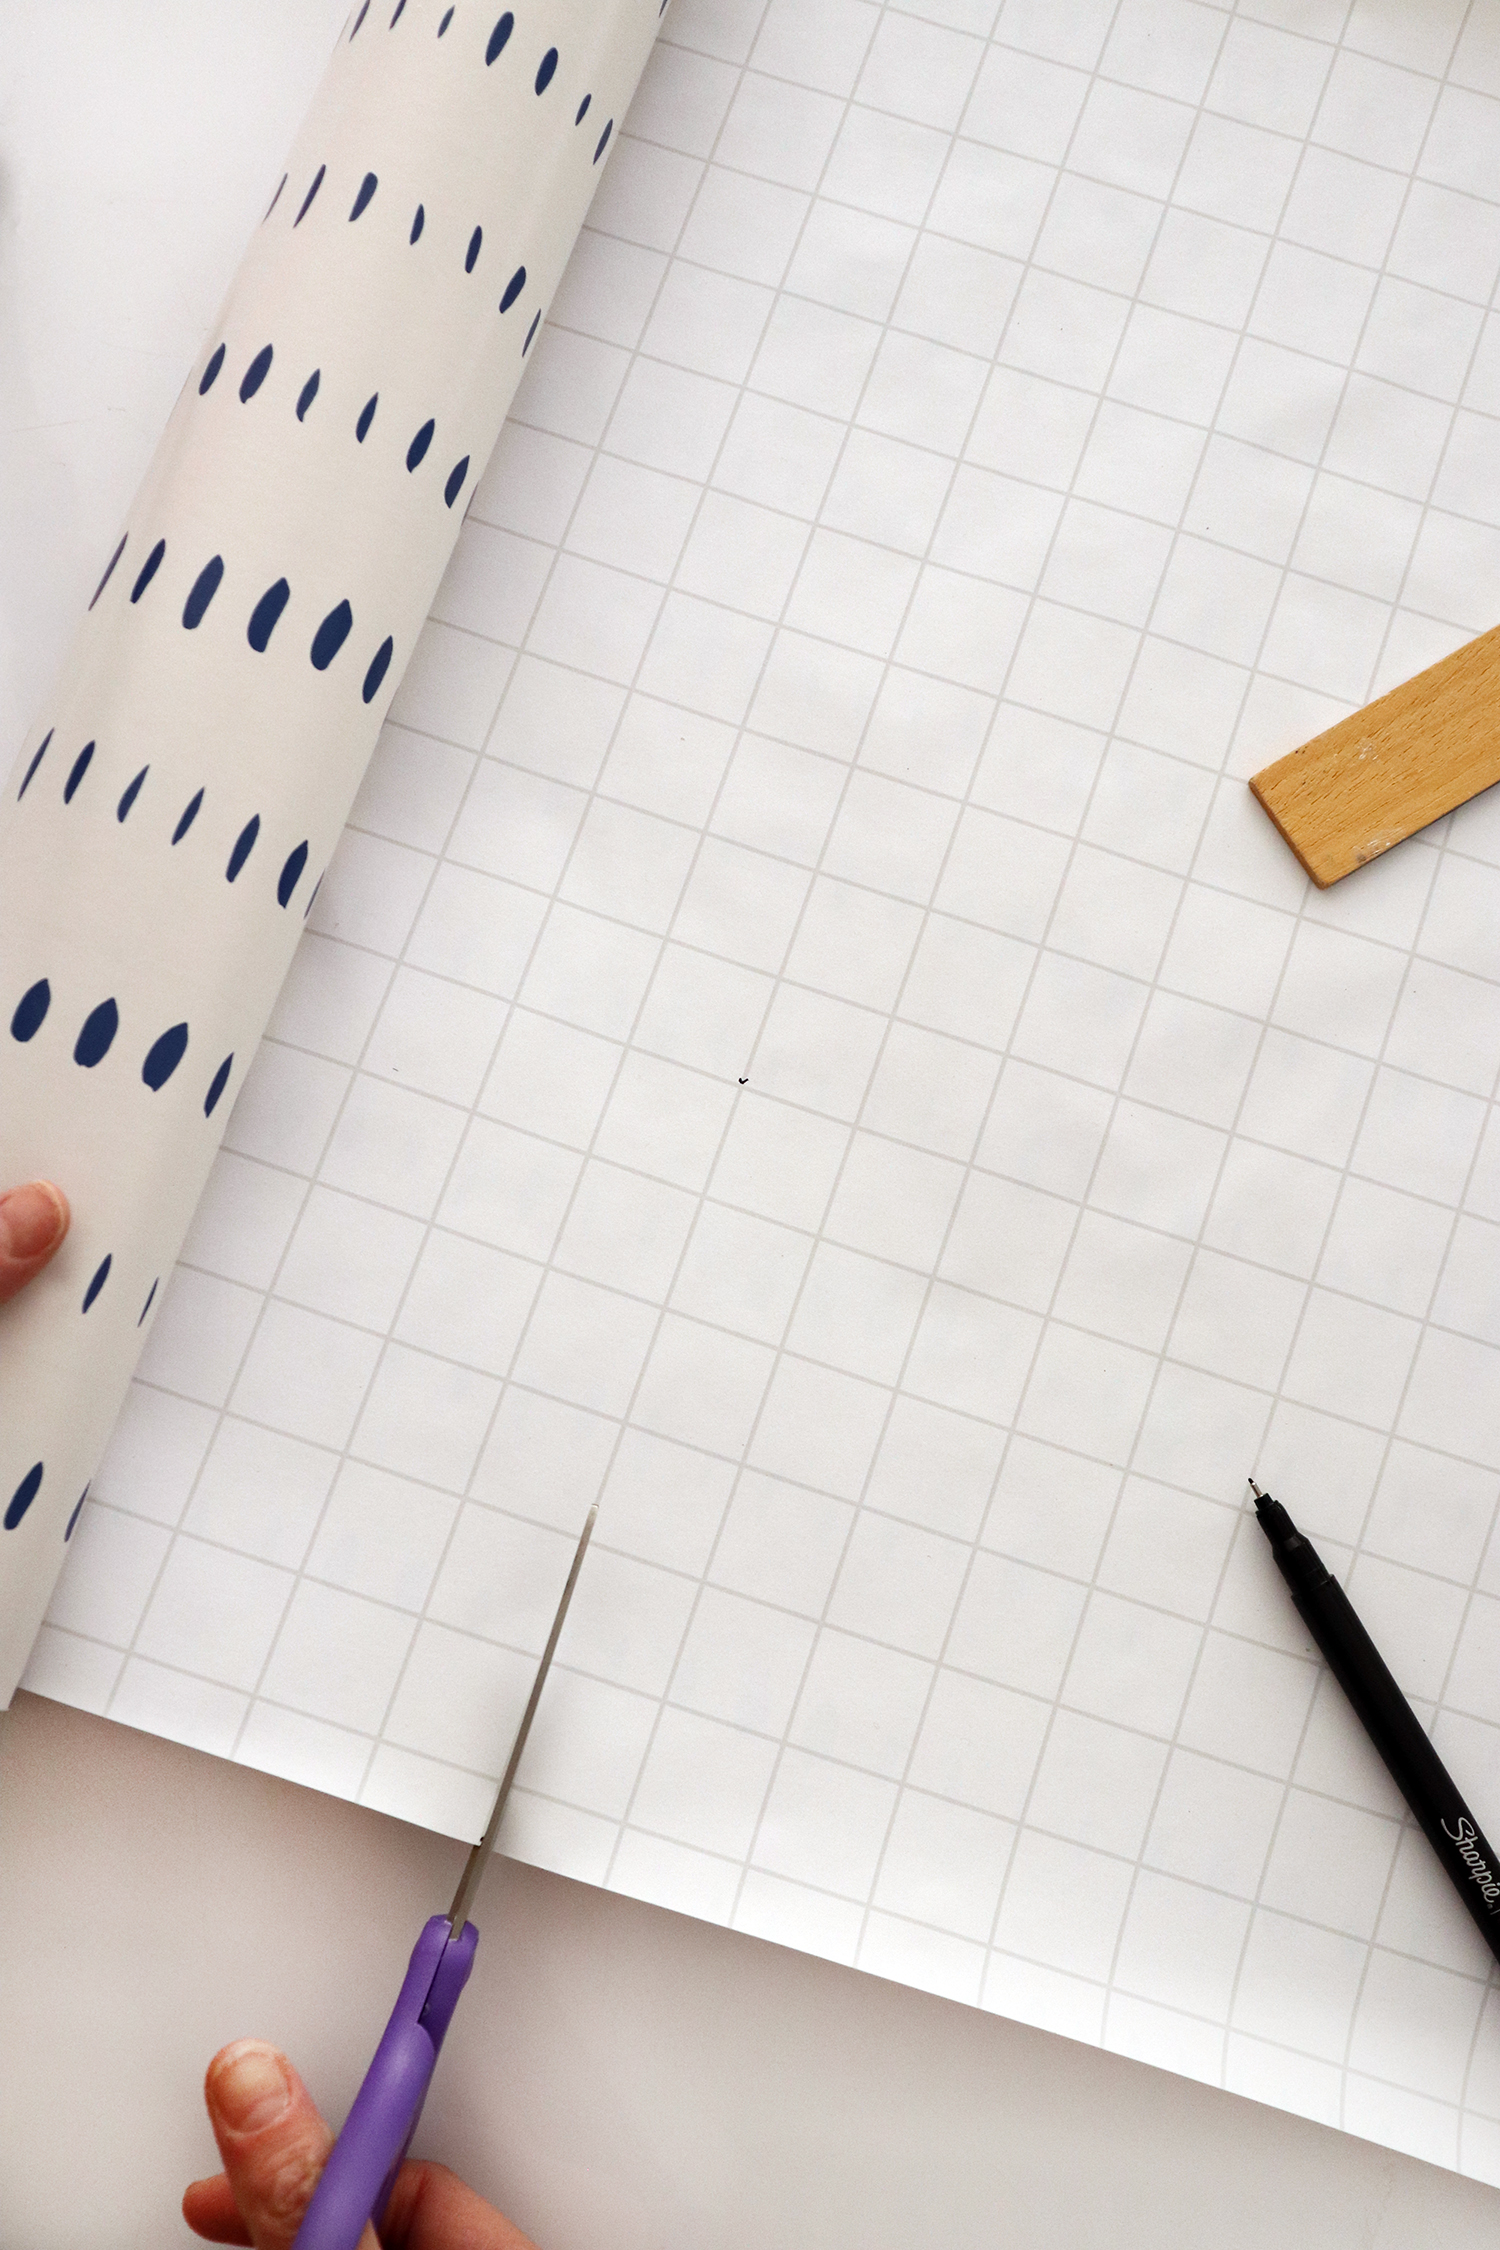
Step 2. Cut the Contact Paper
With measurements noted, proceed to cut the contact paper to size. Depending on the width of your contact paper roll, you will have to make some adjustments. My contact paper roll was wide enough (18 inches) to cover the entire width of the cabinet, which was 12 inches wide on the inside.
Step 3. Install the Contact Paper
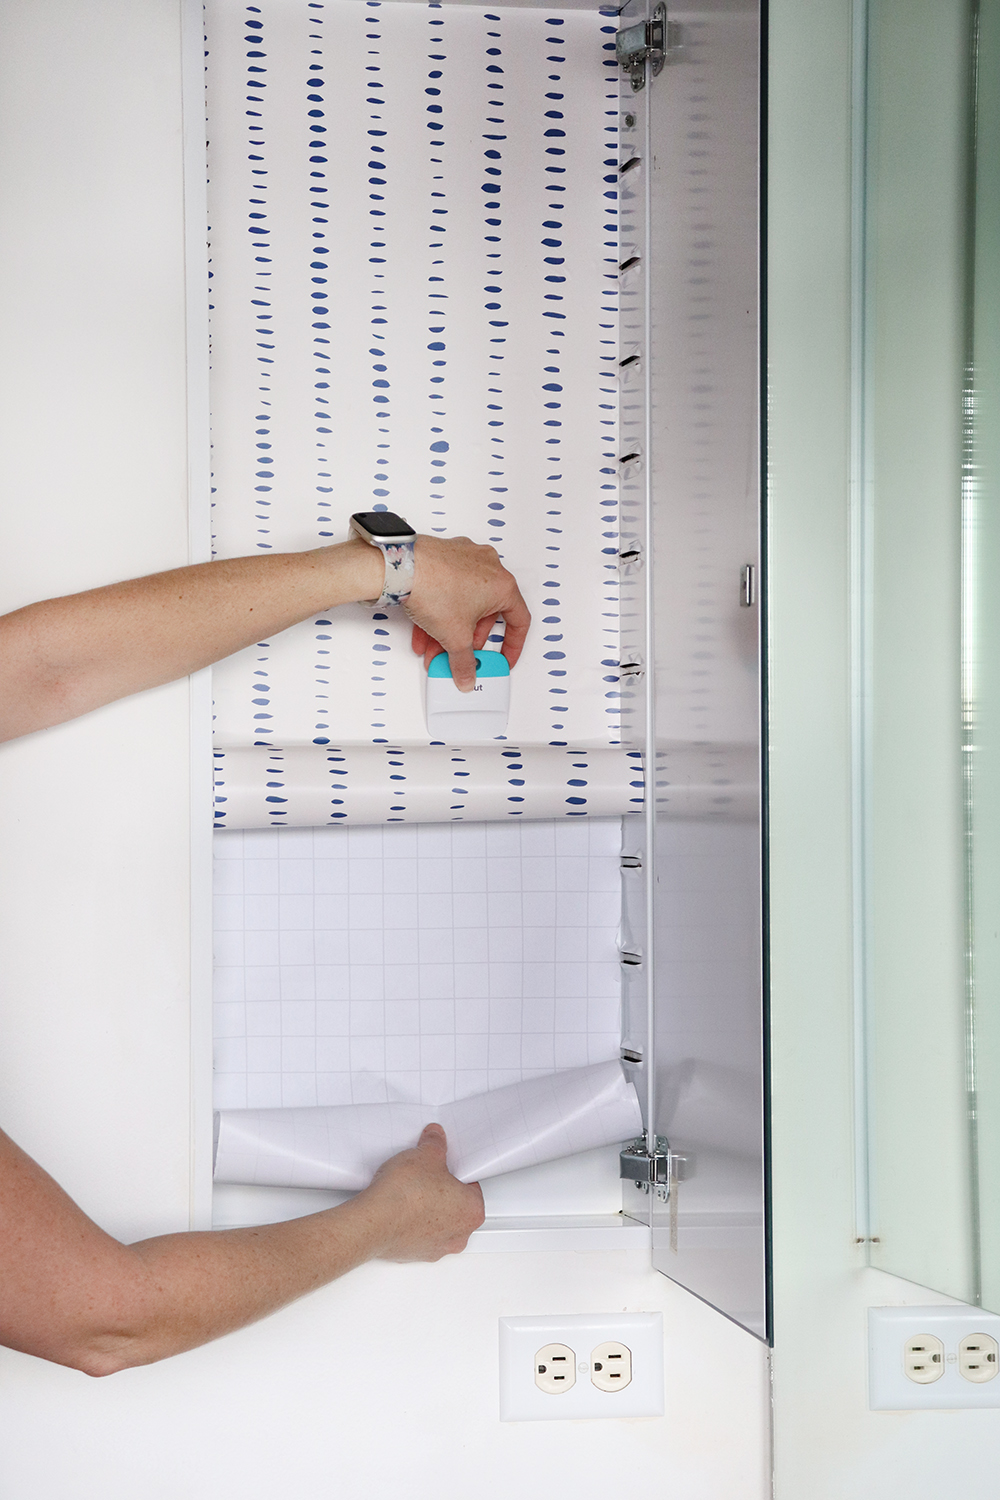
Starting from the top, peel off just a few inches of the backing and lay it on the back of the medicine cabinet. To remove bubbles, use a wallpaper or vinyl smoothing tool (I used the one from the Cricut basic tools set. A credit card works just as well.
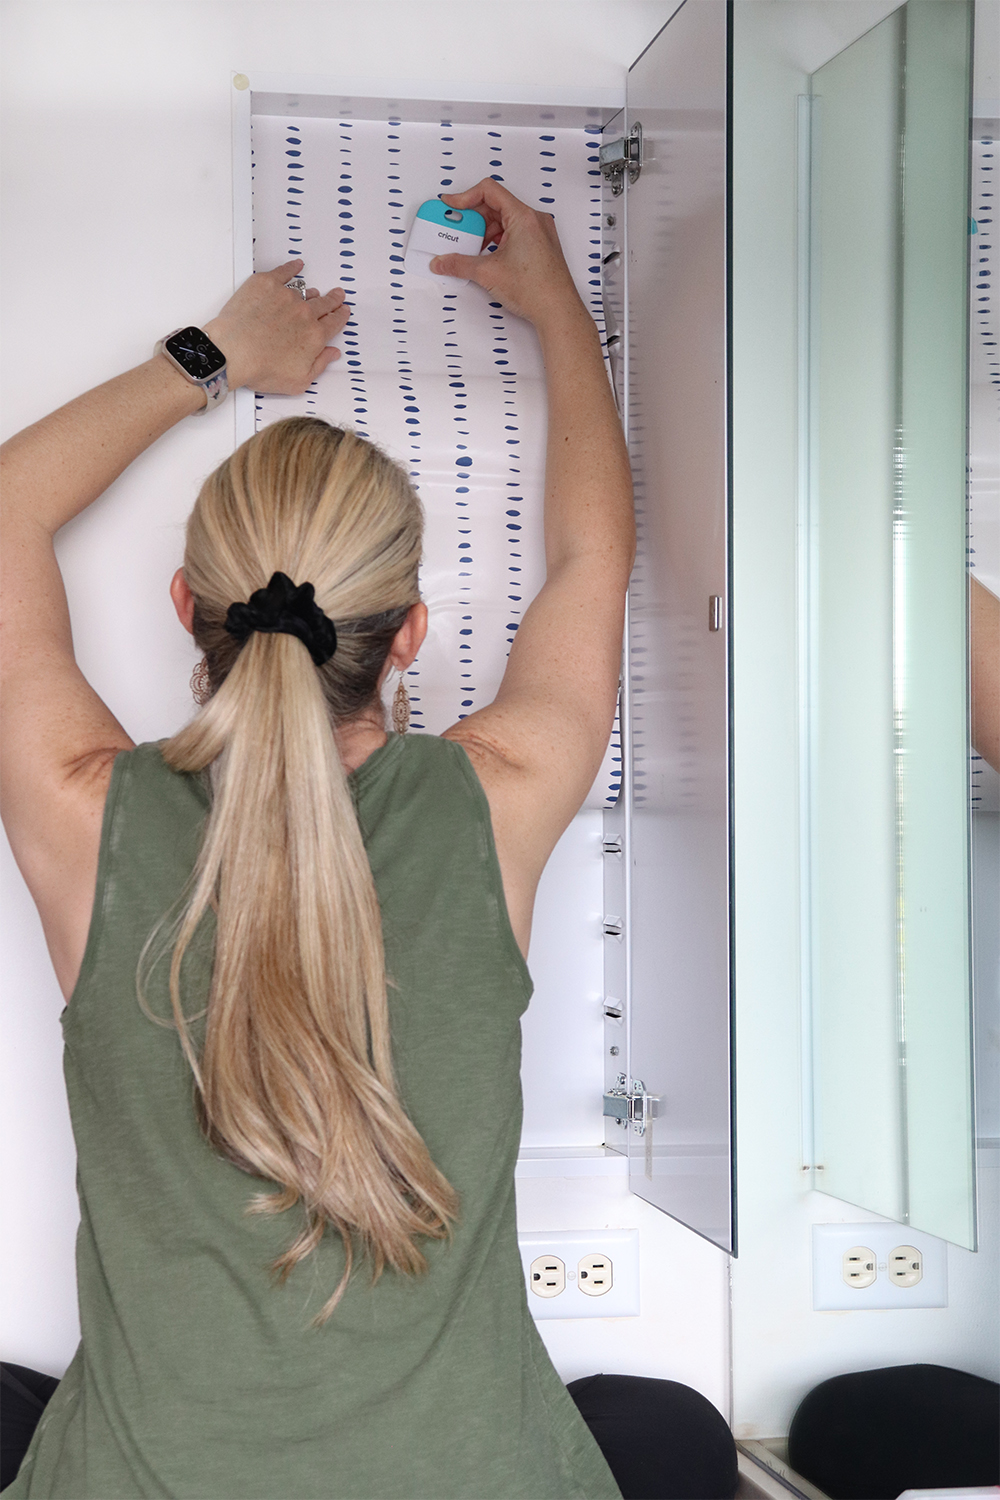
Slowly work your way down, peeling the backing with one hand and smoothing the contact paper with the other.
Step 4. Wrap the inside of the door (Optional)
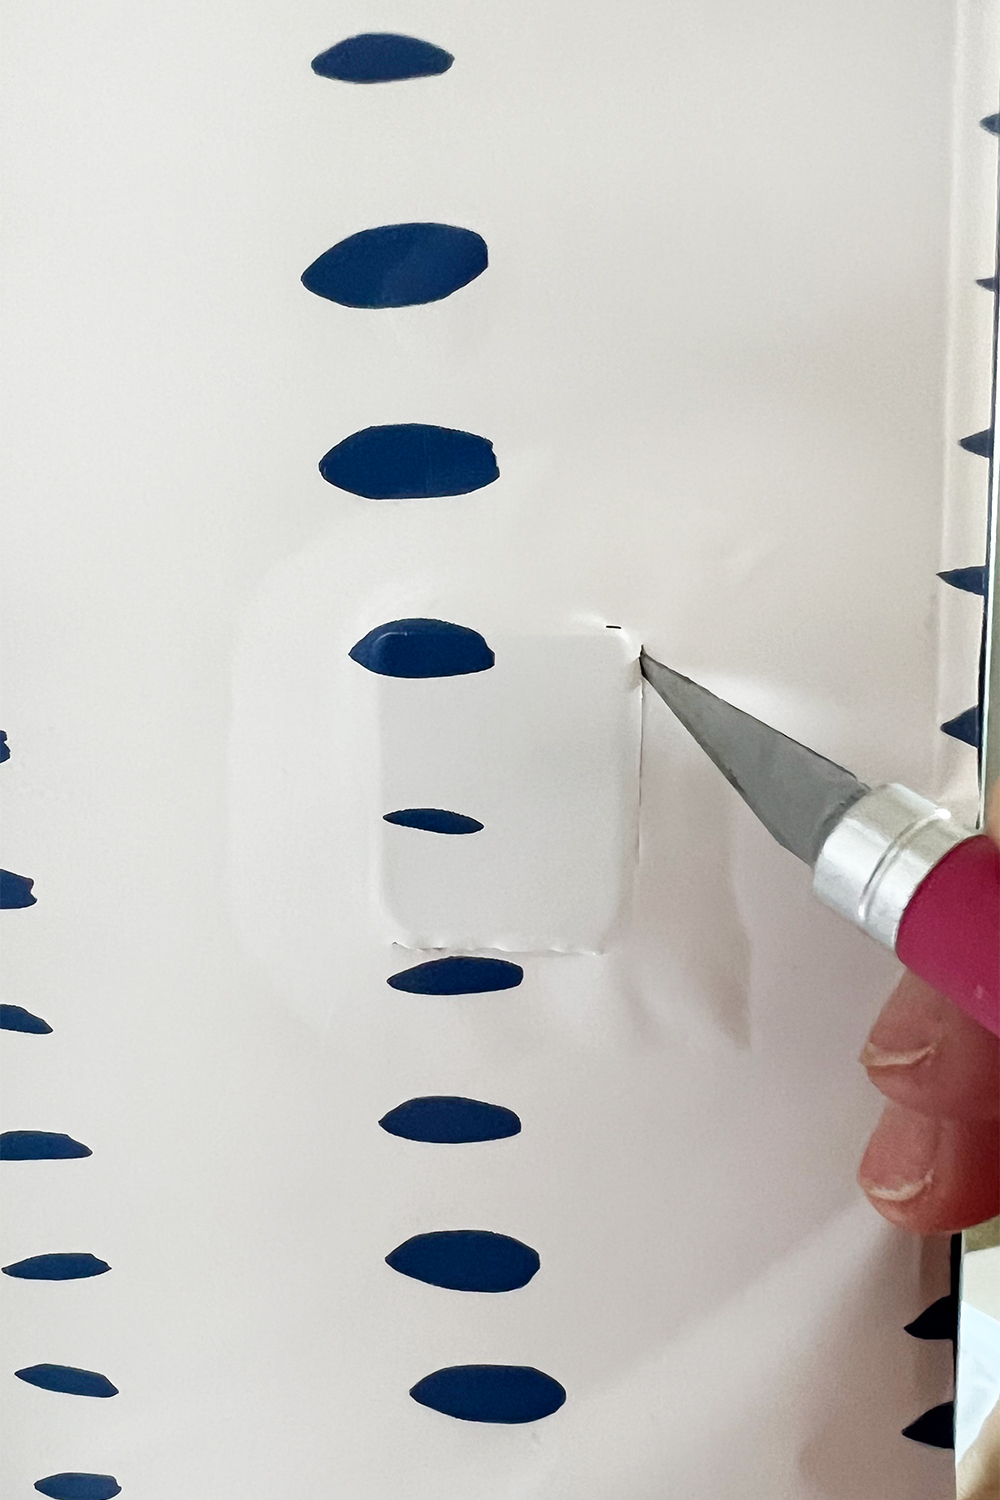
Additionally, I decided to wrap the inside of the medicine cabinet’s door. Wrapping around the hinges gets a little tricky. Drape the contact paper over it and make cuts with small detail scissors or a craft knife.
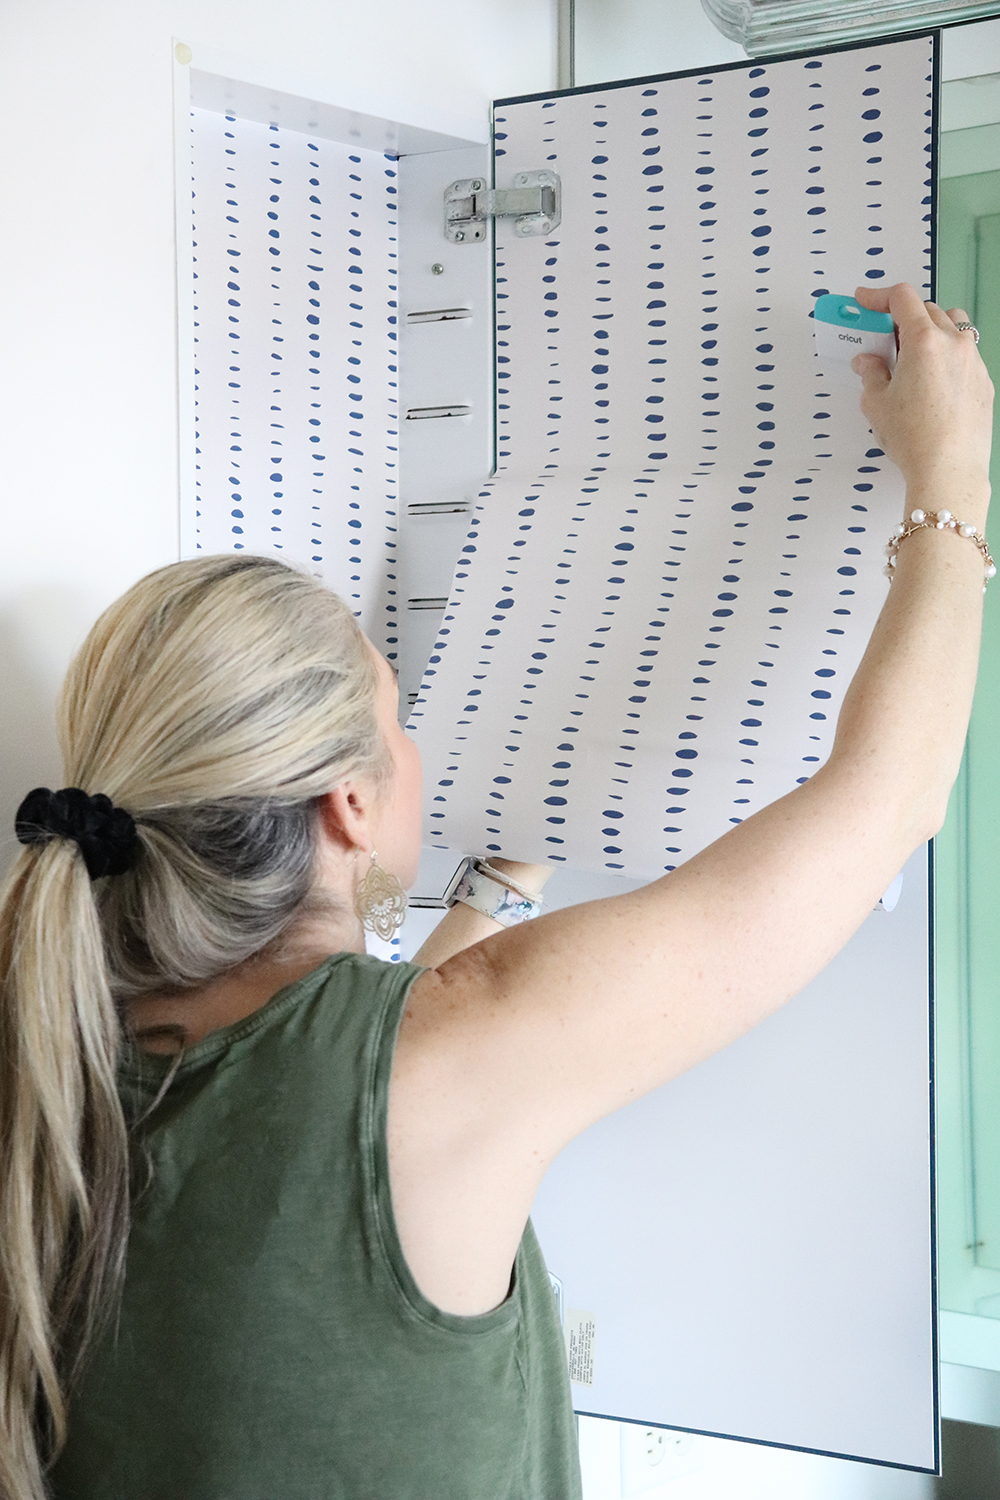
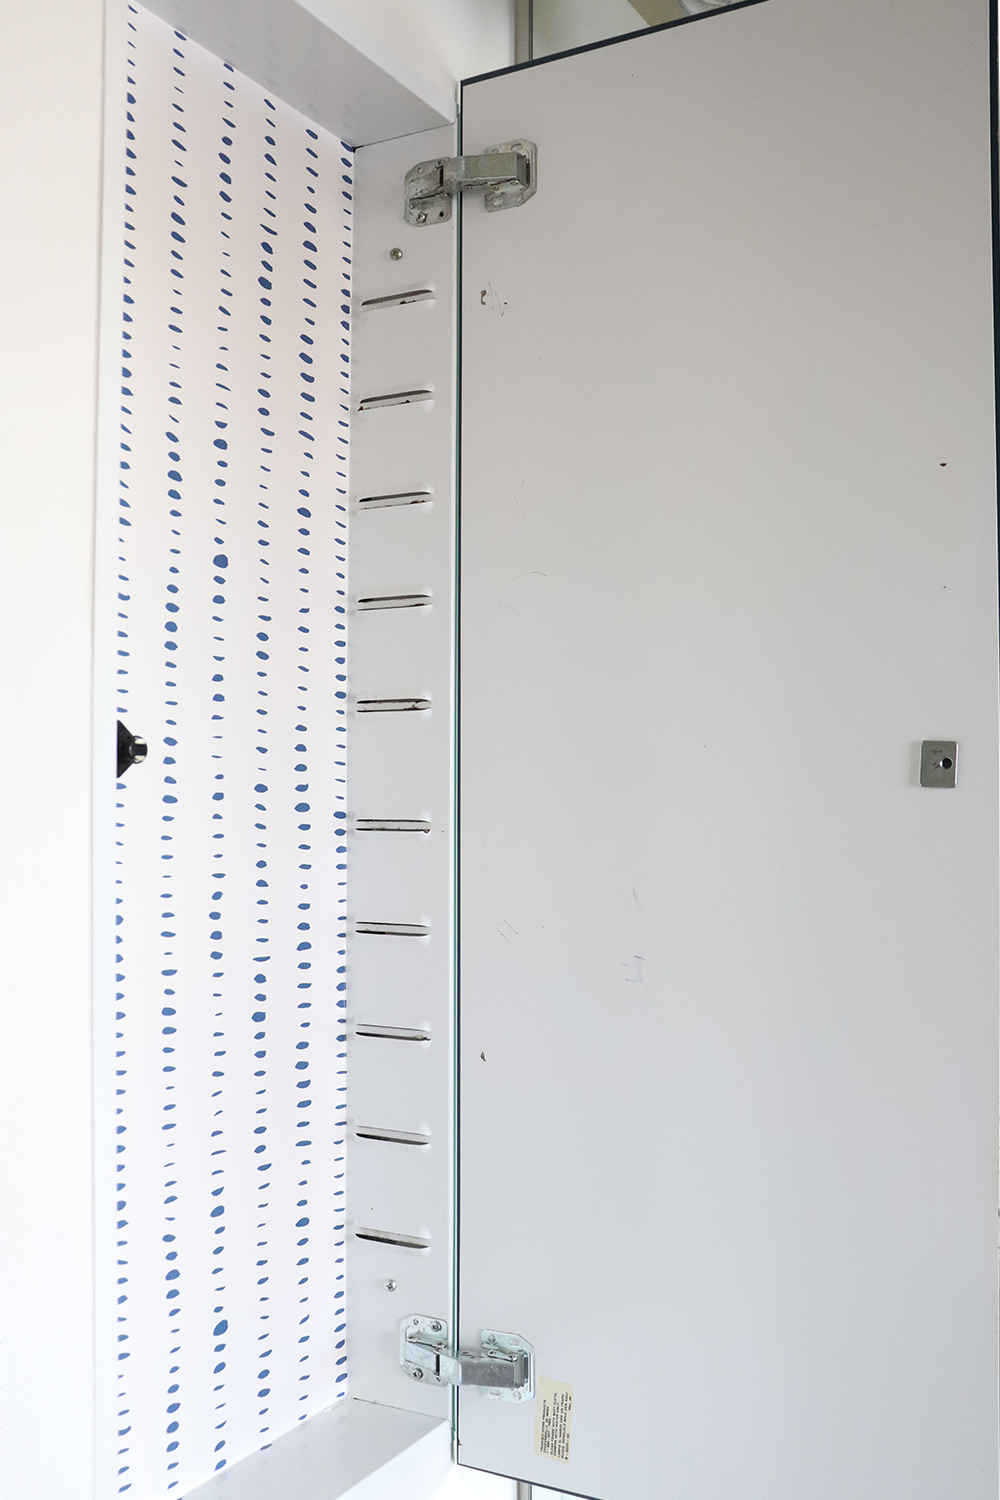
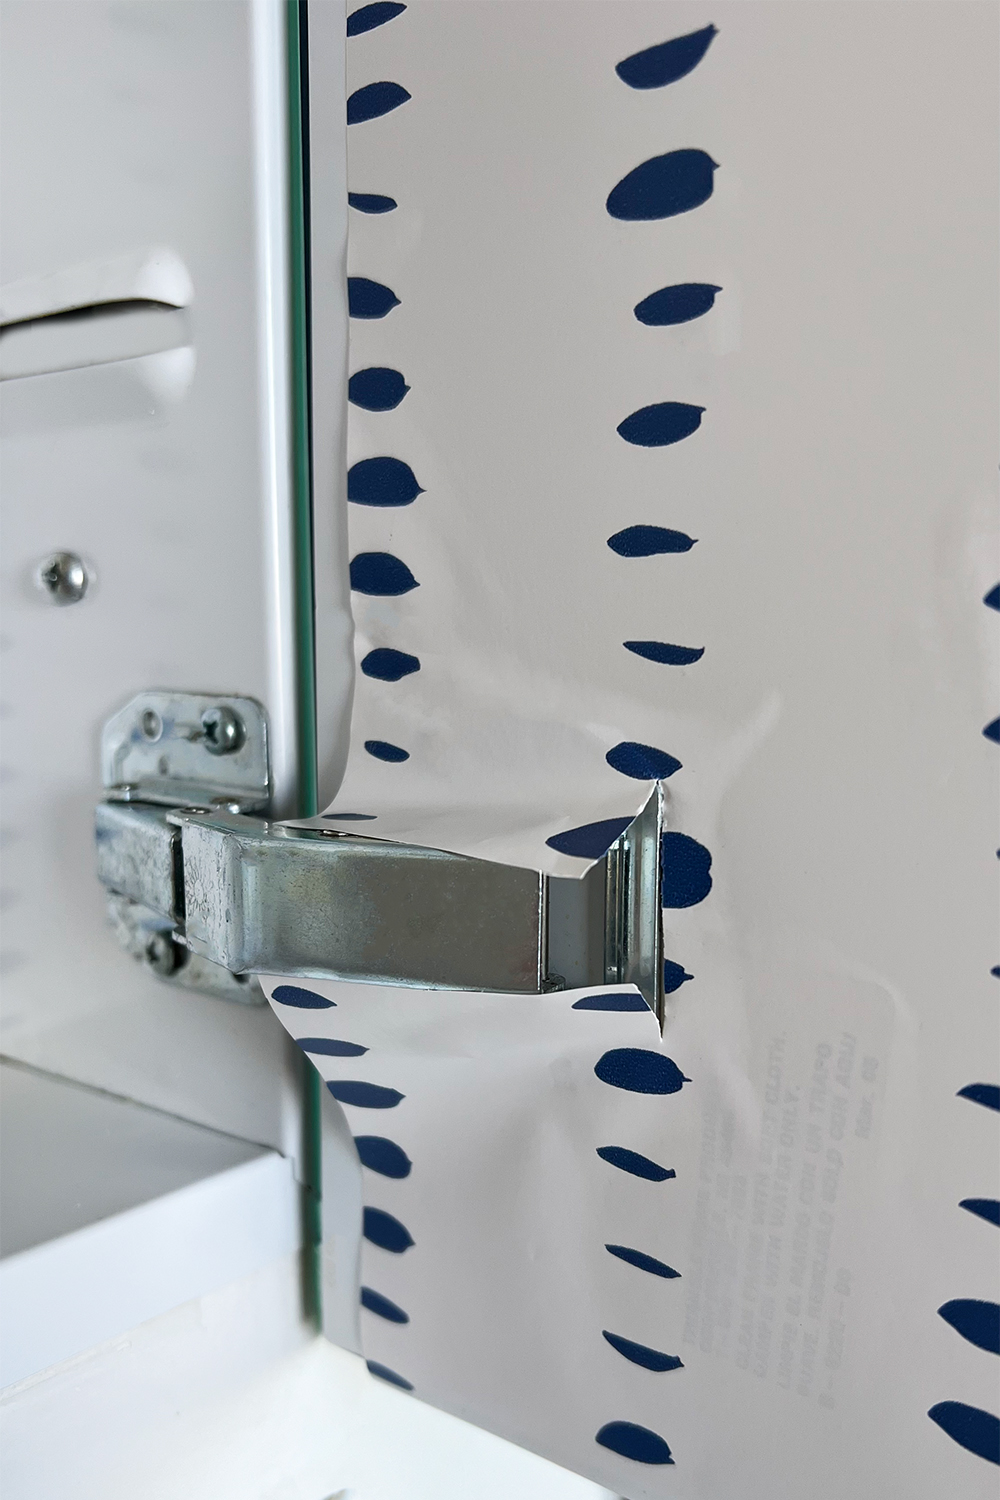
After making the cuts around the hardware, peel the piece of contact paper off. Smooth out the bubbles.

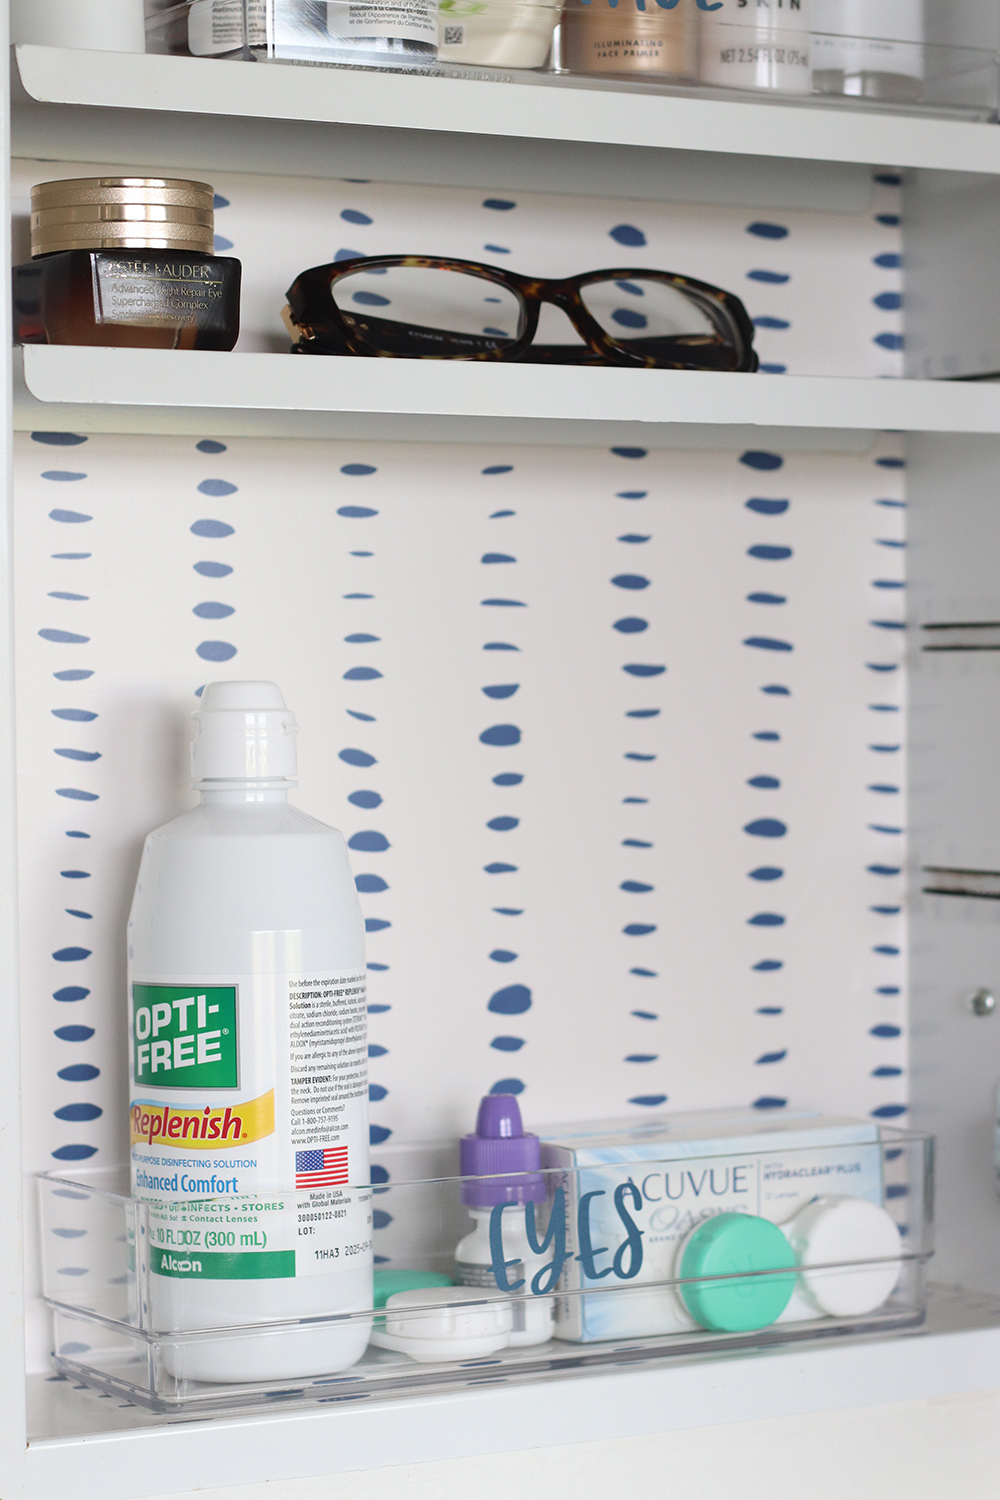
And that’s it! You just gave your old medicine cabinet a quick and inexpensive makeover! Next, you will have to organize the medicine cabinet in a way that works for you. You can store medicine, first aid supplies, beauty, and/or health products.
Medicine Cabinet Update Sneak Peek
Here is a sneak peek at what the medicine cabinet looks like now. Check out the second part of this makeover: medicine cabinet organization.