Laundry Room Reveal

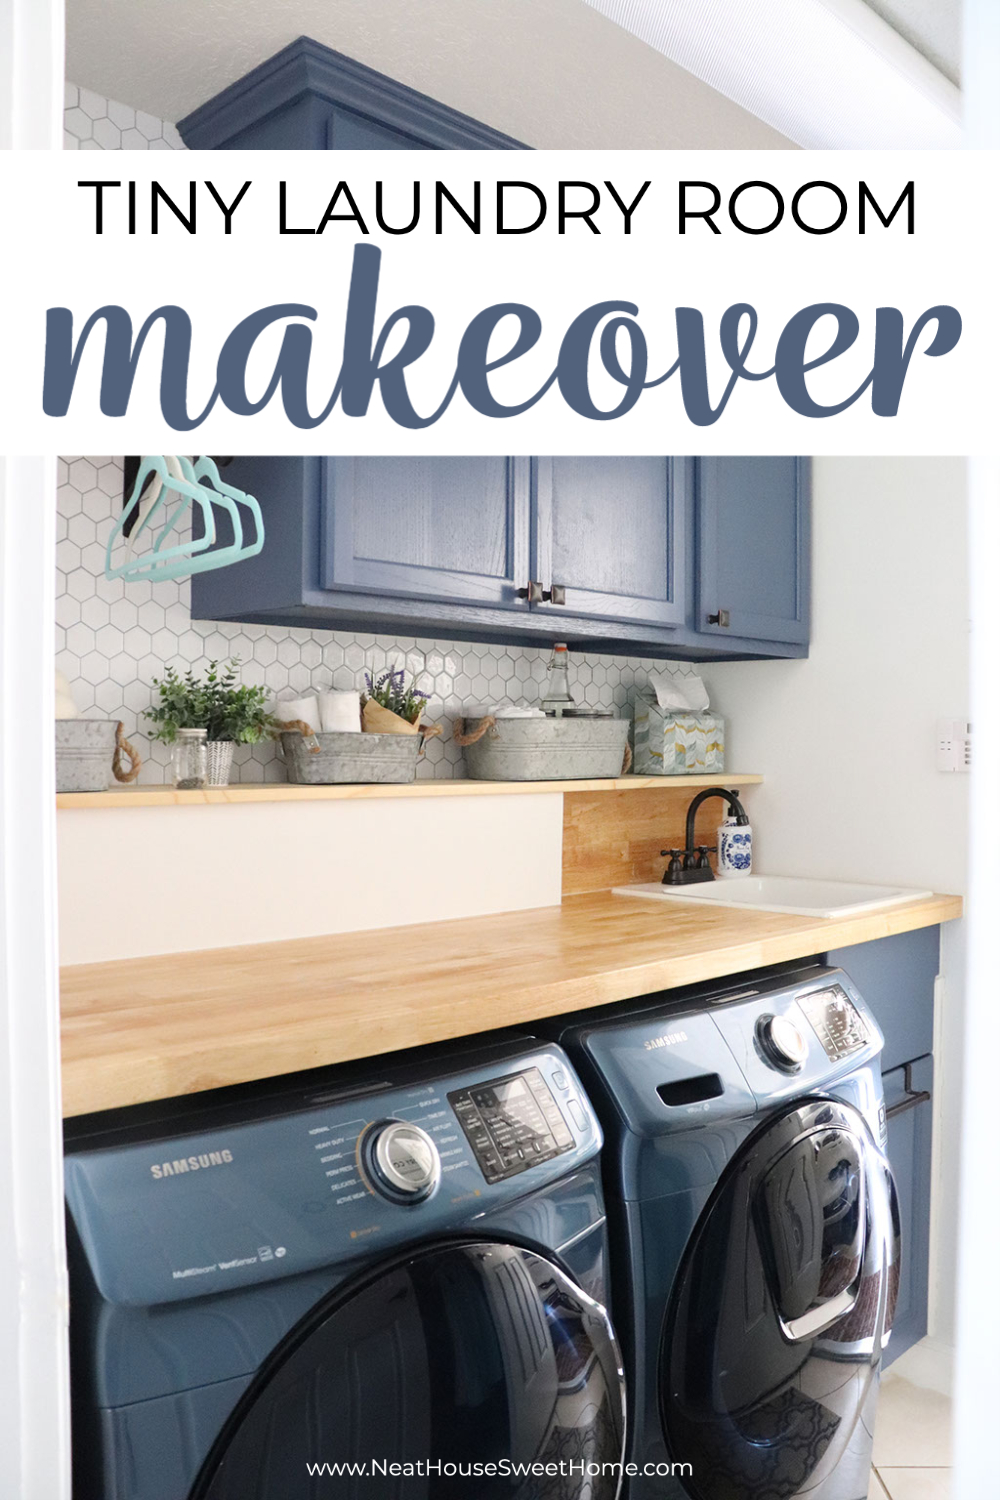
May has been a busy month, to say the least, but finally, I get to reveal our small laundry room makeover and the gorgeous wood countertop over the front loaders. The final design is even more beautiful than I expected it to be. We had to make many changes along the way; it was overwhelming!
All in all, I am thrilled with how our laundry room turned out. I can’t wait to reveal all the details and before & after pictures of our small laundry room makeover.
Would you like to save this?
Our laundry room is tiny. It is not in a closet, but I wouldn’t consider it a ‘room’ either. It’s more like a passage from the family room to the garage. A little alley with so much traffic it makes it part mudroom too. It is so small that taking good pictures was a challenge.
But before I move on to the great laundry room reveal, let’s take a trip down memory lane.
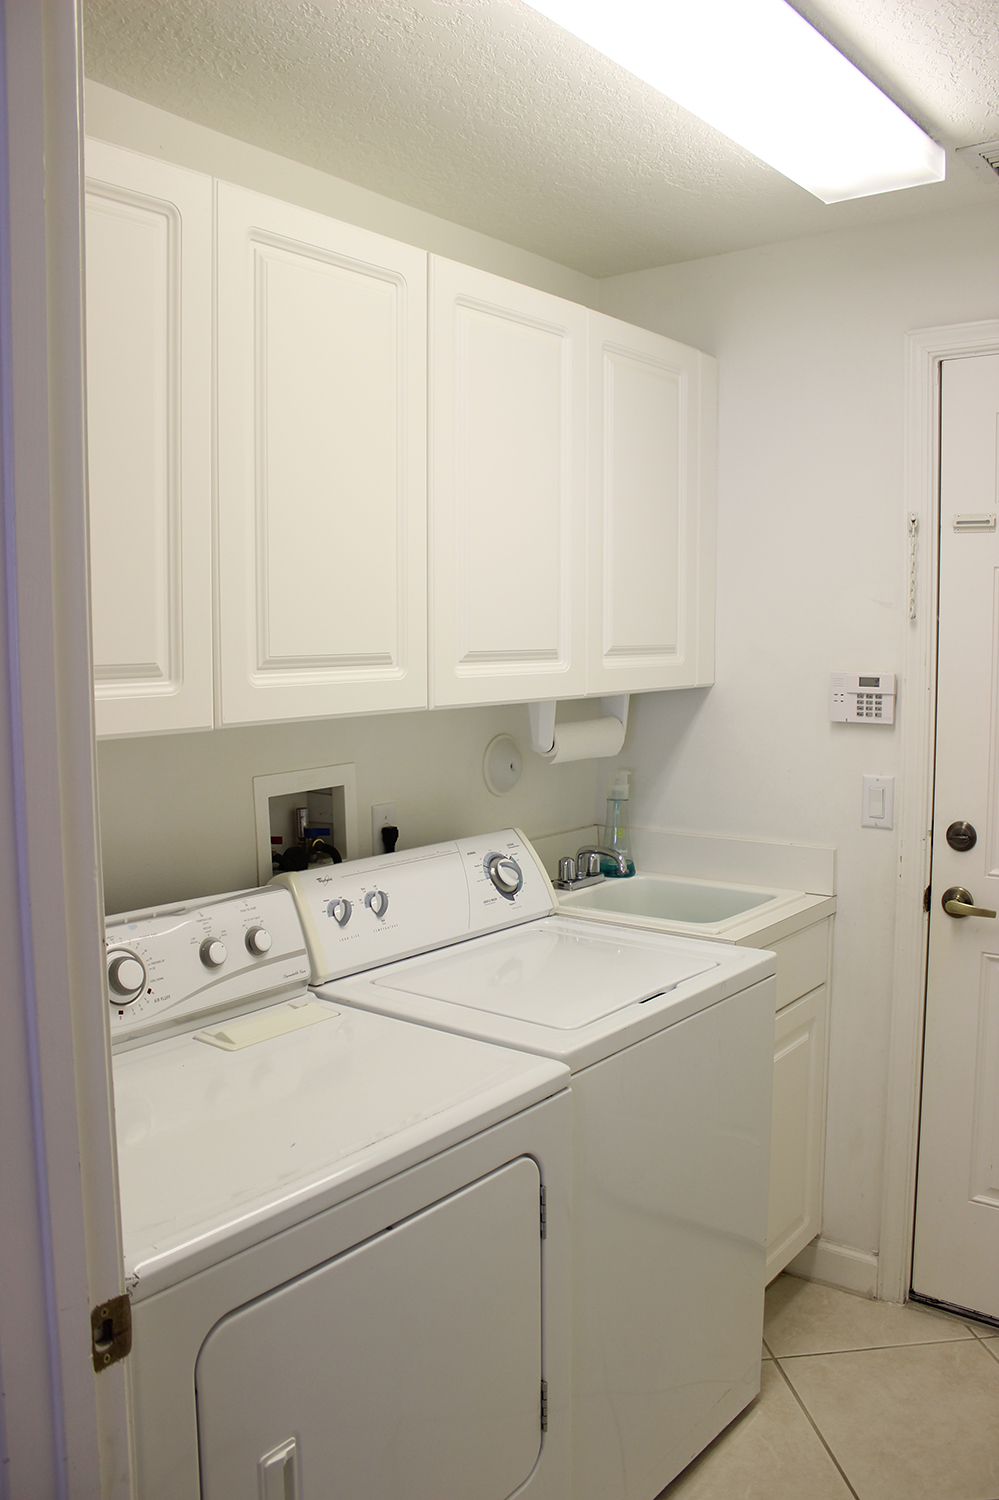
Small Laundry Room Before the Makeover
When we moved into this house, we lived in this white and boring laundry room for eight years.
When the washing machine broke down, we purchased Samsung front loaders in a beautiful Azure color. White over white is boring, so my head started spinning with design ideas. It was then that I published this post with my design board and plans.
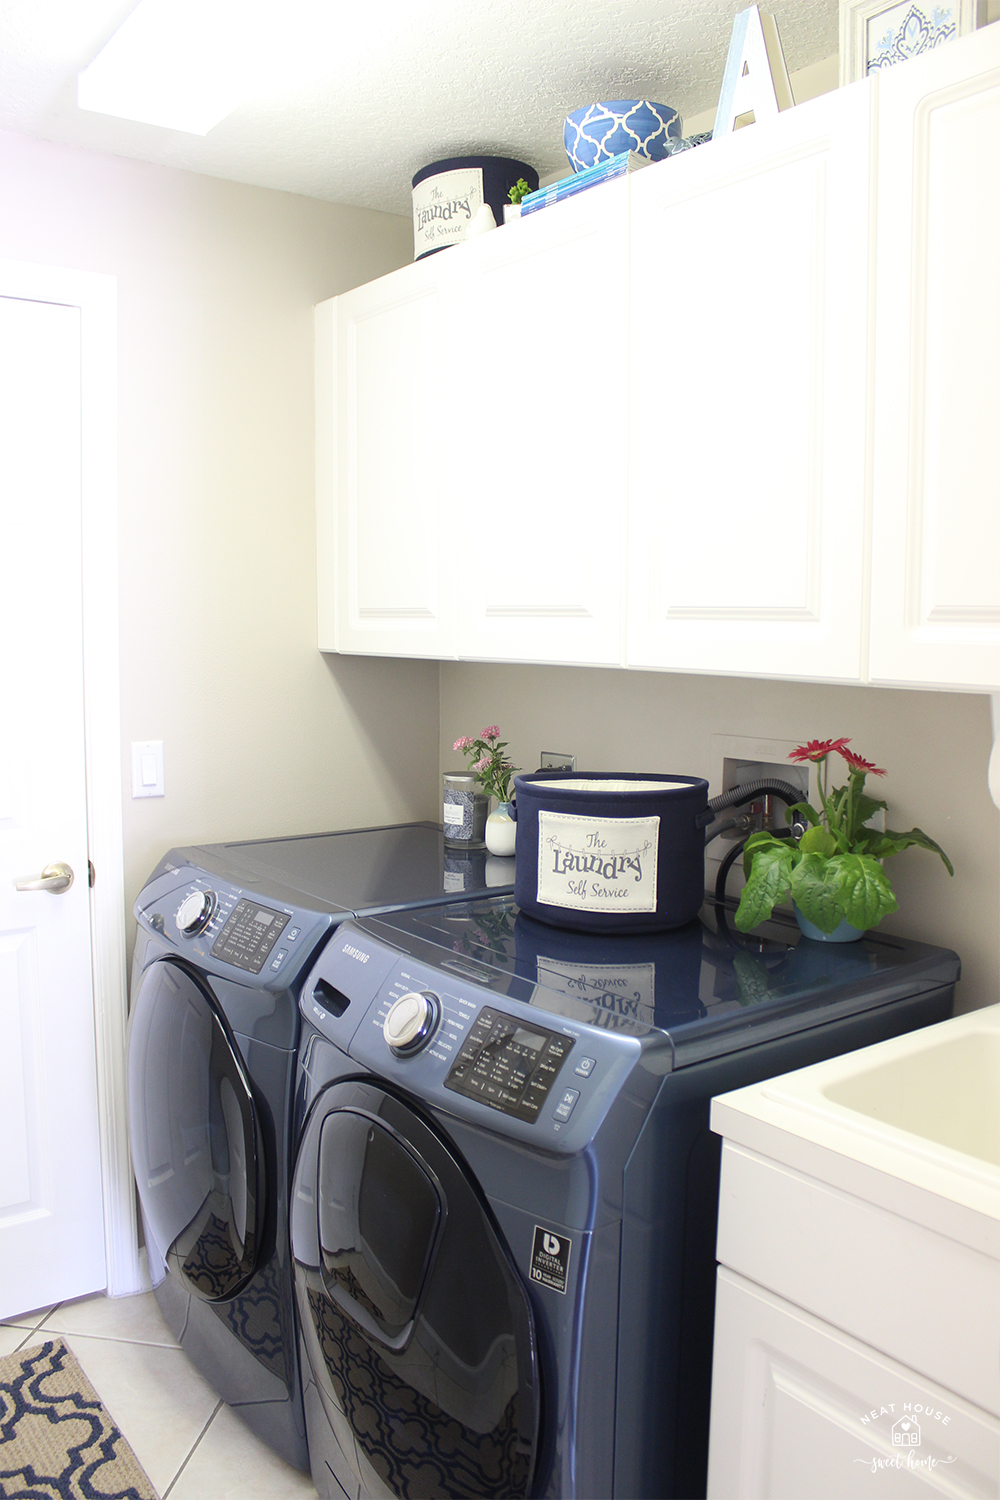
My plans and dreams for our small laundry room makeover were to install a wood countertop over the front loaders so I could have a place to work, fold and organize my laundry.
But life happens.
That dream of mine of a dark stained wood countertop faded away, and the top of the front loader machines itself became my working surface for the past 5 years.

Here’s a wide angle view.
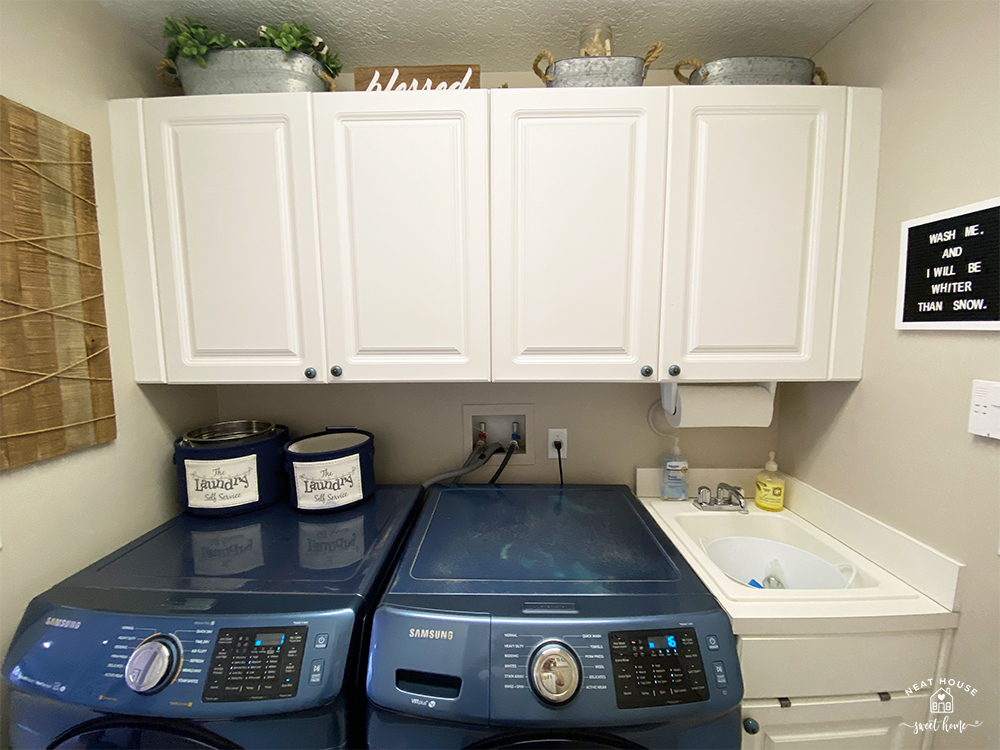
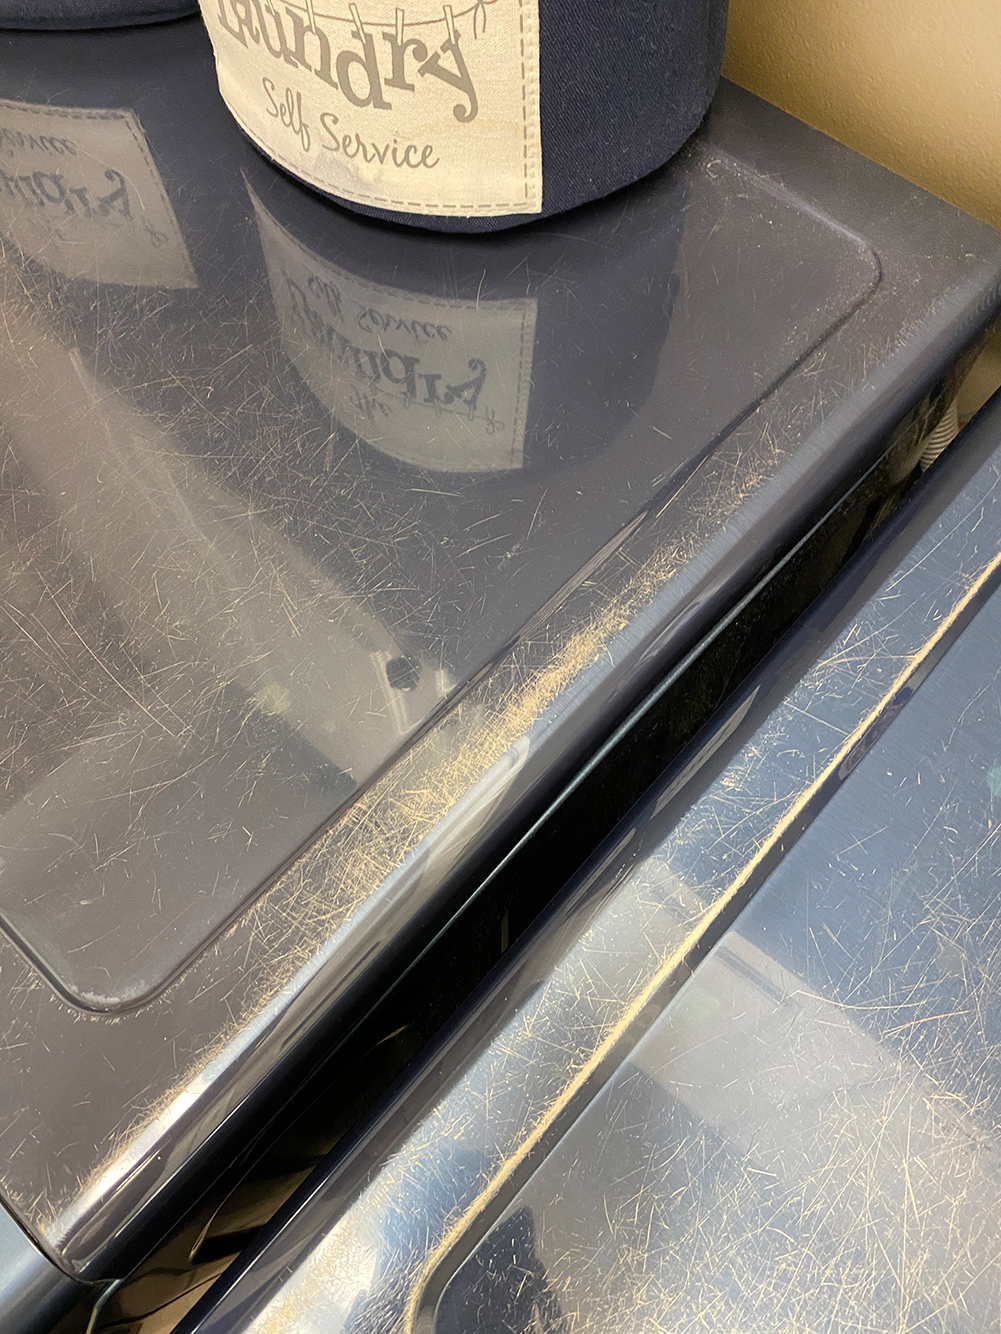
The top surface of the machines got beat up by all the possible things we placed on top of them. Scratches and even bleach stains made their way into the laundry room, and then it wasn’t so pretty anymore.
For years I kept the laundry room cabinets organized in a very functional and inexpensive way. But there’s something true about being organized, and that is that you must love the room to keep it neat; otherwise, you unconsciously start letting go.
And that’s exactly what happened to me with this laundry room.
This post may contain affiliate links for your convenience. For more information, please read my Affiliate Disclosure.
Laundry Room Reveal
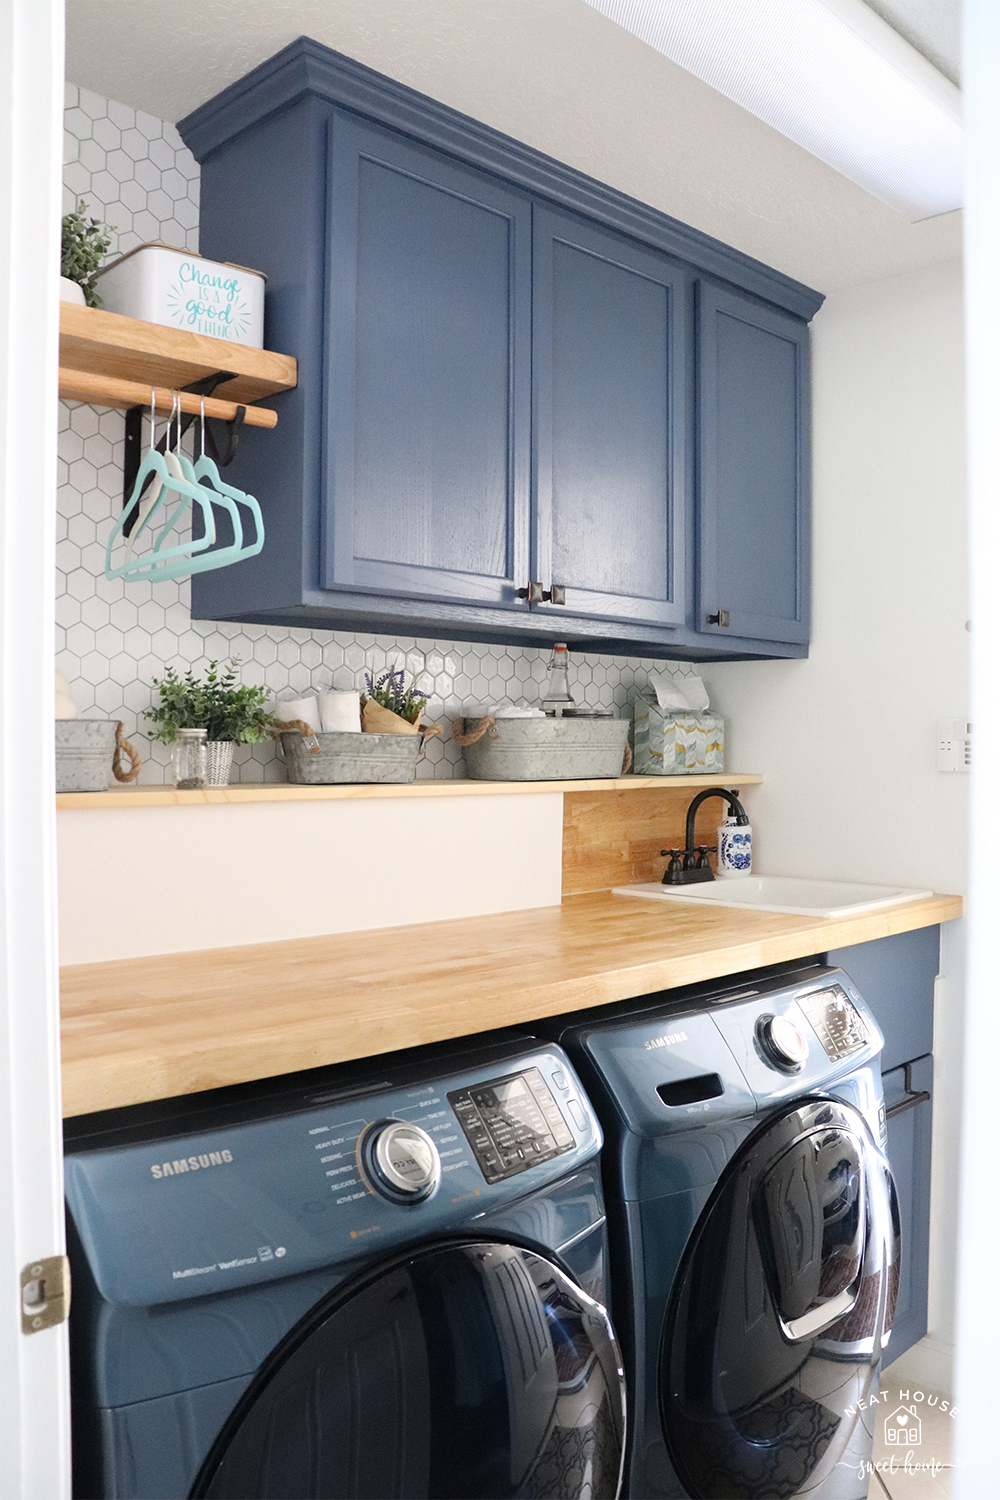
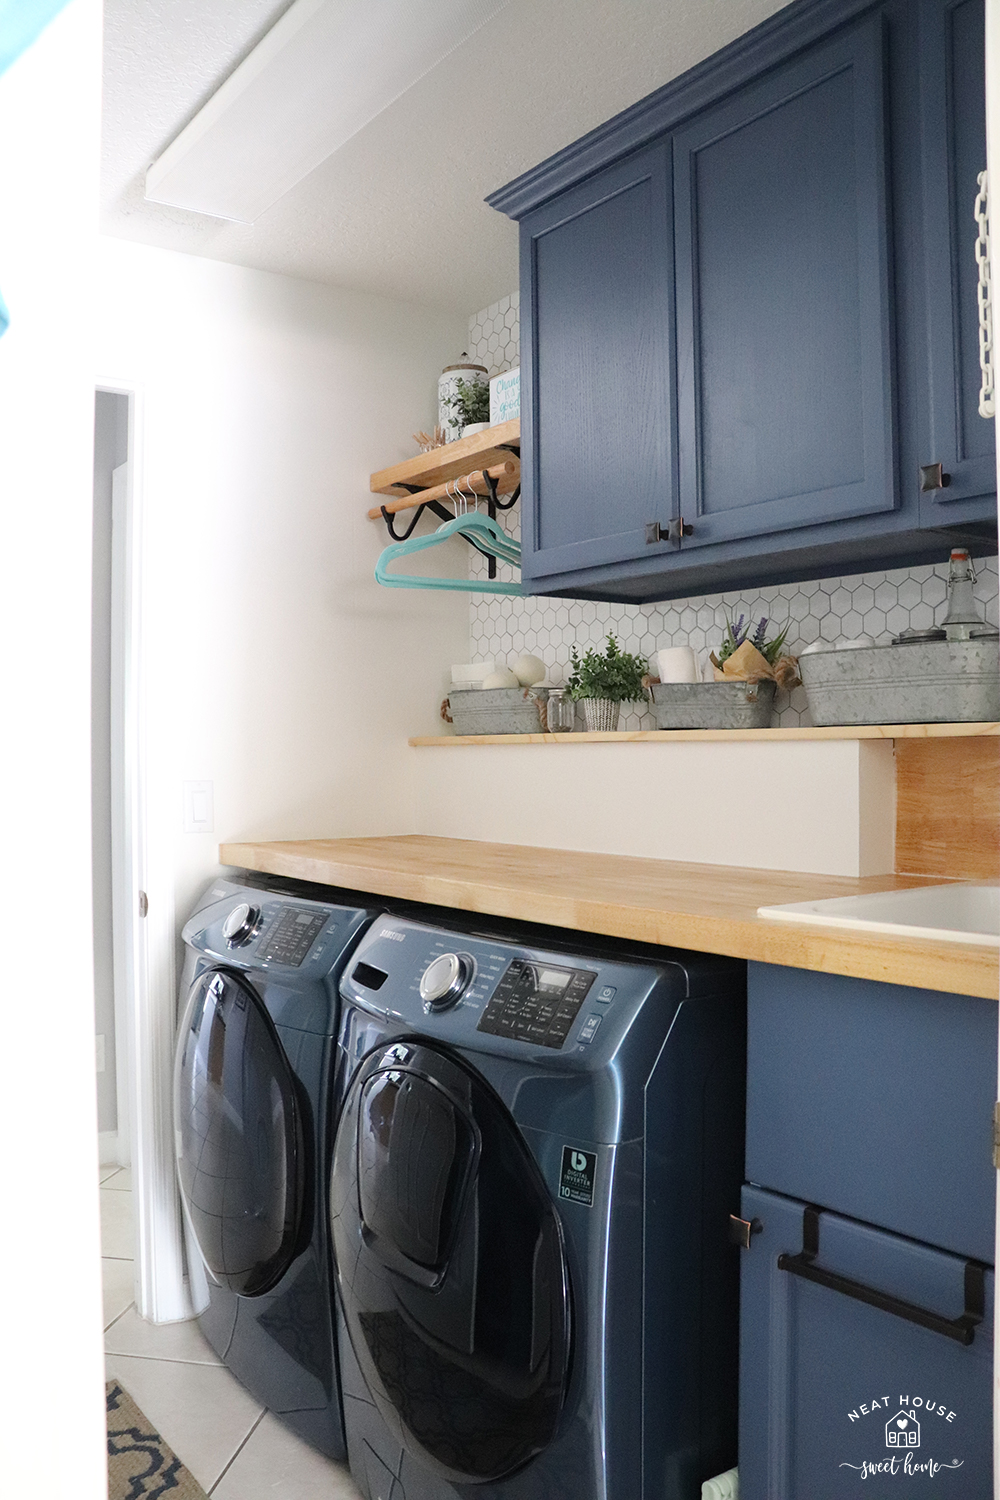
But, with this small laundry room makeover, we brought style, color, and function -especially function!- and here’s the big reveal! I decluttered the cabinets, and I even sacrificed one of them for style. And I don’t need it or miss it at all!
The first thing you will notice – if you are nit-picky like I am- is that the shelf is part white, part butcher block. And I was determined to paint it all white to match, but my friends and family suggested not to bother, that it was perfect just as is.
There is a couple of reasons why it’s mismatched. It was a part-conscious decision, part mistake. I will get to that! But now let me show you all the details.
The Laundry Room Cabinets
First, we started with the cabinets. To place a wood countertop over the front loaders and a shelf to cover all the connections on the wall, we needed to raise the cabinets to the ceiling. This meant we had to remove them completely and re-install them.
I suggested we lose one cabinet and leave that space for a hanging rod. We use it to store clothes hangers – not to hang clothes to dry. I love it!
When we removed the cabinets, we realized they were poorly made and so old they wouldn’t resist another drilling on the wall. Not to mention that because I wanted 3 cabinets and not 4, one of the double cabinets had to be cut in half.
It was kind of silly to even think about it. So, after all the moving and drilling (and even cutting the cabinet in half), we realized that it was better to go purchase new cabinets.
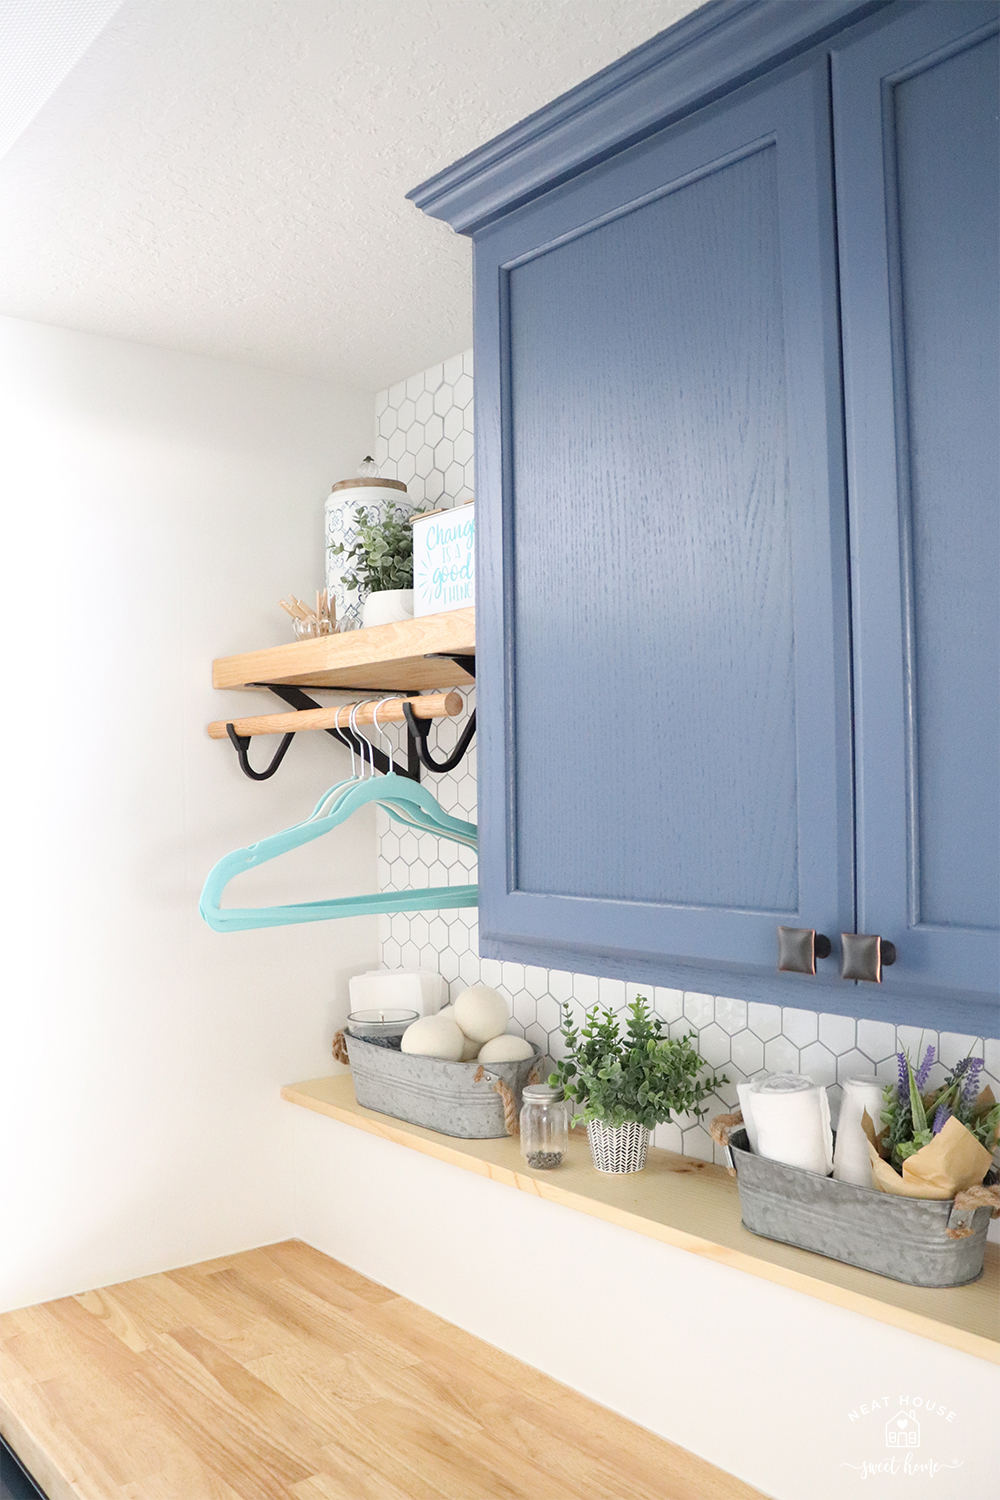
I purchased unfinished oak cabinets at my local Lowes and painted them in Sherwin Williams Denim to match my front loaders washer, and dryer. Lastly, I installed these oil-rubbed bronze knobs to match the new faucet in the old sink.
Related: how to paint unfinished wood cabinets.
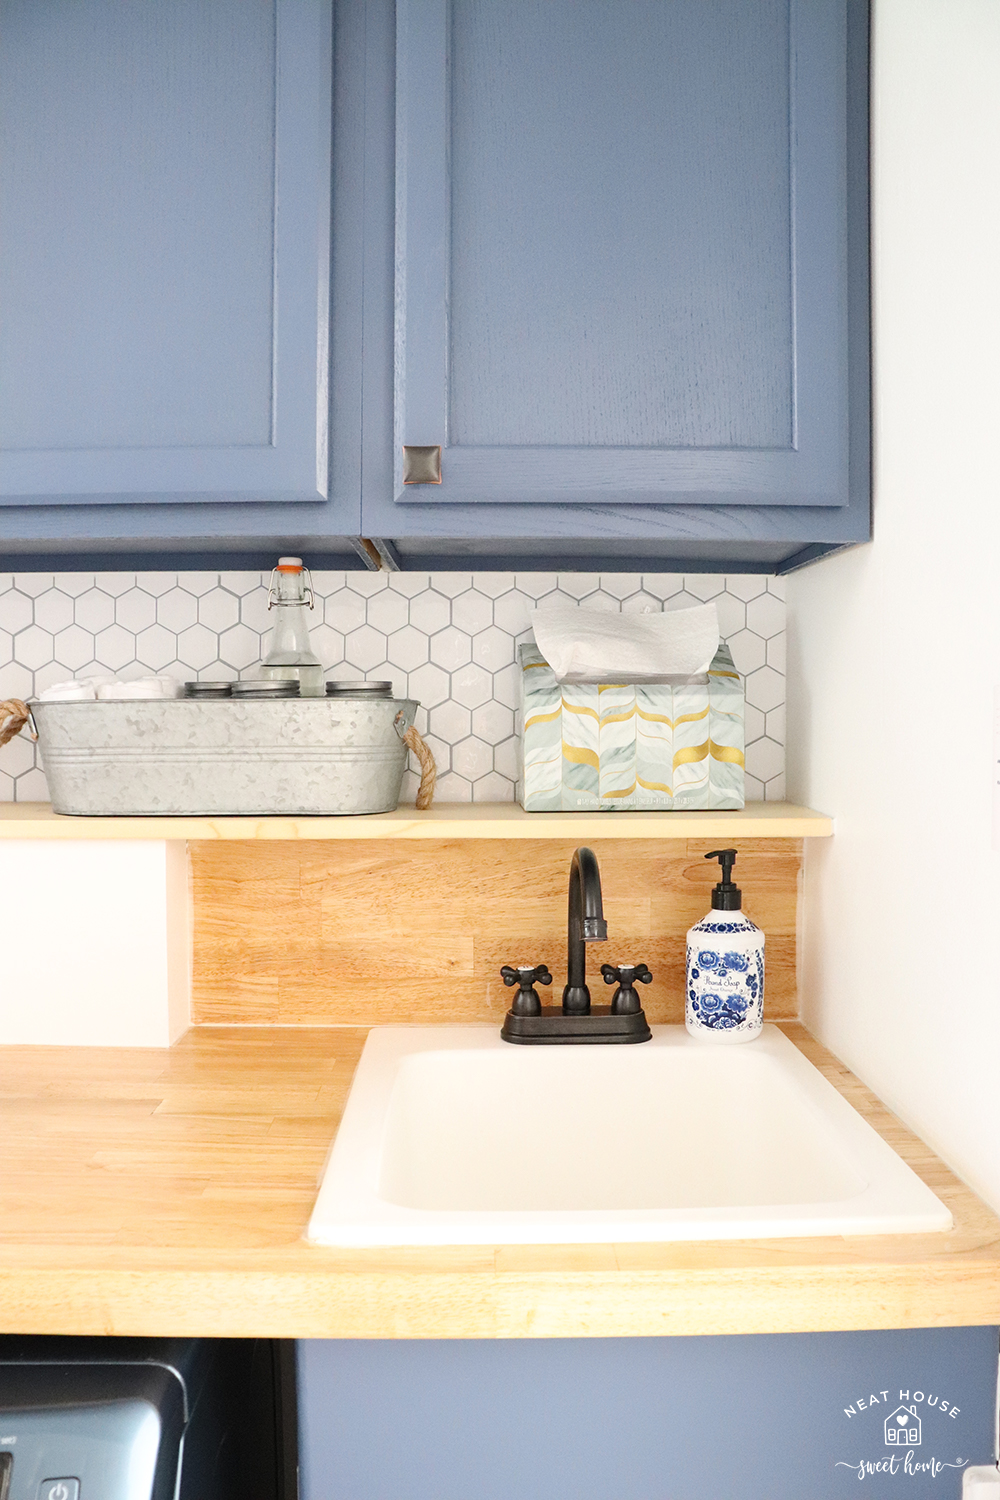
The Backsplash Wall
Initially, I planned on installing wallpaper on the back wall, but while perusing Pinterest, I fell in love with this peel and stick tile. I only wanted an accent wall, so we figured it would be perfect behind the shelf and the sink.
We used more tiles than I expected and calculated because we made rookie mistakes cutting a couple. Because you can only place them one way, you can not use remnants to fill in gaps.
Installing the tiles was fairly easy. However, it wasn’t until we were ready to install them that we read they do not recommend installing them on freshly painted walls. Boo!

I had just painted the entire room the day before in Sherwin Williams Pure White. But at that point, we had to keep working. I have one particular stubborn tile peeling away. I will let you know what my fix is.
The Top Shelf and Hanging Rod
While looking for a closet rod to install from wall to cabinet, I stumbled upon this shelf bracket at my local Lowes.
I could’ve just installed a simple closet rod, but this shelf -made out of leftover butcher block- makes all the difference in this nook!
- The rod is a 1.25-inch diameter wood dowel is also from Lowes.
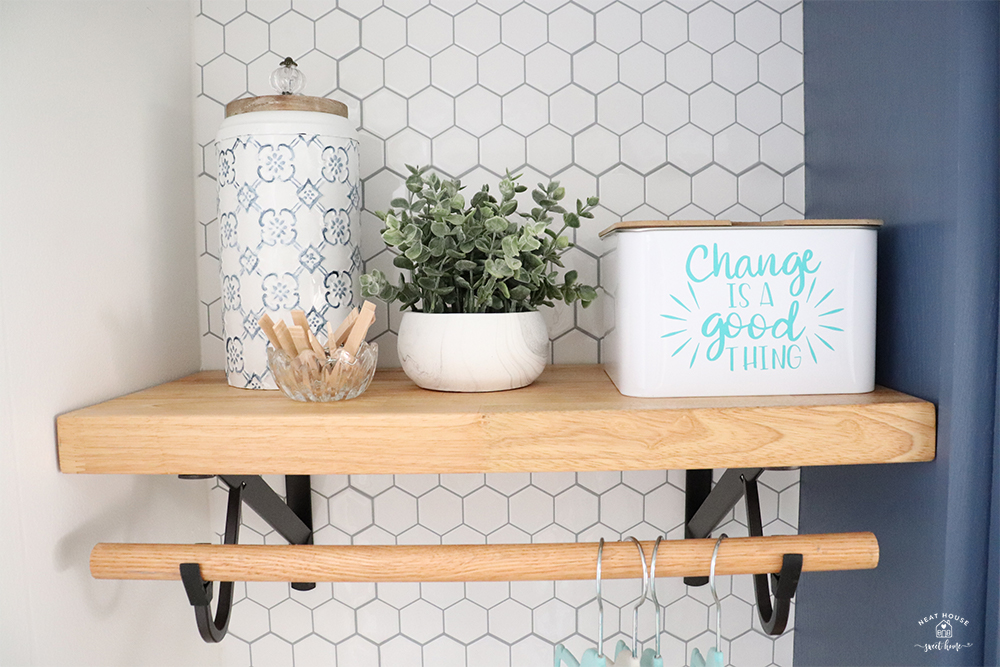
- The white and blue canister is from Decor Steals.
- The faux eucalyptus is a TJ Maxx find, similar here.
- The crystal tealight holder is a Goodwill find. Holding wood clothespins just for decor; I do not use them.
- The square tin container is from Target Bullseye Spot. Click here to see how I customized it.
The Wood Countertop Over the Front Loaders
The catalyst of this laundry room makeover was the idea of installing a wood countertop over the front loaders so we could have a nice workspace to fold clothing and more.
My husband and I own a stairs and rails business, which means woodwork comes naturally to us. So, making and installing the countertop and shelf was somewhat easy. The difficult part was deciding how to hide the connections on the wall.
- We ordered online a 10 ft unfinished butcher block and picked it up at our local Lowe’s. You must order the countertop online because it is unavailable at local stores. It arrived at the store exactly ten days after purchase.
Here’s where we made a mistake. My husband hoped we would make the shelf out of butcher block, but I only ordered one countertop when I placed the order online. He said we needed one more to make the shelf/box cover the connections.
In my mind, I always imagined the shelf to be as simple as it is: a white wood riser with a pine shelf. But my husband is even more detail-oriented than I am. He thought that all made out of butcher block would look even nicer. On the other hand, I wasn’t willing to spend another $330 for a butcher block to use only a couple of strips.
The Box and Shelf
We didn’t order the second butcher block, but instead, we cut the riser of the box out of 2×12 primed pine (cut to 8.5 inches high) and the shelf we made out of 1×8 pine.
When we cut the primed 2×12, we made a mistake in the length of the second piece (the one behind the sink). So, we used the leftover butcher block to cut it again.
The plan was to paint it pure white to match the rest of the primed pine, but I left it as is. I see now how beautiful it would’ve been if we had made it all out of butcher block. But my frugal instinct kicked in, so I get to admire this little piece of butcher block behind the sink now.
- I used Watco Butcher Block Oil to protect the surface.
The Old Sink Makeover
At this point, the small makeover for our laundry room was escalating. So, we decided to keep the old sink and only change the faucet.
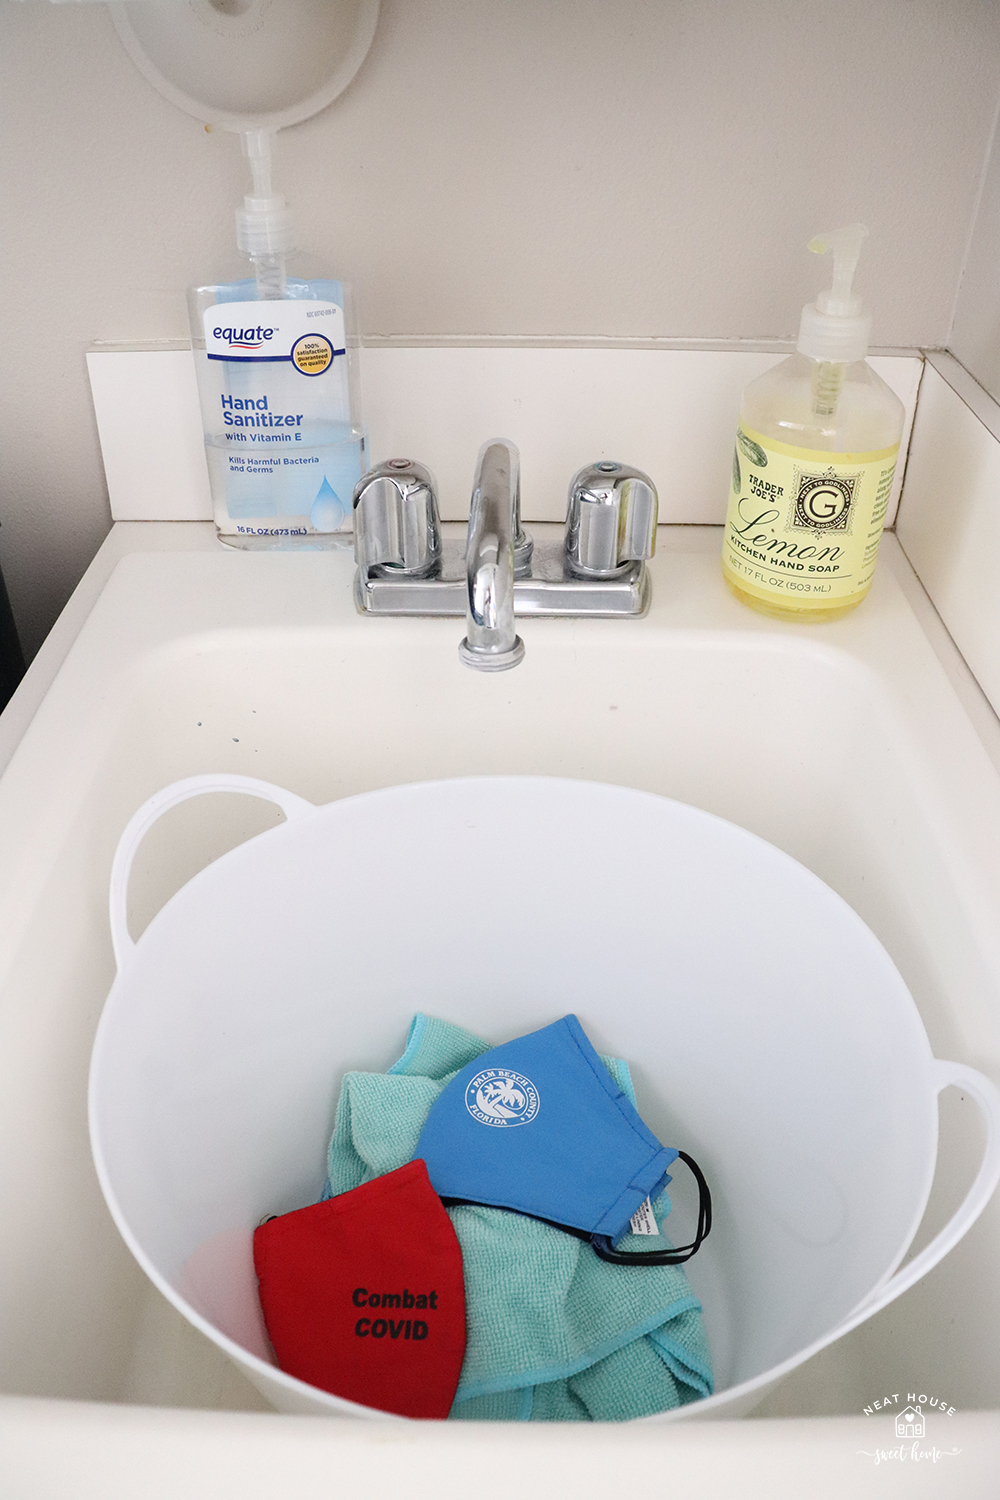
The sink looked unsalvageable, but I got it all clean and as white as new with a little elbow grease. There is only one stubborn speckle of gold paint on it!
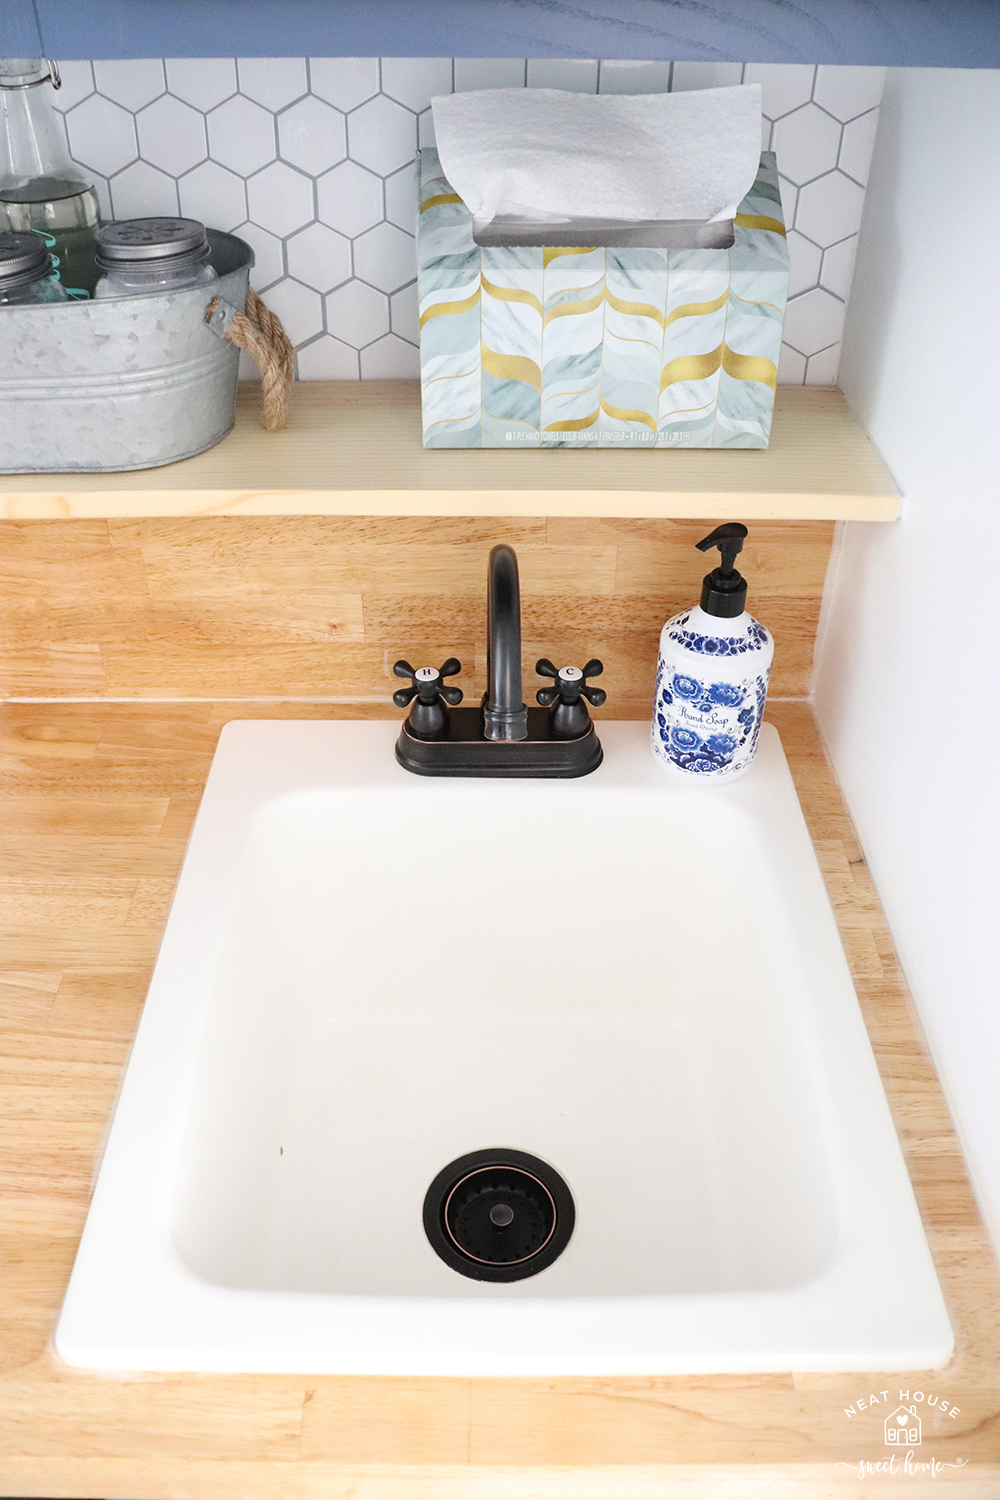
- It’s amazing how deep cleaning and changing the faucet and sink basket make the sink look brand new.
The Opposite Wall
Last but not least, we added some color and function to the opposite wall.
As I mentioned, this ‘room’ is a passage. There’s a door on the right and a door on the left. Basically, if you have both doors open, you can only see one strip of the opposite wall.
However, the door on the left leads to the garage, so it is always closed. But we open and close it several times a day!
Because this is the primary door we use to come in and out of the house, I wanted to install a set of wall-mounted dual coat hooks for us to pick up or drop things on our way in or out of the house.
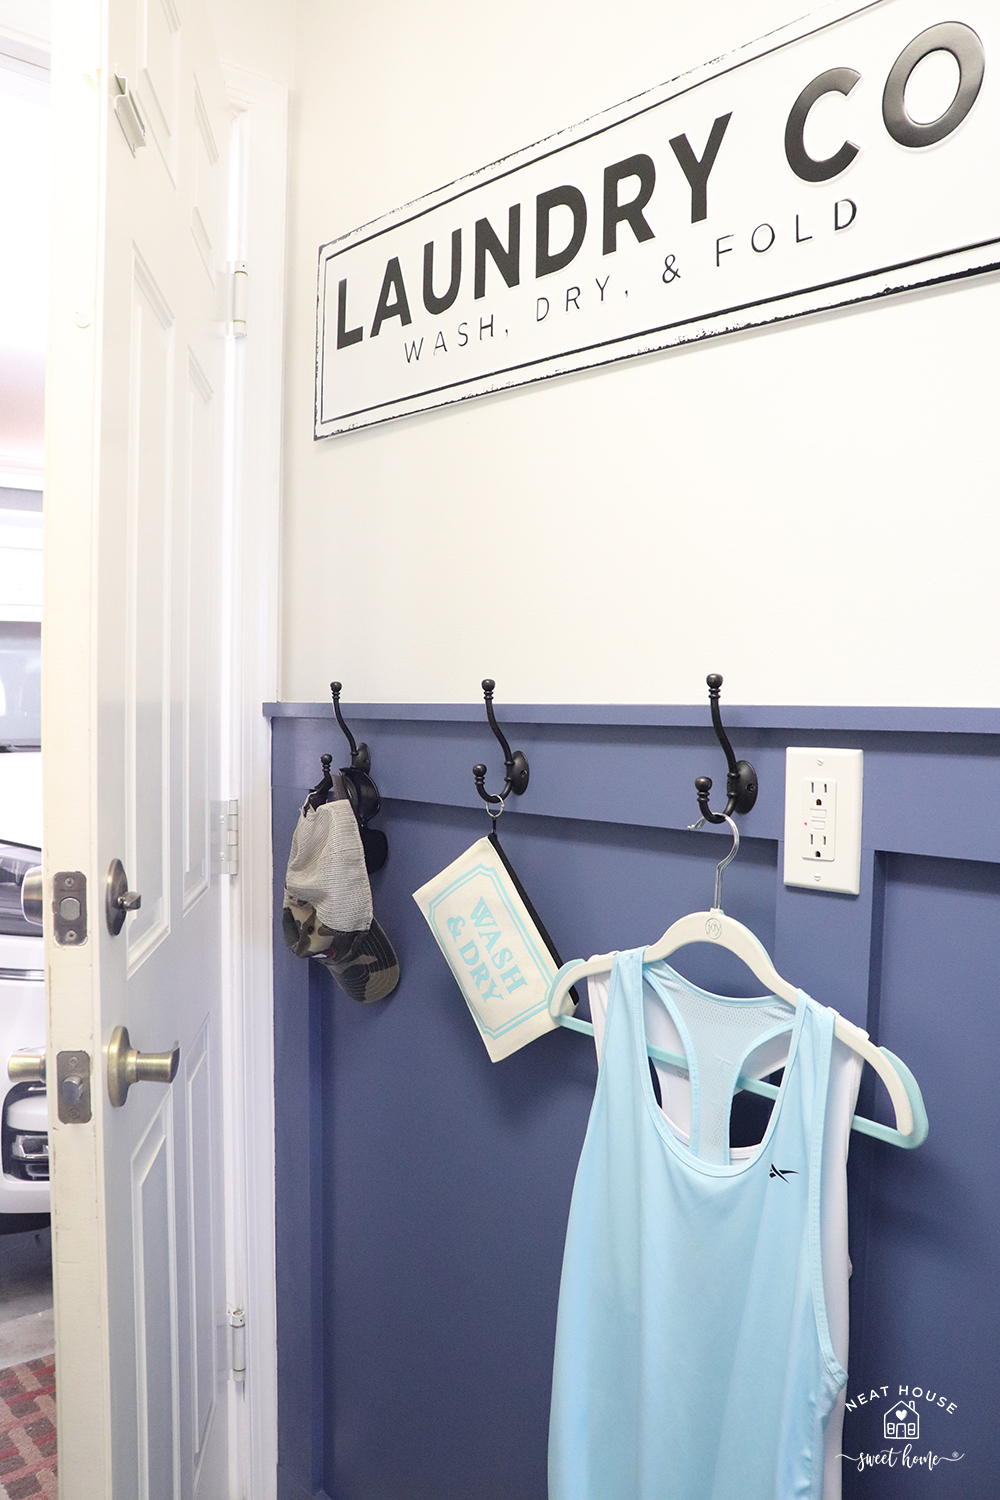
To add interest to the wall, we installed board and batten and painted it the same color as the cabinets. I will link to that project HERE.
The hooks are multifunctional. I can hang clothes right out of the dryer before bringing them upstairs, my son hangs his cap and sunglasses, and I love this Wash & Dry dirty mask pouch I made with my Cricut Joy.
Functional Shelf and Decor
The shelf above the wood countertop is a box over the connections and hoses of the front loaders. It is only attached with liquid nails. So, if we need to disconnect and pull out a machine, the removal is easy.

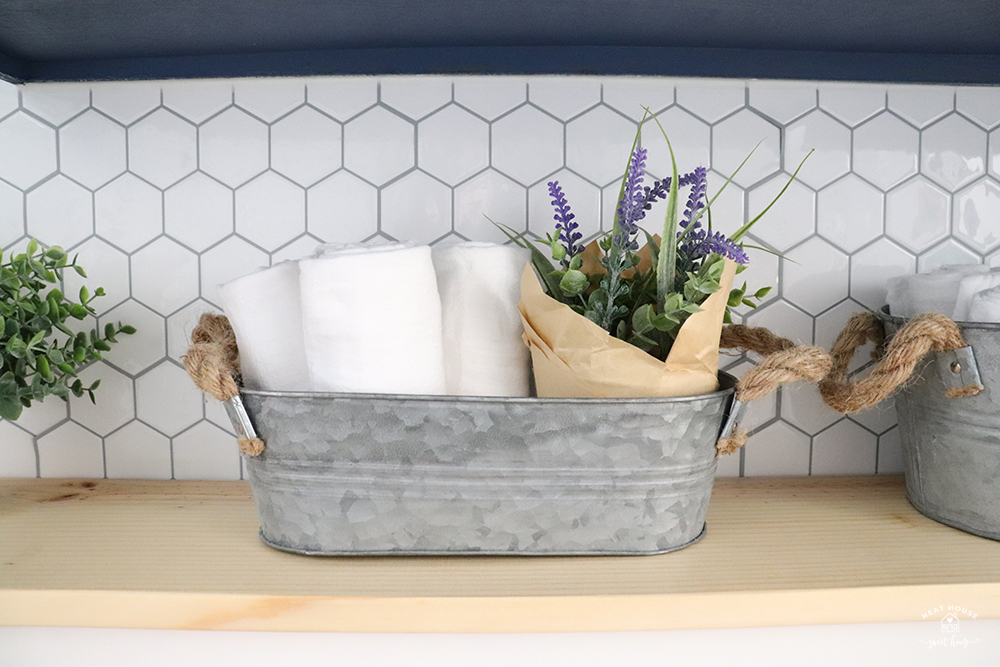
On the shelf, I keep three galvanized tubs I purchased at Michaels a while ago (similar here). I had them over the laundry room cabinets all this time without serving any purpose. Now they found their purpose!
The medium tray holds dryer sheets and dryer balls, and my favorite candle Snuggly Sweater

The small tub holds my favorite flour sack towels and a faux lavender plant (similar here).
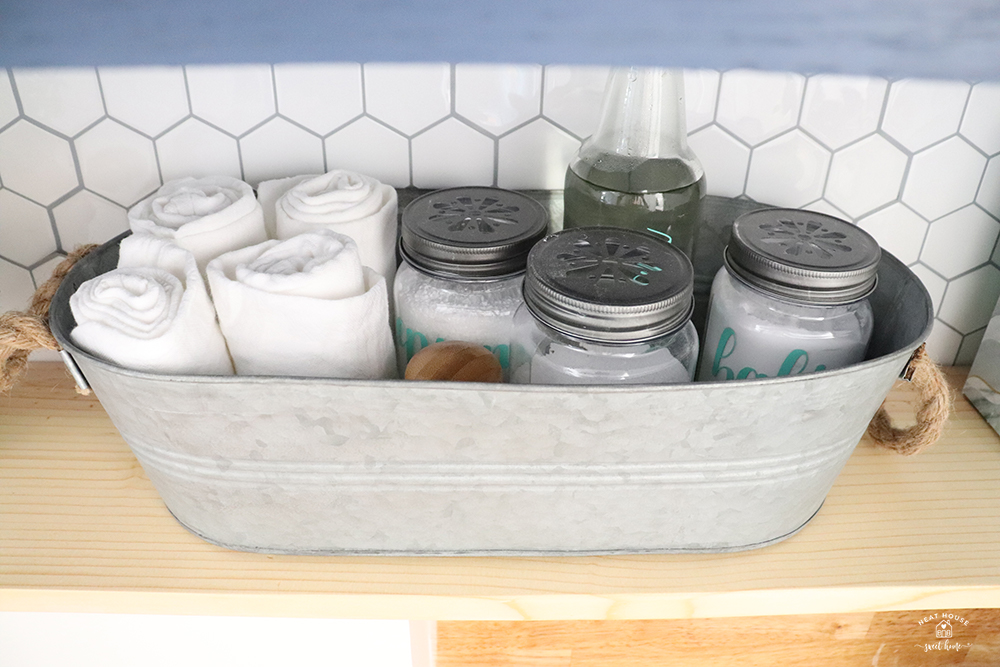
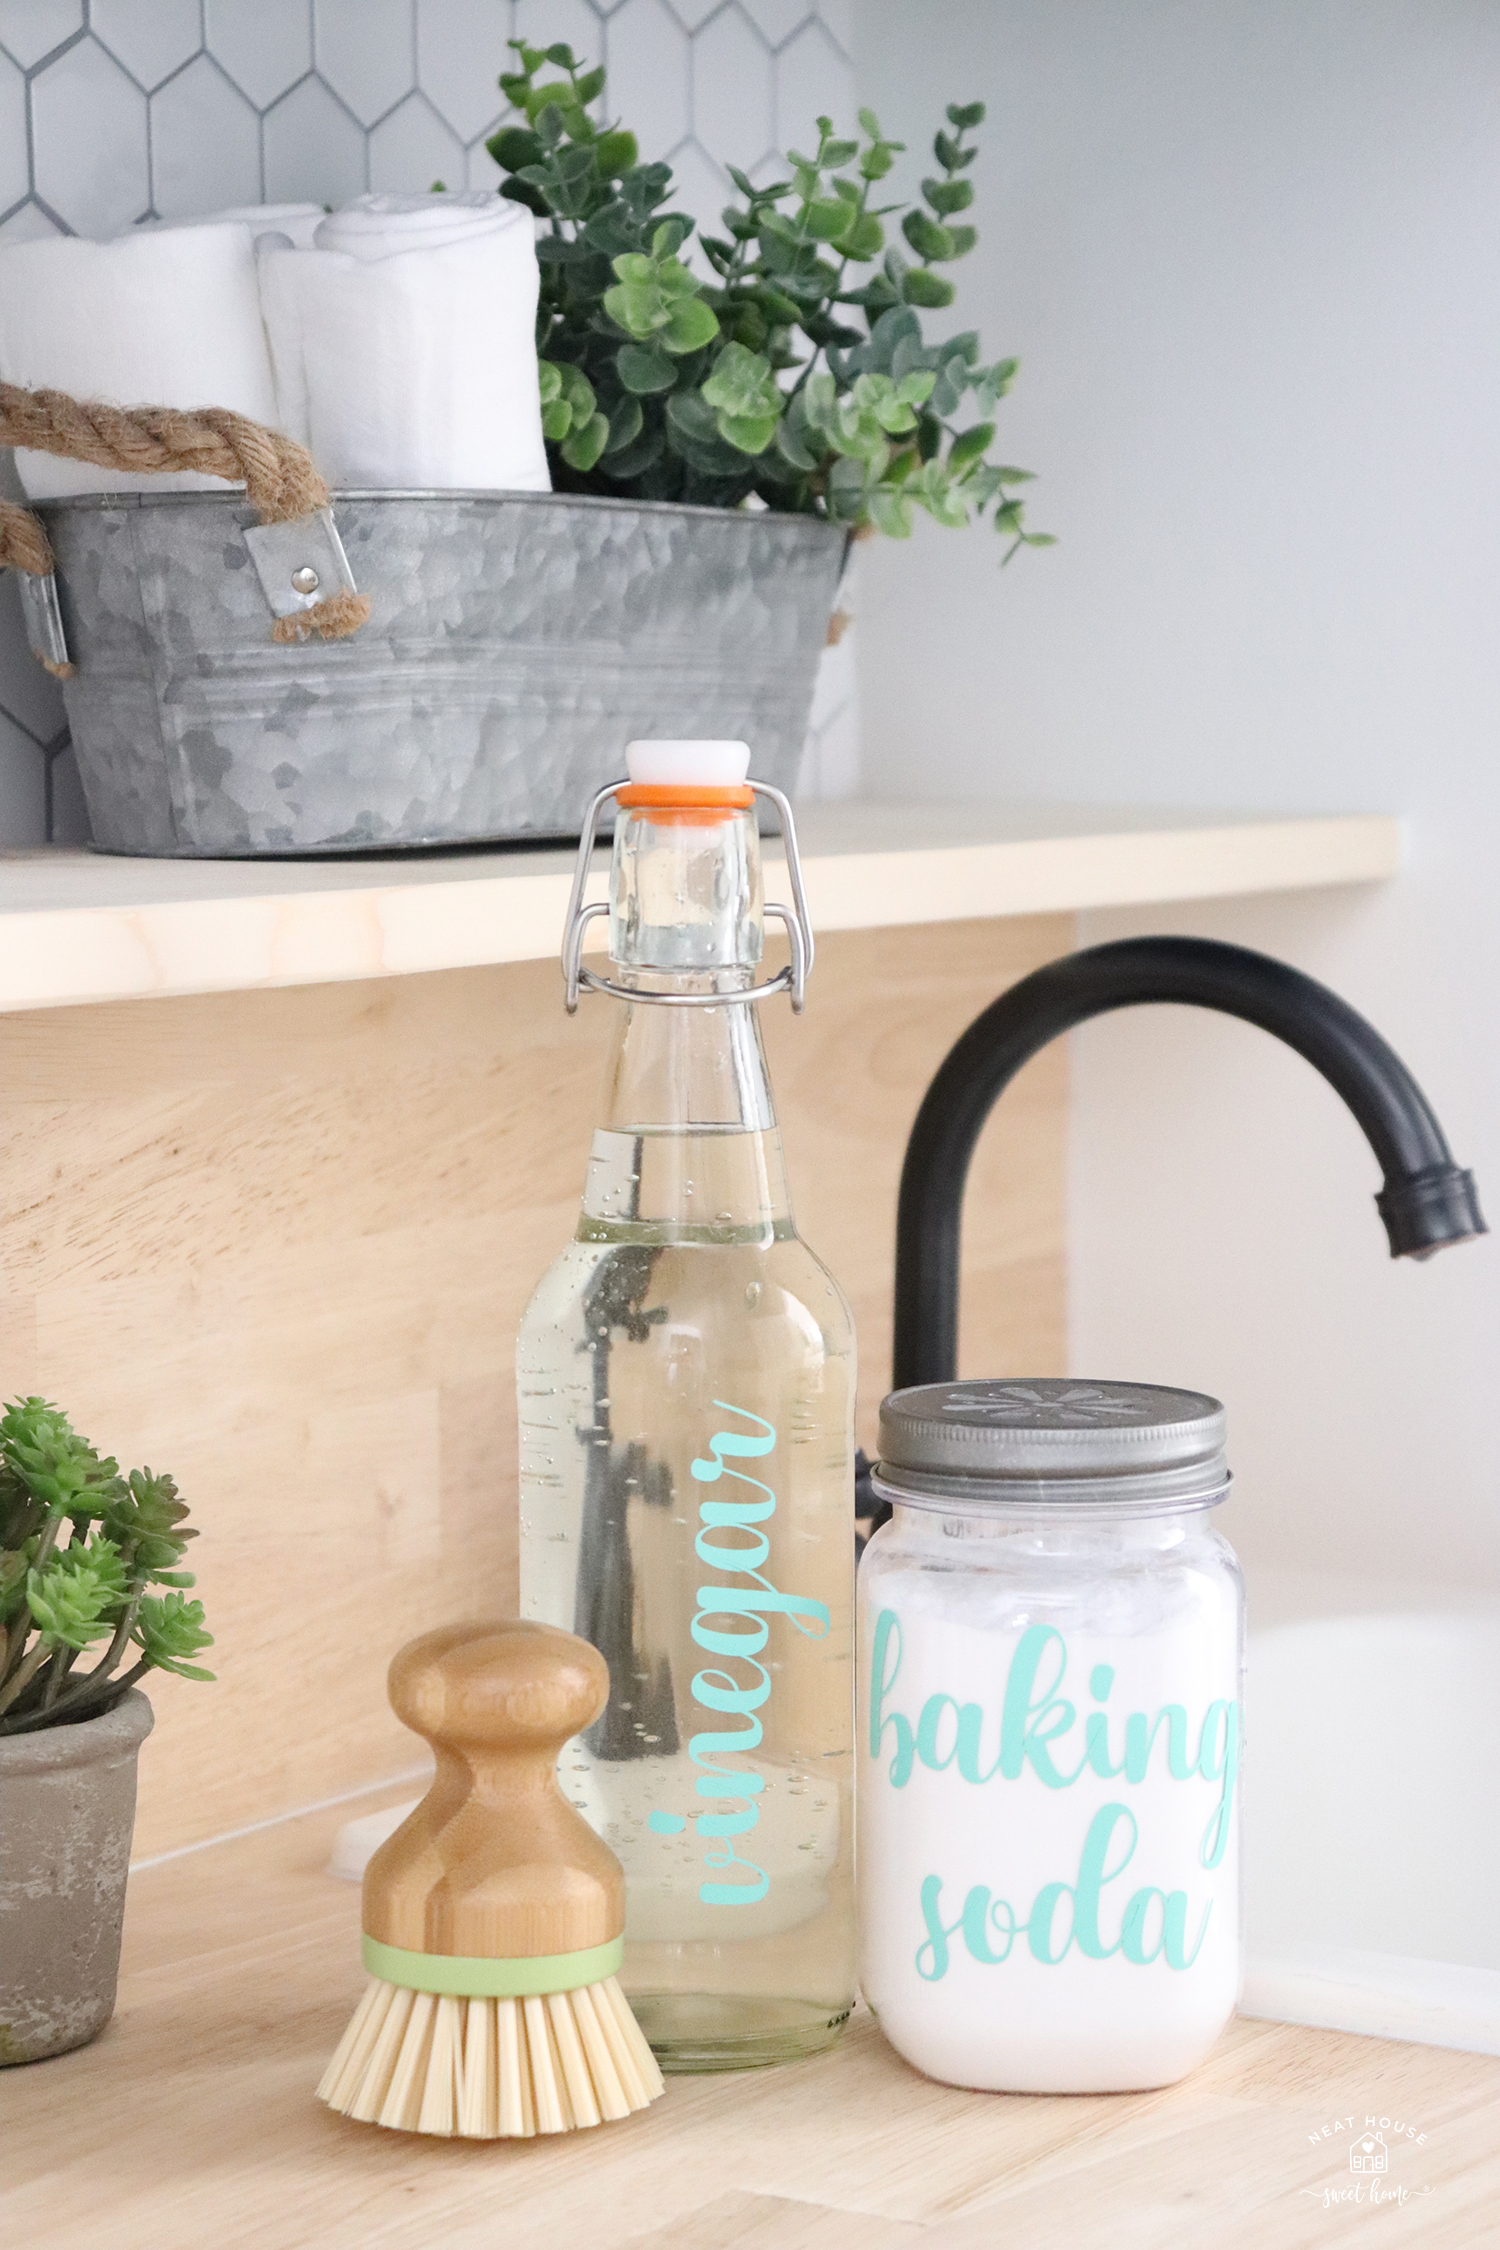
The large galvanized tub is my stain-fighting station. In it, I keep vinegar, baking soda, borax, and Epsom salts, along with more towels and a scrubby brush.
You can take a look at this project here.
List of Resources
For your convenience, here is a list of all the resources mentioned in this post.
Woodwork
Paint and Tile
- Denim Paint
- I used Sherwin Williams HGTV Infinity in Eggshell finish for the board and batten.
- Valspar Cabinet & Furniture Paint in semi-gloss for the cabinets.
- Sherwin Williams HGTV Infinity in Pure White, eggshell finish for the walls.
- RoomMates Sticktiles Pearl Hexagon Peel and Stick Backsplash Tiles
Sink Faucet and Other Hardware
- Oil-rubbed bronze cabinet knobs
- Oil-rubbed bronze sink faucet
- Oil-rubbed bronze sink basket
- Wall-mounted dual coat hooks
- Shelf bracket
- 1.25-inch diameter wood dowel
Decor
- Galvanized tubs (similar)
- Faux potted Eucalyptus (similar)
- Faux potted Lavender (similar)
- Flour sack towels
- Plastic mason jars with daisy shaker lids
- Swing top glass bottle for vinegar
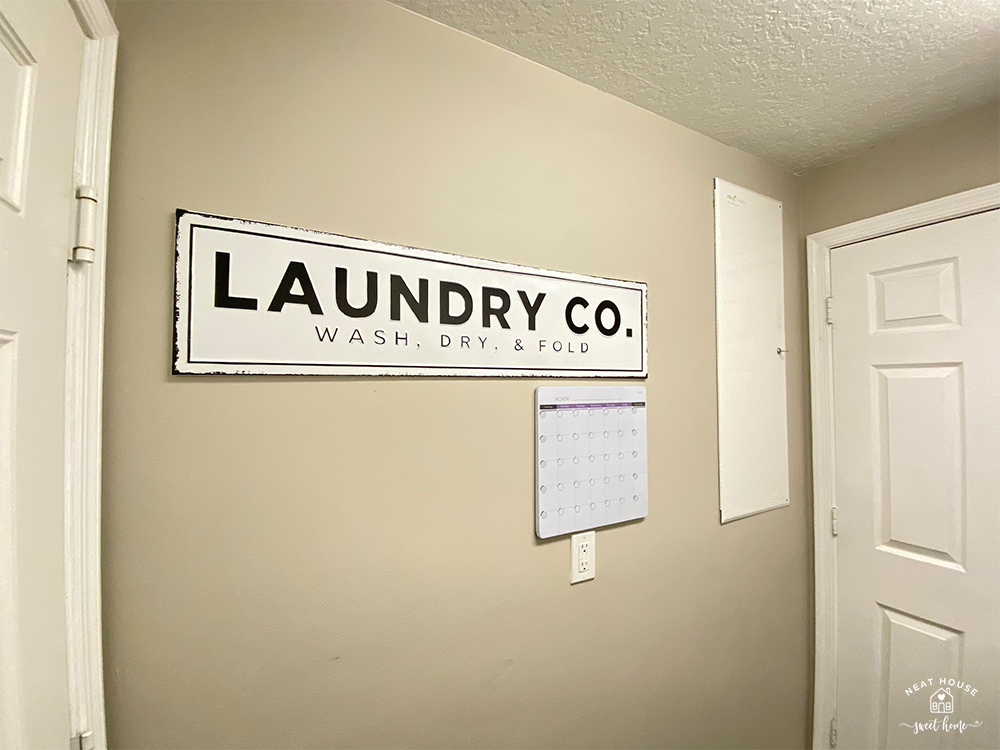
- Laundry Co. Metal Wall Plaque
- White and blue canister

I hope you enjoyed my small laundry room makeover and final reveal. I will post a few more details about how we installed the wood countertop over the front loaders, how I painted the unfinished cabinets, and how we made the board and batten wall.

Hi, I am doing a similar laundry room makeover. Where I plan to put a sink next to the washer and dryer and running butcher block across the top. I am curious what you used for a cabinet under the sink? Thanks!
hi Heidi! We kept the old cabinet, and painted the door to match the new cabinets above the machines. For under the sink, you can use a base cabinet, like this: https://www.lowes.com/pd/Kitchen-Classics-35-in-H-x-24-in-W-x-23-3-4-in-D-Unfinished-Door-and-Drawer-Base-Cabinet/3306698
Thanks for reading!