Laundry Room Organization with Cricut Smart Materials

It’s no secret that two of my most favorite things are organizing my home and making crafts. And when I get a chance to combine those two passions, I get very excited. Last week we finished updating our laundry room, but no project is complete without some organization. So, I created many finishing touches like labels and decals using Cricut Smart Materials™, such as iron-on and vinyl with my Cricut Joy!
Would you like to save this?
This is a sponsored post written by me on behalf of Cricut®. All opinions are my own.
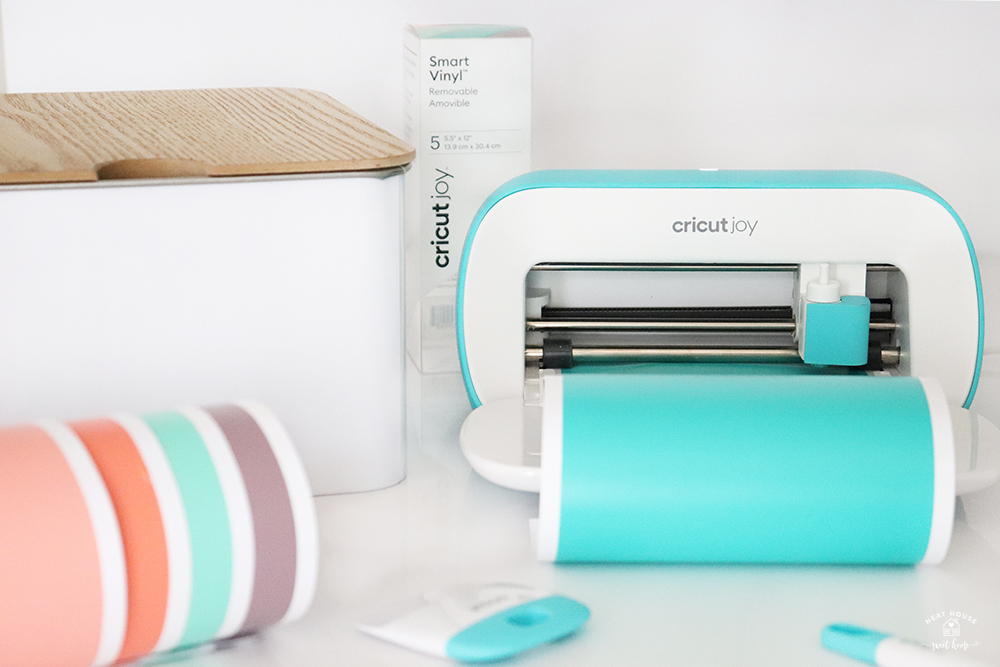
I purchased my first Cricut Explore in April 2009. Since then, I have created a ton of different crafts for personal use and my Etsy shop. But, of all the Cricut products I have owned since then, the Cricut Joy has got to be my favorite to date. And that says a lot about me 🙂
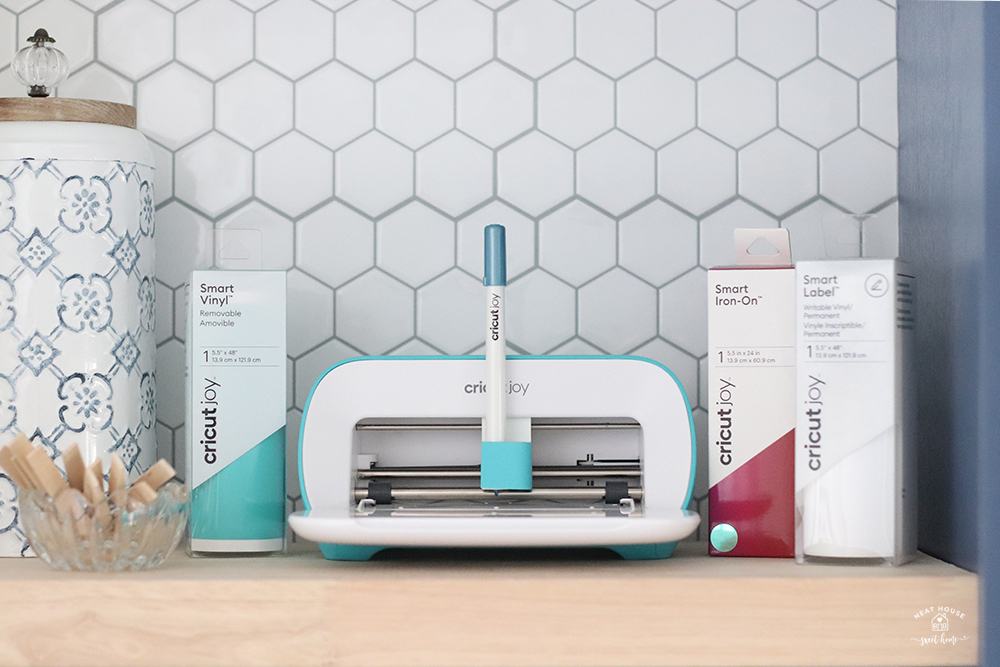
Not only is the Cricut Joy small, compact, and easy to tote around – in an adorable carrying case, I must say!- but it is also smart and fast, and I love the versatility of materials it can cut and write on. My favorite feature is the wide variety of Smart Materials you can use with this little but mighty cutting machine.

What are Cricut Smart Materials™?
Cricut Smart Materials for Cricut Joy are the usual materials you will use to cut on your machine, except that they have a thicker backing which allows you to cut your designs without the need for a cutting mat. Today, I will show you how I used Smart Writable Label, Smart Iron On, and Smart Vinyl for my laundry organization projects.
Cricut Joy is so intuitive that when you feed the Smart Materials to the machine, it aligns them to ensure your cuts are perfect. After 11 years of using Cricut products, this is the first time I create a project where I do not have to re-cut or re-run the machine. Cricut Joy is, well, a joy to work with!
This post may contain affiliate links for your convenience. For more information, please read my Affiliate Disclosure.
List of Cricut Smart Materials and Other Supplies
Below is a list of tools, materials, and supplies you will need to create these projects.
For all projects
- Cricut Joy Cutting Machine
- Cricut Joy Starter Tool Set
- Cricut Design Space app installed on your desktop computer, phone, or tablet.
For Project 1, Loose Change Container
- Cricut Joy Smart Vinyl™ – Removable. I used Bright Teal included in the Hydrangeas Sampler.
- Cricut Joy Transfer Tape
- Container of your choice
For Project 2, Laundry Room Labels
- Cricut Joy Pens. I used extra fine point in black, fine point in violet, and medium point blue metallic marker.
- Cricut Joy Smart Label™ Writable Vinyl
- Containers of your choice
For Project 3, decals for Cleaning Products
- Cricut Joy Smart Vinyl™ – Removable. I used Mint included in the Hydrangeas Sampler.
- Cricut Joy Transfer Tape
- Containers of your choice.
For Project 4, Dirty Face Masks Pouch
How to Design on Cricut Design Space
There are two ways you can make your designs. You can either use the Cricut Design Space app on your desktop computer or you can use the app on your phone or tablet. For all of these projects, I used the desktop version.
Start by opening the Cricut Design Space app (create an account if you don’t have one yet), and from the Home screen, click the plus (+) sign to create a new project.
1. Optimize your experience. On the top right of your canvas, there is a menu where you can optimize your experience for the machine you are using. In this case, choose Cricut Joy.
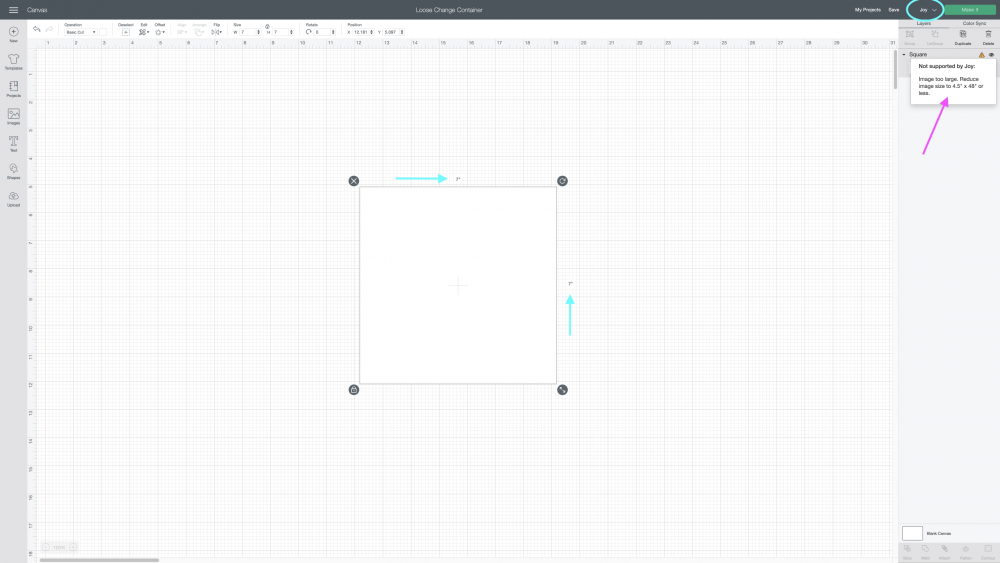
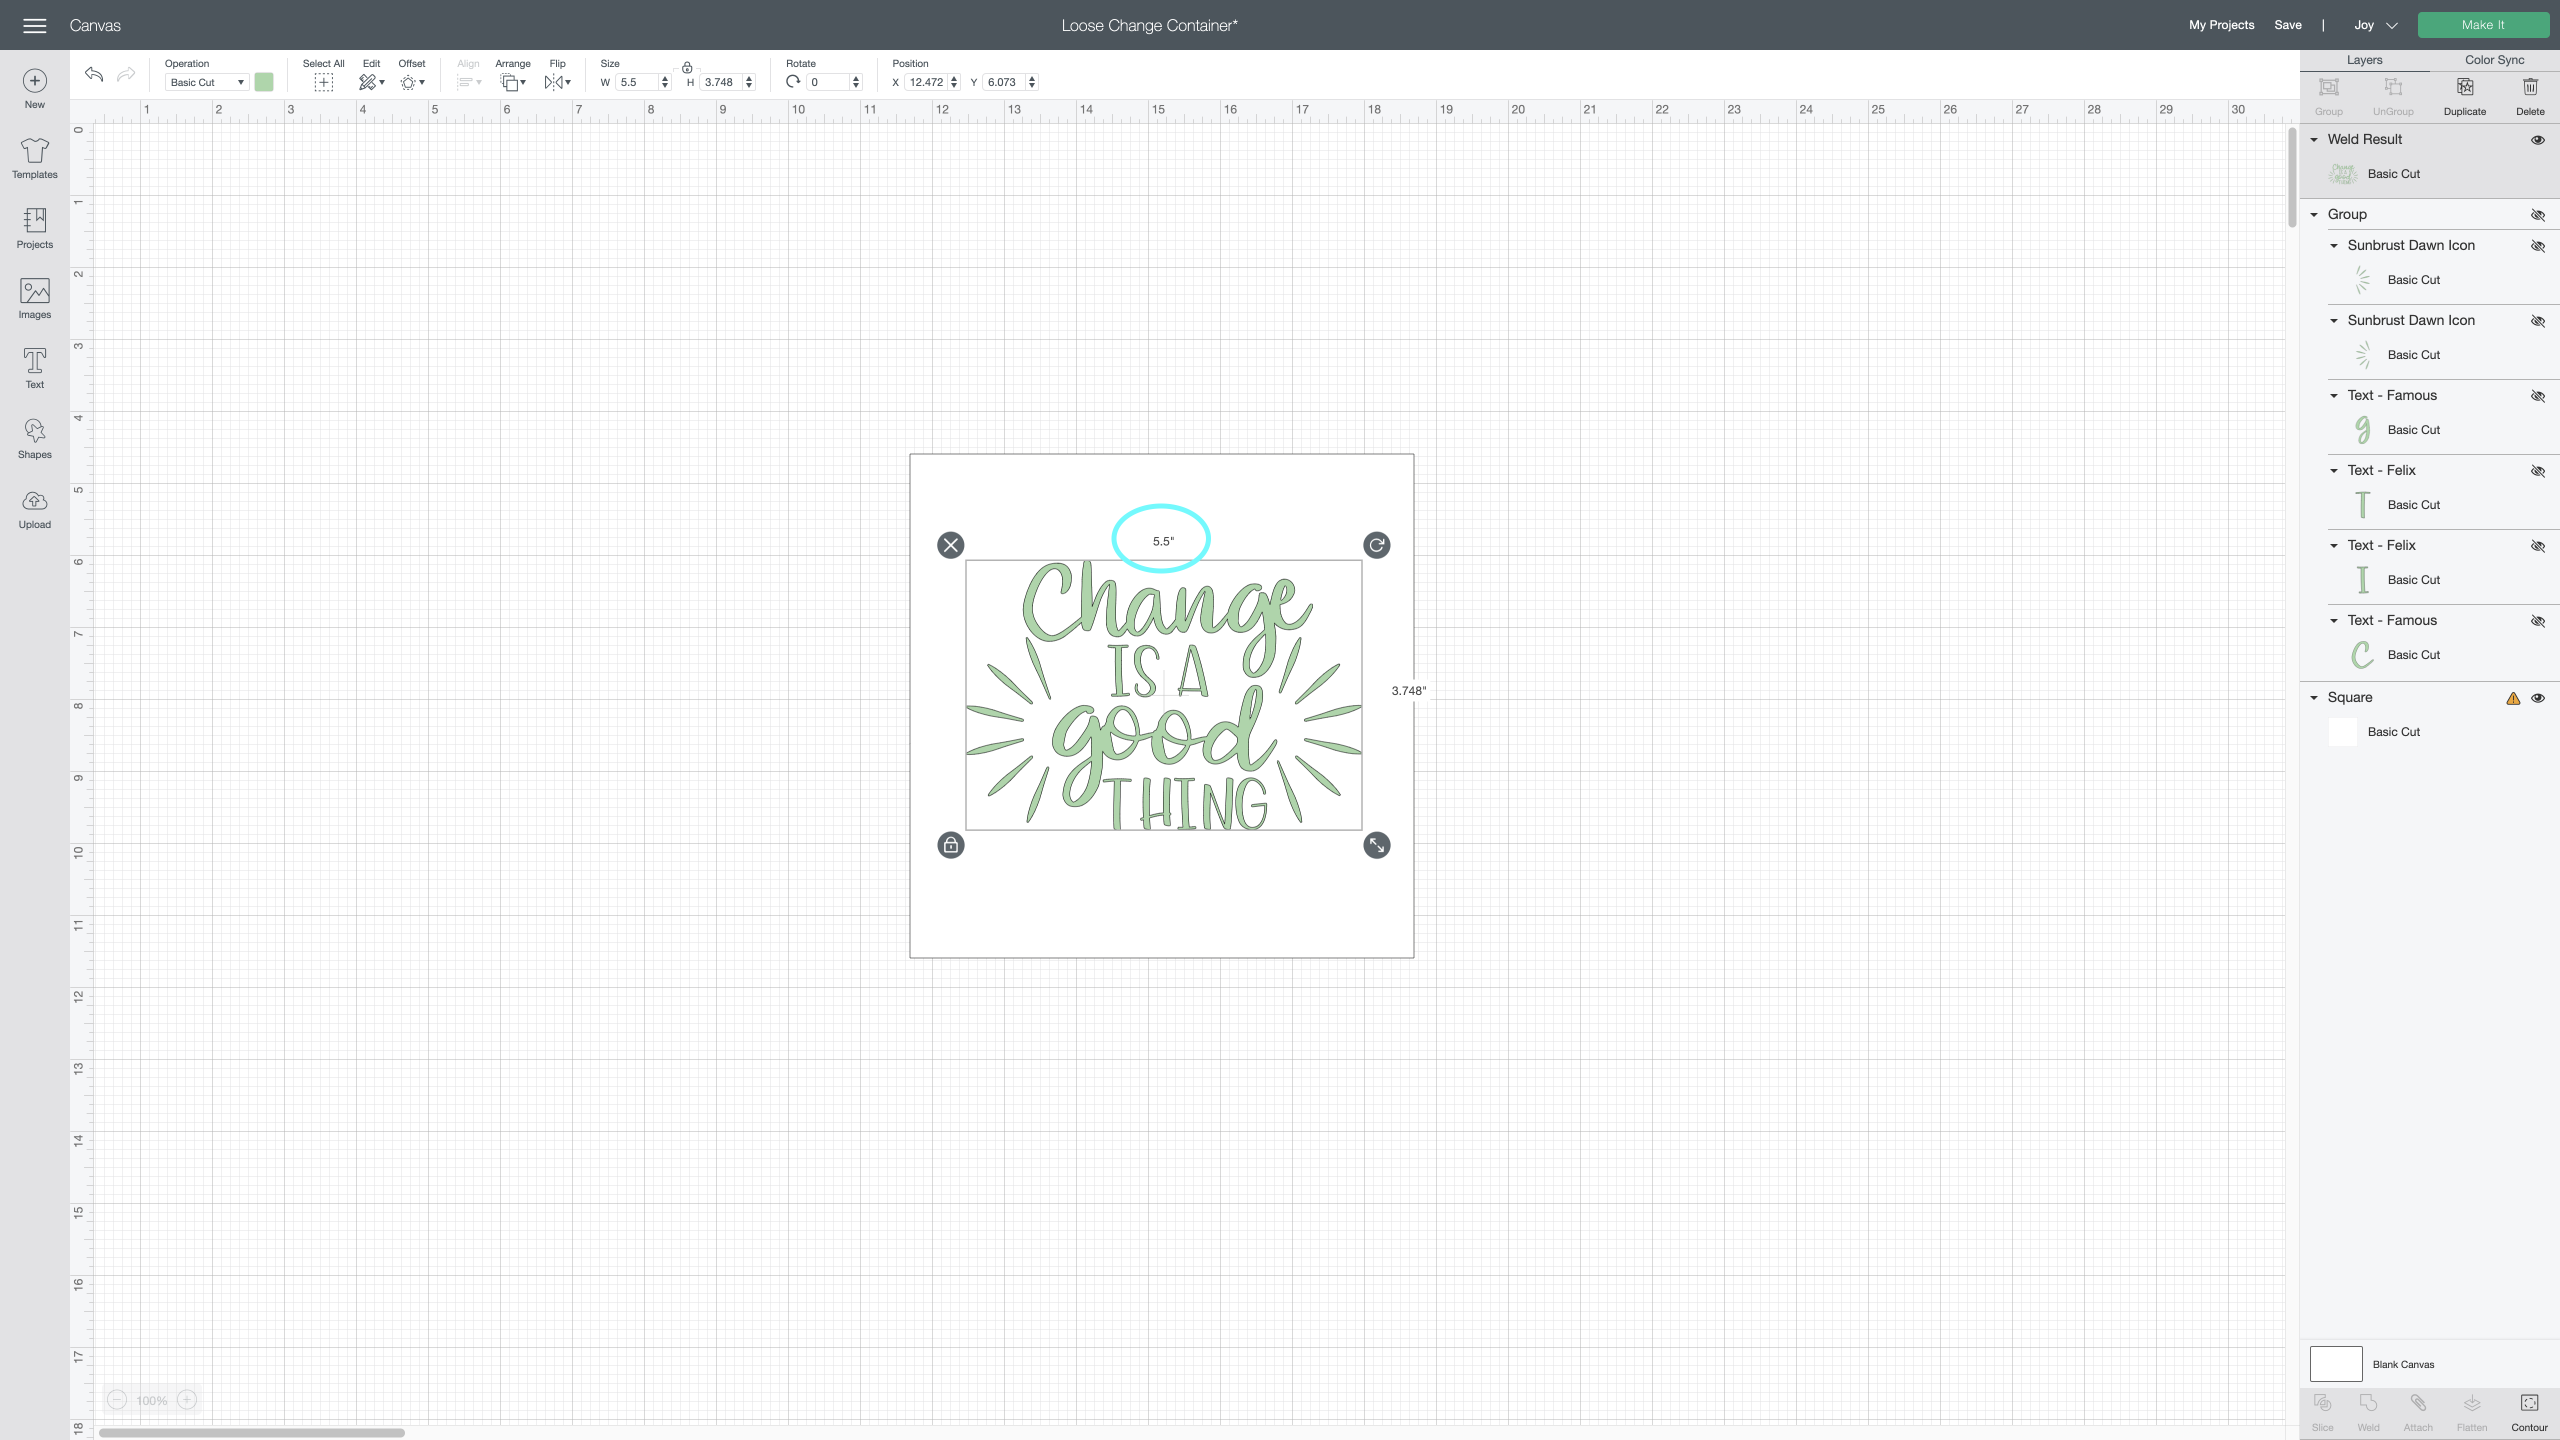
2. Make a template of your blank. I made a 7×7 inch square which is the size of the front of the tin can (Project 1). On the right menu, I get a warning stating that the square is too big to cut on a Cricut Joy. That’s OK; I am NOT cutting the square. The square is a guide for my design. Delete it, or hide the layer before clicking Make.
3. Create. Using text boxes, type the words or phrases you’d like to use. I typed ‘Change is a Good Thing.’ You can change the fonts using either your system fonts or Cricut fonts. The fonts I used are Felix and Famous
4. Add images. Using the Cricut image library, search for any image you’d like to add to your design. For a better experience, you can filter by type of material, project type, layers, etc. I used a single-layer sunburst that I rotated around to fit my design.
5. Final Steps. When you are happy with your design, do the following: select all the items and group, weld, and attach. You can find all three settings by right-clicking on your design.
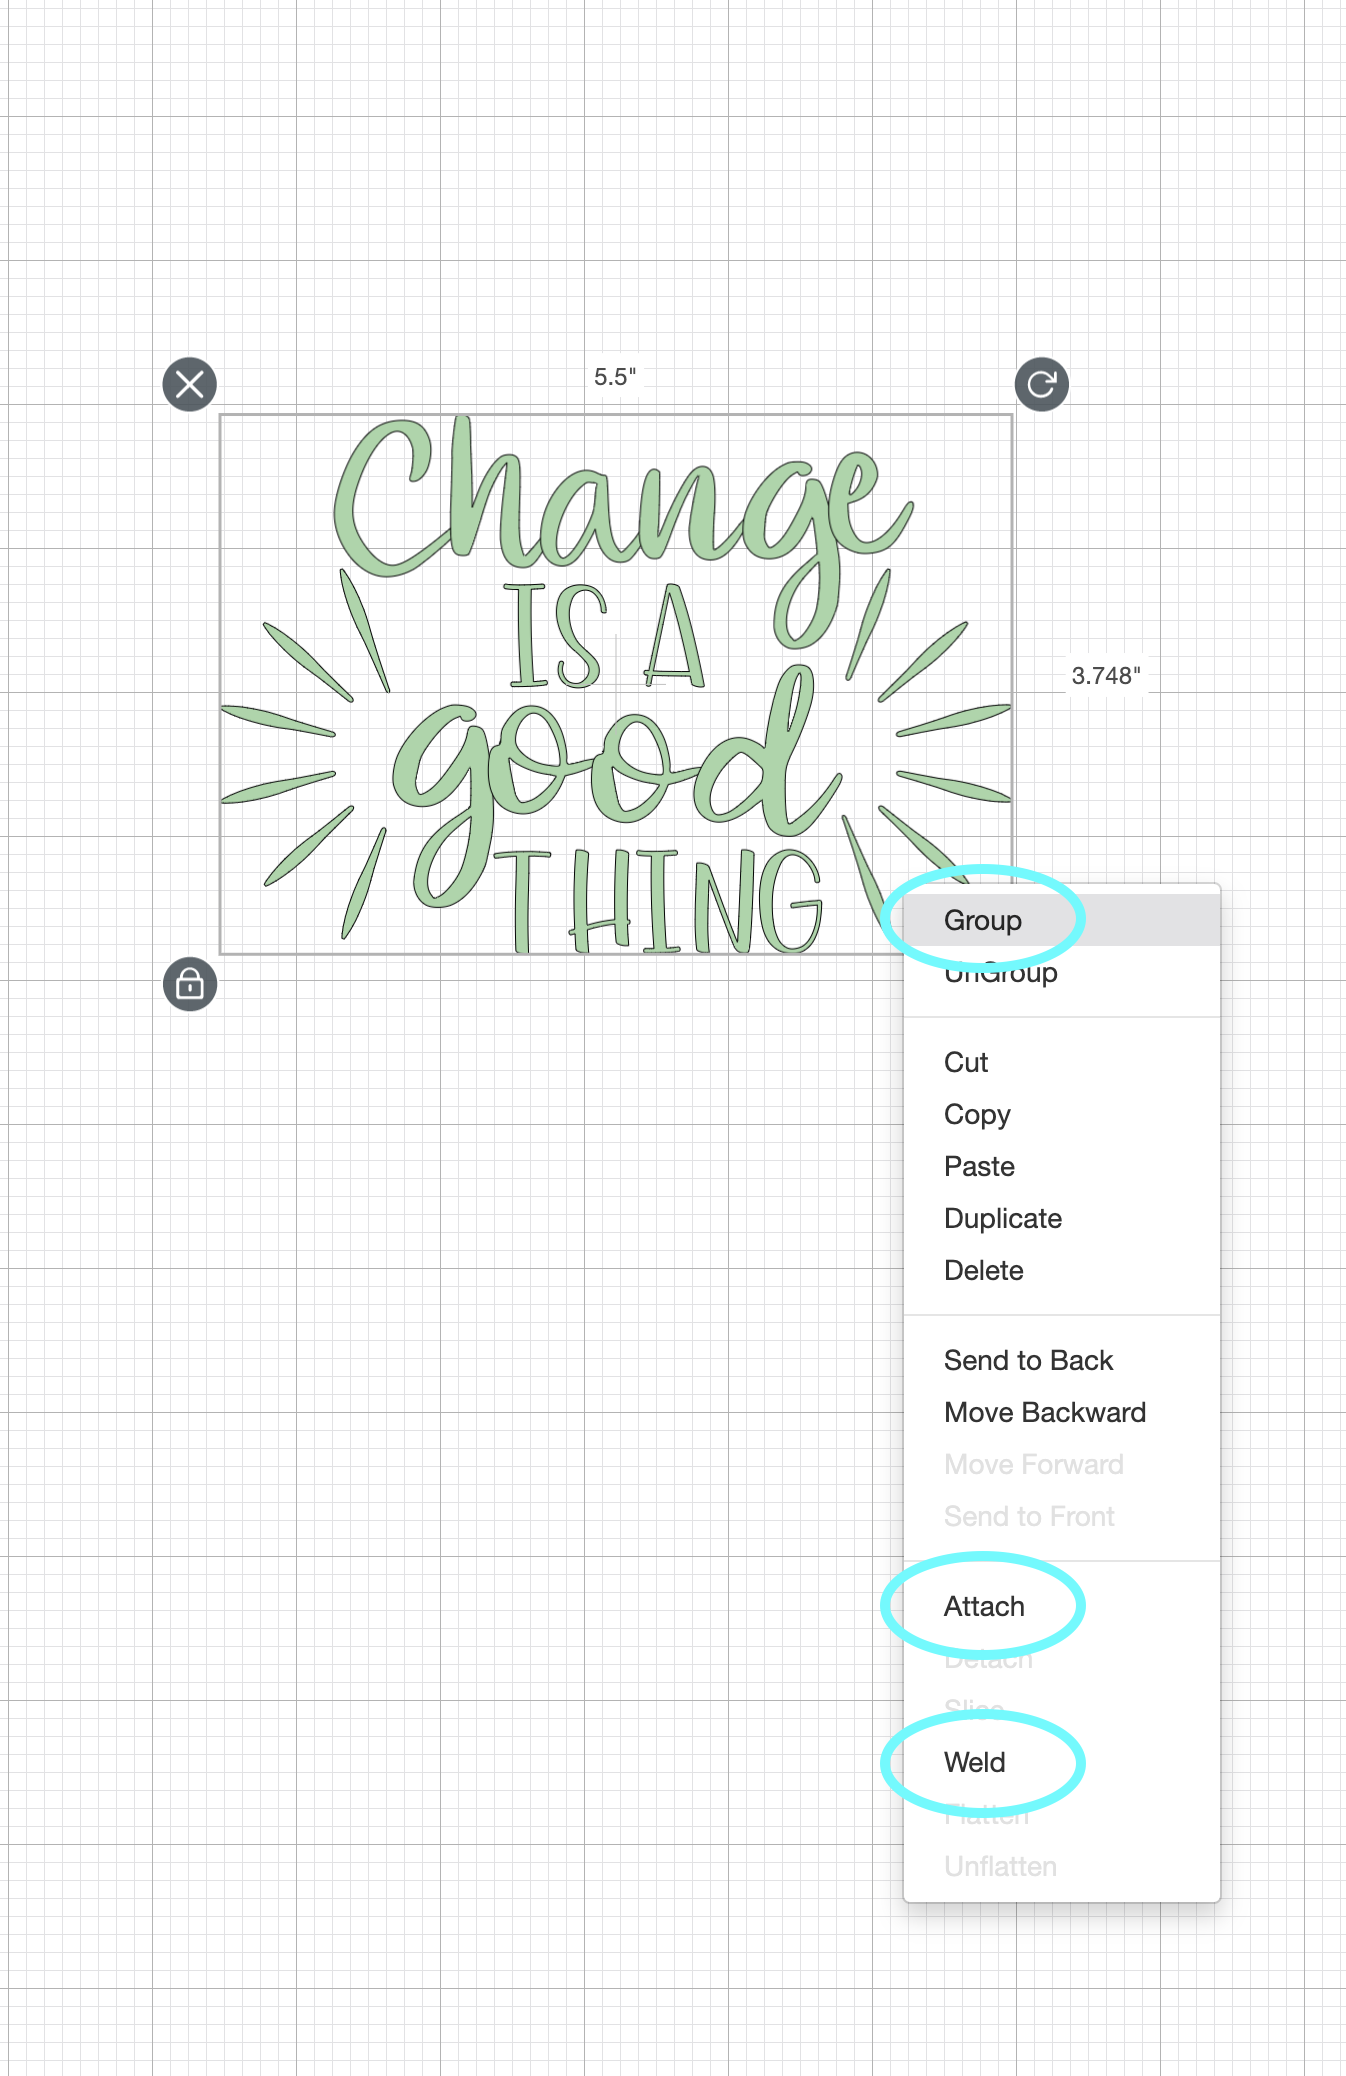
When you weld, single words weld and stay together. I forgot to weld my design, and some letters cut through. I will show you later how I fixed that.
Attaching your design lets the program know that the words in the design must stay in place, how you designed them to be. Otherwise, they will be cut in all different places on the mat.
6. Resize. If necessary, resize your entire project to fit your Smart Material. For Cricut Joy, the maximum width is 5.5 inches.
7. Click Make. When you click Make, the machine will guide you through the cutting process.
- Choose how you will load your material. Remember, Cricut Smart Materials do not need a mat! So choose the first option, Without Mat.
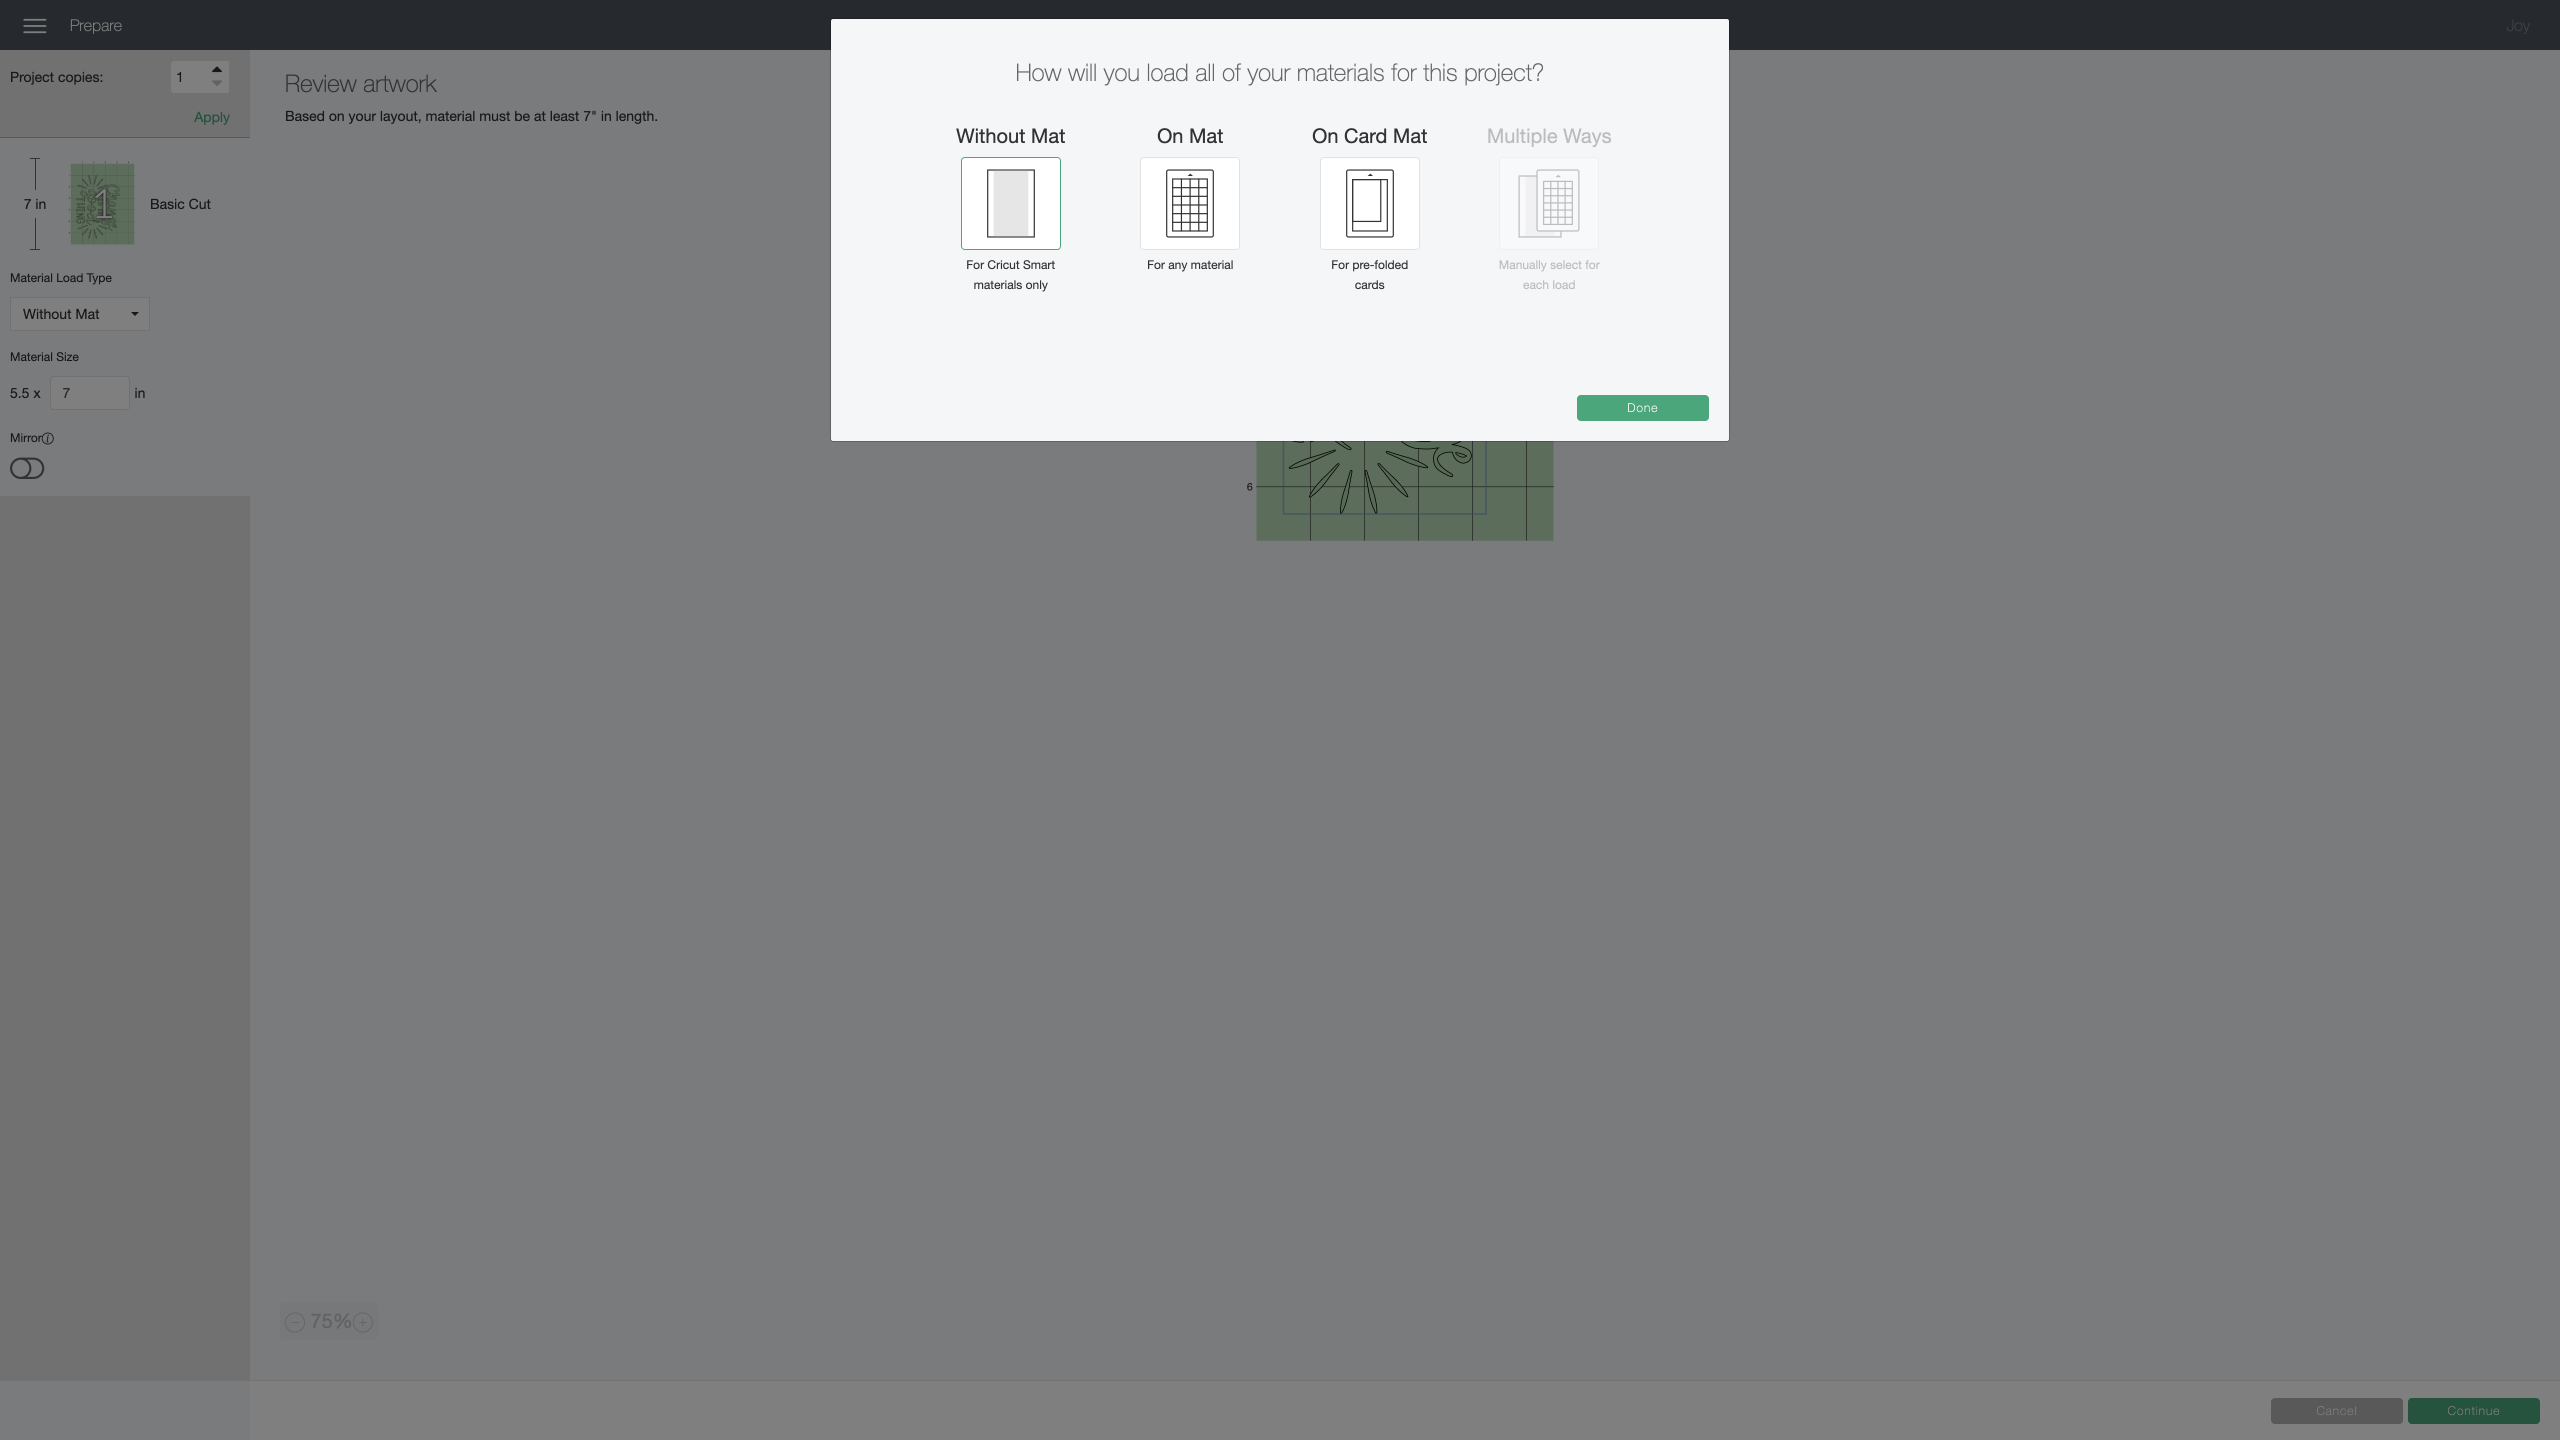
- Choose the type of material you are using. In this case, I chose Smart Vinyl – Removable

- Make sure the blade is inserted in the clamp of the machine, and load your smart material.
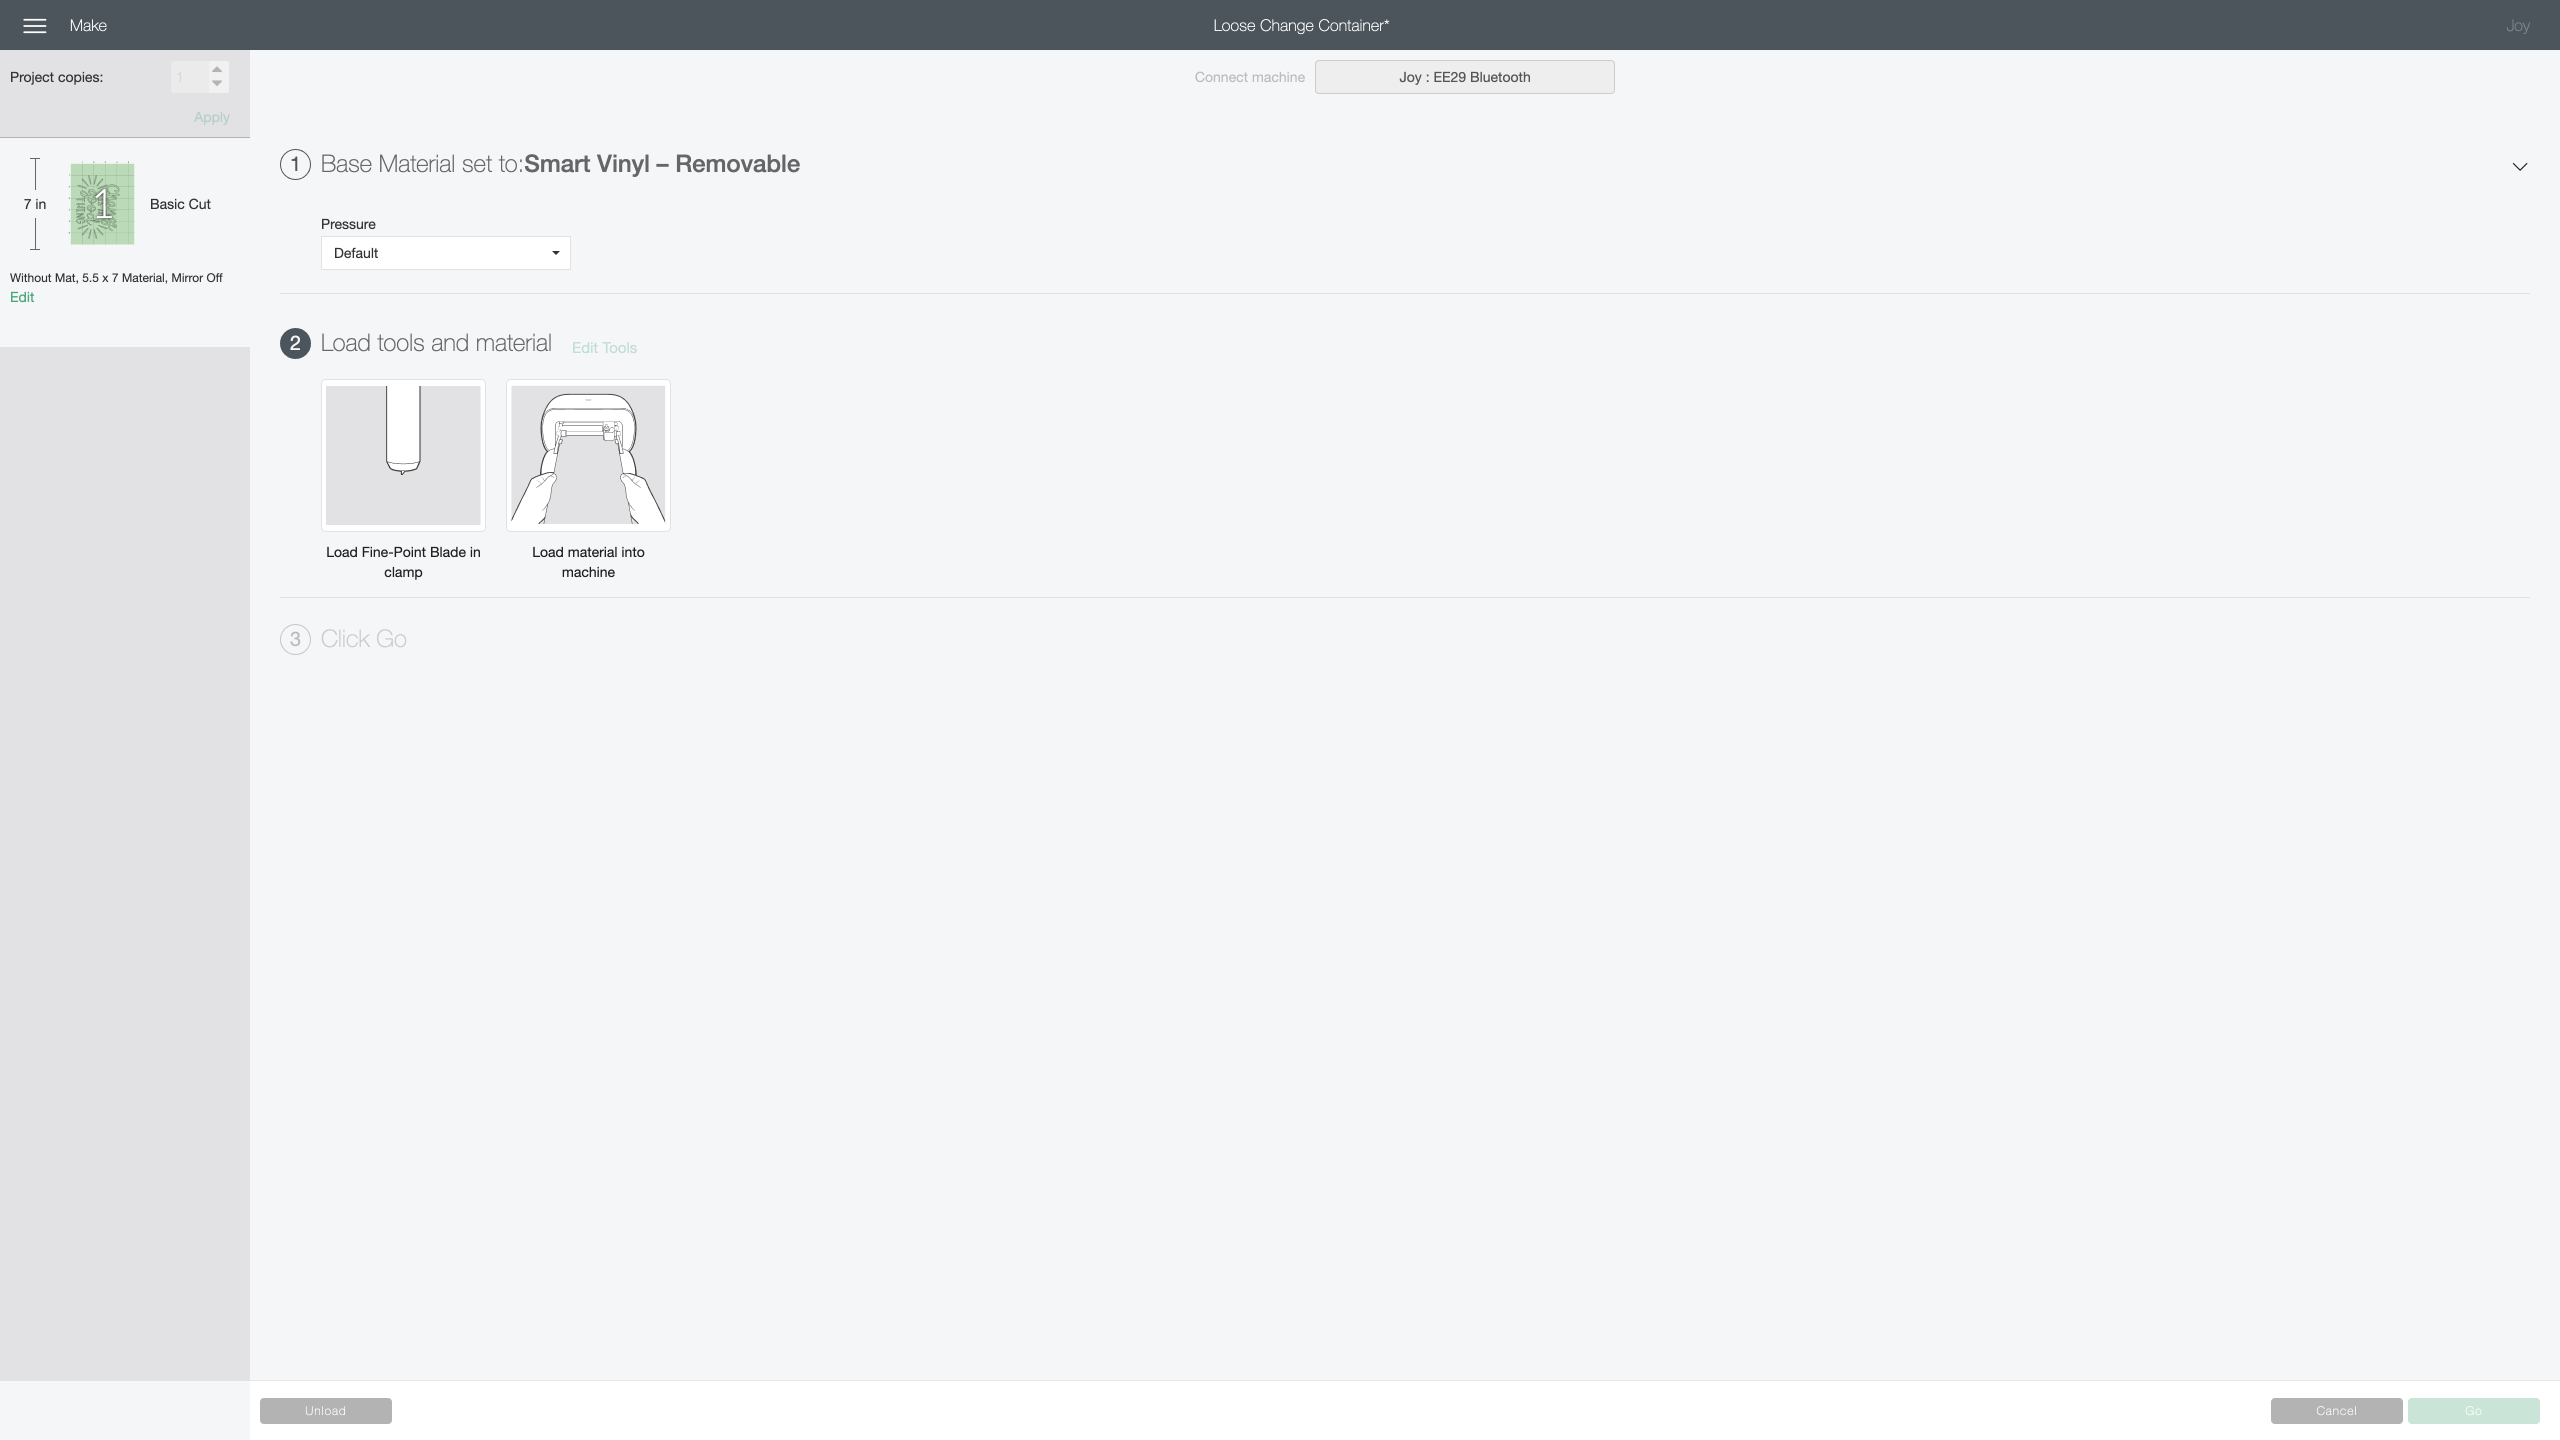
- Cricut Joy will calibrate, and measure and align the smart material before you can click ‘Go’. Once you click ‘Go’ the machine will do the rest!
Without further ado, here are the three projects I made with my Cricut Joy using Smart Materials.
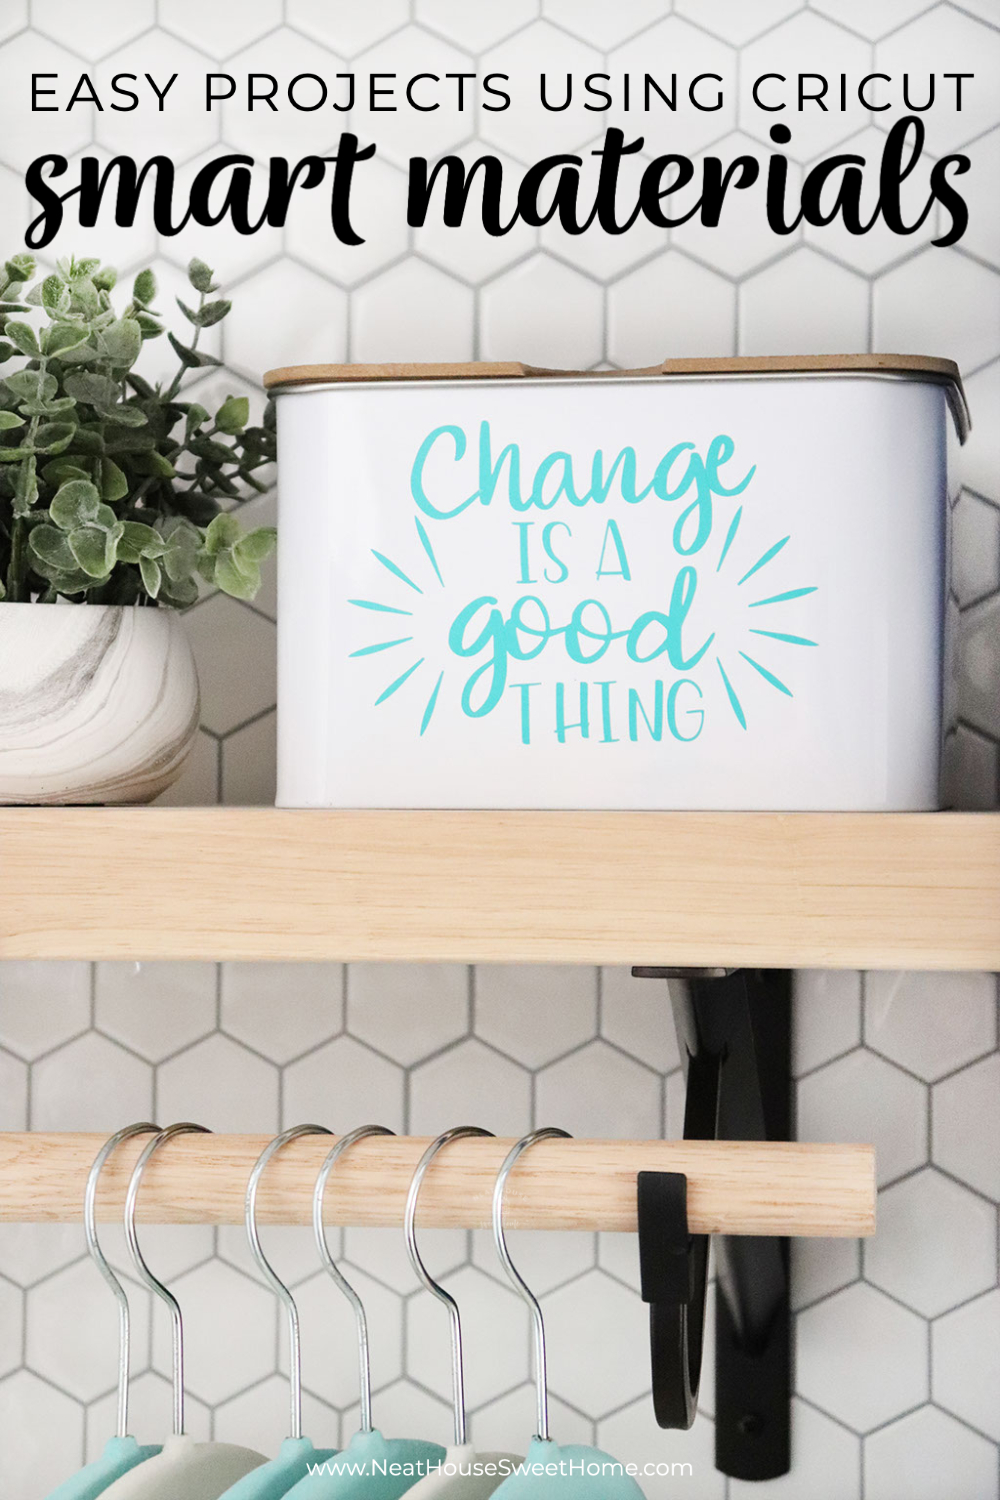
Project 1. Loose Change Container using Cricut Smart Vinyl
No laundry room is complete without a little cup to hold loose change. For my first project, I will show you how to use Smart Vinyl with your Cricut Joy to make this punny loose change container.
I generally purchase items (especially containers) that I love without having a plan for them. This might or might not be a good idea. On the one hand, I clutter my office and closets with stuff I don’t need -just yet! On the other hand, I love having blanks (as in supplies) to create craft projects whenever creativity strikes.
I spotted this white tin can at Target recently, and I purchased it without a plan. All I knew was that I would put it to good use one day. Take a look!
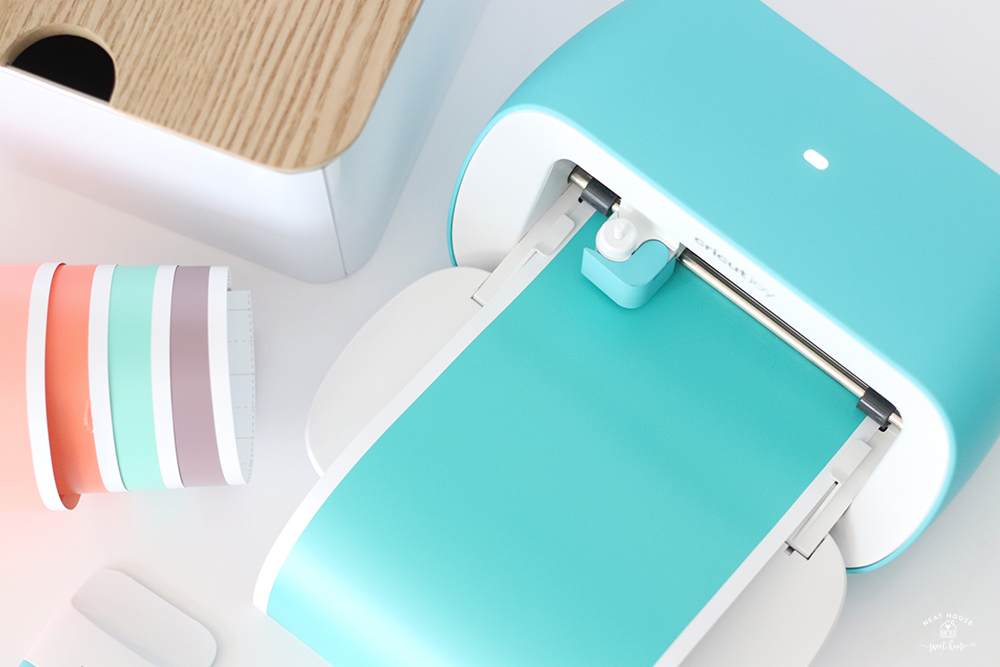
Load the Smart Vinyl in the machine, following the Cricut Design Space instructions. Once the project has been cut, the machine will prompt you to unload the material.
Start weeding the project. Weeding means peeling off everything you do not need. In this case, I am pulling off all the vinyl surrounding my design and the small pieces inside the letters that I don’t need.
- Weed your design of everything unwanted.
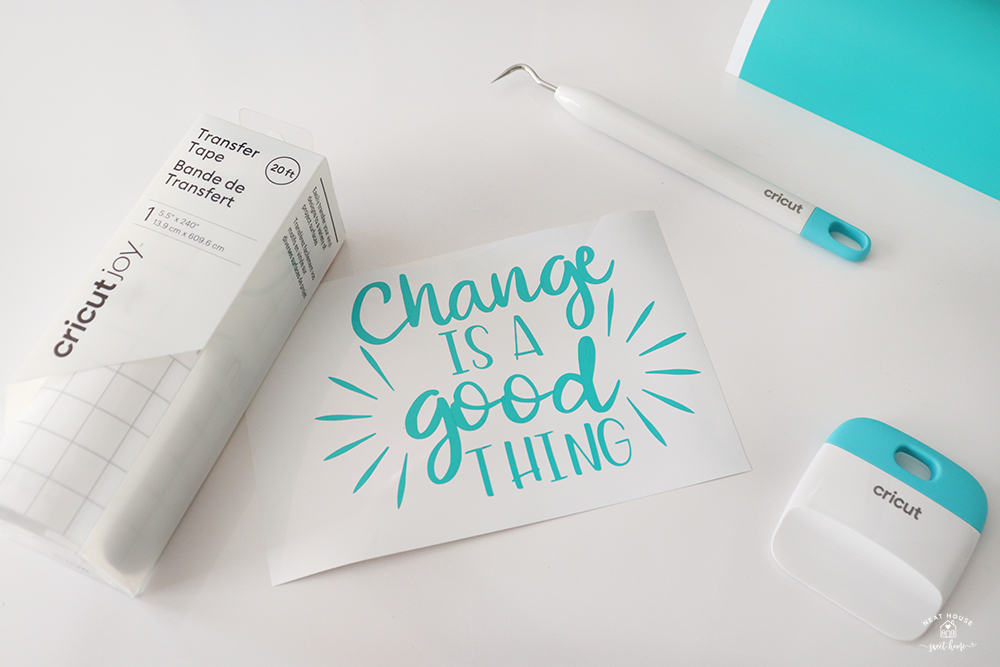
- Measure how much transfer tape you will need and cut to size.
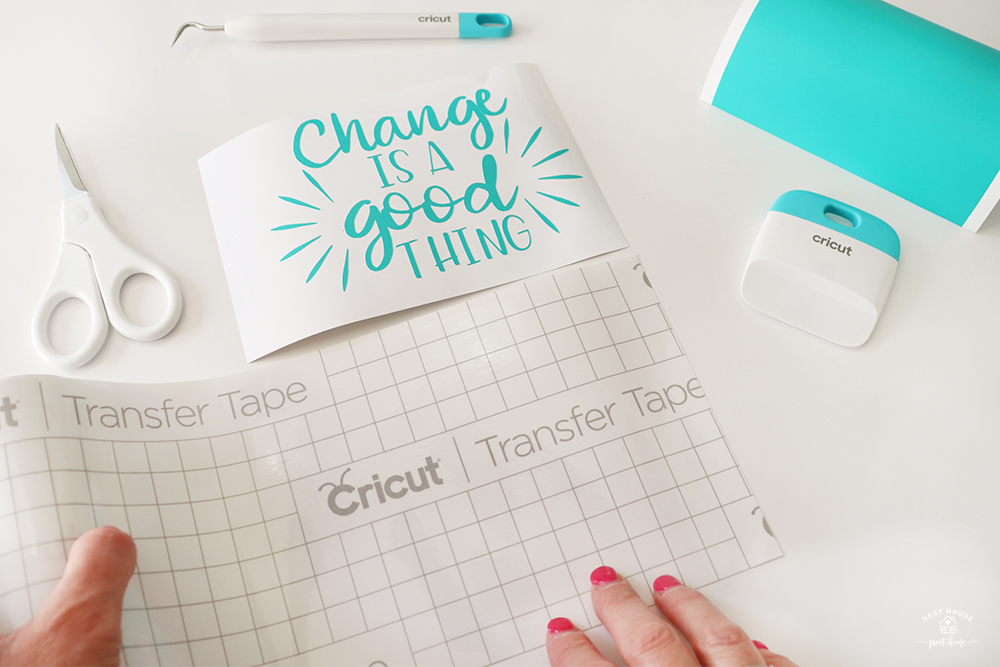
For detailed instructions on how to make decals and how to use transfer tape, read this tutorial.
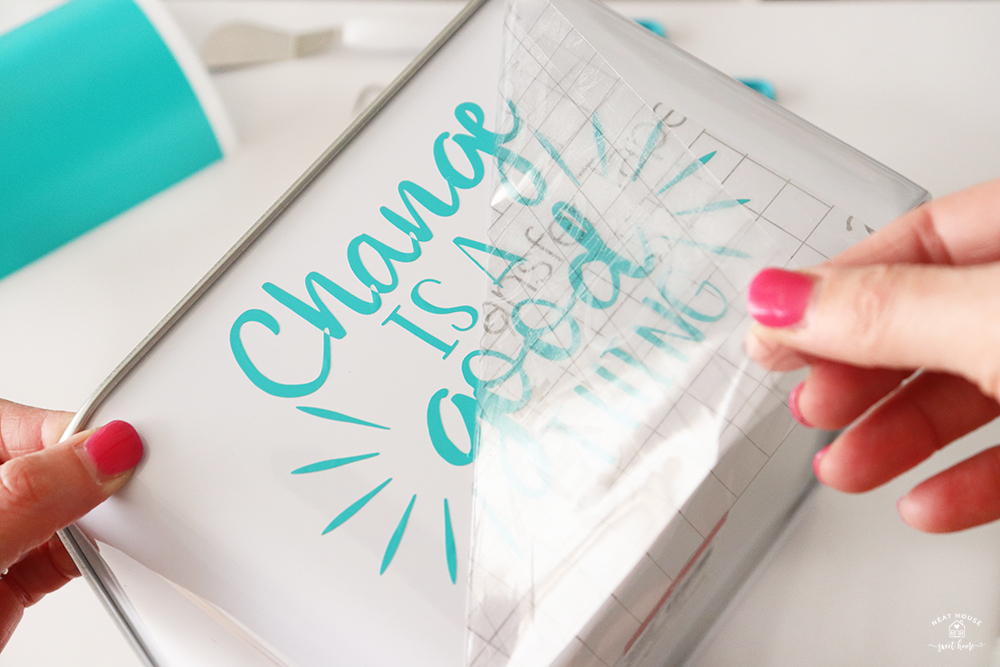
- Align the transfer tape with your blank. Press down once you are happy with the placement.
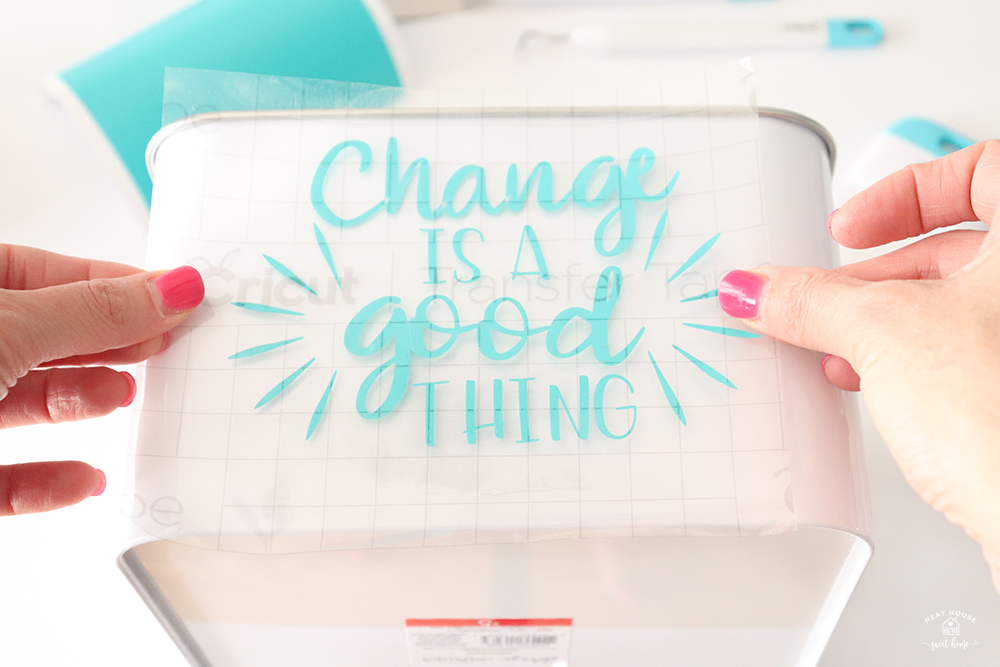
- Rub the design well against the surface, and start peeling the transfer tape off, preferably at a 45-degree angle.
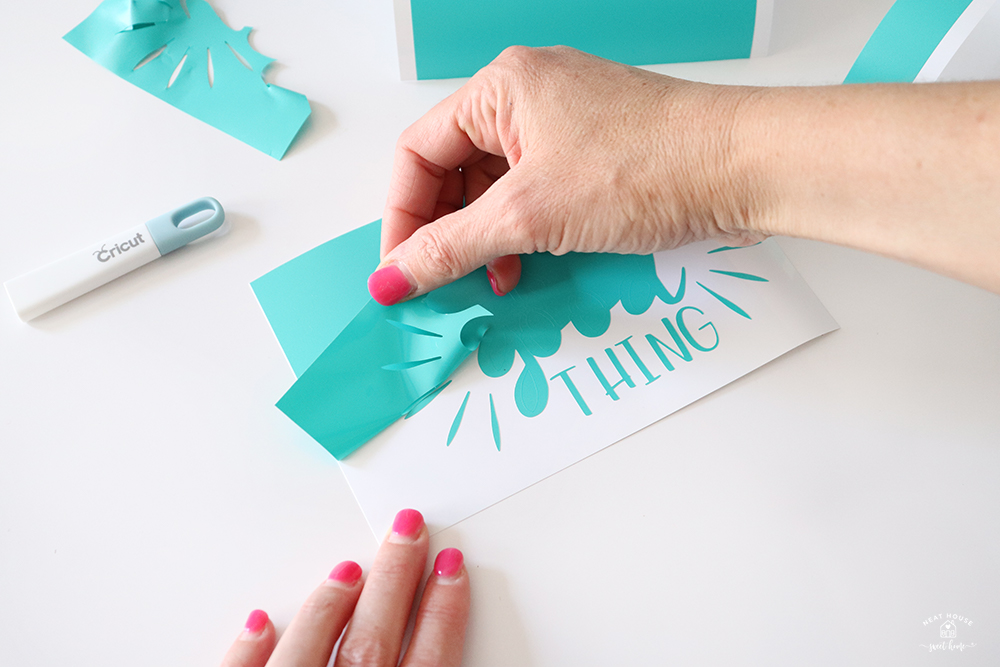
How to Fix Your Project if you Forget to Weld
I had to take this extra step because I forgot to weld my words, and you can see blank spaces in the word ‘Change.’ Particularly in the letters C, h, and n.
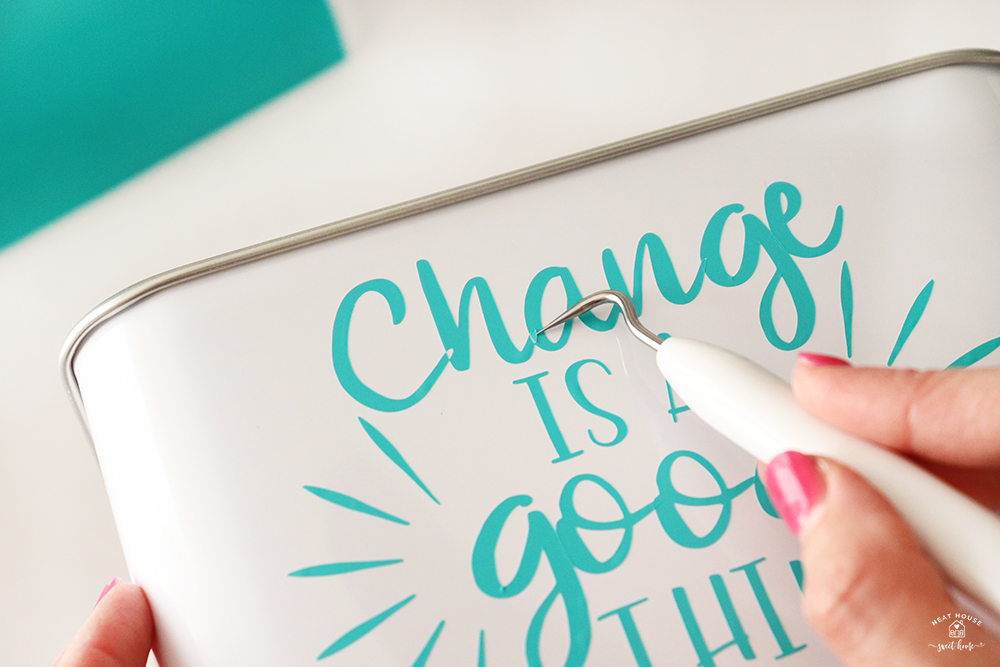
All I did was pick up the tiny pieces of the Smart Vinyl backing (they didn’t transfer to the tape), and carefully place them using the weeding tool.
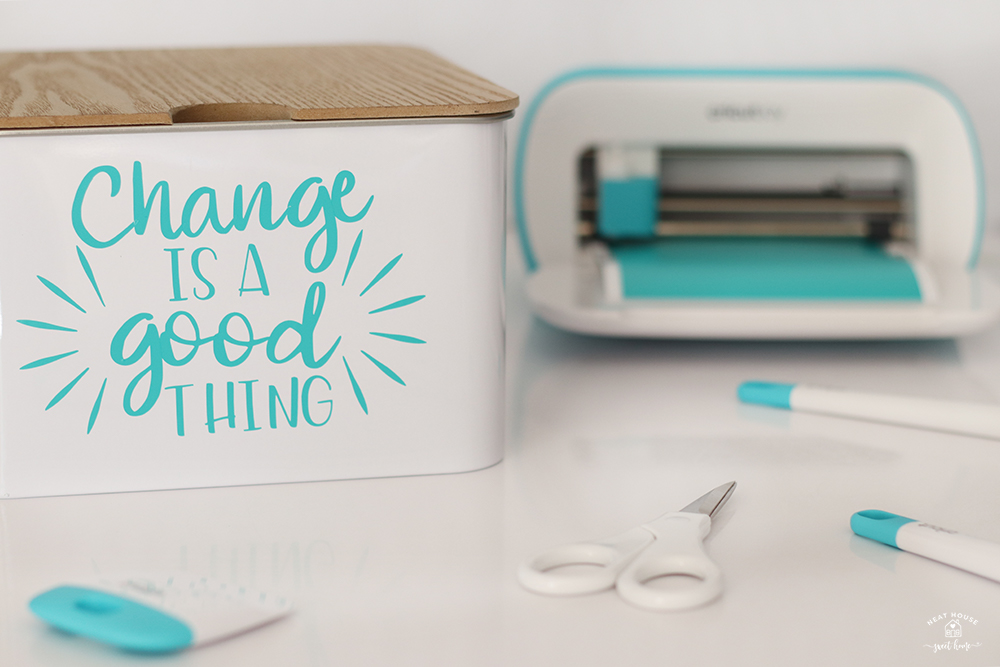
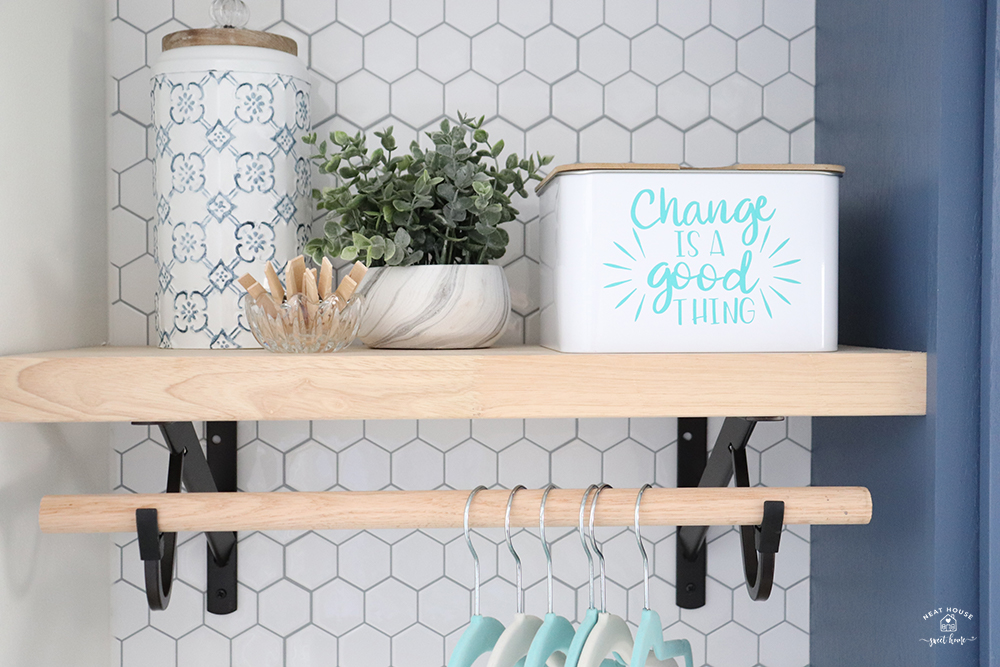
Here’s a final look at the loose change container.
I placed it on a shelf in our newly renovated laundry room.
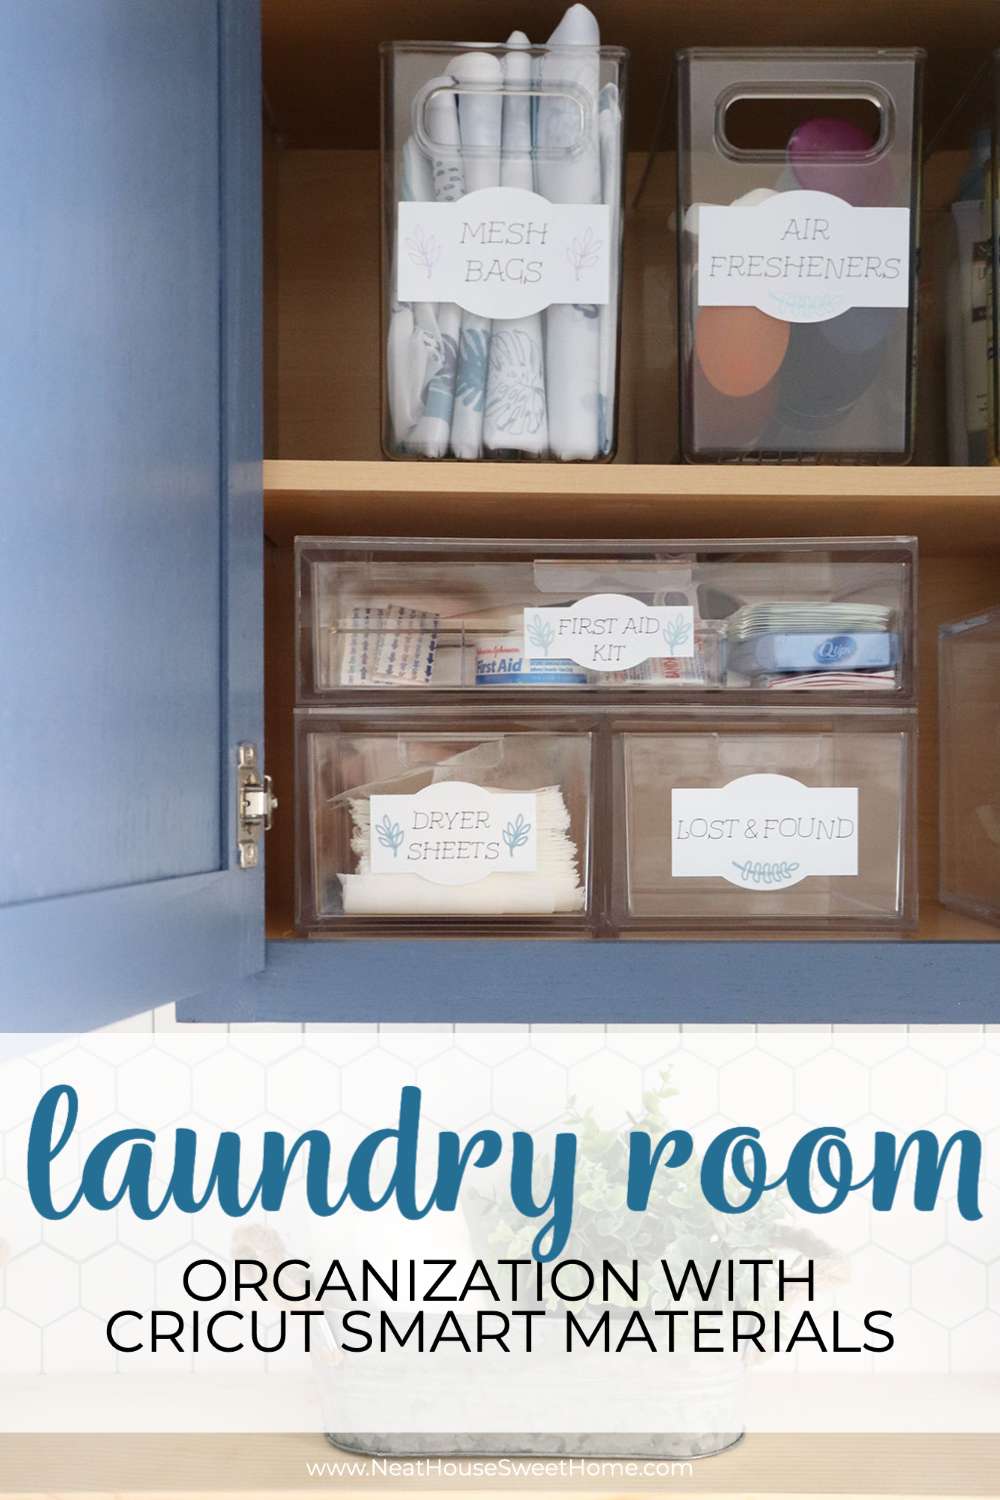
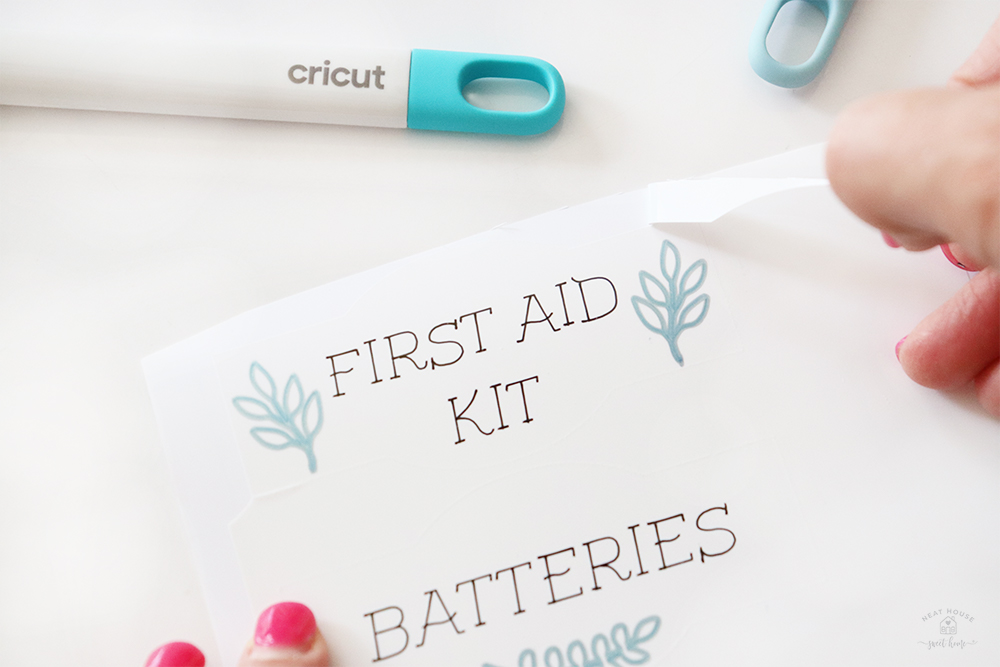
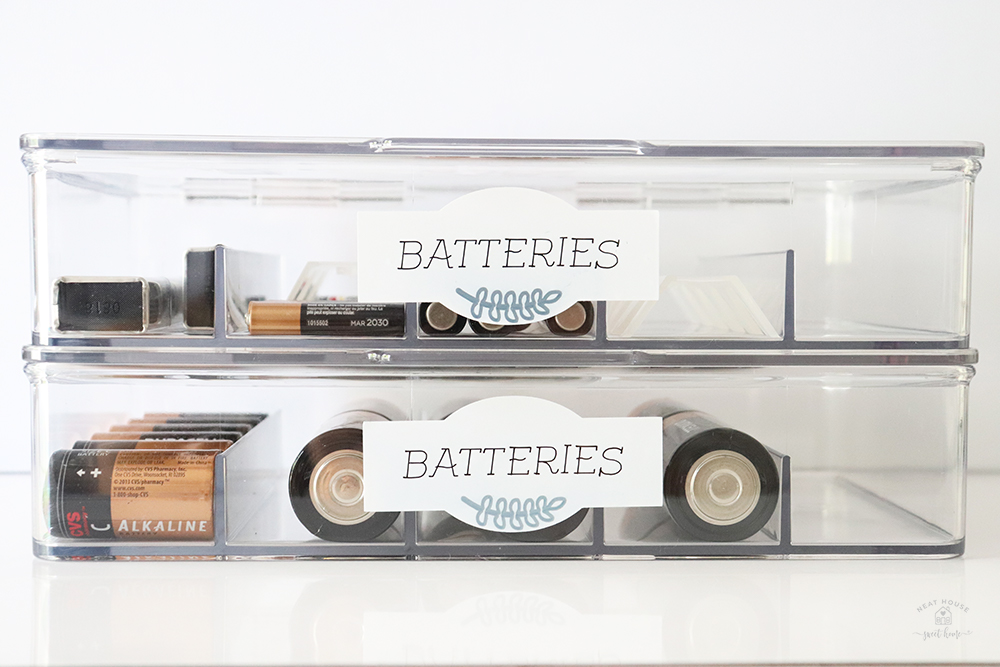
Project 2. Laundry Room Labels with Cricut Joy Writable Smart Labels
Oh my, I am so excited to show you this project. I love labels, and I think labels are at the core of home organization. And the Cricut Joy Smart Labels are the answer to my prayers.
You see, people who love to organize love to label things. However, printing, aligning, cutting, punching, and finding the right sticker or label paper becomes daunting for most people.

But fear no more! Cricut Joy is the perfect tool to help you create the labels of your dreams using Smart Materials, including the Cricut Joy Smart Label™ Writable Vinyl I used for this project.
Design the Labels On Cricut Design Space
For this project, I used:
- Lost and Found label from the Cricut Design Space image library
- Leaf Border from the Cricut Design Space image library
- Saturday Font
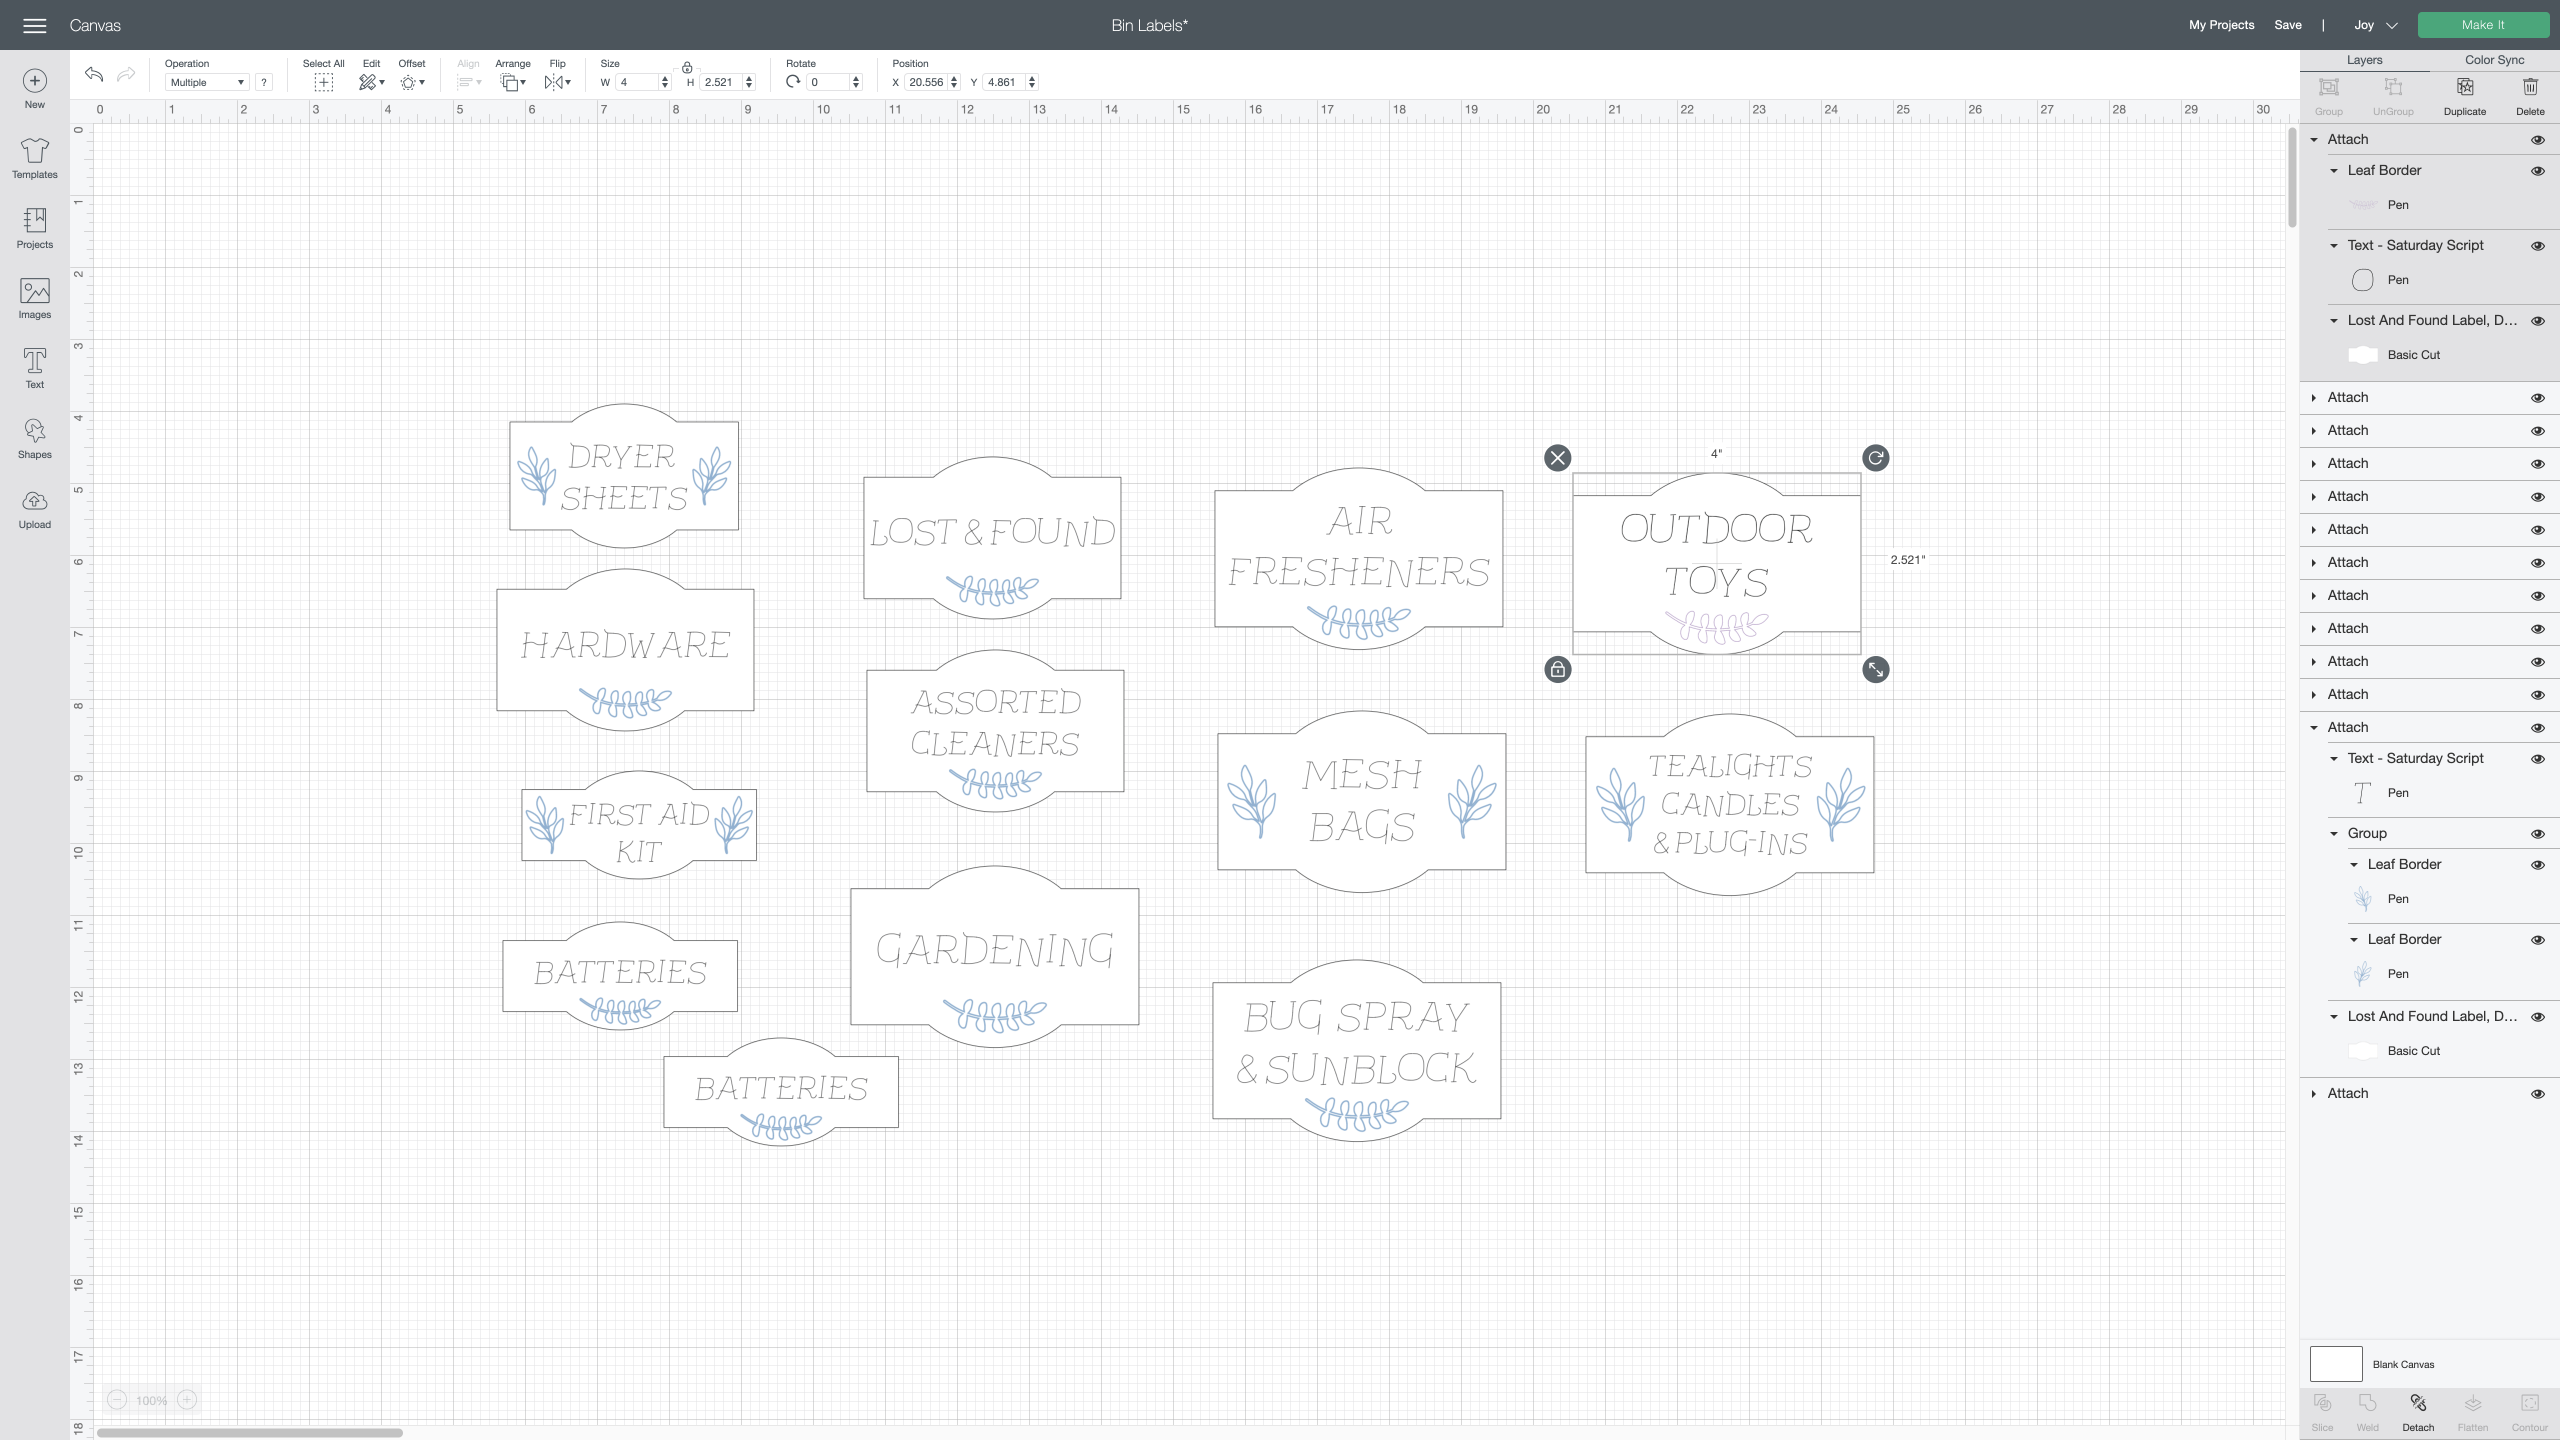
Design the labels in the size of your choice, keeping in mind the size of your material.This Smart Label roll is 48 inches long, so I had enough to make as many labels as I needed at the time.
The Cricut Design Space software will prompt you when to load the material, when to switch pens, and when to place the blade.
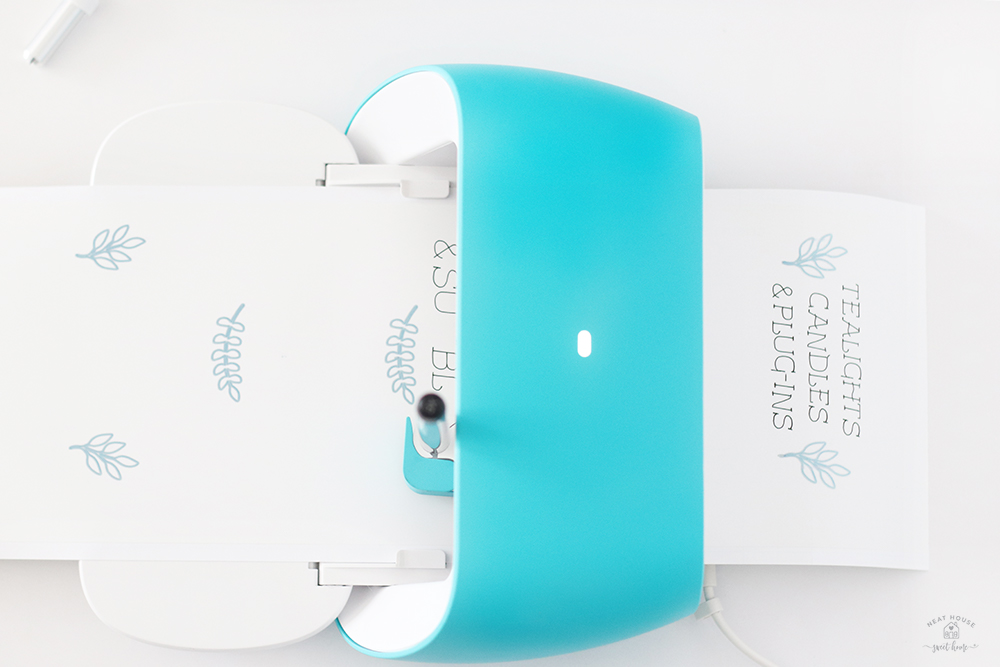
When making labels on writable Smart vinyl, the program will always write and then cut in the final step. So basically, you always start by loading a pen.
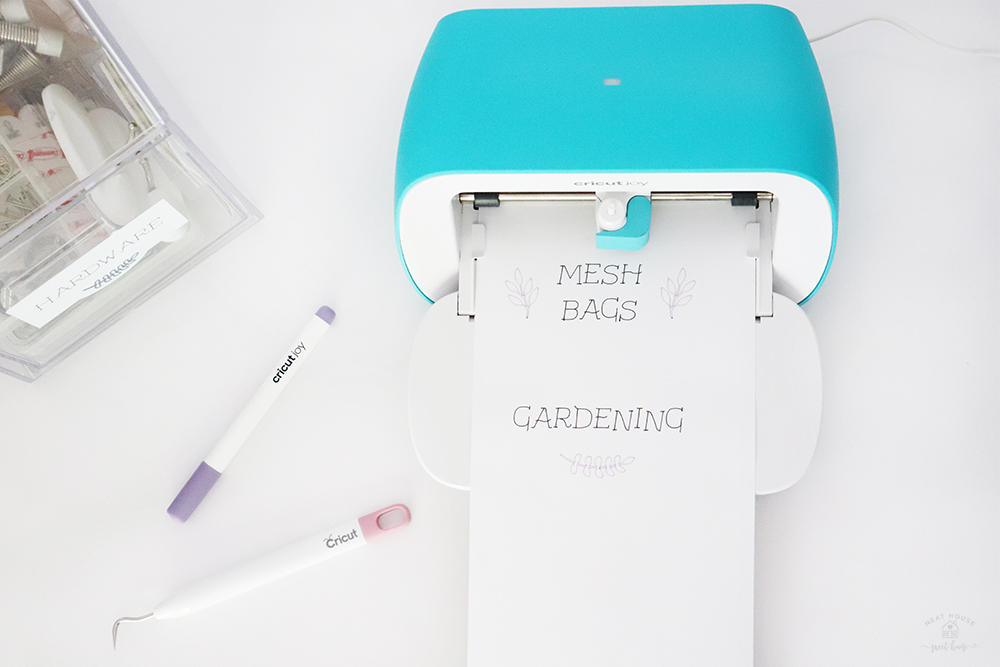
Once the labels are all cut, unload the mat and weed what you don’t need. Then, you can peel your stickers off the backing as you would peel off any other kind of sticker.
I like to wipe the surface of my containers with an alcohol pad before placing the stickers.
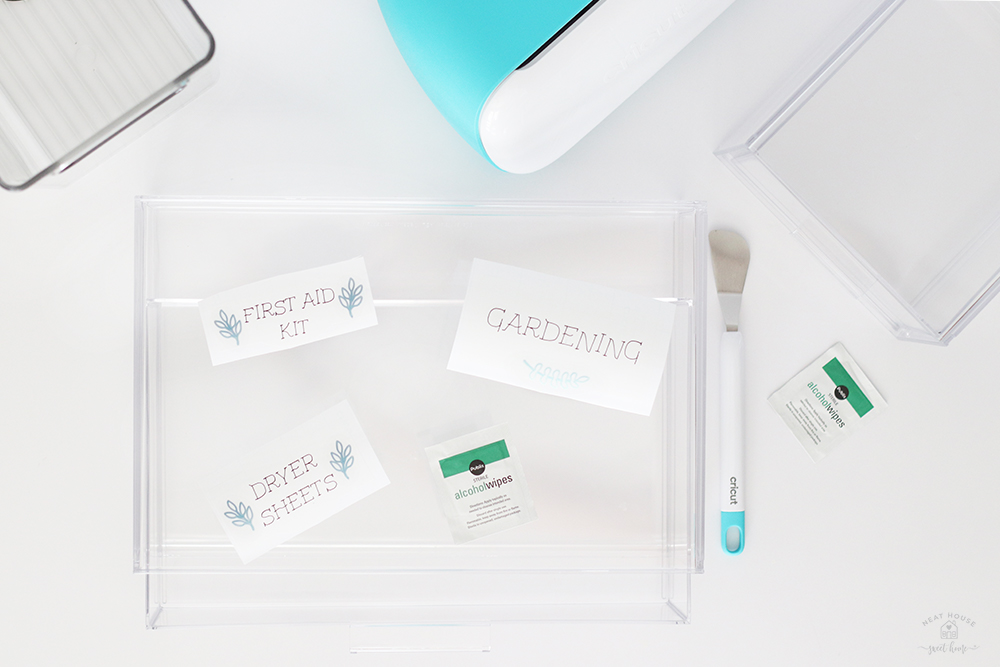
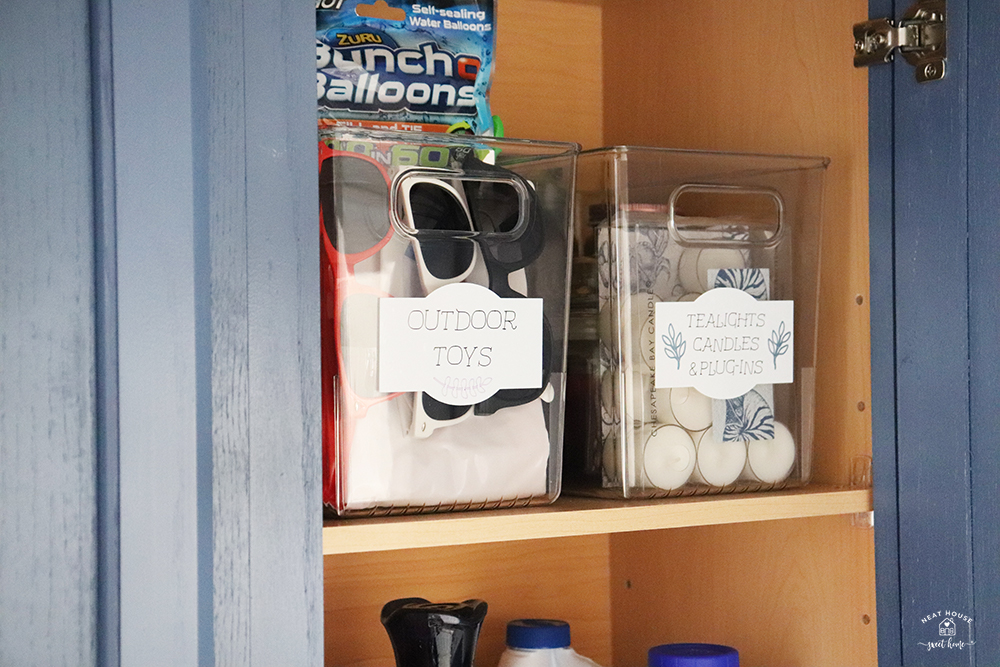
For my laundry room organization, I chose clear acrylic bins. I will write a detailed post about the bins I chose and my laundry room cabinet organization.
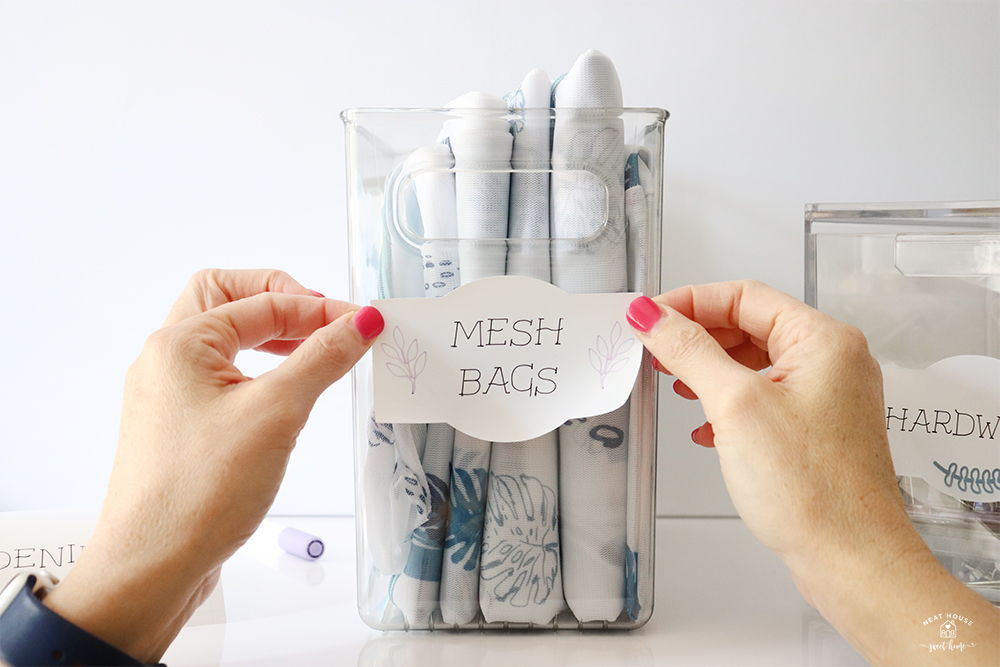
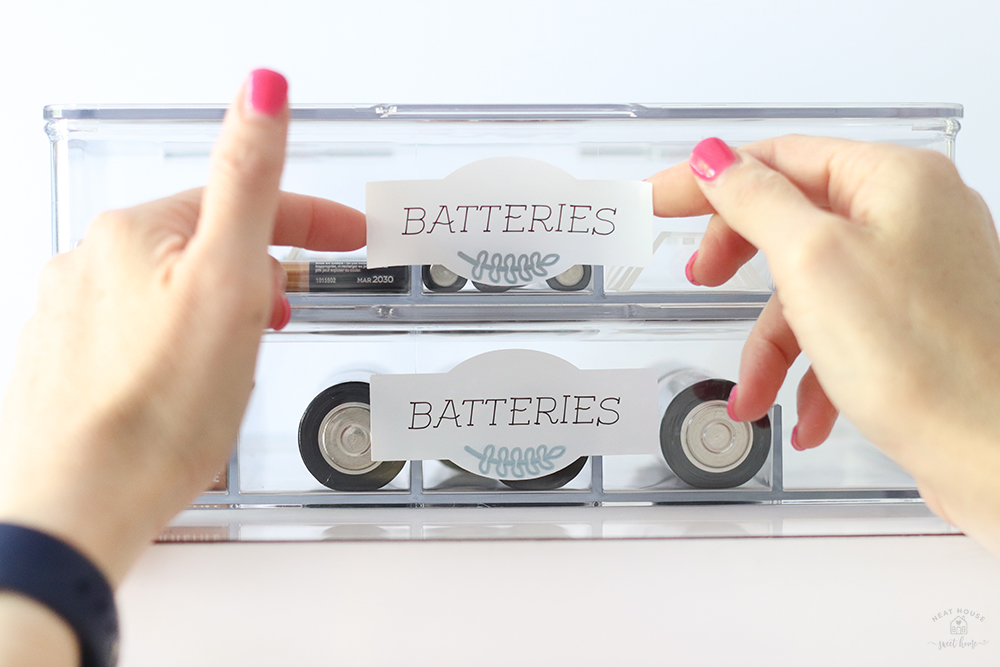
The labels are pretty straightforward to apply. The best way to apply them is by sticking the center of the label first and then pressing from the center outwards. If a bubble forms, you can quickly peel the label off and try again. However, the Smart Label is permanent, and once it is placed completely, it is not easily removable.
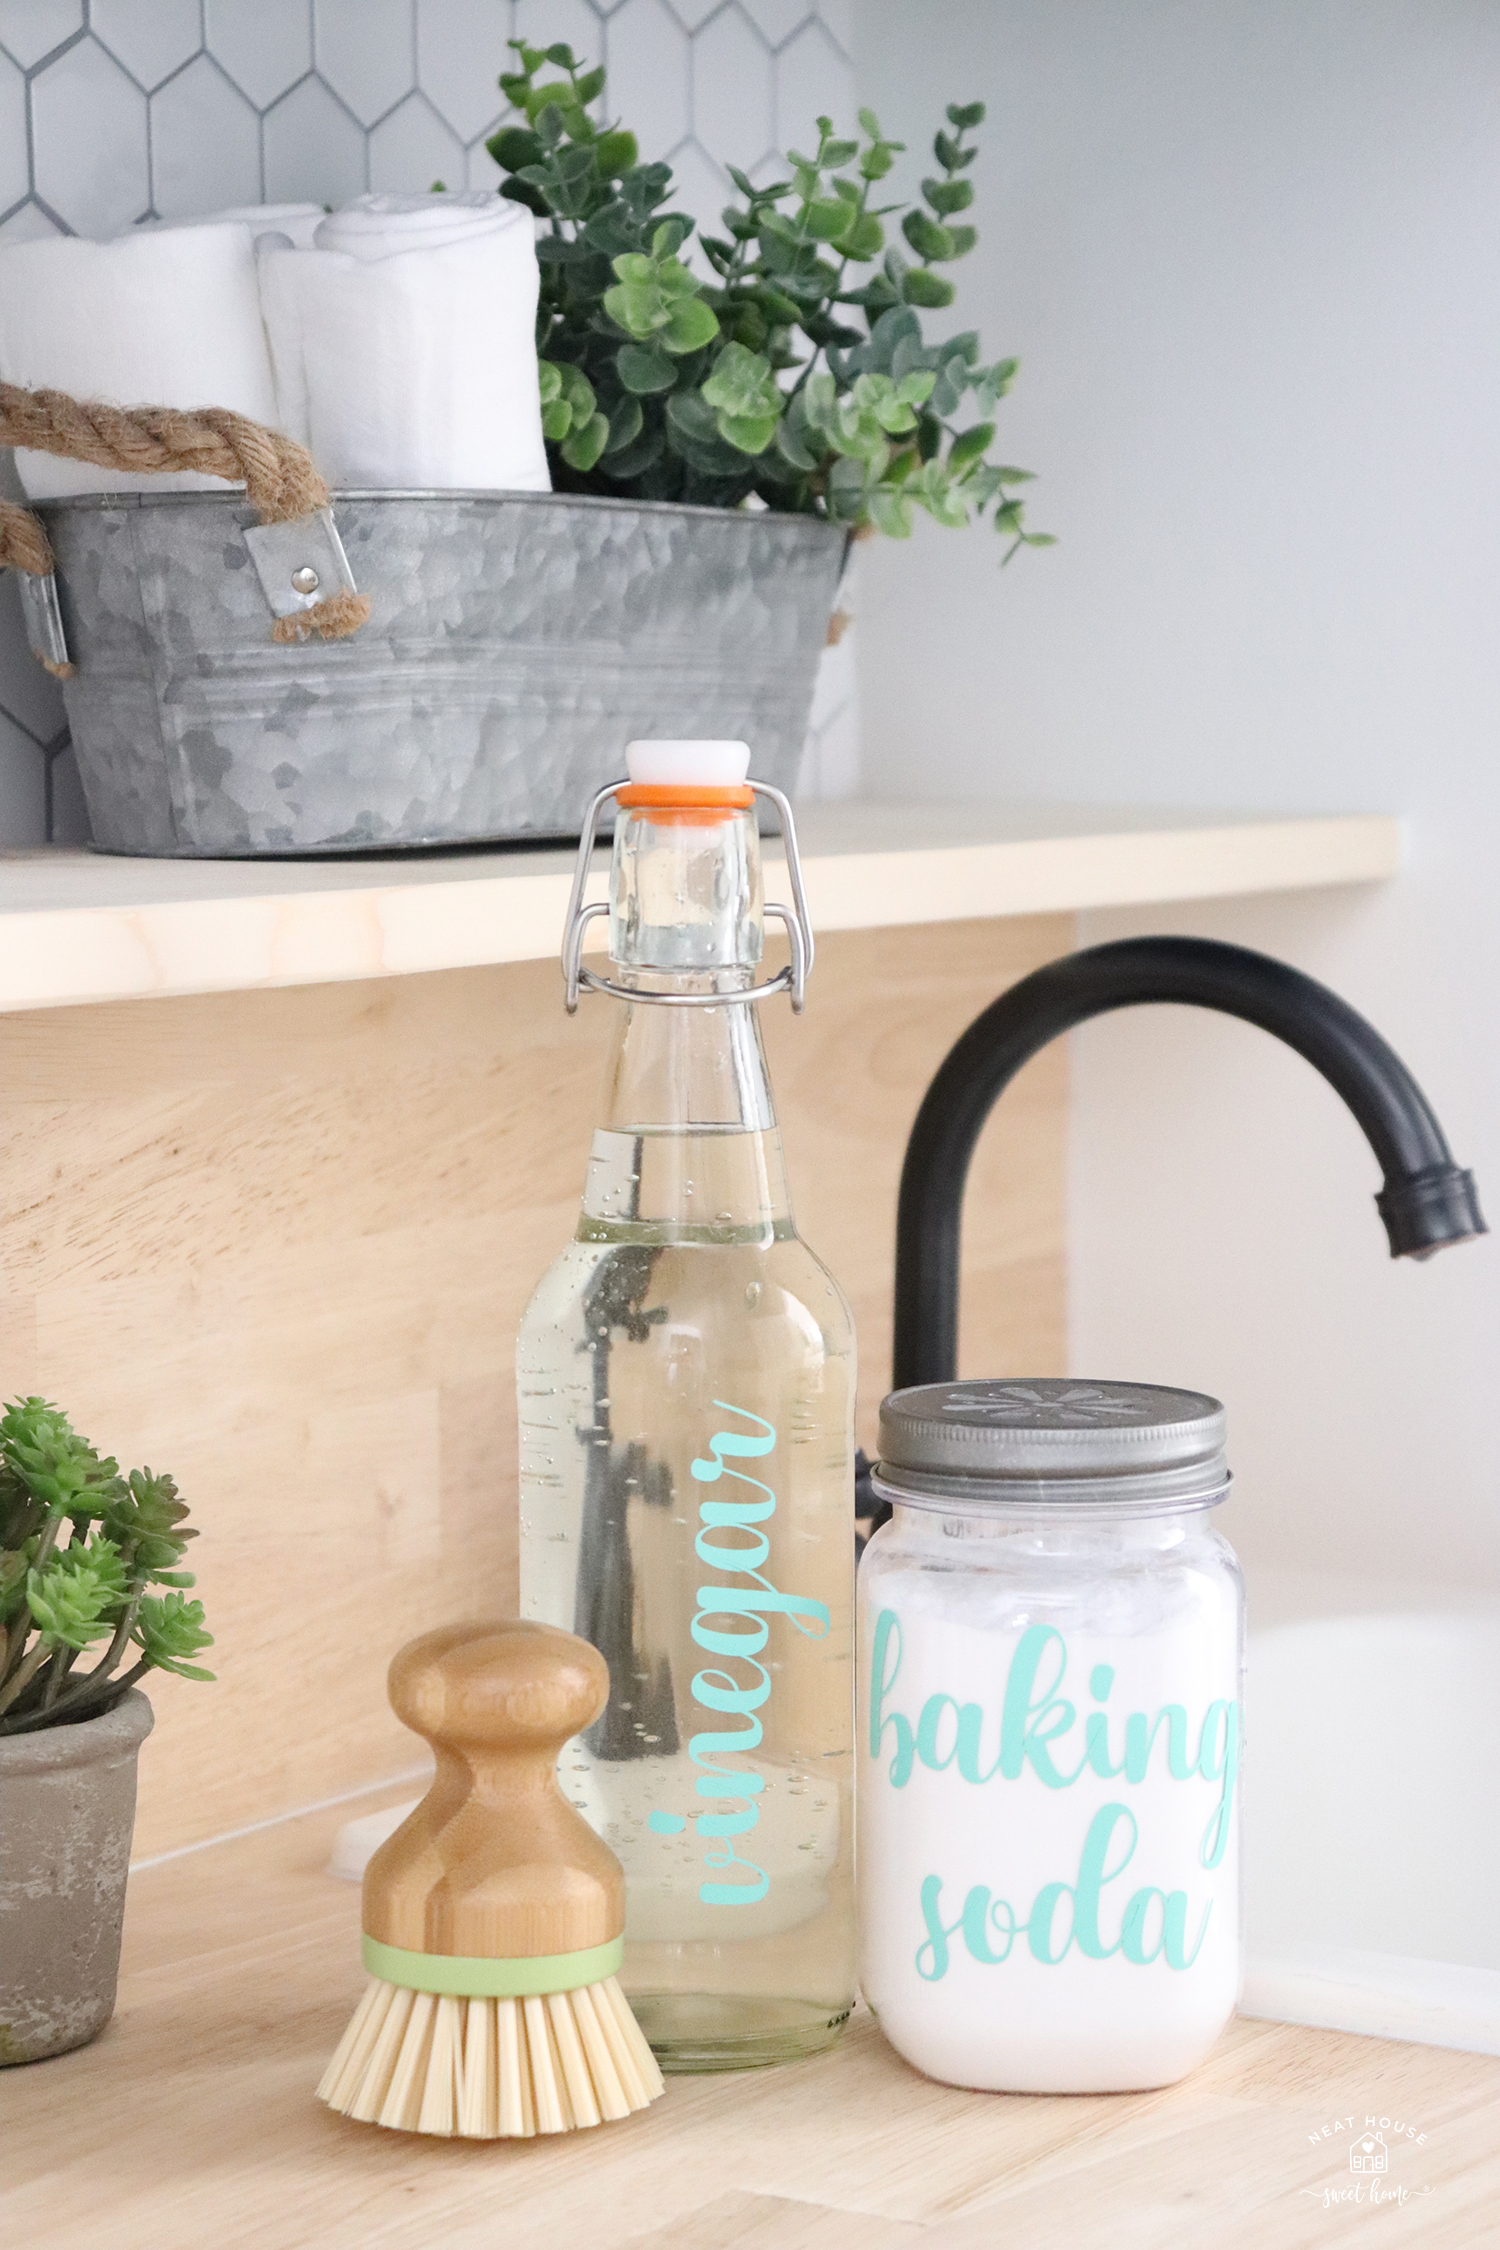
Project 3. Cleaning Products Decals
I am a fan of using natural ingredients for cleaning and whitening clothing. Because I like decanting those ingredients inside bottles and mason jars, I need to label them. I do this not only for looks but also for fast recognition. Here’s a very quick project I made using Cricut Smart Vinyl.
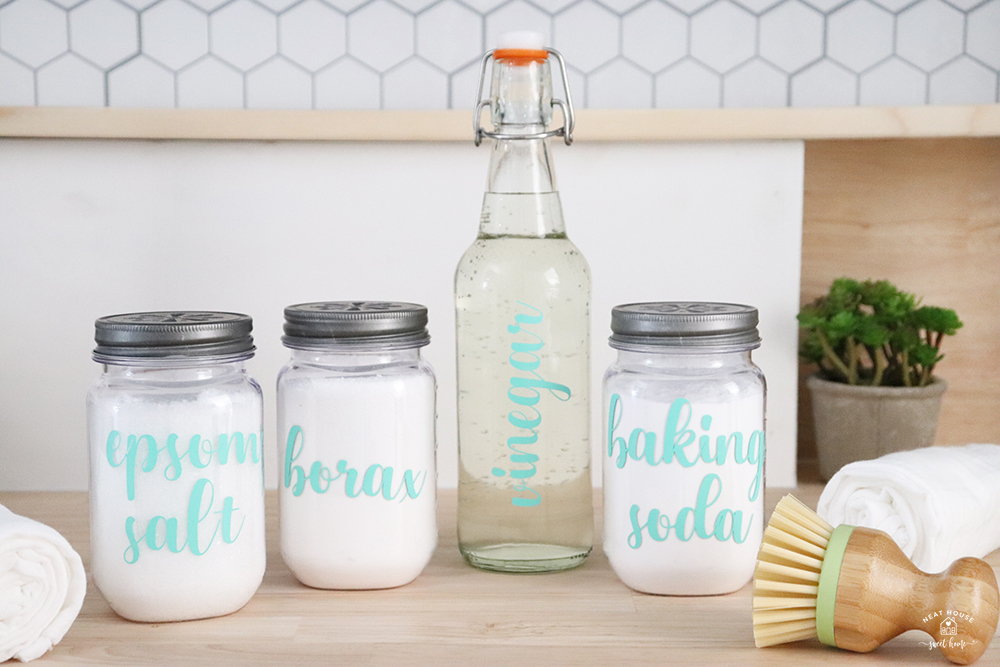
This is probably one of the easiest projects you can make with smart vinyl. All you have to do is type the words with the font of your choice in the dimensions you need.
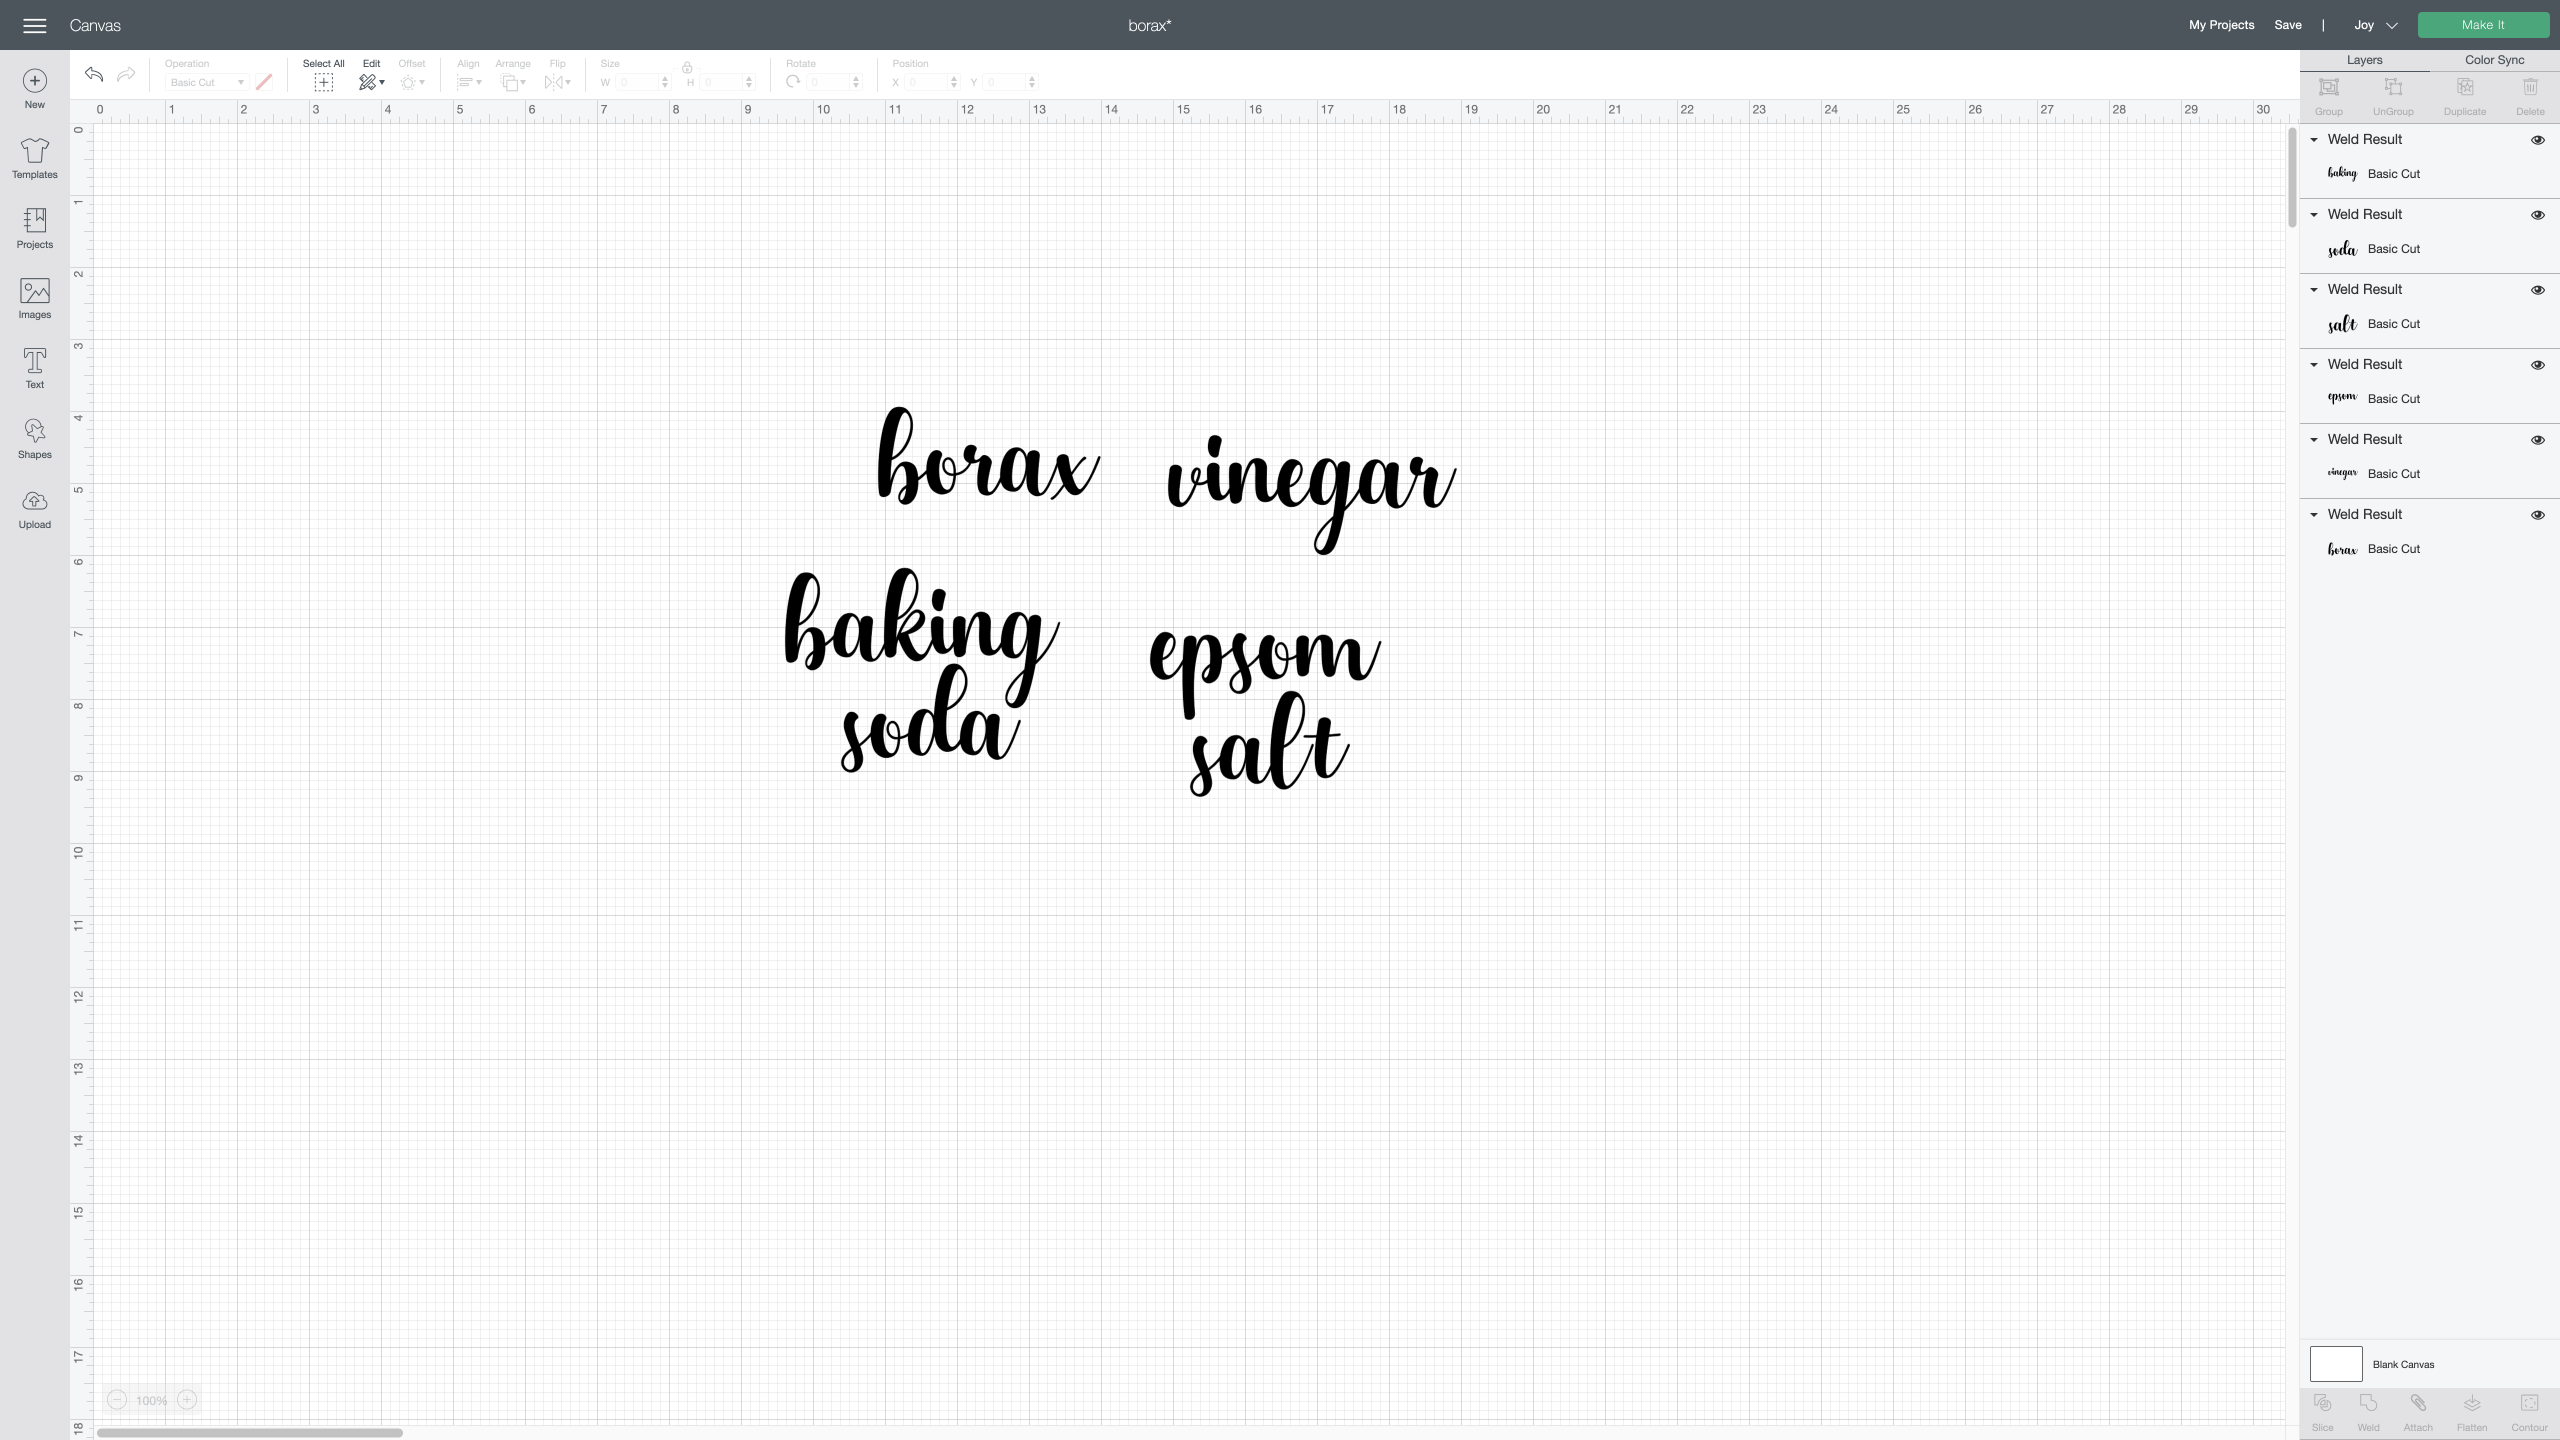
Once you are happy with your font choice, don’t forget to group, weld, and attach. Click make, and follow the prompts on Cricut Design Space. Let your Cricut Joy and the smart vinyl do the rest.
Proceed to transfer the labels onto your mason jars (or other surface), following the steps explained in Project 1, the loose change container project.
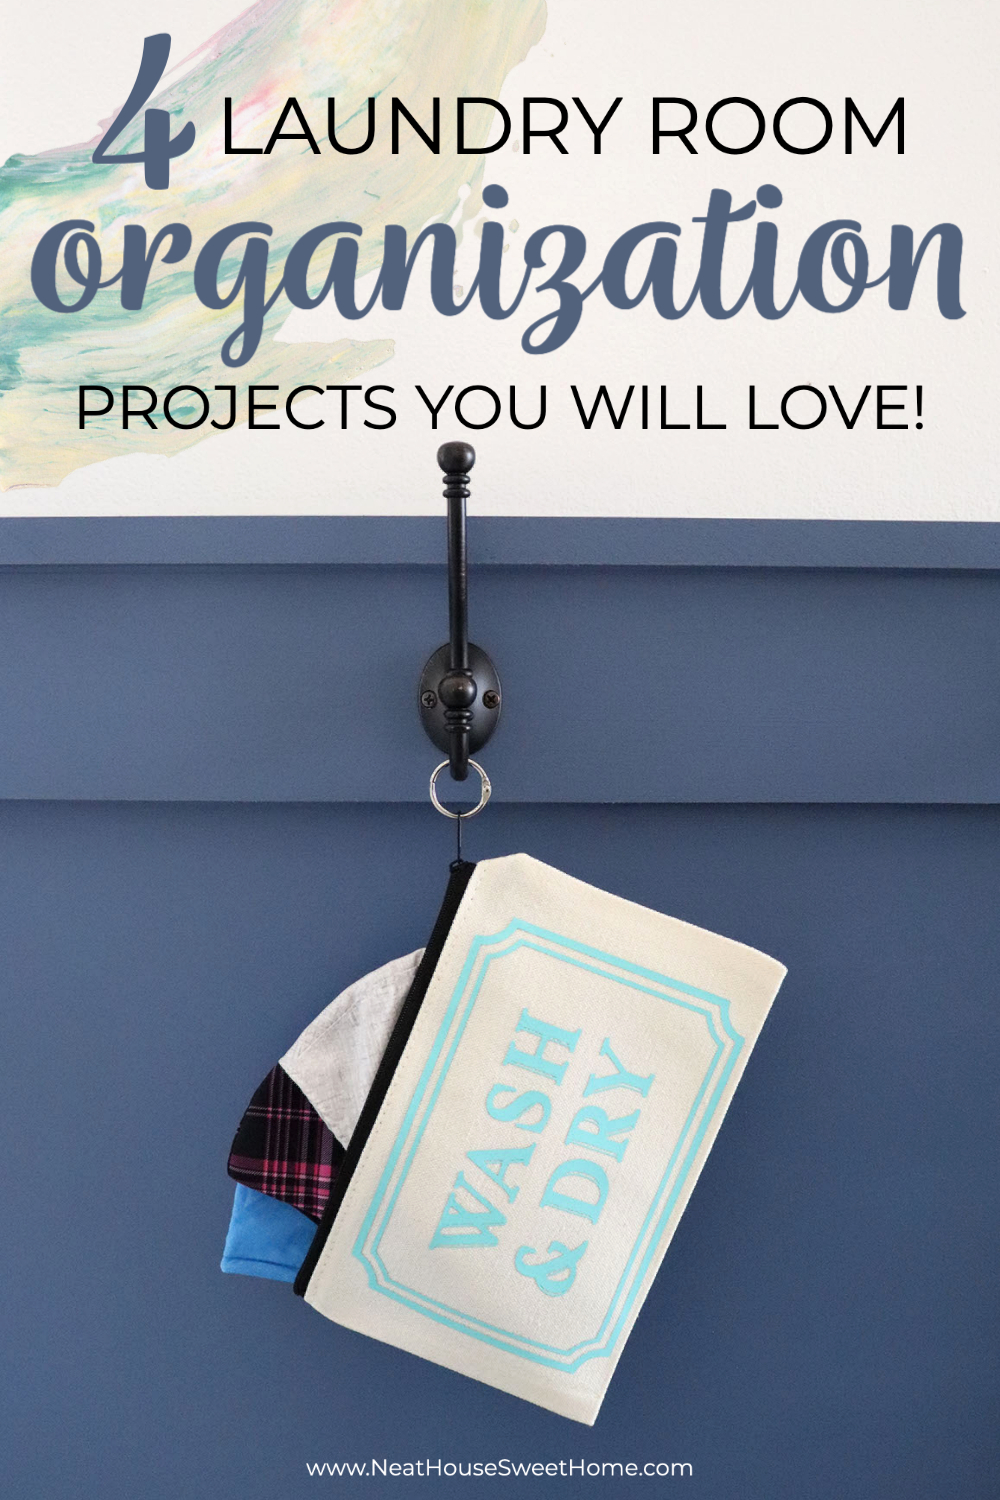
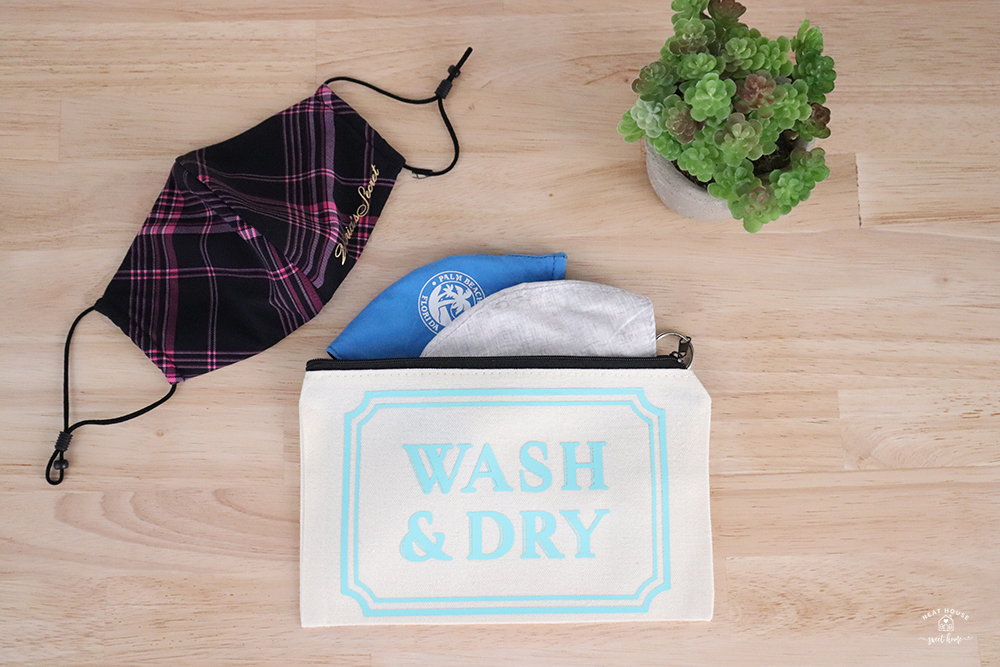
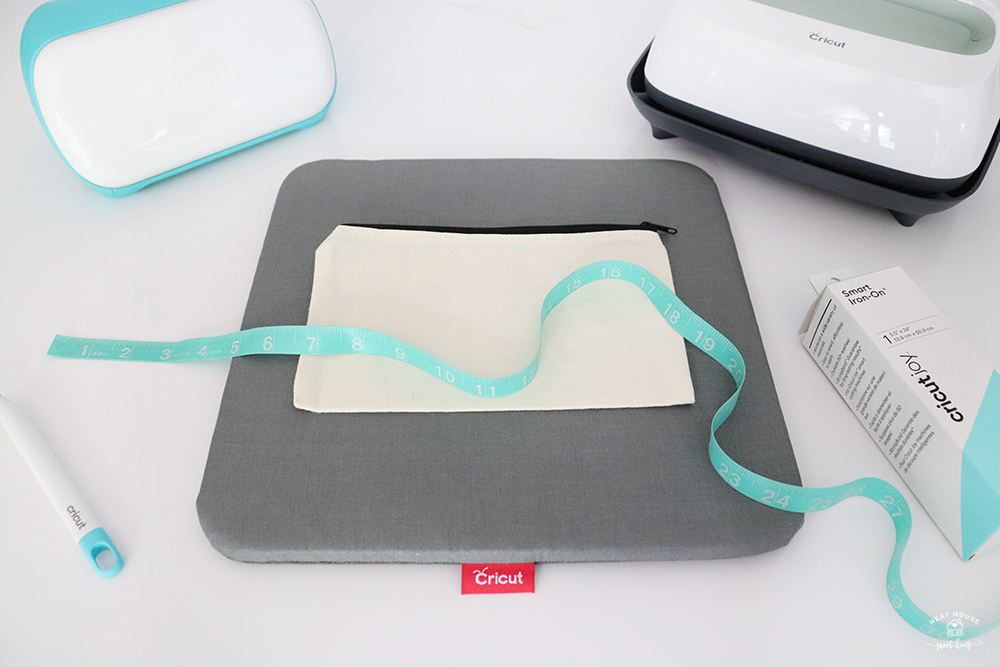
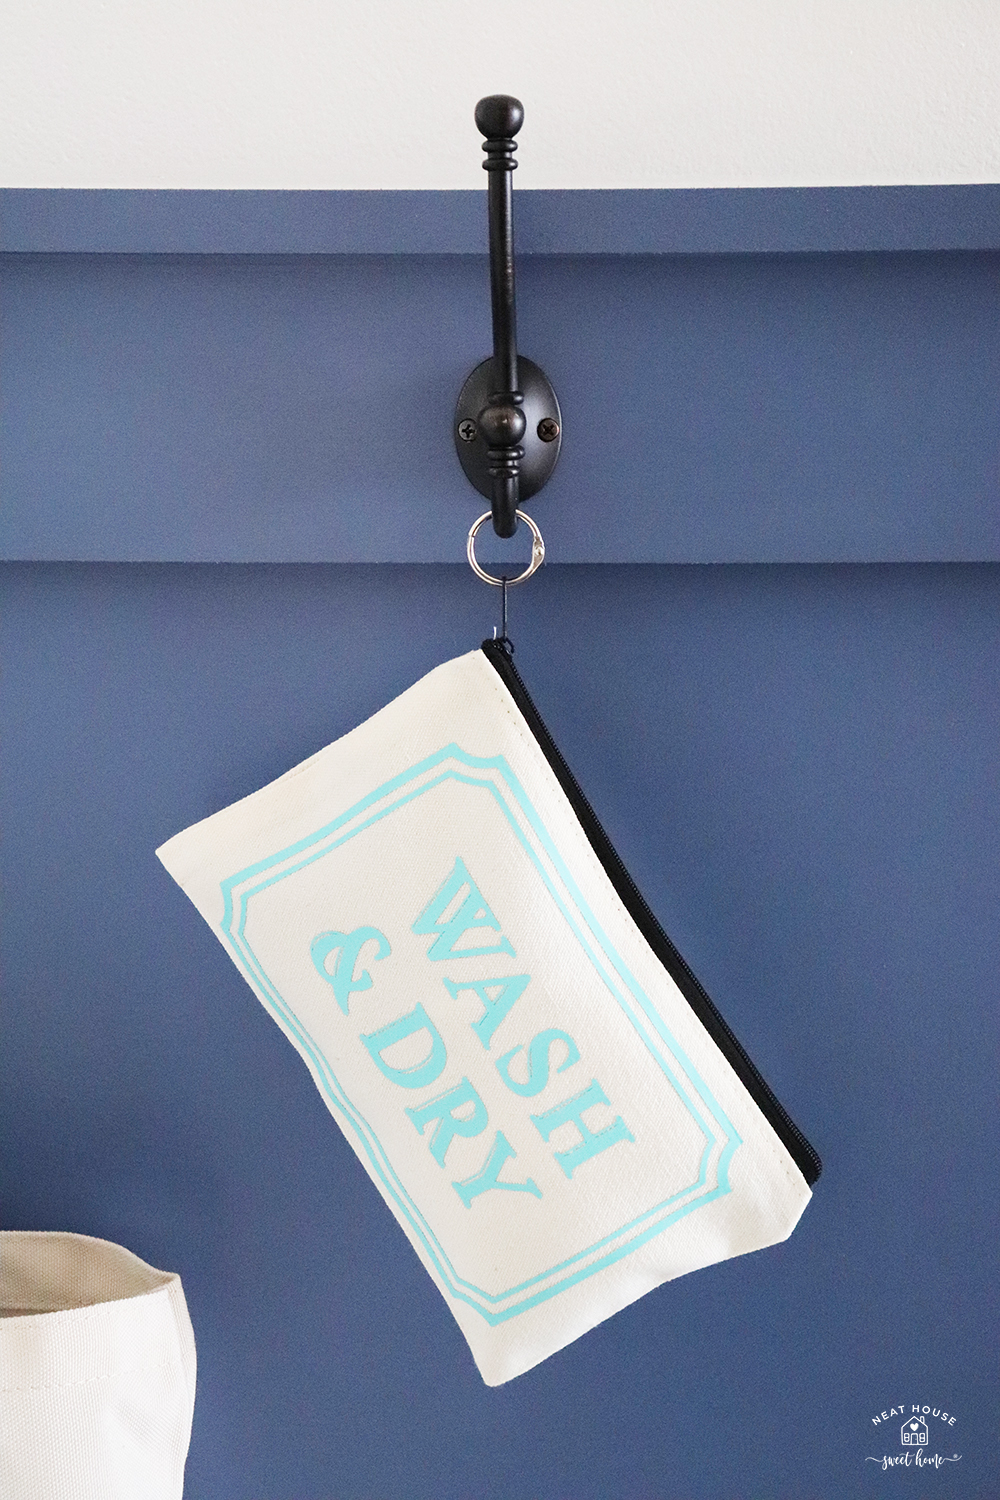
Project 4. Dirty Face Masks Canvas Pouch
Since we started using face masks, we religiously wash them after one or two uses, tops. Our garage door leads to the laundry room, so we tend to drop them on top of the washing machine, or inside the sink, as a sign that they need to be washed.
Being the ‘Type A’ person that I am and hating to see things lying around, I decided it was time to make something to keep the dirty face masks in one place until it was time to throw a load in the wash. So, I decided to make a canvas pouch and label it with smart iron-on vinyl.
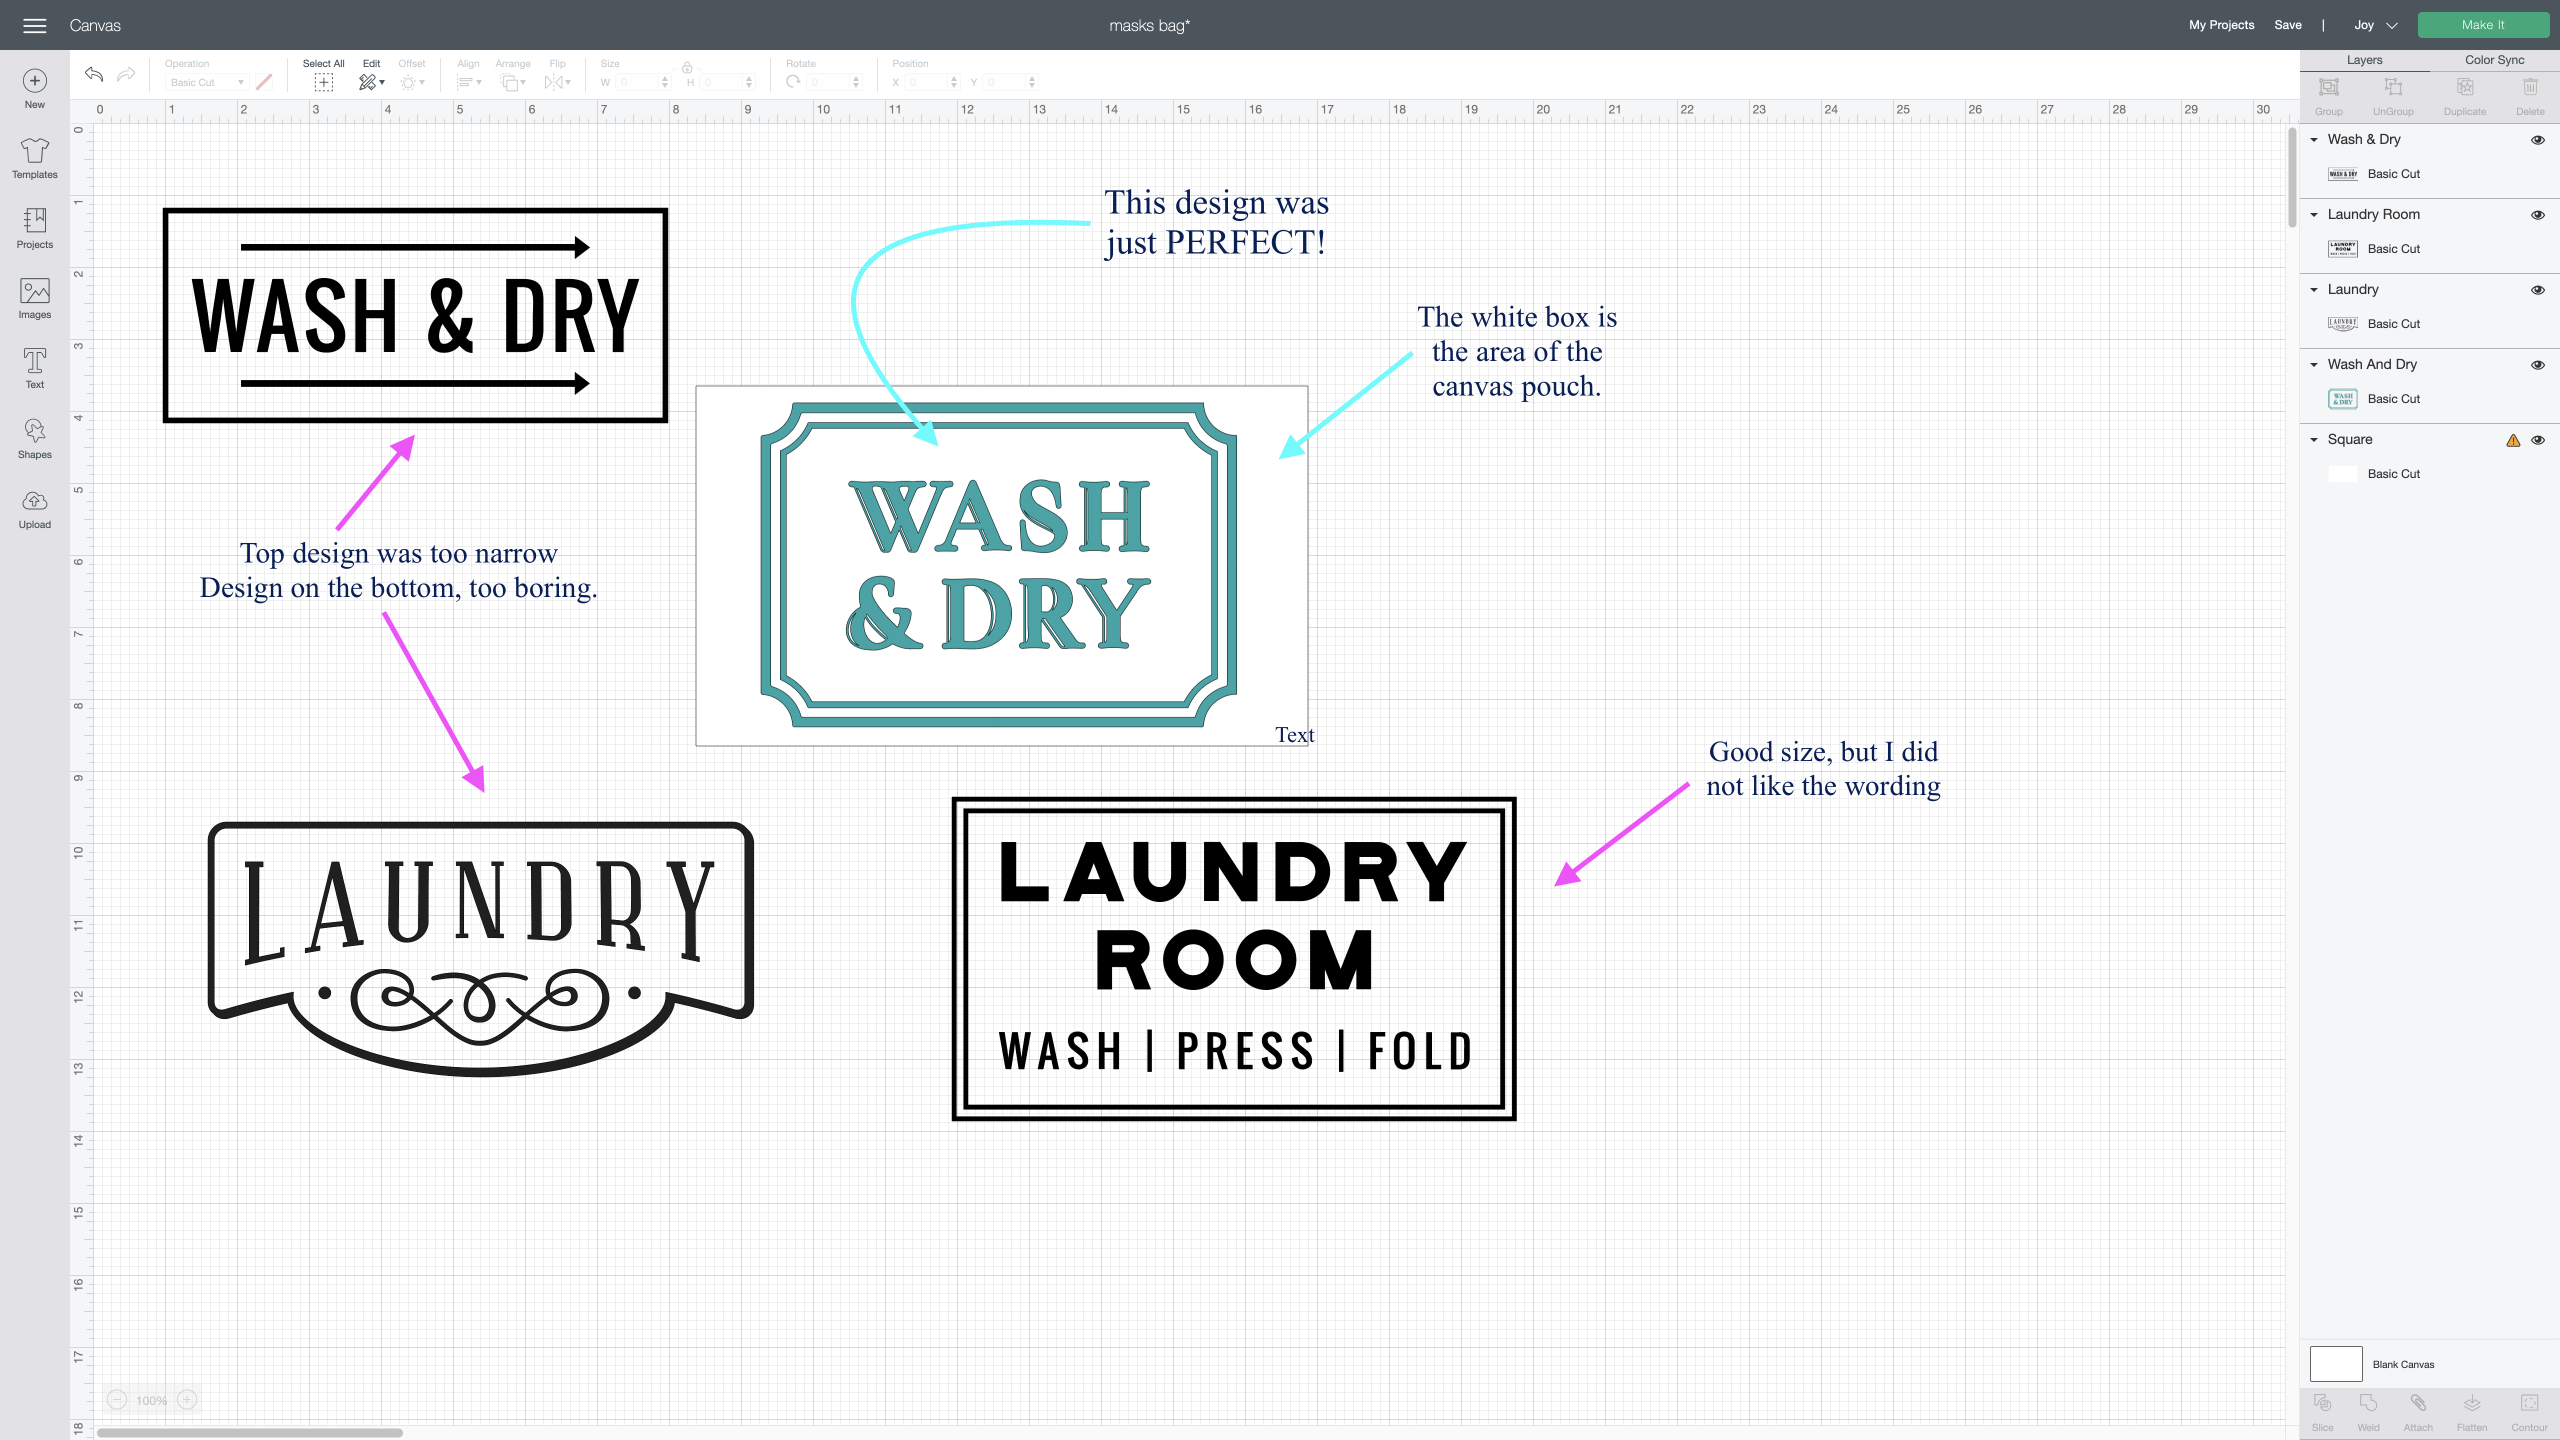
I recommend you measure the area you will place your design on, so you can make a template of it on your canvas on Cricut Design Space.
For this project, all I did was a search for a ‘Wash and Dry’ image in the Cricut Design Space library. This one was perfect!
When working with iron-on materials, remember that you must mirror your design to flip it around and press it over your blank canvas. Cricut Design Space will remind you to do this!
Once you are done designing, click make and follow the prompts on Cricut Design Space. Just like in the other projects that use Smart Materials, you must choose ‘Load Without a Mat’.
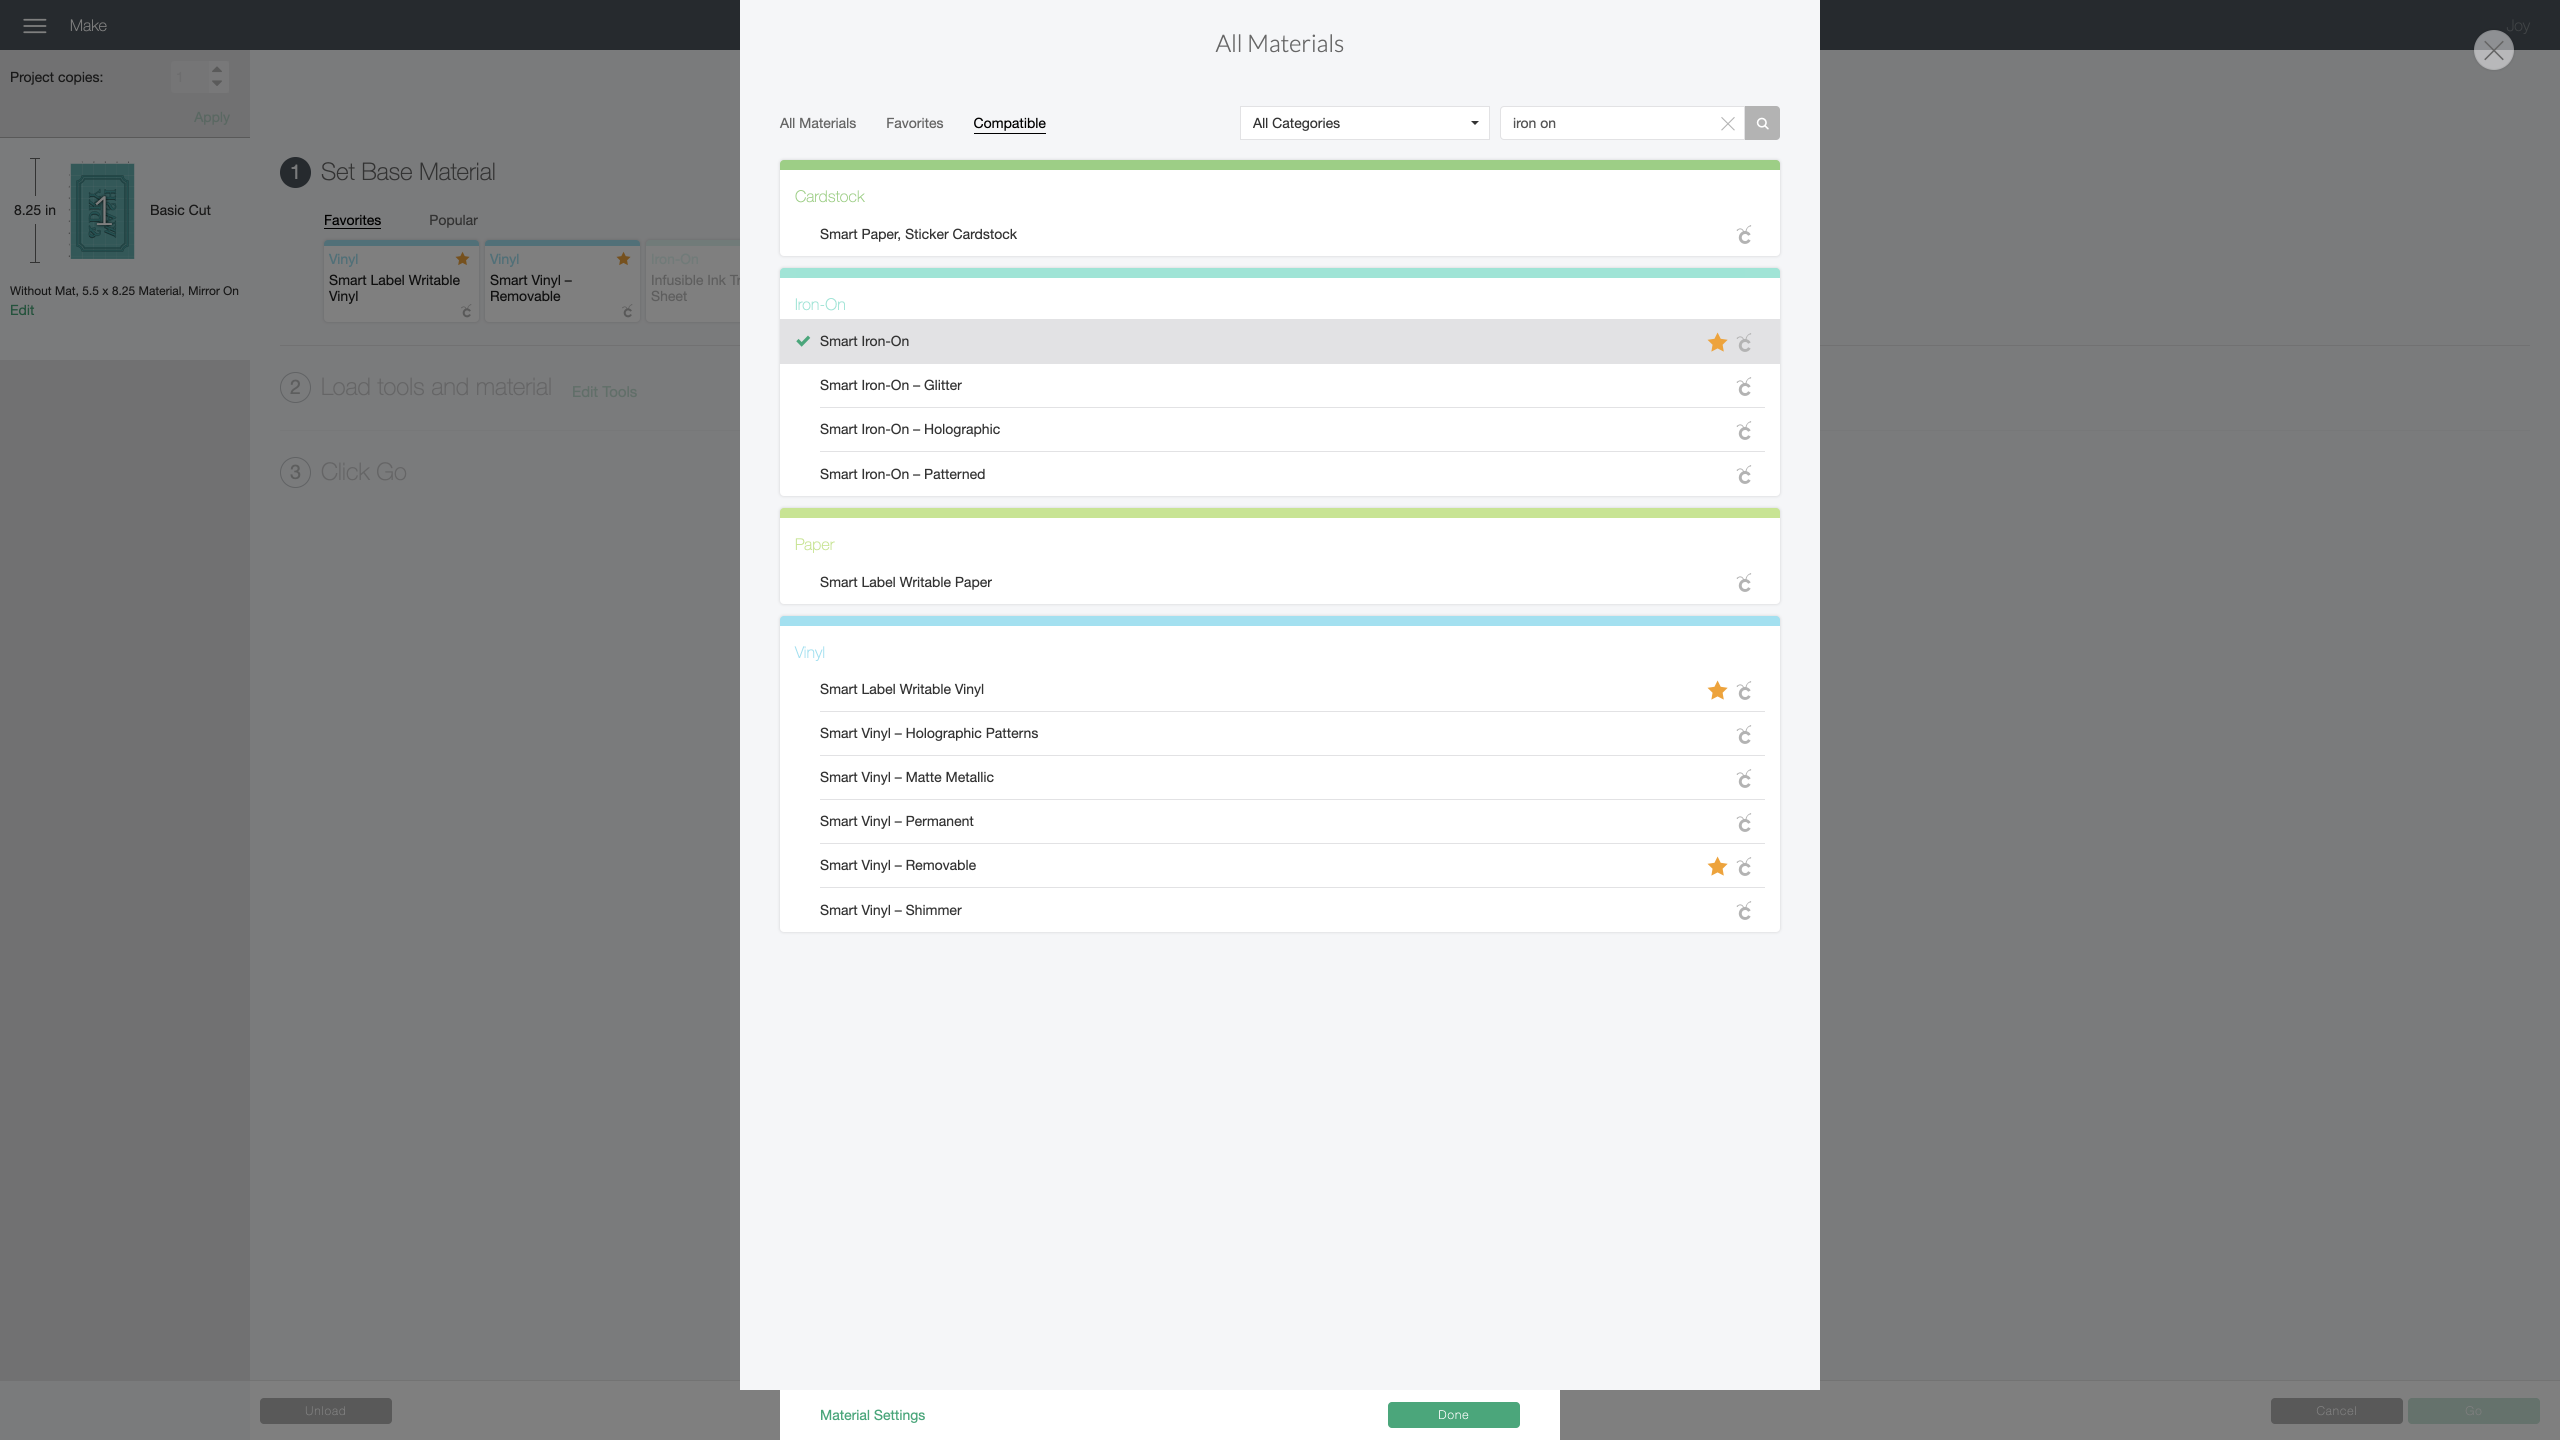
I used Smart Iron On (the first choice in the Iron-on menu). Feed the smart iron-on paper shiny side down onto your machine, and let it calibrate, align, and cut.

Unload the material and weed your design as normal, and as you would weed smart vinyl.
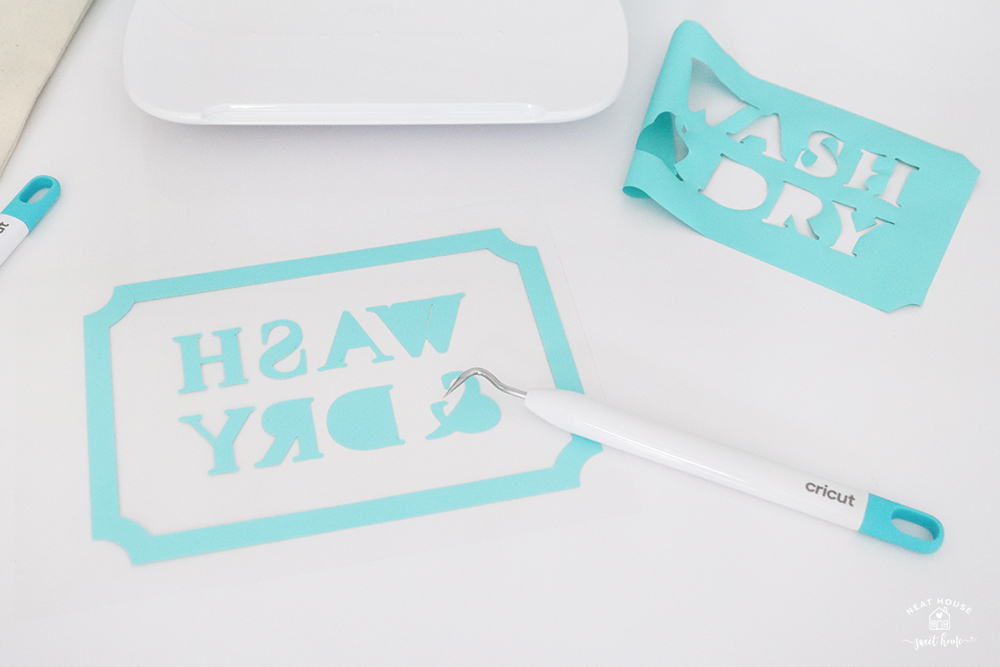
Always double-check for details. This particular image had a lot of small pieces that I needed to weed.
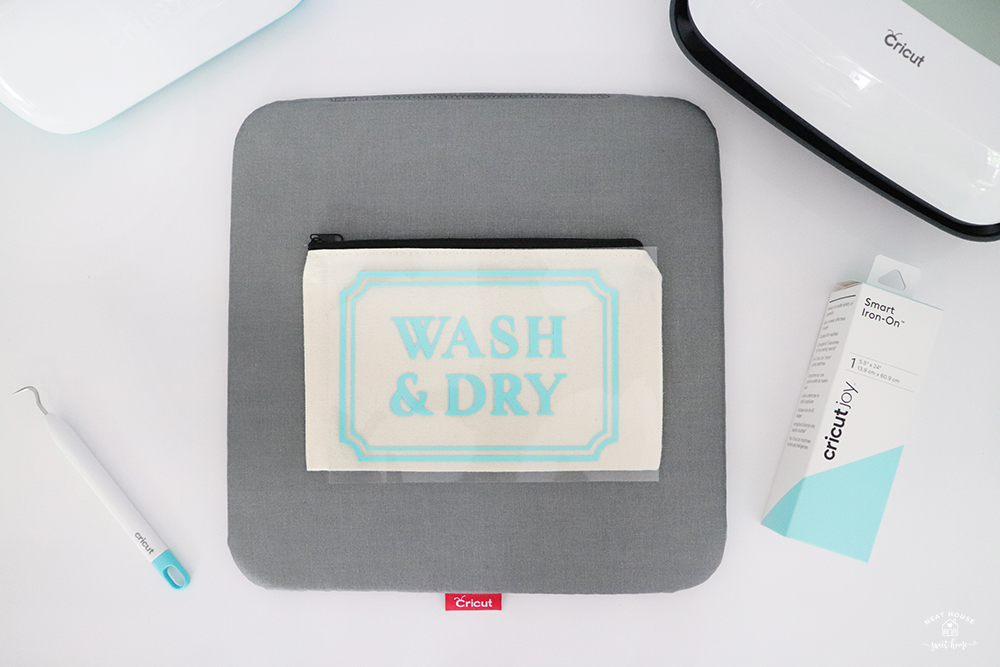
Place the canvas pouch on top of the Easy Press mat, and place the design (shiny side facing up) on top of your canvas.
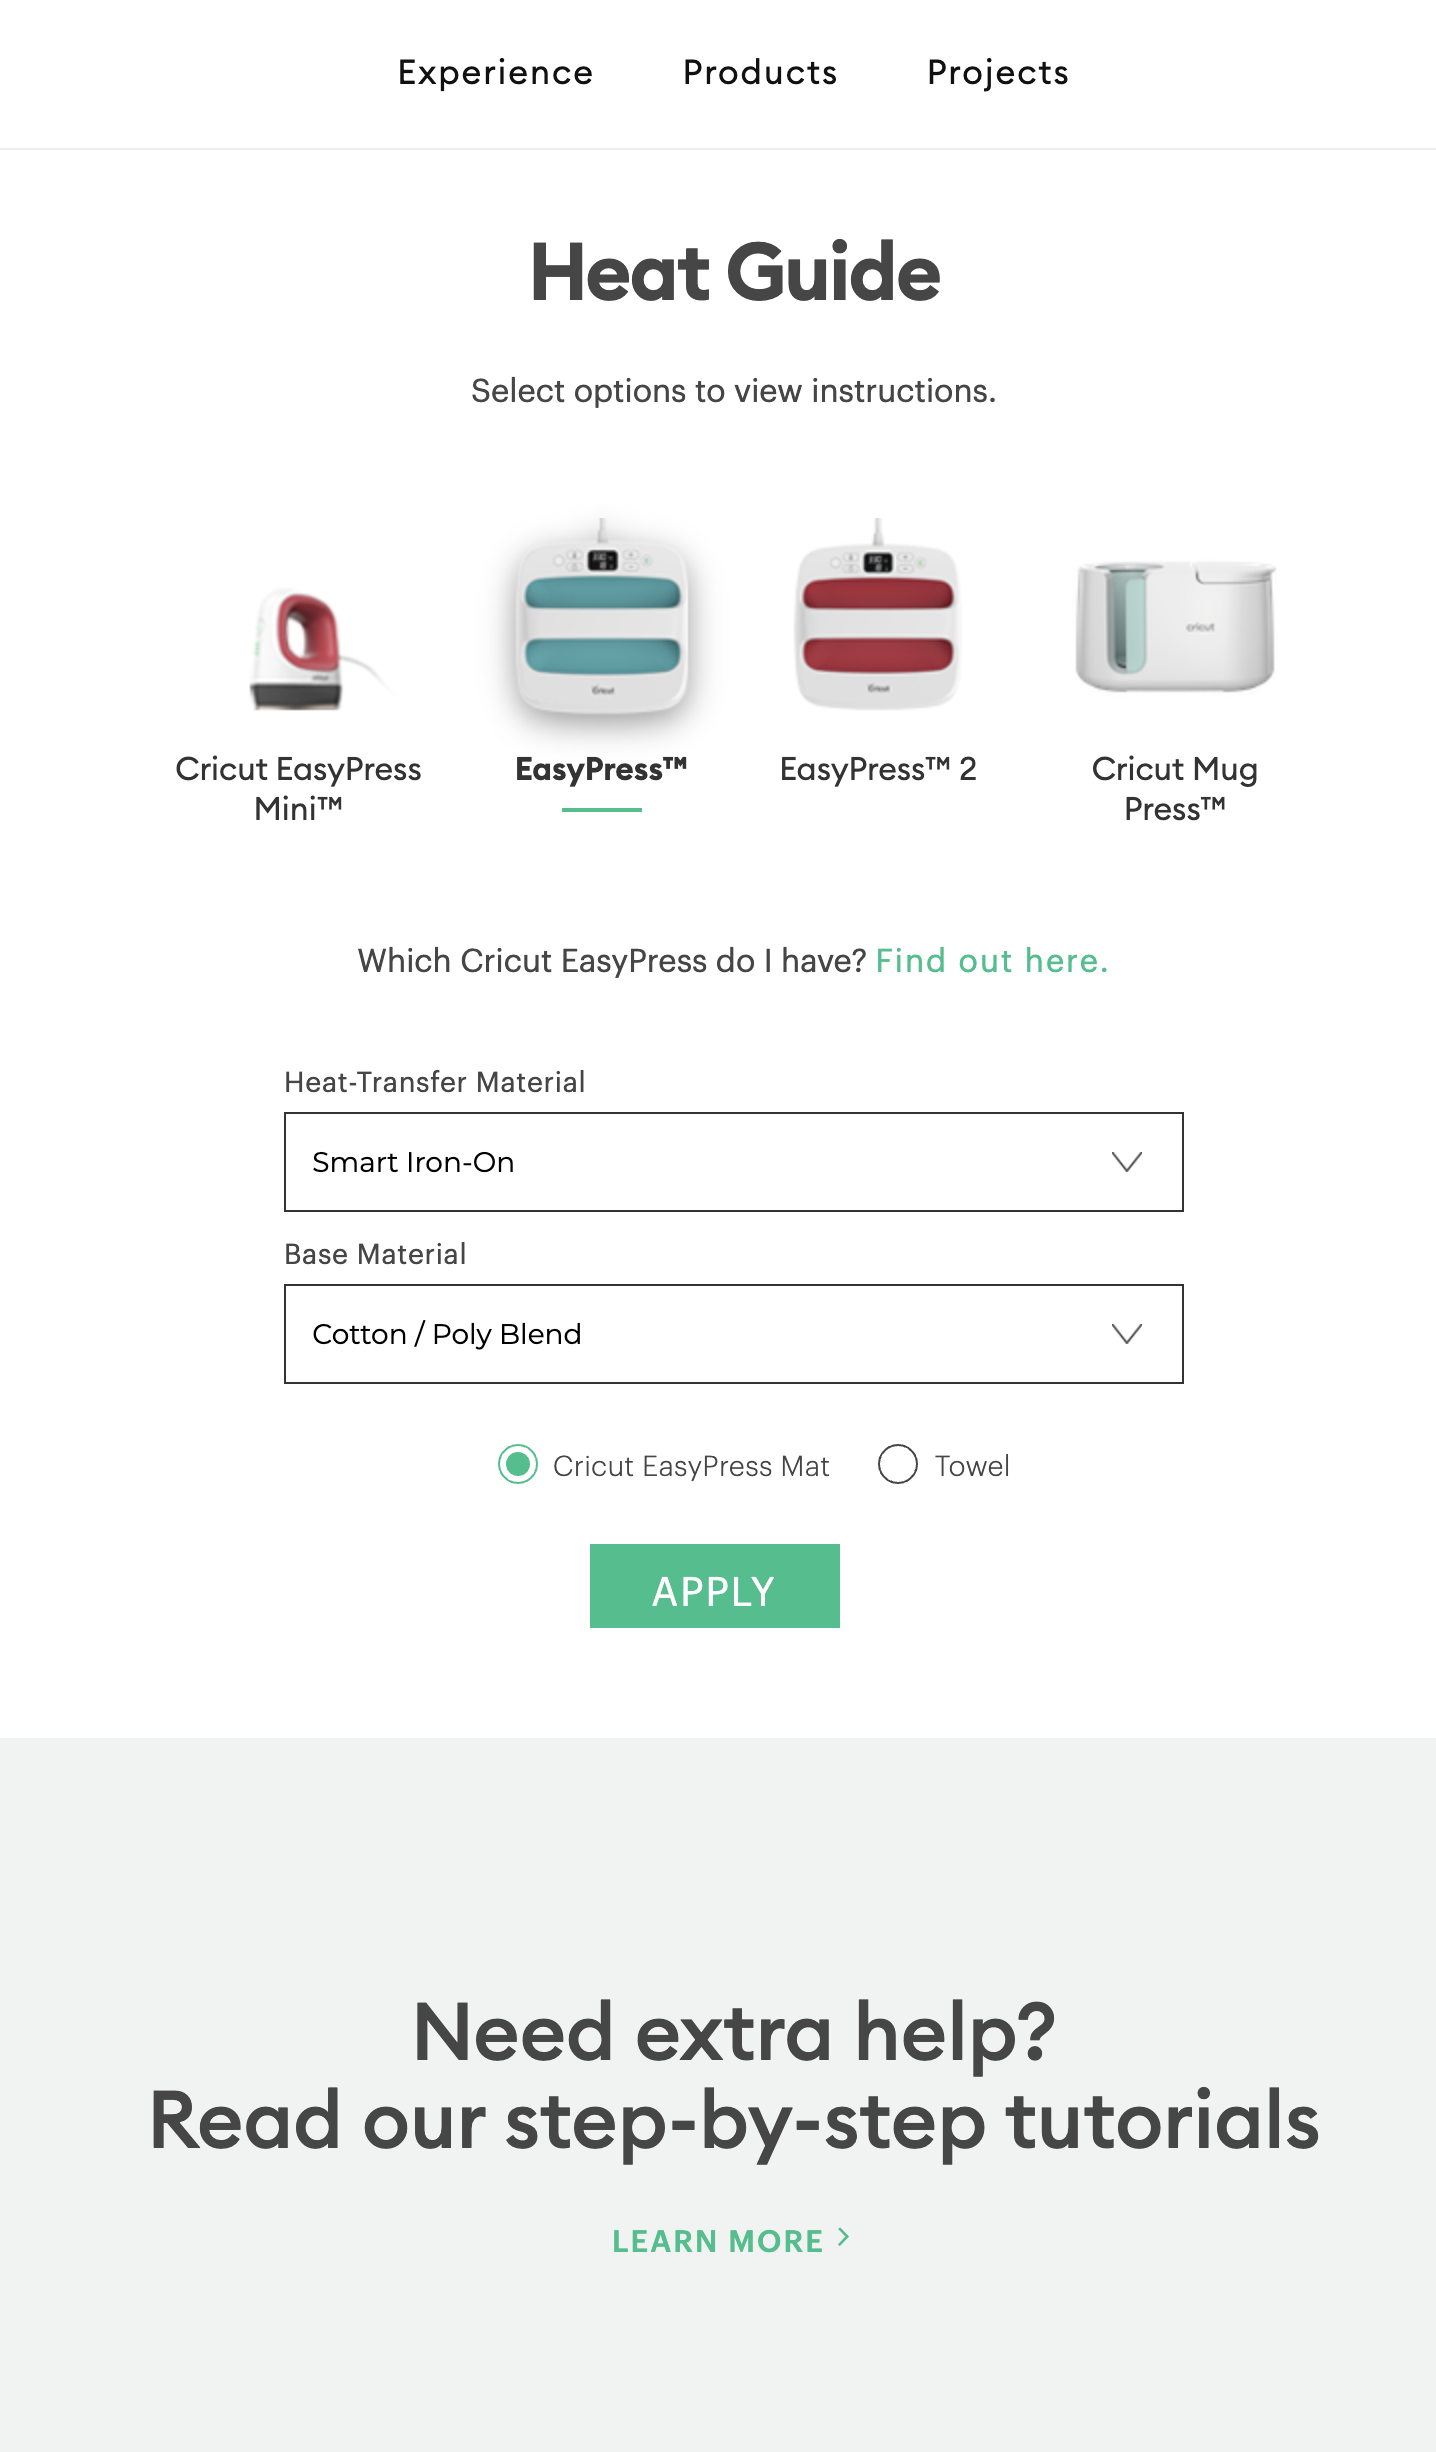
Preheat the Easy Press 2 using Cricut’s Easy Press Heat Guide
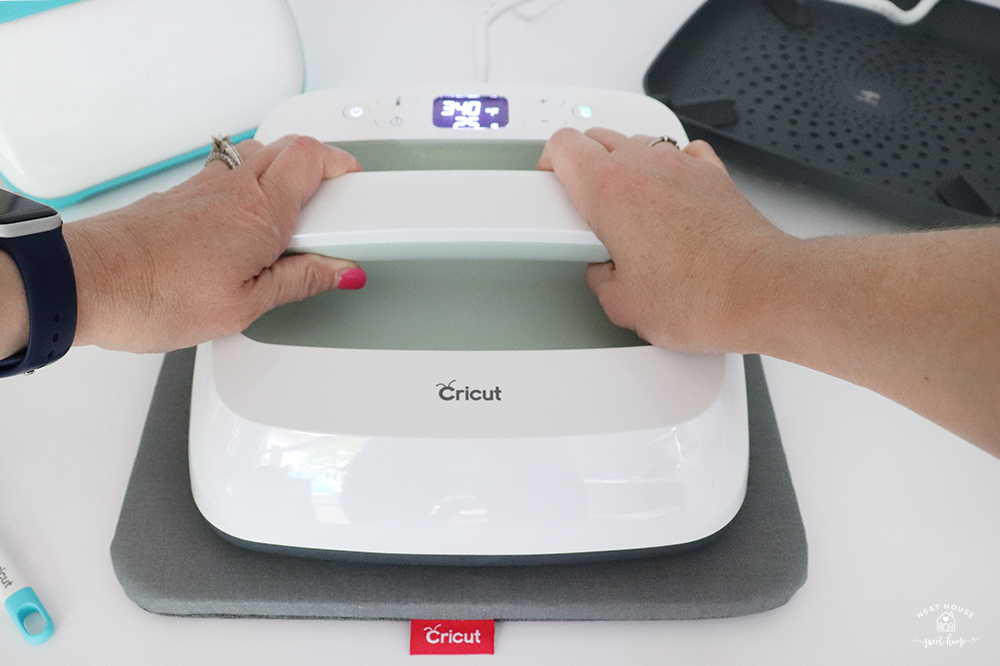
Once the Easy Press is preheated, press it directly on top of the iron-on, push the Cricut button to start the countdown. If this step intimates you, I recommend reading this guide!
Wait for the timer to beep, and lift the Easy Press in one single move.
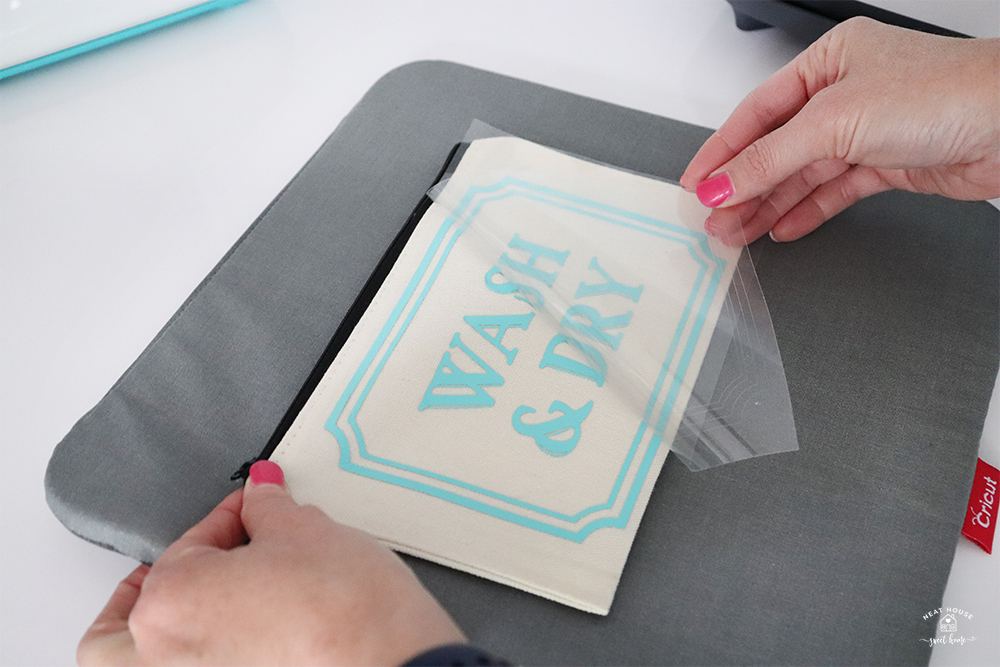
Wait for the material to cool down, and carefully peel off the shiny sheet at a 45-degree angle, and you are done!
I put a small binder ring in the zipper and hung the pouch on a hook in the laundry room.
With Cricut Smart Materials for Cricut Joy, the possibilities are endless. I see plenty of home organization and home decor projects in my future. You can find all these amazing products on Cricut’s website.
Happy crafting!

Very detailed post. Your photos help me a lot to understand because its alot of info. Great job Flavia. I was wondering if I can buy the small label machine only or if it is part of a big package !
Thank you. You can purchase the Cricut Joy separately.