How to Make Decals with Cricut


If you have a Cricut machine but have yet to dive into decal making, this tutorial is for you. Cricut is the best vinyl sticker maker I have ever used and I will show you how to make them, no stress at all! Just follow this easy step-by-step tutorial where I make Rae Dunn-inspired decals.
Lately, I have been obsessed with all things Rae Dunn. This slight obsession has led me to admire many Instagram accounts flooded with cute farmhouse decor, tiered trays, and hutches adorned with Rae Dunn pottery and farmhouse-style trinkets.
One of the trinkets I like the most is the wooden mini rolling pins. You see them everywhere you turn, and they are surprisingly easy to make! I made them yesterday, and I will be sharing that tutorial here, but first I want to share how to make the Rae Dunn-inspired decals (or any vinyl sticker for that matter) with a Cricut.
This post may contain affiliate links for your convenience. For more information, please read my Affiliate Disclosure.
Why I Recommend Using Cricut as your Vinyl Sticker Maker
The main reason why I suggest and highly recommend using a Cricut machine to make vinyl decals is that I have used Cricut products for over ten years, and they have never failed me.
Would you like to save this?
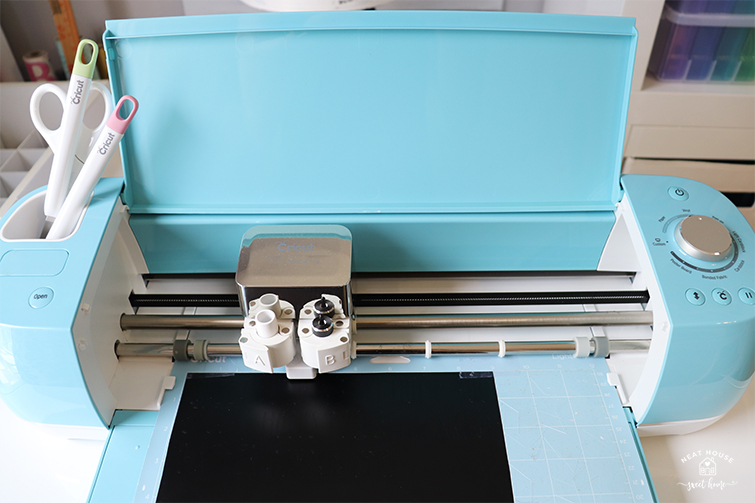
I purchased my first Cricut machine in 2009, and since then, I have used the machine to make many crafts and products for my blog, and for my Etsy shop. I currently use a Cricut Explore Air® 2, and I design on the Cricut Design Space app.
If you are looking to purchase a Cricut machine to start making vinyl decals, or any other custom crafts, I recommend you start with a Cricut Explore Air® 2 bundle. By purchasing a bundle, you get the machine and everything else you will need to get started in your Cricut journey!.
Yes, the bundles are pricey but you will spend more money if you were to buy tools and materials separately. Cricut bundles are made to help you get started. I promise you will have enough material to make a lot of projects, and the tools will last you for years to come. You will be using them over and over again!
tools and Supplies Needed
- Cricut machine.
- Vinyl. Color of your choice. For the mini rolling pins I used a small scrap of black vinyl.
- Transfer Tape
- Basic Tool Set for weeding the vinyl.
- Light grip mat. You can feed the roll of vinyl directly to your Cricut machine, but I needed the mat because I used a scrap of black vinyl.
How to design decals on Cricut Design Space
Here’s how to start a decal project and make them with a Cricut machine using Cricut Design Space.
- Sign-in into your Cricut Design Space account, and create a new canvas.
- Add a text box to the canvas and type the word of your choice.
- Select the font and style you would like to use. For this project, I used a free Rae Dunn inspired font named The Skinny (in bold).
- Click the ‘Save’ button (top right of the screen) and give your project a name.
- Select the size of your words, according to your project. For this particular project, I could only allow my words to be a maximum of 0.9 inches high.
- You can copy and paste any text box. Just change the word and double-check the dimensions. The height changes with the length of the word, so if you want to keep the words’ height the same for all, you will have to adjust it every time.
Click on the Picture Below for details

How to Make The Decals With Cricut
Connect your Cricut machine to power, turn it on, and connect it to your computer whether via USB or Bluetooth.
- Once you are happy with the decal design you made, click the ‘Make it’ button on the top right of the Cricut Design Space screen.
- A new screen will appear showing the design. The software auto-arrange the words in a way so there’s the least waste of material. If you want a particular arrangement, you can click on the design and move the words around.
I rearranged the words up to the 9 inches line, so they would fit on my scrap of vinyl.
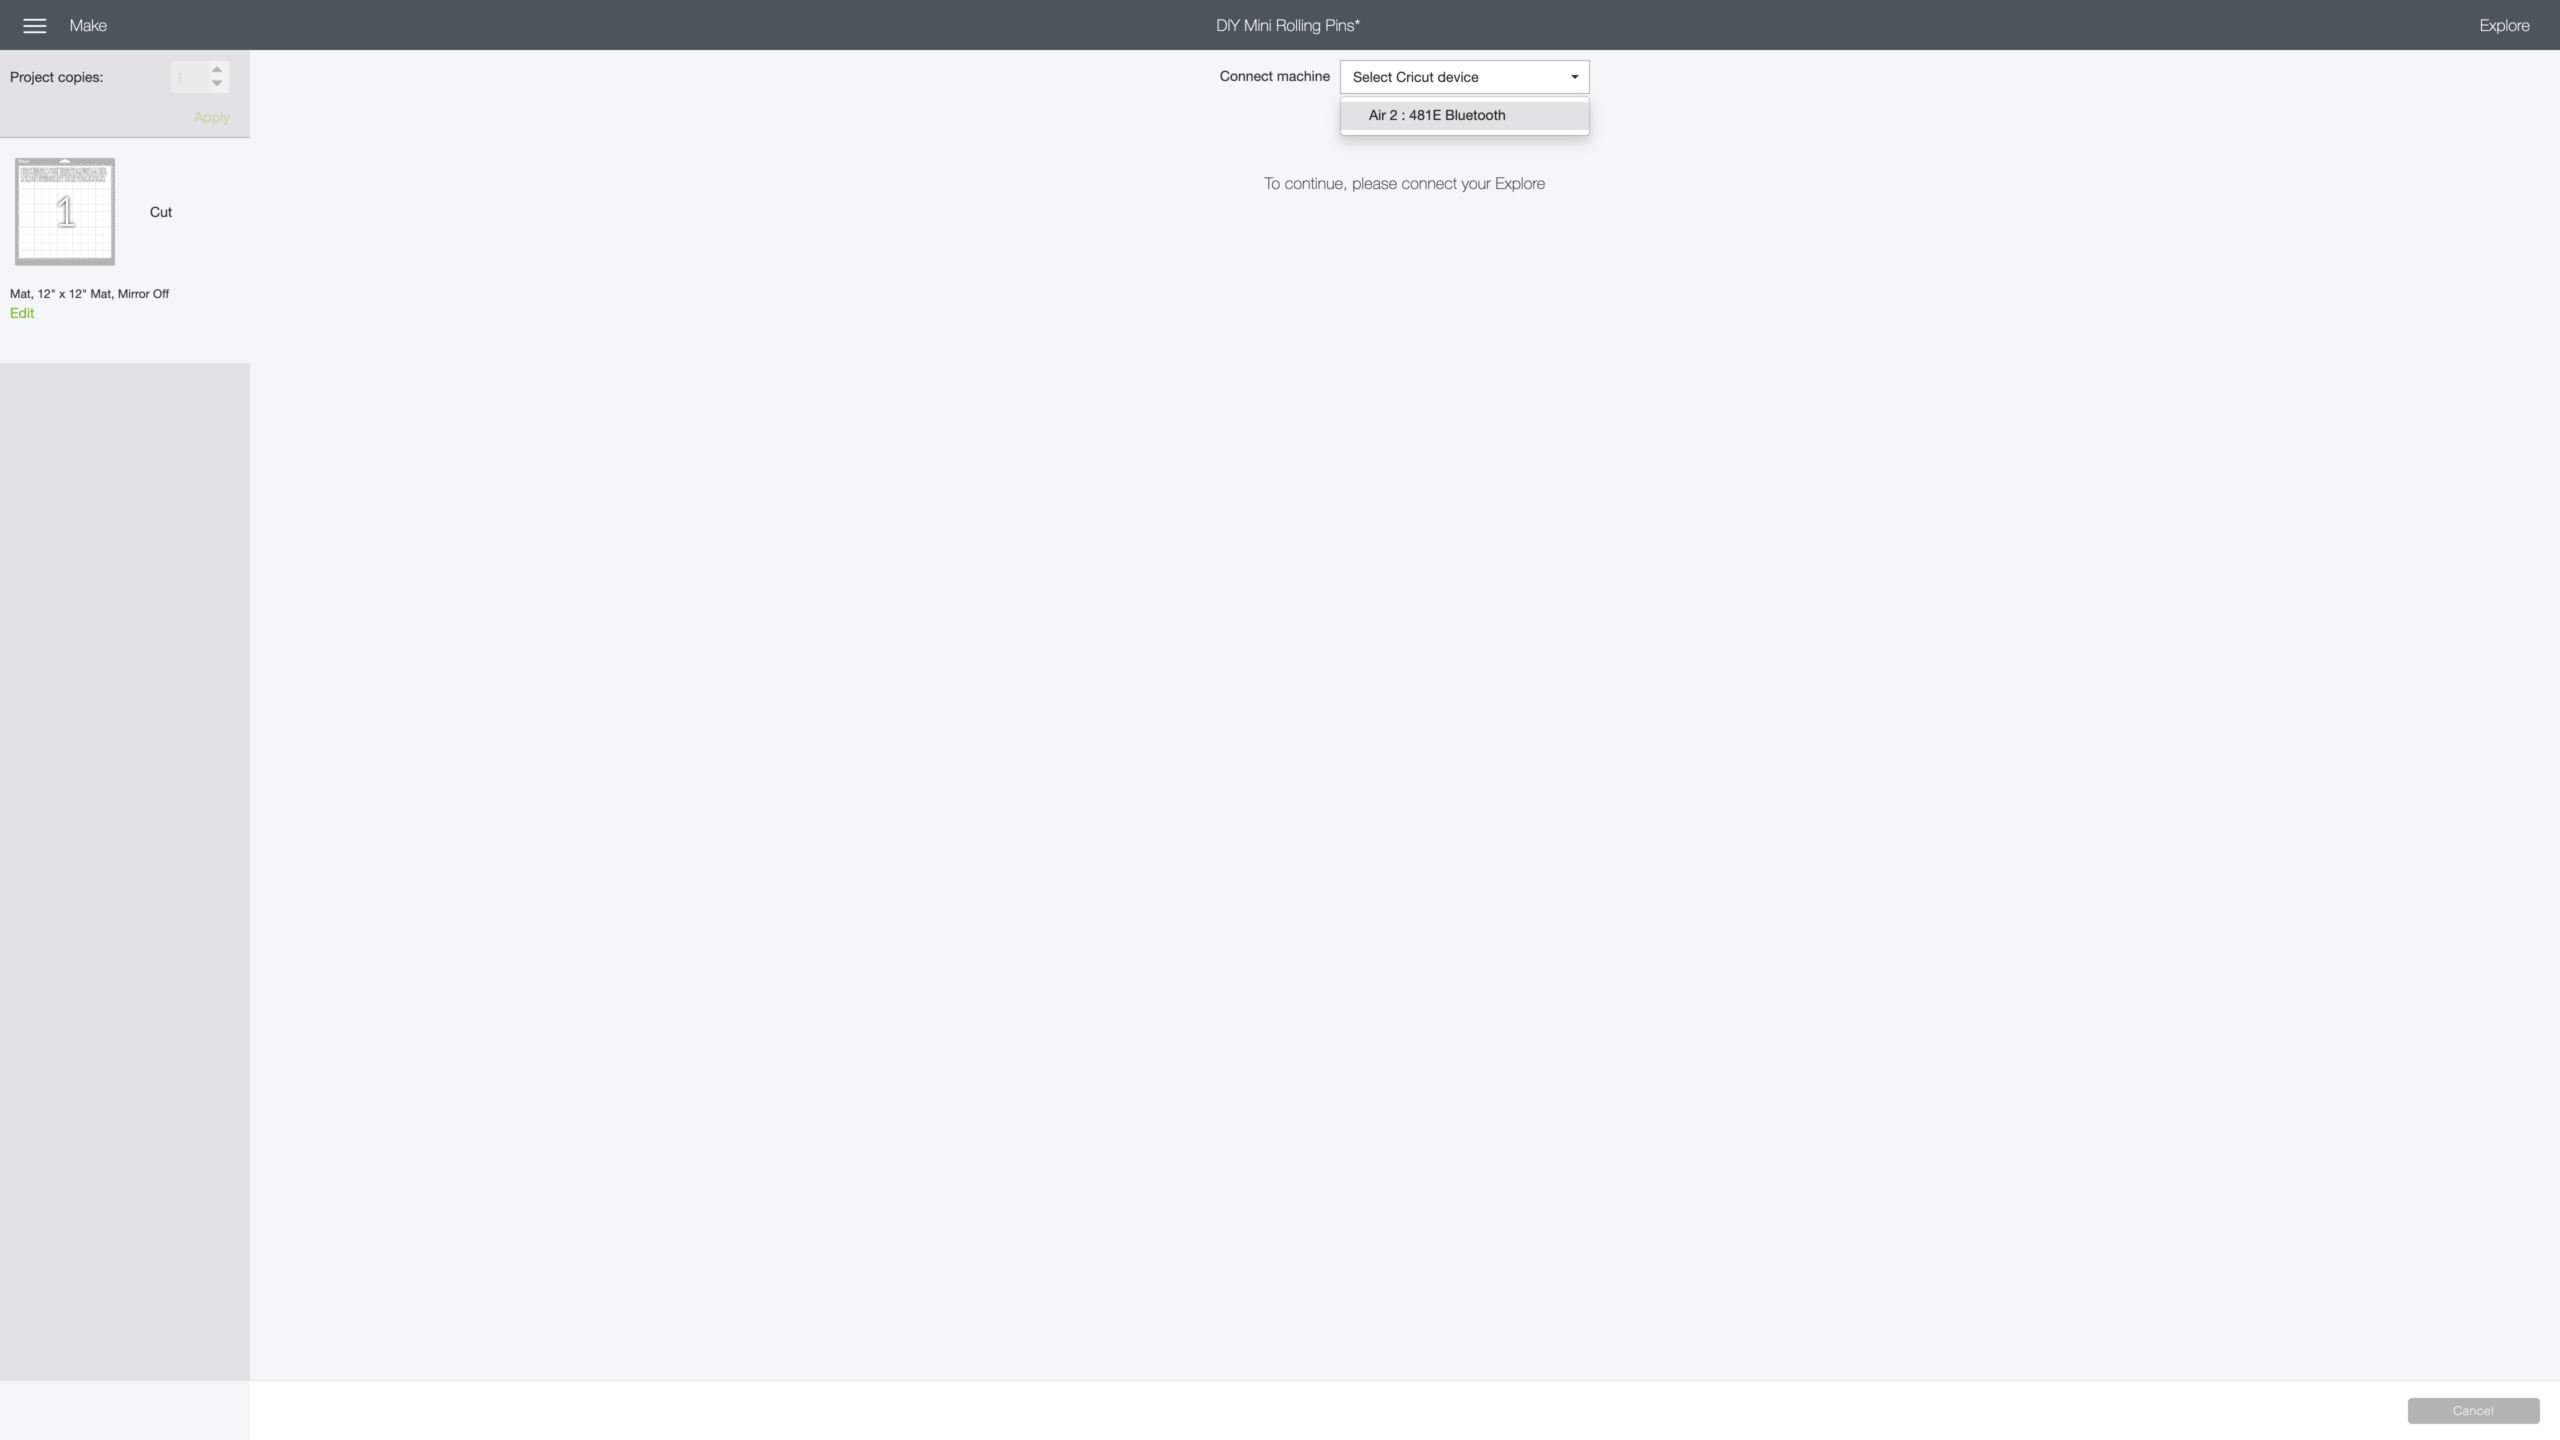
- Once you have made the corresponding arrangements (if needed), click ‘Continue’. Follow the instructions on the next screen, to start cutting the vinyl decals with the Cricut machine. Click on each picture below for an expanded view.
Choose your machine
Set the dial to vinyl and feed the roll or mat.
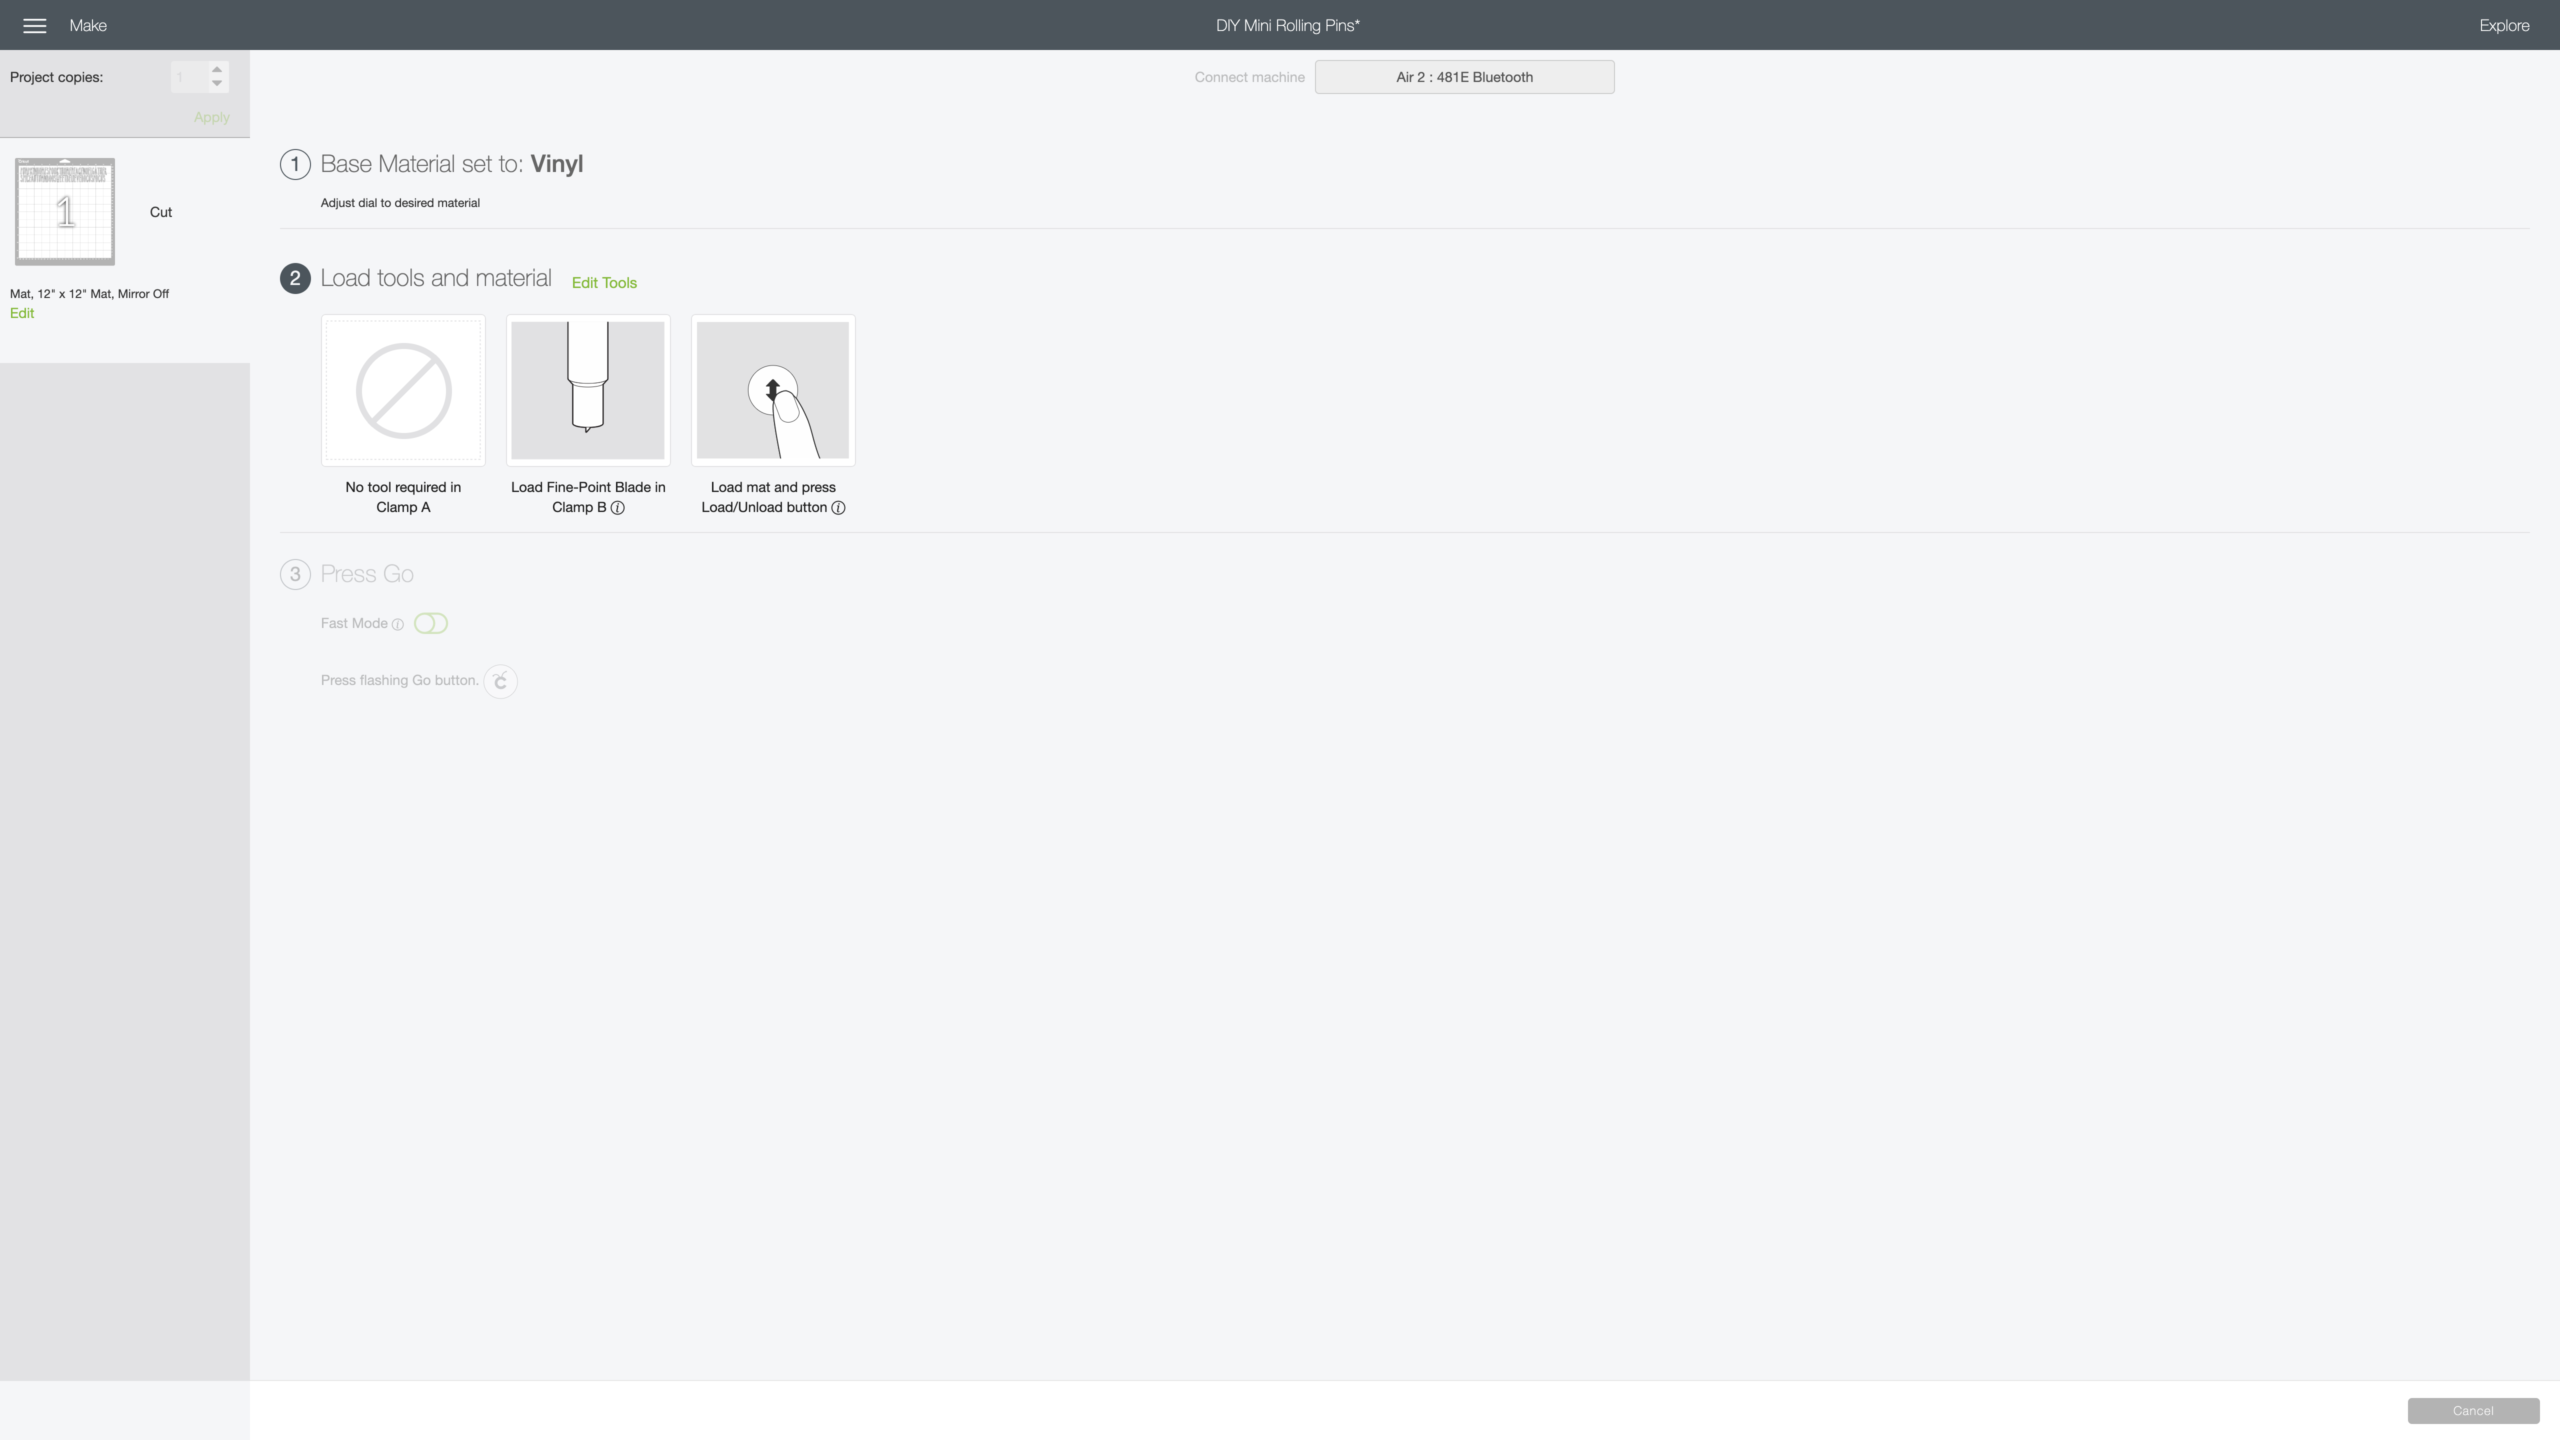
Press the flashing Go button on the Cricut

How to Weed Your Decals
Once the machine finishes cutting the decals project, press the arrow button to the retrieve the mat from the Cricut.
Here is a picture of how the vinyl looks once the Cricut has finished cutting the decals. Notice that I used a scrap of black removable vinyl. Since the width was only 9 inches, I had to move the words on the mat before sending the project to cut.

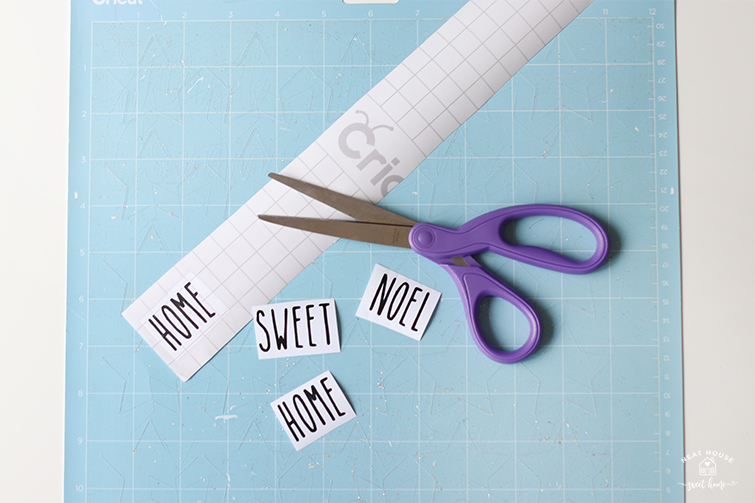
- First, pull the vinyl off the mat and cut out small strips of one or two words. This, of course, will depend on the type and size of your decal project. However, as a rule of thumb, the smaller the area, the easier it is to weed.
- Gather your weeding tools and start peeling off the ‘negative’, i.e. the vinyl areas around the words.
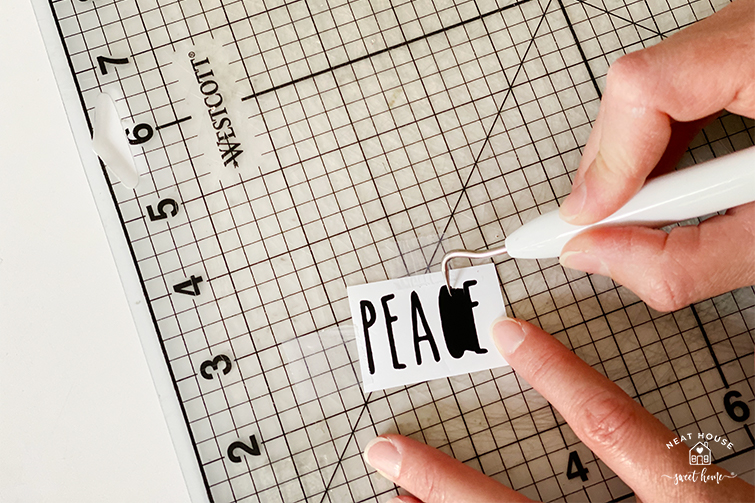
This step takes a lot of patience. Be gentle while pulling the vinyl. These farmhouse style decals in particular took a lot of time and patience to weed because the Rae Dunn inspired font is very thin.

How to Transfer Vinyl Decals
Transferring vinyl decals can be intimidating, but this is a very important step, and what actually helps you stick your decals to your final project. Once you learn how to transfer the decals once, you will be transferring the rest in no time!
- First, cut a piece of transfer tape, enough to cover your entire project. My DIY mini rolling pins project only needed a small strip of transfer tape where I could fit all the words.

- Lift a corner of the transfer tape, and insert your decals in between the two layers.
- Rub the transfer tape against the decal applying pressure with the burnishing tool (the white and yellow tool). This step is crucial to transfer the decal to the clear transfer paper that’s placed on top. Therefore, be very thorough, and lift the transfer tape and check as many times as needed until all the decals have adhered to the clear transfer tape.
- Peel the transfer tape. The black vinyl decal should be all transferred to the clear tape. Discard the white papers.

How to Transfer Decals to your Project
Lastly, you will have to transfer the vinyl decals to your final project. In the picture below, see how the word HOME transferred to the transfer tape.

Lay the clear transfer tape on your project’s surface. It could be a canvas, a piece of wood, a piece of paper, or in my case, the mini rolling pins.

Softly, rub again so the decals transfer to the project. Then, you can slowly peel the clear transfer tape off. You can discard the clear piece.
Rae Dunn Inspired Decals: The Final Product
I decided to write this tutorial on how to make decals with your Cricut machine when I made these cute farmhouse-style mini rolling pins. Head over to that post to check out how I made the entire project.

If you have any questions, ask away on Instagram. Just leave me a comment on any post!