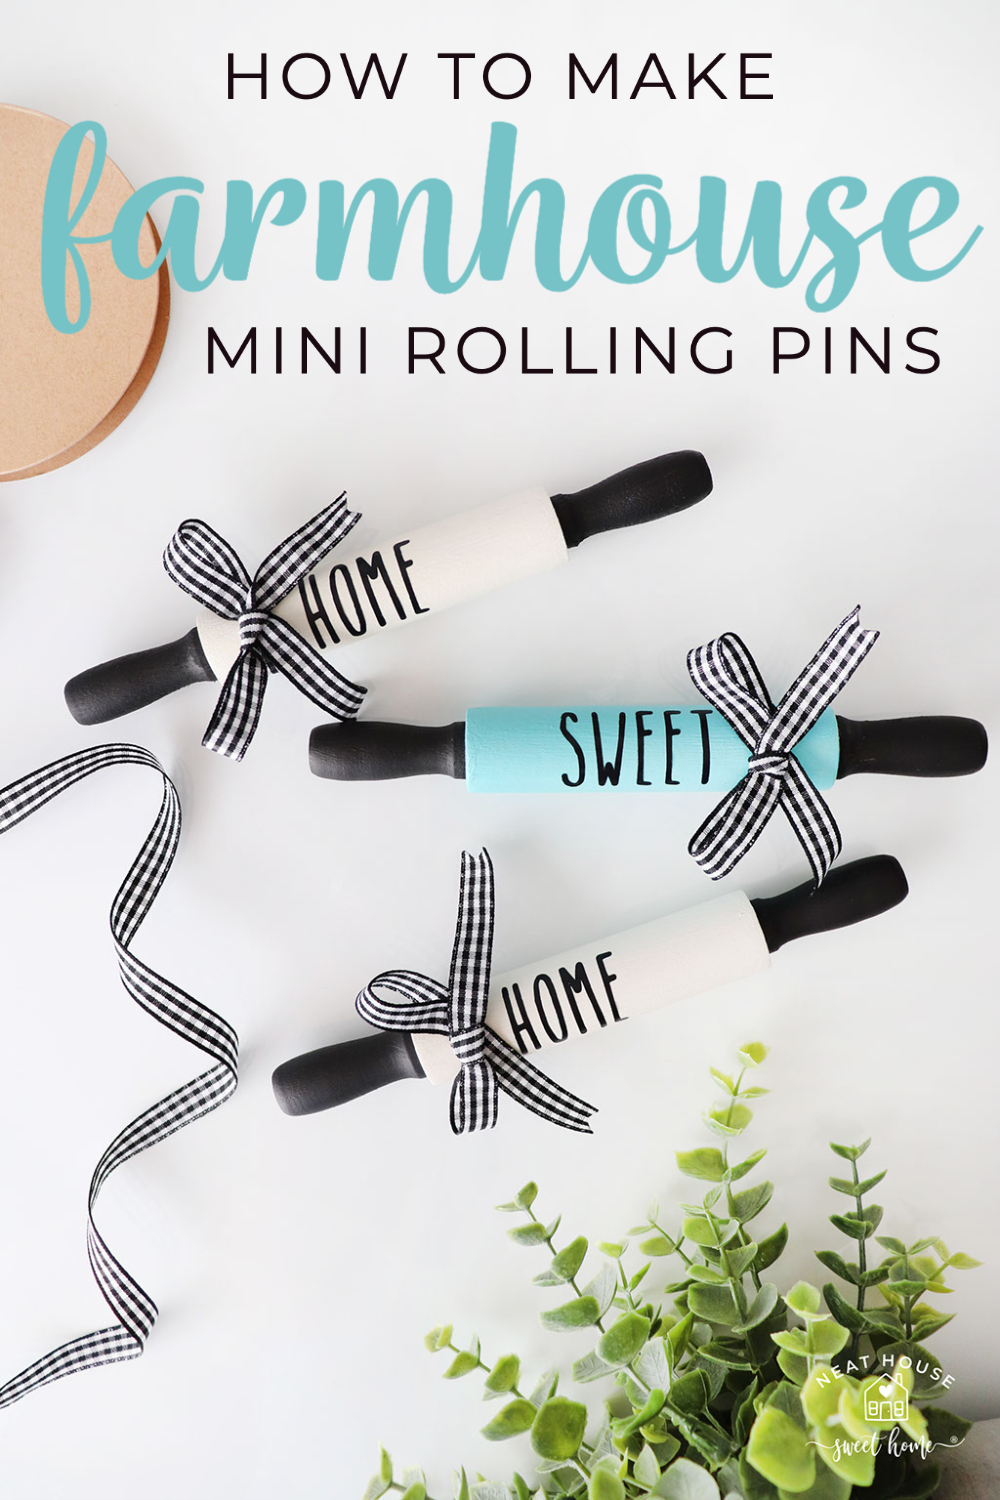
DIY Mini Rolling Pins

Tiered tray decor lovers rejoice! Here is an easy DIY project for your farmhouse decor. These DIY mini rolling pins have been on my to-do list for a long time. Once I made the first three rolling pins, the next six were a breeze!
A couple of months ago, I purchased my first tiered tray. The things that Instagram makes you do! Tiered trays are all the rave lately. They have farmhouse charm with the loveliest mini rolling pins and are mostly filled with Rae Dunn pottery.
So, I decided to DIY mini rolling pins with Rae Dunn-inspired decals. Here’s how to make them. I suggest two decal options: do it yourself with a Cricut machine or with pre-made alphabet decals to DIY these Rae Dunn-inspired mini rolling pins.
If this is your first time making decals on a Cricut machine, and you want to give it a try, I suggest you check my tutorial: how to make decals with Cricut.

Would you like to save this?
This post may contain affiliate links for your convenience. For more information, please read my Affiliate Disclosure.
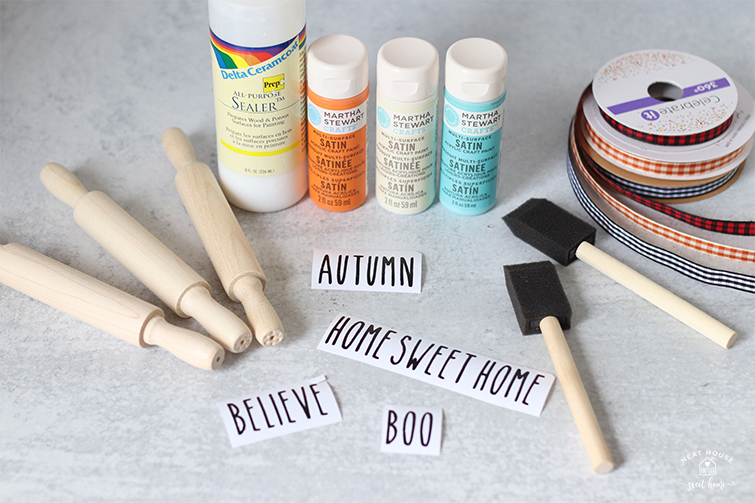
Supplies Needed for DIY Mini Rolling Pins
- Wooden Mini-Rolling Pins 7-inch long
- All-Purpose Sealer (optional). I like to seal wood surfaces before painting them. The sealer penetrates in the wood and creates a non-porous barrier for fewer coats of paint.
- Acrylic paint in your choice of color
- Foam paintbrush. I like to buy them in bulk since I dispose of most of them after the first use.
- 3/8 inch wide craft ribbon in your choice of color.
- 3/4 inch high alphabet stickers OR DIY Rae Dunn inspired decals (tutorial here)
Heads Up: if you want to make the decals shown in this article, check out this tutorial.
What Type of Wooden mini-Rolling Pins should you buy?
If you search on Amazon for supplies to DIY wooden mini-rolling pins, there will be many results. So many choices make the decision-making process harder. At least for me since I suffer from analysis paralysis. After reading many product descriptions and reviews, I settled for these mini rolling pins. You can also buy them directly from Woodpeckers, HERE.
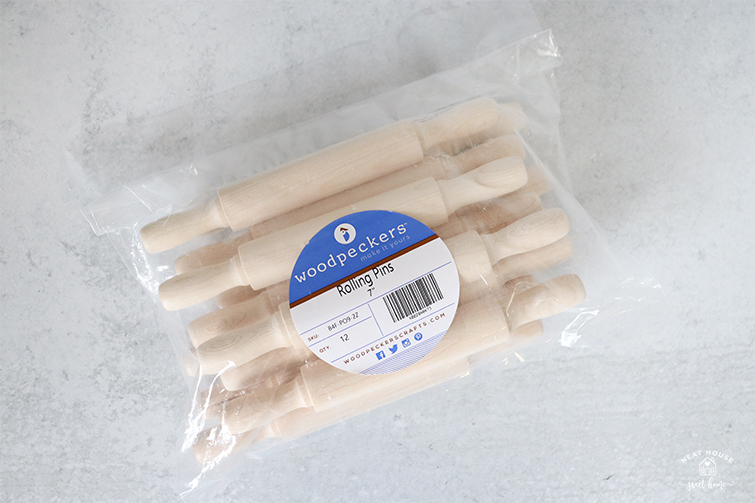
They are exactly what I envisioned, perfect for tiered tray decor and when they’re finished, they definitely scream farmhouse decor!
How to DIY Mini Rolling Pins
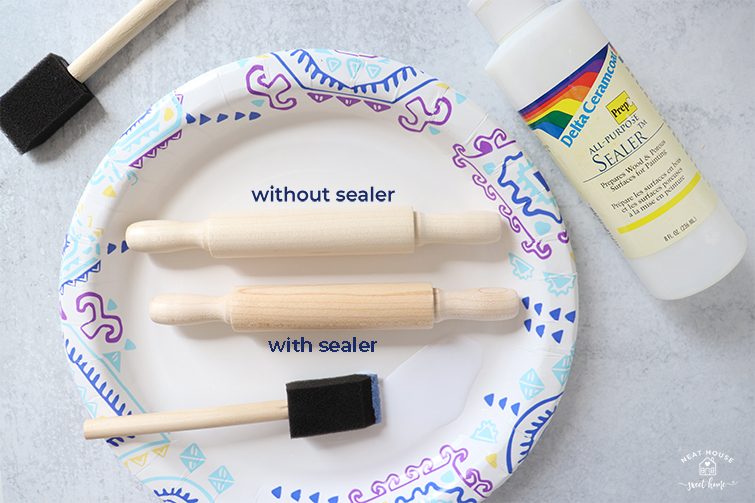
1. Seal the Mini Rolling Pins (Optional)
As mentioned earlier, I like to seal wood surfaces to prepare them for paint. These mini rolling pins are no exception. The sealer creates a non-porous layer that acts as a barrier, allowing for fewer paint coats.
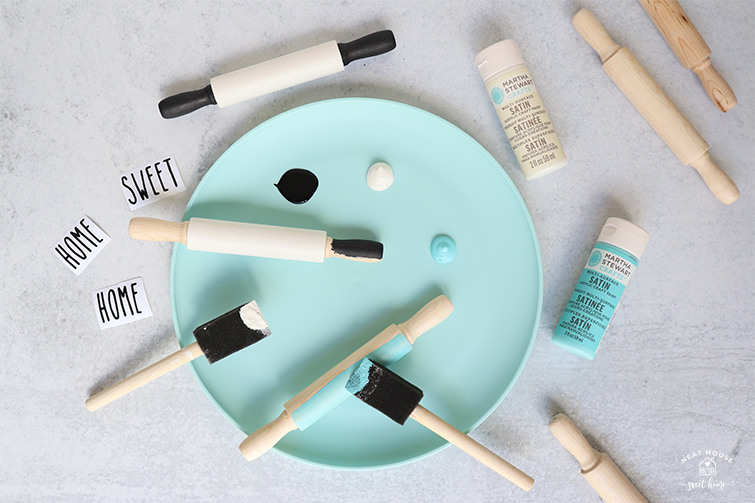
2. Paint the mini-Rolling Pins
For this project, I chose to paint the pins white, and aqua blue with black handles. But you do as you please. The sky is the limit! Because I love Rae Dunn pottery, and I have quite the display in my kitchen, I opted for black and white, and aqua for good measure.
Acrylic paint dries quickly, so while one mini rolling pin dries, move on to the other. When you have finished the third pin, the first one will be ready for decals!
Pro tip: the handles of these wooden mini rolling pins have a flat end. So, when you are finished painting the body, you can stand them up to dry on a flat surface.
3. Place the Decals
When the paint dries completely, take the mini-rolling pin and place the decal. I made my Rae Dunn-inspired decals on my Cricut machine using black vinyl. Then, I use transfer tape to transfer the decal onto the pin.
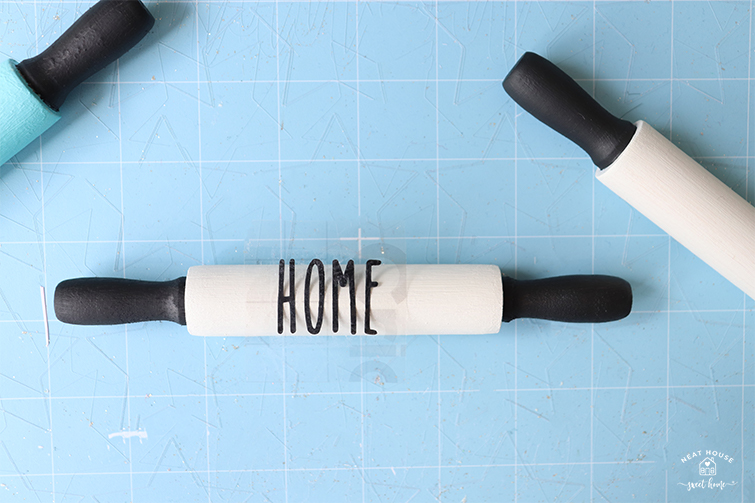
Offset the decal (or alphabet stickers) 1 to 2 inches from the right or left handle of the rolling pin, to make room for the bow.
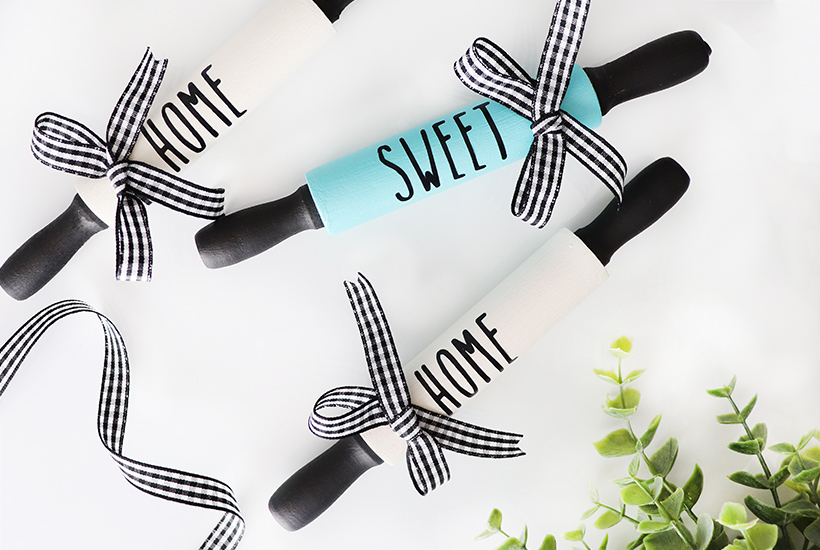
4. Tie the Bow
Finally, cut a 12-inch long piece of ribbon. It may sound like a lot, but I like to have enough to maneuver the ribbon and tie the perfect bow. For these Rae Dunn-inspired mini rolling pins, I used black and white gingham ribbon. The black checker’s design is trendy in tiered trays and farmhouse decor.
How to Tie The Perfect Bow, Every Time
You probably know how to tie a simple bow. However, if you want to perfect your bows, I have a mini-tutorial for you! I have been tying teeny-tiny bows for the last 10 years since I opened my Etsy shop, so trust me on this one!
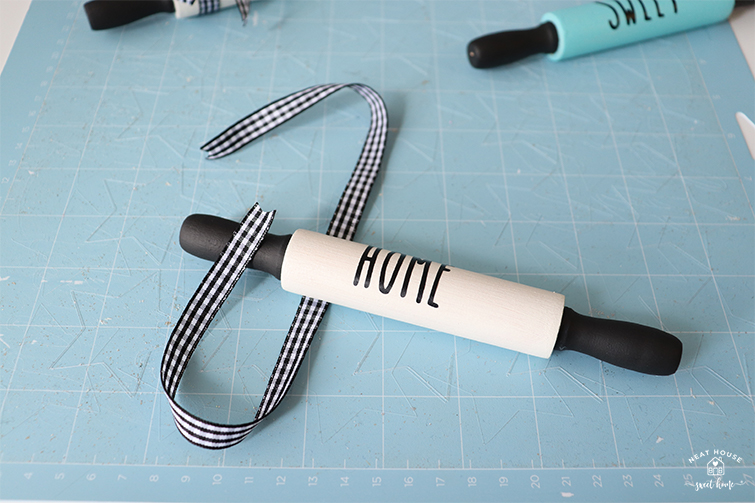
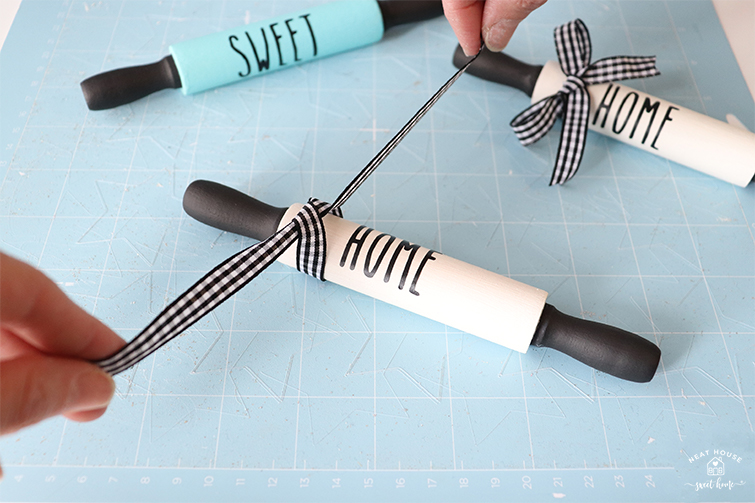
Step 1. Lay the Ribbon Flat
Lay the ribbon on a flat surface and place the rolling pin centered on the ribbon. Leave the same amount of ribbon on each end.
Step 2. Crisscross
Crisscross the ribbon ends and tie a knot as you normally do. Think of it as tying your shoes.

Step 3. Make the Loop
Take one end of the ribbon and make a loop as shown in the picture. Face the loop upwards towards the mini-rolling pin handle.
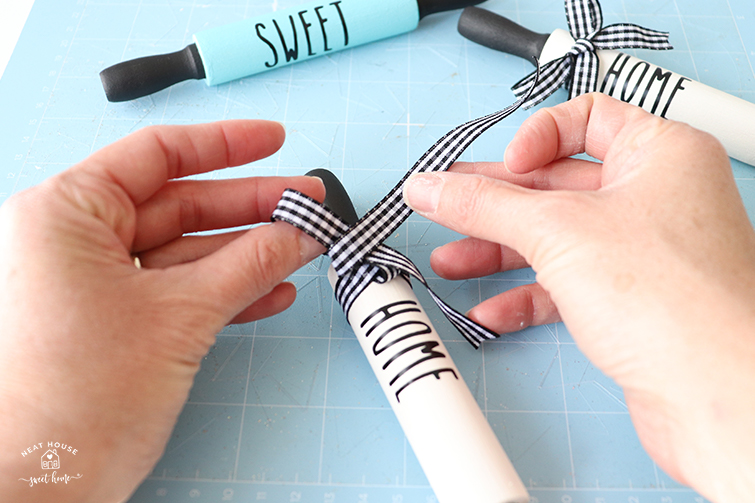
Step 4. Cross the Other End
Take the other end of the ribbon and cross over the loop you made in step 3.

Step 5. Tuck it Under
Tuck the ribbon under, making the second loop. Use your index finger to push the loop under the first loop.
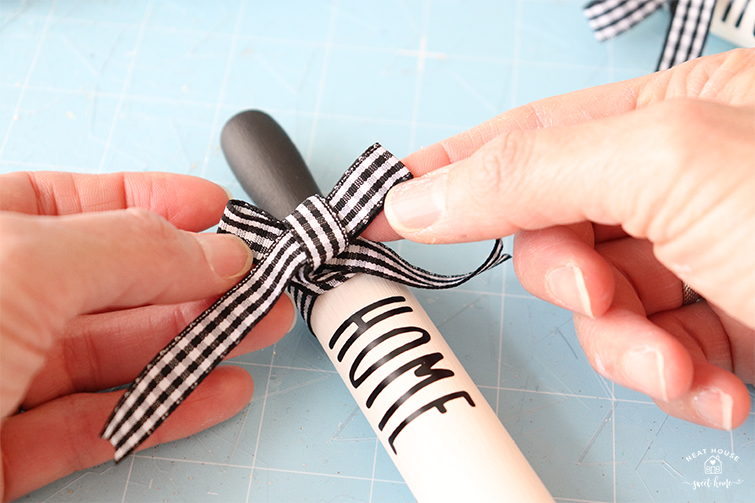
Step 6. Twist and Pull the Loops
At this point, the ribbon will pull towards the right. Just twist into position and slowly pull tight both loops at the same time to finish the bow.
And that’s all there’s to it! Customize and display these mini rolling pins in your kitchen, on a tiered tray, or on a shelf to add some rustic farmhouse decor to your home!

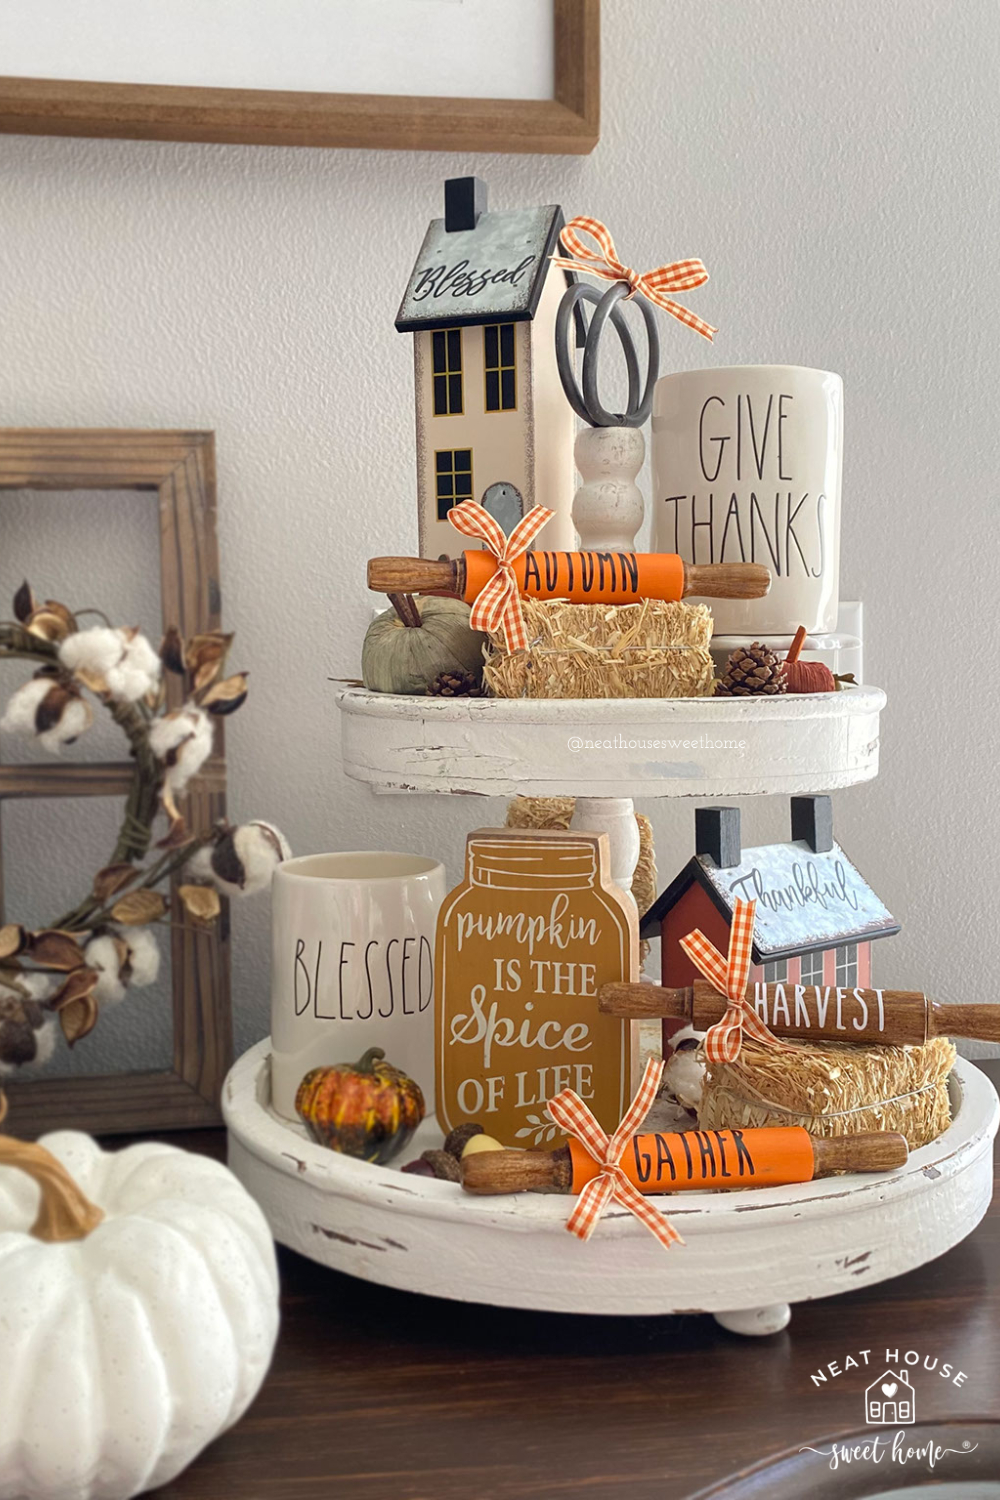
Update!
Check out my fall tiered tray with a fall version of these DIY mini-rolling pins
Save the image below to DIY your Mini Rolling Pins Later!