How to Paint Faux Wood Grain in 4 Easy Steps
Do you want to paint something to make it look like wood but aren’t sure where to start? Here’s how to make that ugly particle board table look like wood! This post shows you how to paint faux wood grain on any surface in only four easy steps.
I did my first furniture makeover using Fusion Mineral Paint a couple of months ago. I was excited to try this new paint, and it did not disappoint. Because the cabinet isn’t real wood but rather MDF, I had to figure out a way to make the painted top look like real wood.

So, if you are wondering if you can make MDF look like wood, the answer is a definite yes! Gone are the days of ugly particle board furniture. In this post, I will show step-by-step how to stain particle board to make it look like wood.
In full disclosure, I implemented this faux wood-grain painting technique with the help of this tutorial from Renovated Faith. It was very straightforward, and I am happy with how the top of my cabinet turned out. Now, I want to share with you my process and my results.
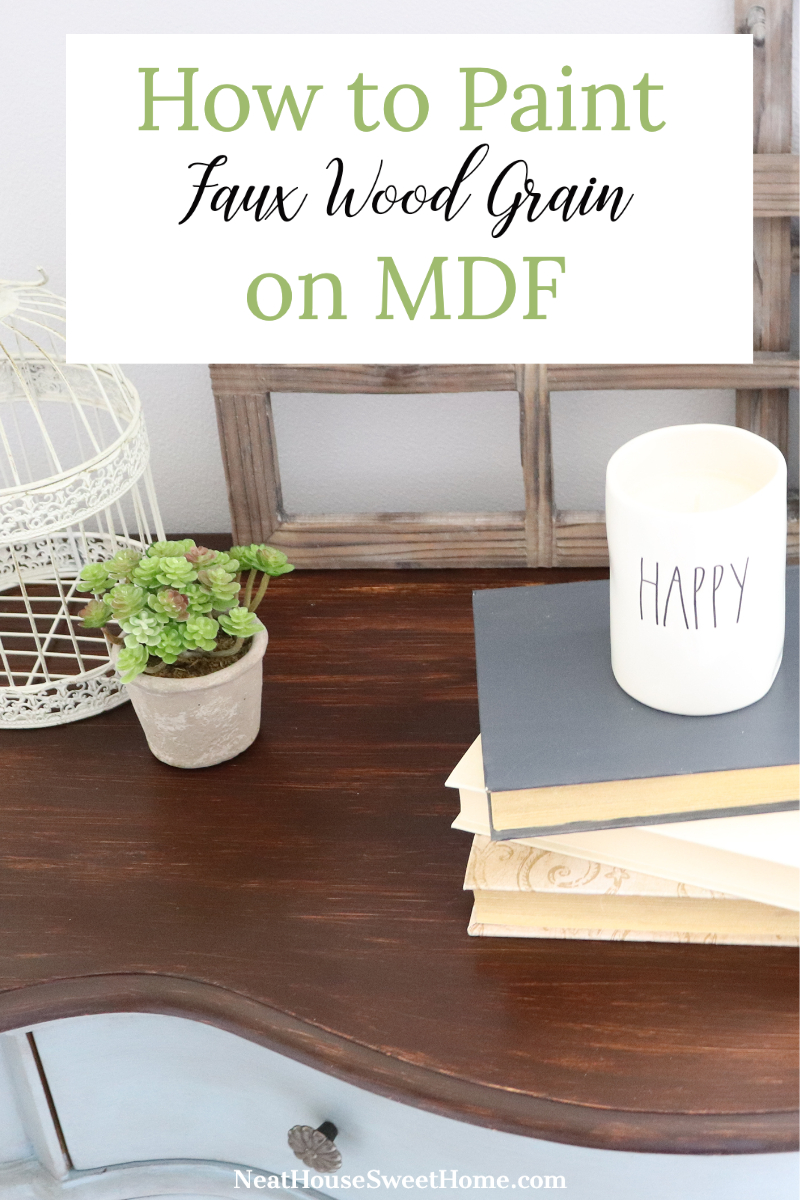
How to Paint Faux Wood Grain on MDF
Medium Density Fiberboard (MDF) is an engineered wood product made by breaking down hardwood or softwood residuals into wood fibers. The end product is a dense clump of wood fibers that make the material strong.
Although strong enough to be used in making furniture, it’s not real wood. Hence, there is no natural wood grain in it. You will notice most MDF furniture has either a paint finish or a Formica veneer on the surface.
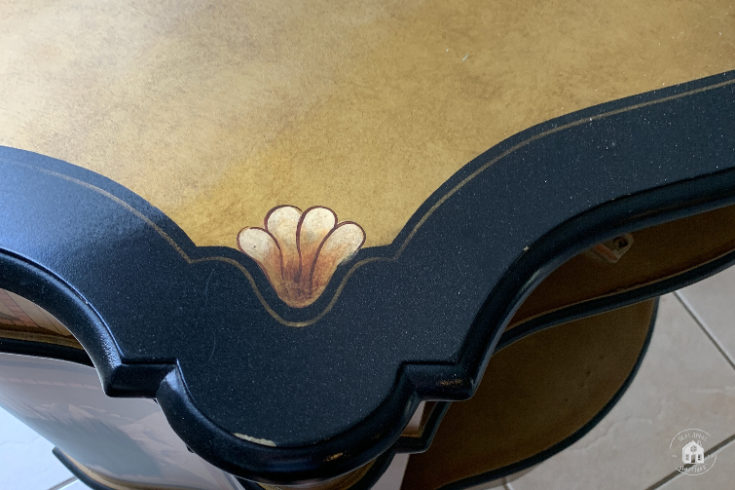
So, how do you stain MDF or particleboard to make it look like wood? You have to paint the faux wood grain on it. In this tutorial, I will show you how I made the top of my old painted MDF cabinet look like real wood.
There isn’t a magic paint that will give your furniture a wood effect. But instead, you need to create your wood grain with this faux technique. Unfortunately, there isn’t a paint that looks like wood stain, either. Or at least I didn’t find one! Instead, I learned from other tutorials that you must combine paint and products to make a surface look like stained wood.
This post contains affiliate links for your convenience. For more information, please read my Affiliates Disclosure.
Supplies Needed to Paint A Faux Wood Grain
- Sandpaper 320 grit
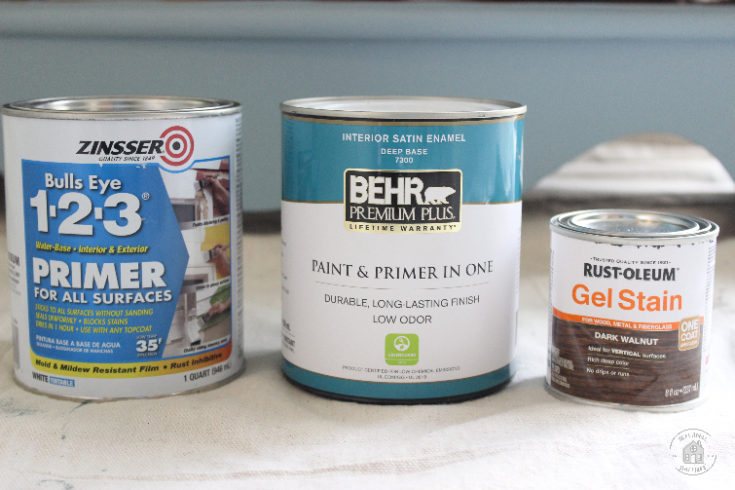
- Primer. I used Zinsser Bulls Eye 123 in white.
- Interior Paint in Satin finish. I used less than a quart of Behr’s Glazed Pecan. It doesn’t necessarily need to be this same color as long as you use a yellowish/orange base. The color of this paint is essential to achieve the wood grain look.
- Gel Stain, in your choice of color. I used dark walnut.
- Paintbrushes. I used the brushes from this package. Make sure to reserve a brush to use only with paint and primer and a brush to use only with the gel stain.
Step 1. Sand The surface
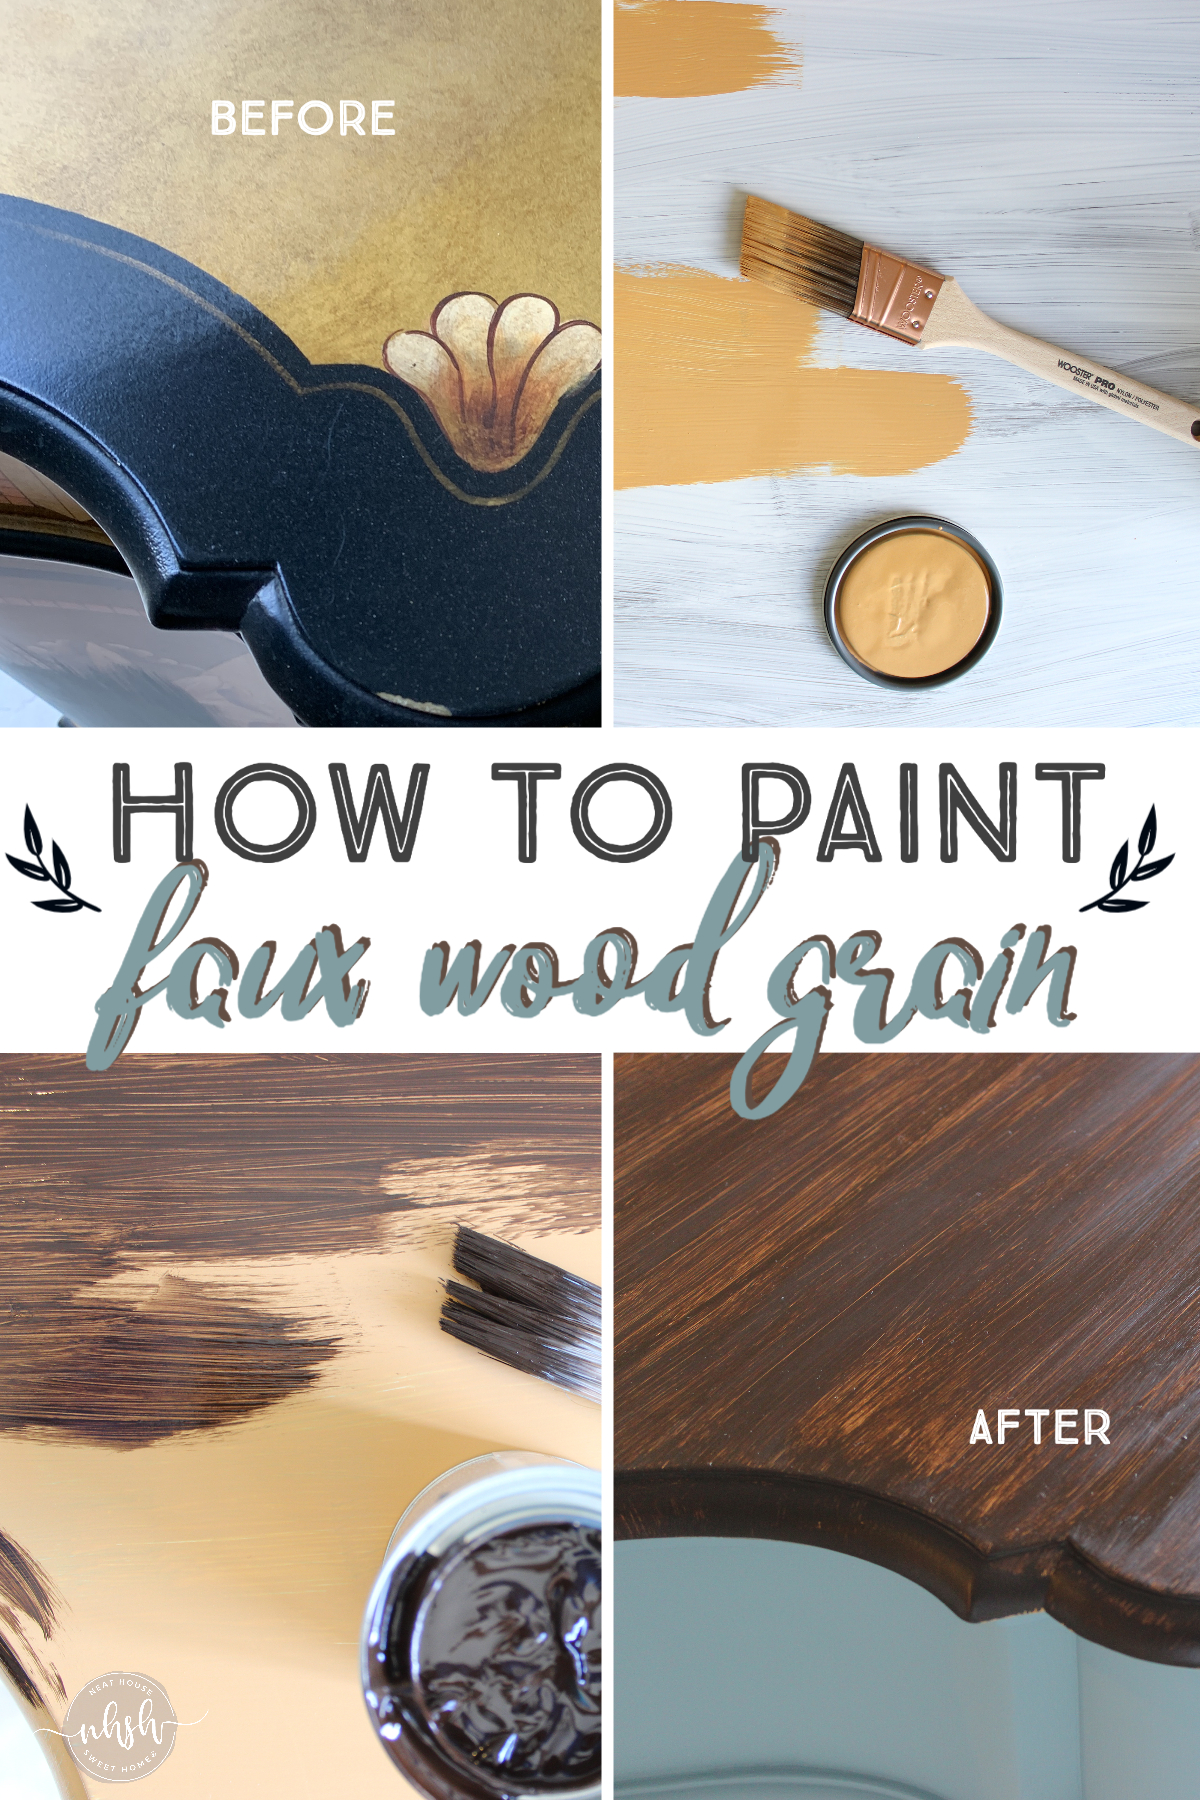
The first thing you have to do is lightly sand any finish on the surface of the piece you are going to paint the wood grain on. In my case, the top of the MDF cabinet was painted with high gloss black and gold paint.
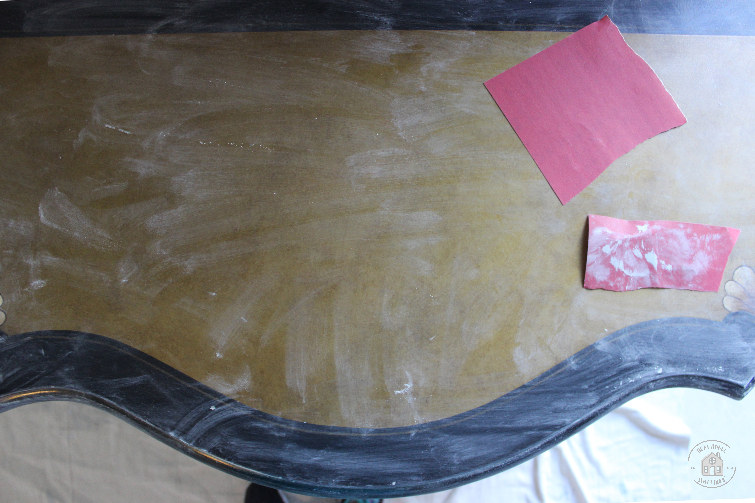
Because you can’t stain MDF, sanding all the paint down to bare MDF wasn’t the solution. Since the next step will be priming the surface to prep for paint and gel stain, I must remove the sheen with the sandpaper.
I recommend 320-grit sandpaper because it’s useful to sand off the very top layer of finish on the surface of your furniture.
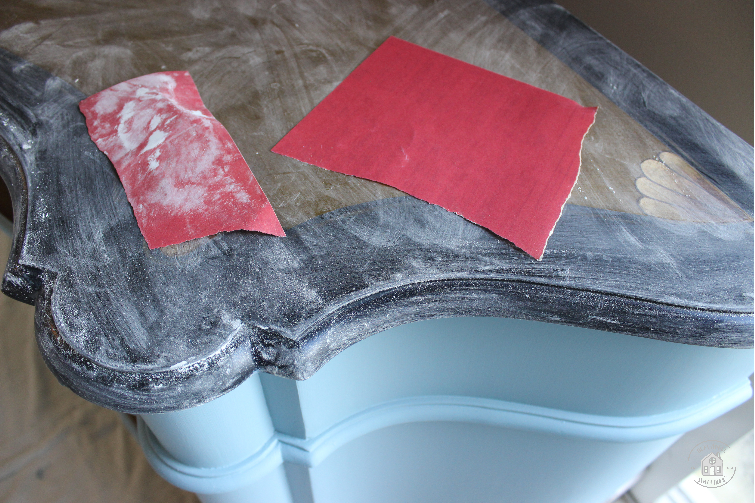
All the white dust means I removed the glossy finish. After sanding, you will notice that the surface is dull. Then, you can wipe the dust off with a lightly damp, lint-free cloth.
Step 2. Prime The Particle Board Surface
This step is very straightforward. All you have to do is paint the surface with the primer. Heads up! The primer has a thick consistency, and it dries really fast. Therefore, work your way to cover the surface rather quickly. You don’t need to have perfect strokes.
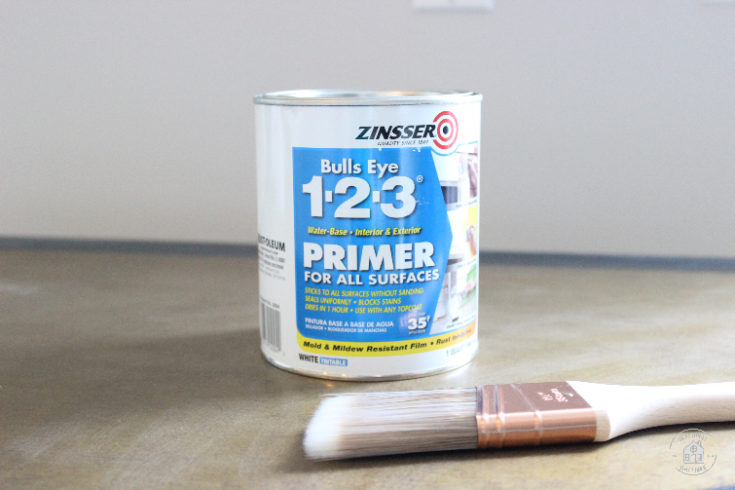
Just like applying primer to a dark-colored painted wall, this step is essential to cover any old finish on the surface of your furniture.
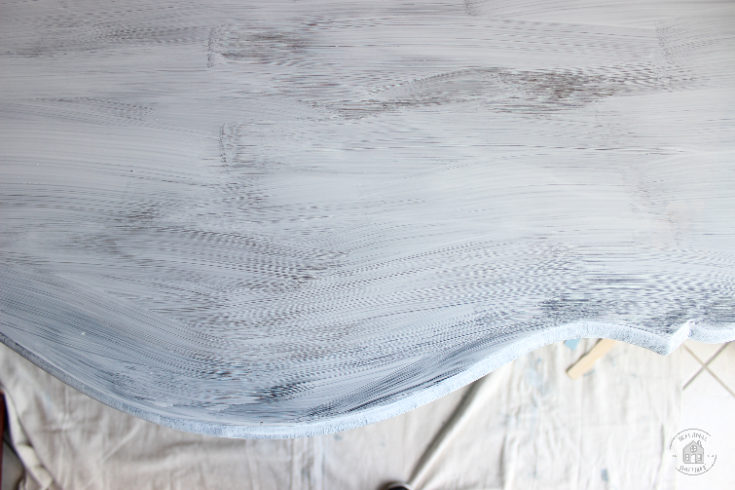
In my situation, I needed to cover the gold and black painted finish, as well as the swirl designs located in the corners.
Once you prime the surface of your furniture, allow it to dry completely (approximately 1-2 hours) before proceeding to step 3.
Step 3. Apply Yellow/Orange Paint
At first, you will think you’re making a big mistake painting your surface orange (or Glazed Pecan), but trust me, this step is crucial to achieving your faux wood grain. This is the paint that will give that wood effect.
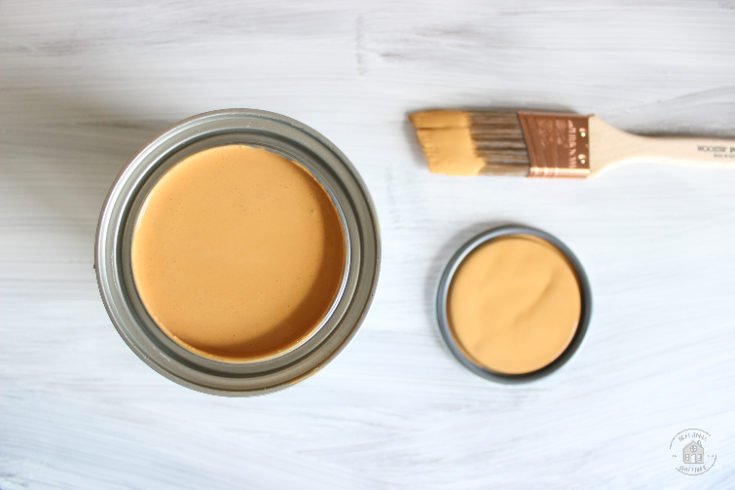
Just like applying primer, this step is fast and easy. Apply the paint in long brushstrokes all in one direction. I chose to paint from left to right, and because that is how I want my faux wood grain to show.
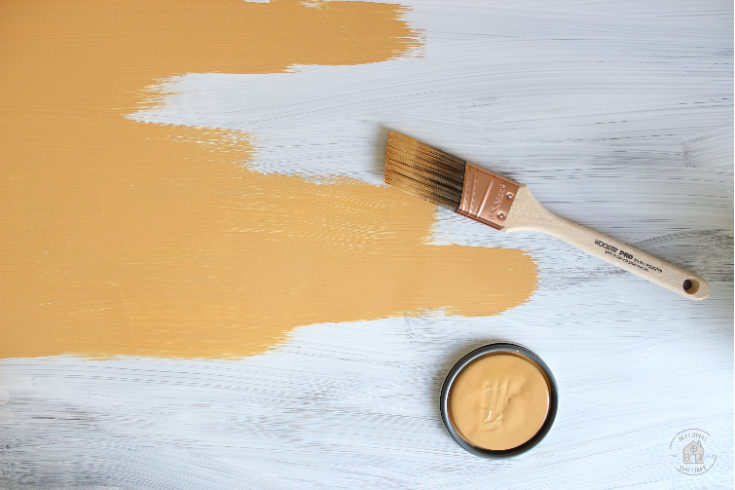
Use a small brush to paint details and small areas. I used the 1/2-inch brush included in the package to paint the lip of the cabinet top.
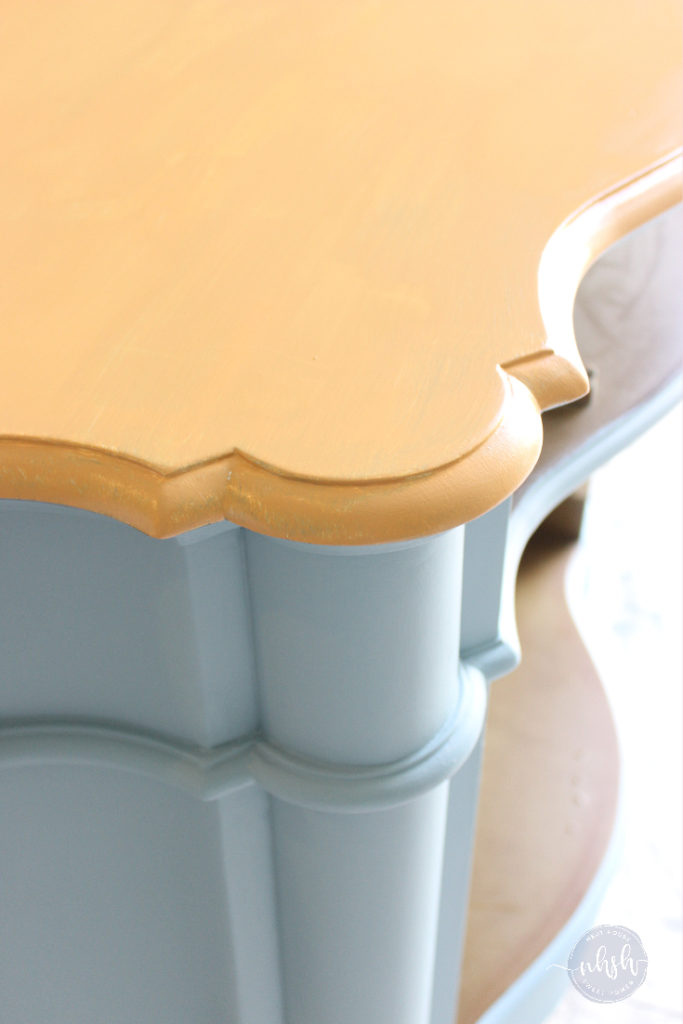
The MDF cabinet top will look like this once is primed and painted in Glazed Pecan. I painted the rest of the cabinet with Fusion Mineral Paint in Champness.
Step 4. Apply Gel Stain
Now, for the final and my favorite step. Applying the gel stain to achieve the faux wood grain we are looking for on the particle board.
As the name suggests, gel stain is a type of wood stain with gel consistency. Gel stain sits and dries on a surface, just like paint, as opposed to the standard stain, which sinks into the wood grain.
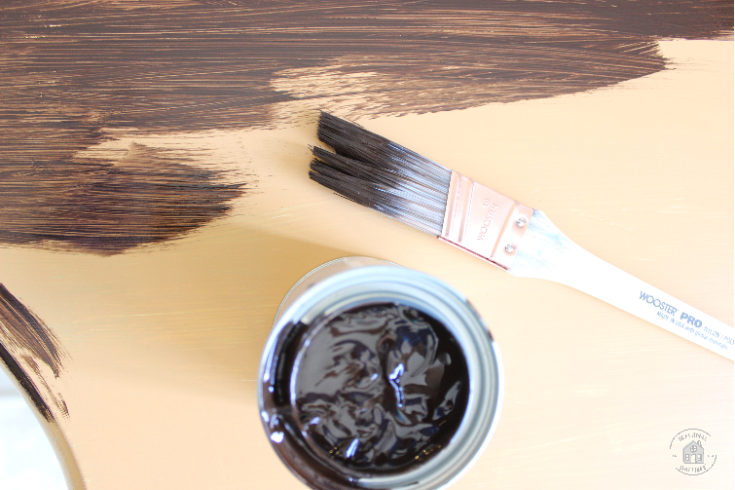
In other words, because we are working with MDF and MDF does not have wood grain, and it doesn’t absorb stain, we want to use a dye that acts like paint. Gel stain will dry like a stain without having to be absorbed by the surface.
With a brush, start applying gel stain in long strokes. Work in sections. I like to work from left to right. First, paint a stroke of gel stain, and then quickly but with smooth hand movement, go over the same stroke to try and remove gel stain excess. We do this to reveal some of the orange paint that’s underneath (Glazed Pecan by Behr in this project), which will give the illusion of real wood grain.
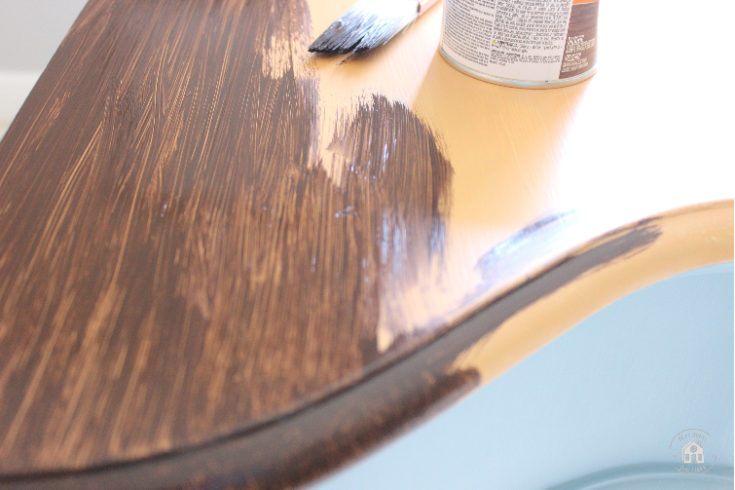
When it’s time to stop a paint stroke, try to stop smoothly by lifting the brush off the surface in a delicate swirl. I describe this hand movement as if you were painting a checkmark. You want to paint a subtle stroke towards the end; do not stop abruptly. The strokes blend with each other.
Always remember to work the paint strokes in the same direction. This is the ticket to painting the surface to look like real wood.
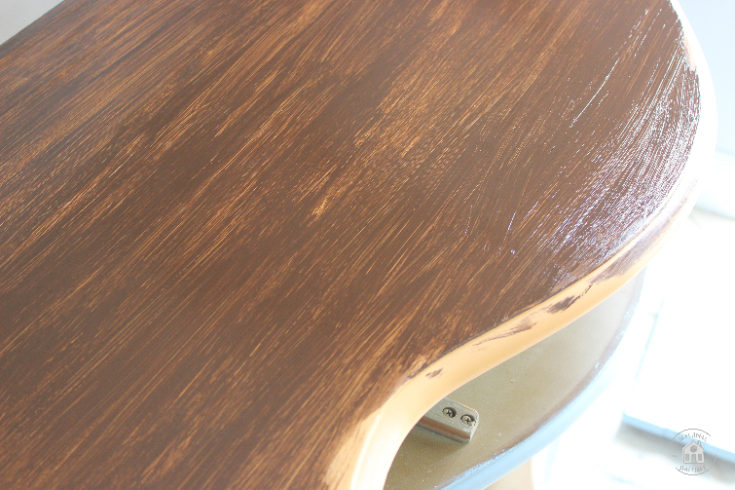
Apply as many coats of the gel stain as needed, and keep blending the strokes until you are happy with the results. It will look something like what you see in the picture below. And it seems imperfect. But, then again, real wood grain isn’t perfect either!
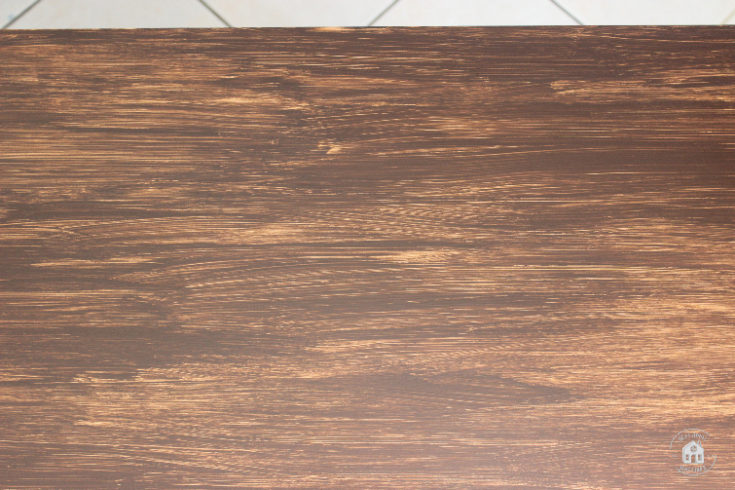
Gel Stain Drying Process and Final Reveal of Faux Wood Grain
This was my first time using a gel stain; therefore, I was a little apprehensive about the final result.
Twenty-four hours after applying the gel stain, it was still tacky in some areas. And, I attribute the delay in the drying process because I painted indoors.
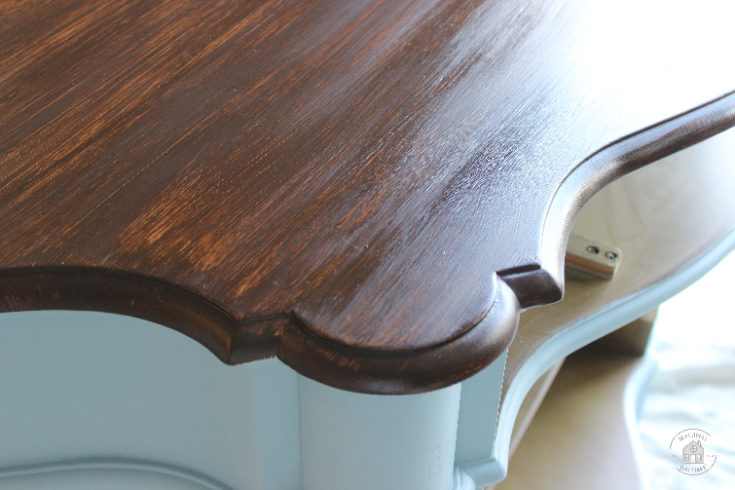
In South Florida, it is nearly impossible to create a paint project outdoors between May and November. We have very high humidity, and even indoors in an air-conditioned room, the air is not quite dry either.
I read online that you can use a hairdryer in the cool setting to speed up the drying process. I did this, and it worked like a charm!
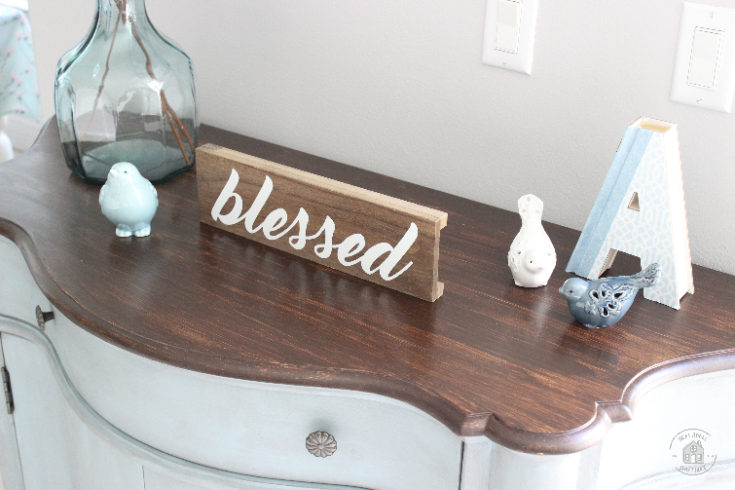
In conclusion, painting faux wood grain is a relatively straightforward process. You can makeover any old MDF painted furniture and make it look like real wood following these 4 steps.

You can read the tutorial for the rest of this wood cabinet makeover in this post.

If you are planning to paint a faux wood finish on any piece in your home to make it look like real wood, make sure to save this post to your Pinterest!
