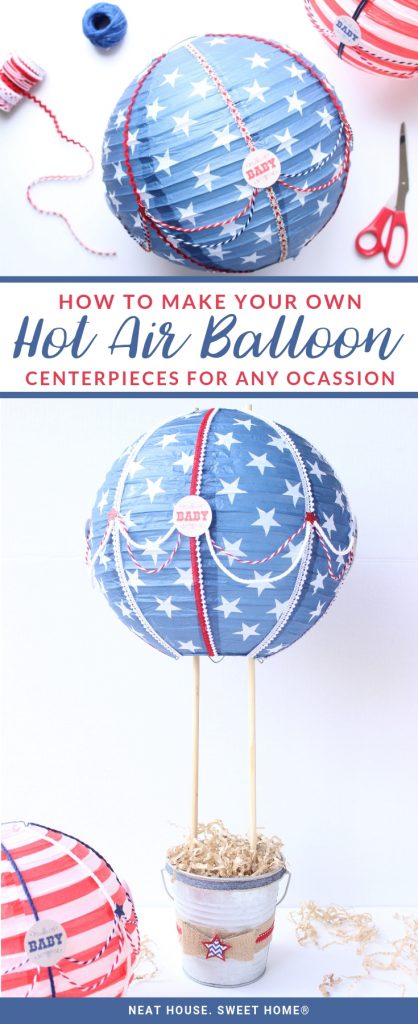
How To Make Hot Air Balloon Centerpieces
Hot air balloons are timeless and classic. They make beautiful decorative pieces for baby showers, baby’s first birthdays, or graduation parties. This tutorial shows you how to make hot air balloon centerpieces with paper lanterns.
These hot air balloon centerpieces will make a great impression and are perfect for decorating an ‘Up, up, and away’ or ‘Oh, the places you’ll go‘ themed parties
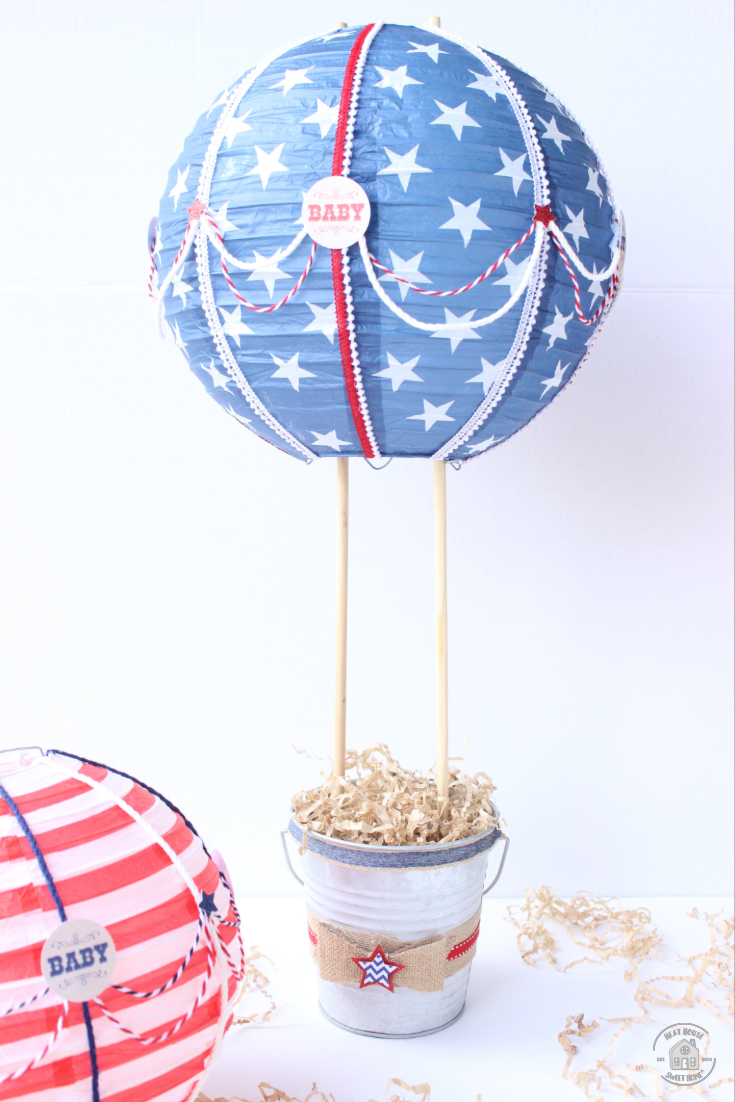
I made these centerpieces for a Stars and Stripes Patriotic-themed baby shower, which used red, white, and blue colors. I found the perfect paper lanterns to craft them.
But hot air balloons are famous for their bright and cheerful colors, so you can make these baby shower centerpieces with any color combination you’d like!
Recommended: DIY Patriotic Bunting Banner

How to Make Hot Air Balloon Centerpieces
Remember that some of the materials (decorations) needed to make these hot air balloon centerpieces will vary depending on the colors and theme of your event.
Materials to Make ONE hot air balloon centerpiece
- 5-inch x 4.5-inch galvanized buckets
- 8-inch and 12-inch paper lanterns.
- 1/4-inch x 24-inch wood dowels. You will need 2 per centerpiece
- Variety of twine and/or ribbons
- 1 1/2-inch wide jute ribbon (optional). I used this to wrap around the bucket.
- Floral foam circles
- Your choice of basket filler
- Decorations of your choice (scrapbook stickers, die cuts, punch outs)
- Cardstock (optional)
Tools
- Hot glue gun
- Hot glue sticks
- Paper punches (optional)
- Craft scissors
- Sticker maker (optional)
Recommended: 10 Must-have Craft Tools and Supplies
1. Make Sections on The Lantern
Paper lanterns come packaged flat. The first step is to assemble the lanterns according to the package instructions. For most of them, all you have to do is insert a wire structure inside the flat paper sphere, which will instantly take the shape of a balloon.
Use the twine and/or ribbon and decorate the balloon as you please. To create the illusion of sections like a hot air balloon, lay a narrow ribbon from the top opening towards the bottom.

Measure first, and cut as many pieces as you need ( I used 8 per lantern). Add about 1/2-inch of the ribbon for each end so you can fold it towards the inside and secure it with the hot glue.

Take the twine directly from the spool without measuring or cutting and start draping from left to right, making ‘waves’ across the paper lantern. When the ends meet, cut the twine. You can repeat this process another time with a different color to add more interest to the hot air balloon.
2. Add Decorative Details
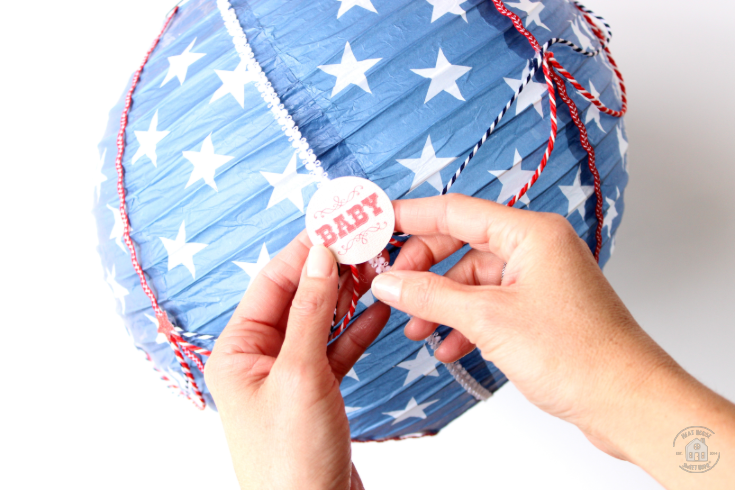
For this particular all-American and Patriotic baby shower, I punched stars from the blue glittered cardstock to add a pop of blue over the red and white stripes. You can do the same, depending on the colors or theme of your party.

The small stars ‘holding’ the twine accentuate the hot air balloon look. So, it’s important not to skip this step.

You can use any small decorative pieces you have in hand (buttons, stickers, scrapbooking die cuts, etc.) Place one piece on each section, as shown in the picture below.
3. Decorate the Galvanized Buckets
I picked up a dozen of galvanized buckets at my local Michaels. This 12-pack of galvanized metal buckets is very similar in size. When purchasing the buckets (or baskets), remember the size of the paper lanterns so your final hot air balloon looks proportioned.
Take the roll of wide ribbon, measure around the circumference of the bucket, and cut where ends meet.
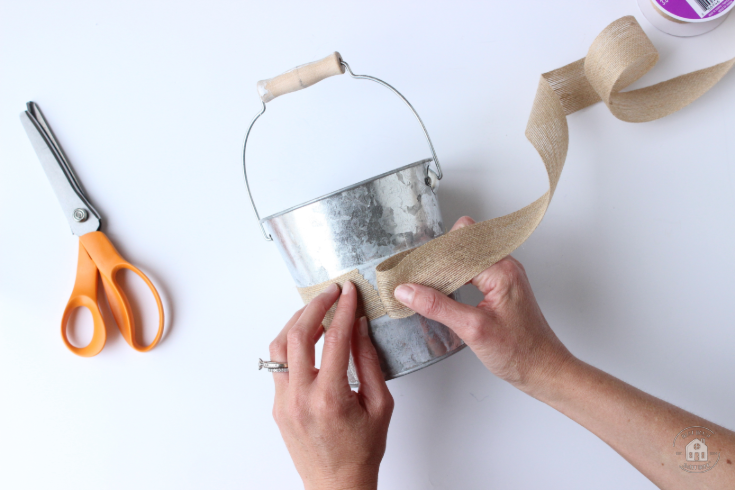
Once cut, wrap around the bucket and attach the wide jute to the bucket with hot glue.

Add another layer of a narrower ribbon over the wide ribbon. Use hot glue all along the ribbon’s length (not just at the ends) to secure it properly.

To add more interest to the bucket, add a piece of narrow ribbon under the bucket’s lip.

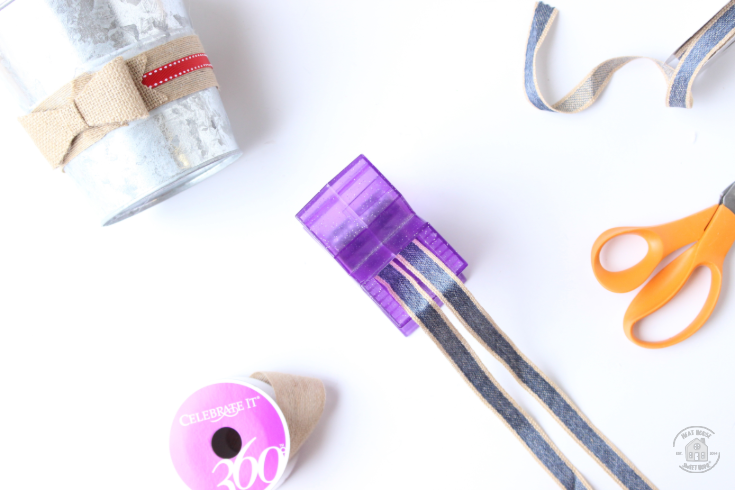
PRO TIP: for this step, I used my Xyron Sticker Maker to make the backing of the ribbon sticky. Depending on the type of ribbon, this will or will not work.
Lastly, add an extra decor piece in the ribbon’s center. I used jute bows and 3D scrapbook stars to coordinate with the stars and stripes theme.

And here’s the final look at the galvanized bucket.

4. Make the structure of the Hot Air Balloon
Now, for the fun part. You must attach the lanterns to the bucket to make them look like hot air balloons.

Place a round piece of floral foam inside the bucket. Coincidentally, the floral foam I purchased had the same diameter as the galvanized bucket. If yours is a little too big, you can trim the edges of the floral foam with a knife.
Try purchasing a size that fits snugly inside the bucket, not smaller, or it will wiggle inside and make the centerpiece unstable.

Using a craft cutter, cut the wood dowels to the height you’d like the hot air balloon centerpiece to be. Insert the dowels in the floral foam. Insert the other end of the dowels inside of the lantern.

Use hot glue to secure the dowels to the lantern. I had to ship the hot air balloon centerpieces out of state, so I did not assemble them.
PRO TIP: Use a backsaw to cut a small notch on top of the dowels and attach it to the lantern’s frame. Secure with hot glue.
Let me know if you have any questions about this project, I will be happy to help!
