Cheap and Easy DIY Fall Wreath

In case you didn’t know, I adore Fall! It’s probably one of the seasons when you will see the most tutorials and printables on the blog. Like today. This is a tutorial for a cheap and easy DIY Fall wreath to go along with the ‘Hello Pumpkin’ DIY doormat I made a couple of weeks ago.
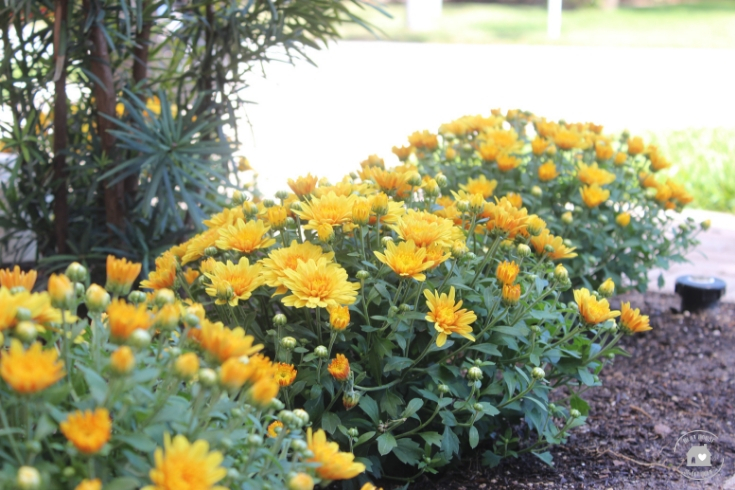
Summer in Florida is the relentless season. Fall is the fleeting season. We never know when it’s coming; when it does, it stays for a very short time. But that’s not stopping me from making crafts, decorating, and eating all things pumpkin! So, it might be 90 degrees outside my porch, but it looks so stinking ‘Fall cute.’ And I planted beautiful yellow mums, too.
Would you like to save this?
Materials and Supplies to Make a Fall Wreath
Whenever I need inspiration, a trip to Michael’s gets me all fired up. It can be pretty dangerous to go there during the fall. So many beautiful things and supplies, so many sales, and so little time! Below is a list of resources linked to Michaels. Adapt the design to your preference!
- 1 – 18″ grapevine wreath $4.99 (regular price)
- 6 – fall bushes (assorted) – sale price $1.00 e.a. (available in-store only). You can find a wide selection of fall bushes HERE.
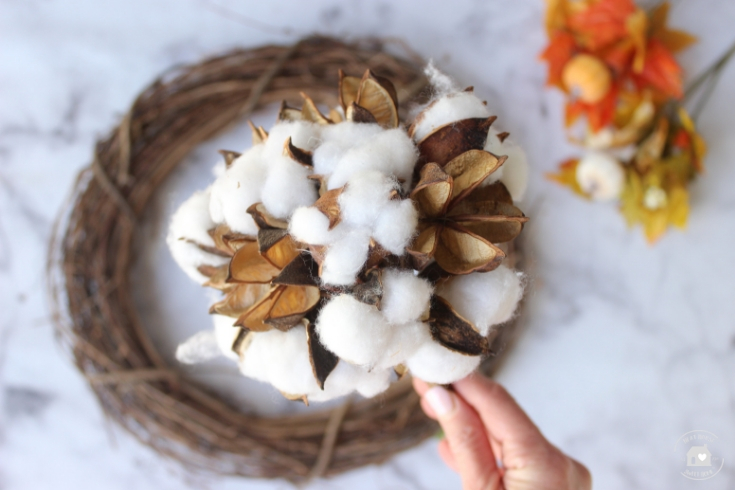
- 1 – 11″ White Cotton Bush – sale price $6.49
- Floral wire cutter
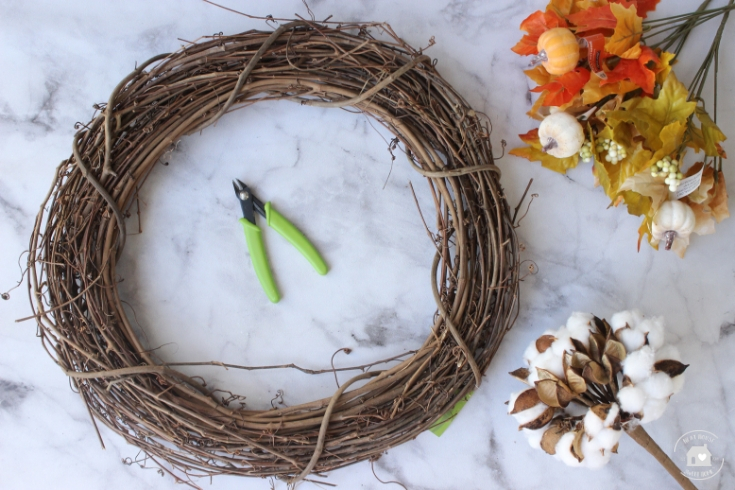
To make this easy DIY fall wreath, you will only need a grapevine wreath, fall bushes, and floral wire cutters. I picked up the floral supplies, at Michael’s, except for the wire cutters which I own. All fall floral was 50% off, and I used their 40% coupon on the grapevine. I spent a total of $15.00 on this project.
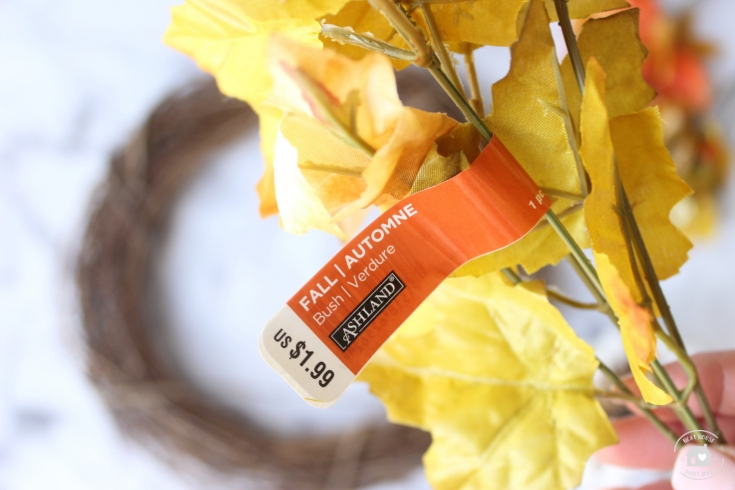
I picked up two types of fall bushes. Three sets with orange pumpkins and berries and three sets with white pumpkins, lighter maple leaves

One white cotton bush was enough and I had leftover stems that I will be using on another project.
This post may contain affiliate links for your convenience. For more information, please read my Affiliate Disclosure.
1. Separate and Cut the Stems
Take one fall bush at a time, separate the stems, and cut them with the wire cutter.
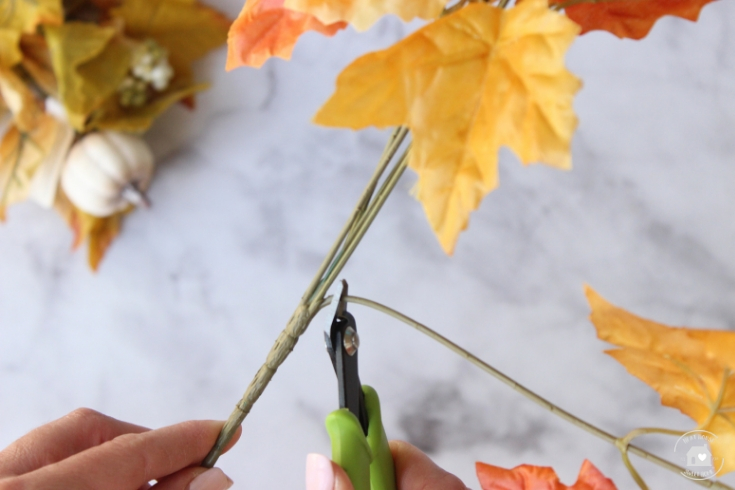
Cut the stems at the very end, as shown in the image above. The longer the stem, the better. You can always make it shorter if you need to.
2. Insert Stems in the Grapevine
Here is why this is a very easy DIY fall wreath tutorial. All you have to do now is insert the stems on the grapevine. My favorite part is that no adhesive or hot glue is needed.
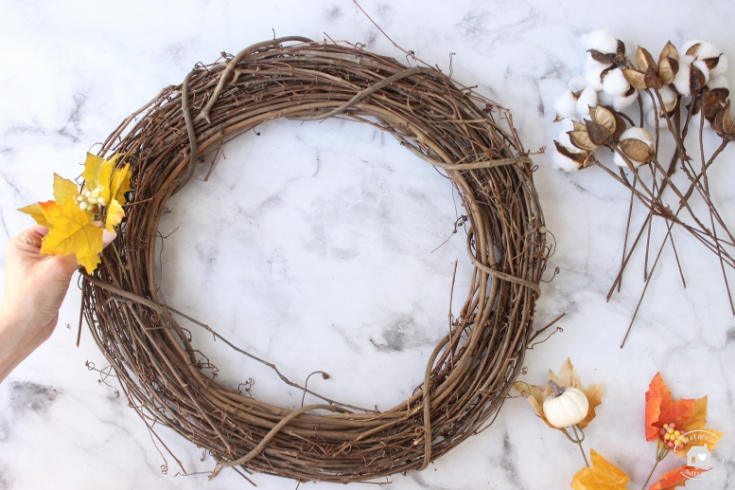
Starting on the left and center, insert the stems one by one. I started with a stem with berries, a pumpkin stem, and a cotton stem.
Insert the first two stems with the stick facing down. As you work your way down or up the grapevine, you will need to turn them a little sideways or face up. This gives the wreath a natural and uneven look.

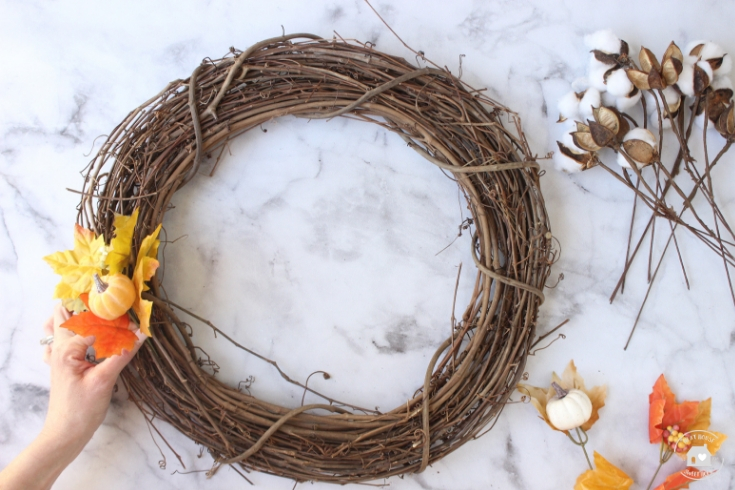
Play with the design, there is no right or wrong here. Just make sure to alternate colors and texture for an even look.

3. Taper the Stems
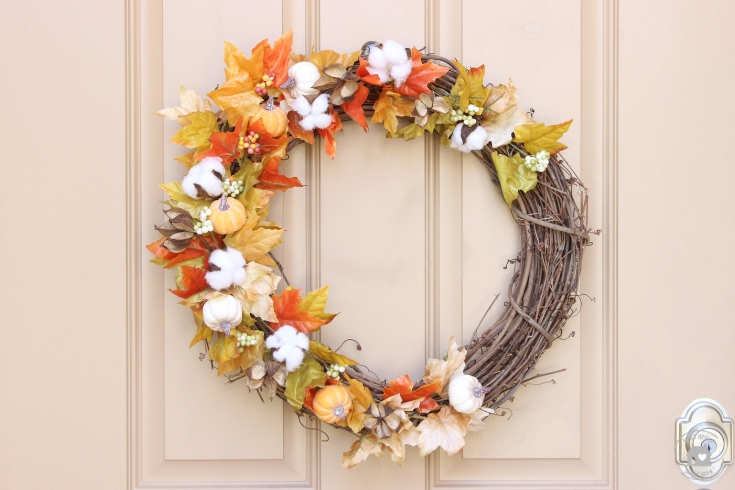
To achieve the tapered look, add fewer stems once you approach the wreath’s mid-top and mid-bottom areas.
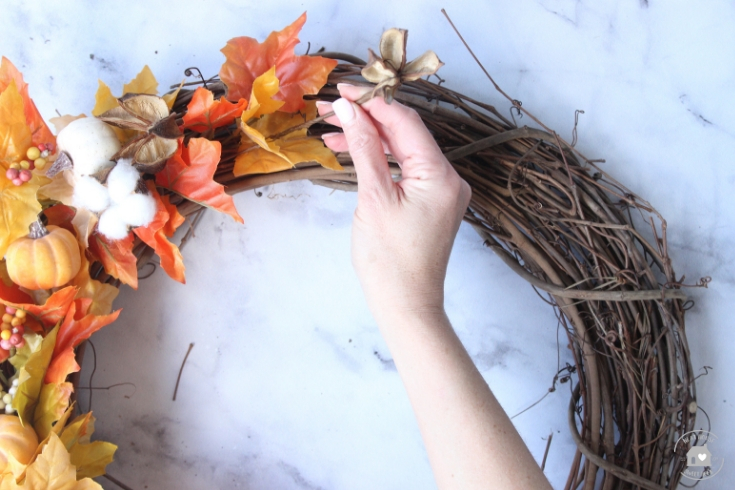
Notice the mid-top area of the wreath has barely any clusters of berries or pumpkin and more leaves.

4. Fill in Gaps
When working with flowers, whether they are silk or real, it is always good to step back and look at the arrangement from a distance.

Take a look at the wreath, and if necessary, fill in any gaps.

For a tapered look like mine, pay close attention to the left of it and make it full in that area. This is where we want to have the most amount of floral accents.
5. Hanging the Fall Wreath
Because I preferred a more minimalist look, I did not add any bows or ribbons to the wreath. But feel free to do so. It’s easy to thread a ribbon through the vine and hang it.
I decided to press the grapevine through the nail on my front door. That is all for this easy DIY fall wreath tutorial! If you have any questions about materials, leave a comment below, I will be more than happy to help you!


Wonderful idea, the wreath looks just amazing and you did great job. Thank you for sharing this with us.