Chalkboard Lettering in 5 Easy Steps
This tutorial will show you how to make flawless chalkboard lettering with just basic skills. Find out how to make chalkboards for weddings, birthdays, baby showers, and more!
I made my first chalkboard projects last year. And they were for a wedding, nonetheless. The fact that my step-daughter trusted my skills for this special day in her life, meant a lot to me. So I took the challenge, trusted my instincts (and Pinterest) and got to work.
The results were beautiful, and everyone raved about them. Each one of the chalkboards I drew myself, freehand!. I did not use stencils or the transfer method, which is the one this tutorial is about.
I designed the graphics with my go-to program Serif Draw Plus, printed them in ‘actual size’, and drew directly on the chalkboards just by looking at the designs I had on paper.
Would you like to save this?
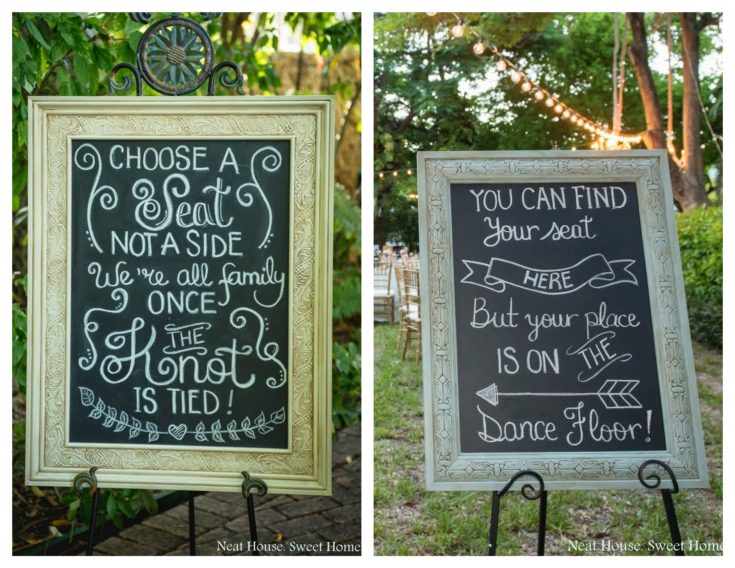
For this particular wedding, I created 4 chalkboards (Welcome, Seating. Dinner Menu, and Bar Menu). I also custom made the frames, and explain how to in my tutorial: Easy, DIY Vintage Chalkboard Frame

Chalkboard Lettering for Beginners
A few months later, I made custom chalkboards and other pieces for a beach wedding.
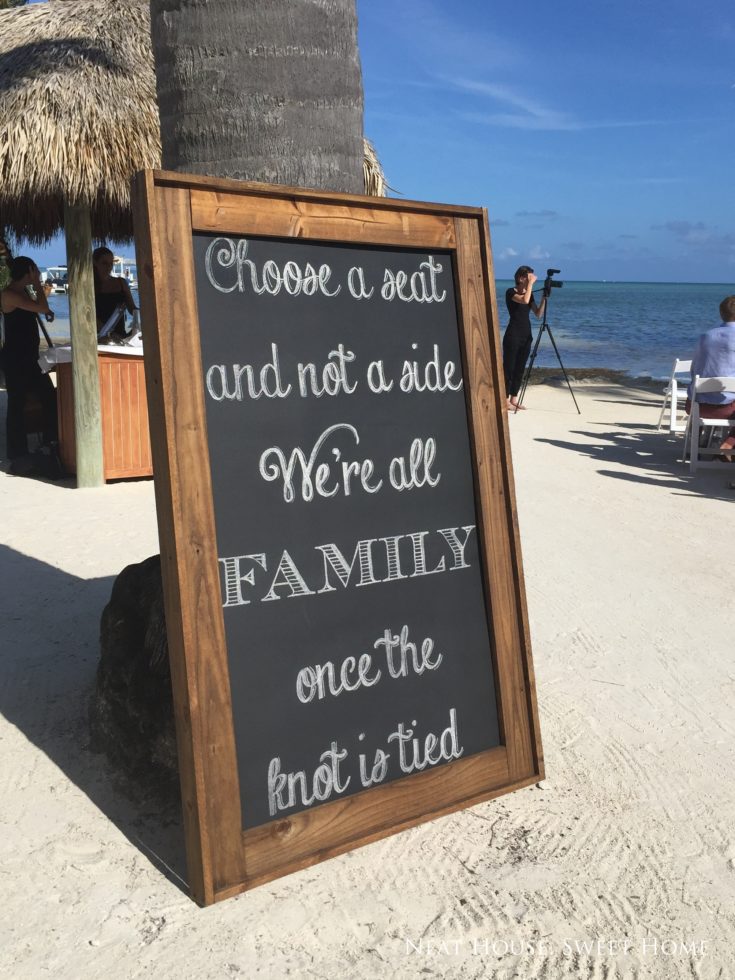
If the first wedding chalkboards were a challenge, I was in for a surprise here. I had to make an 8 x 4 ft wedding program, and a 5 x 3 ft welcome sign.
Below is a picture of the 5 x 3 ft chalkboard sign. I am only 8 inches taller than this chalkboard!
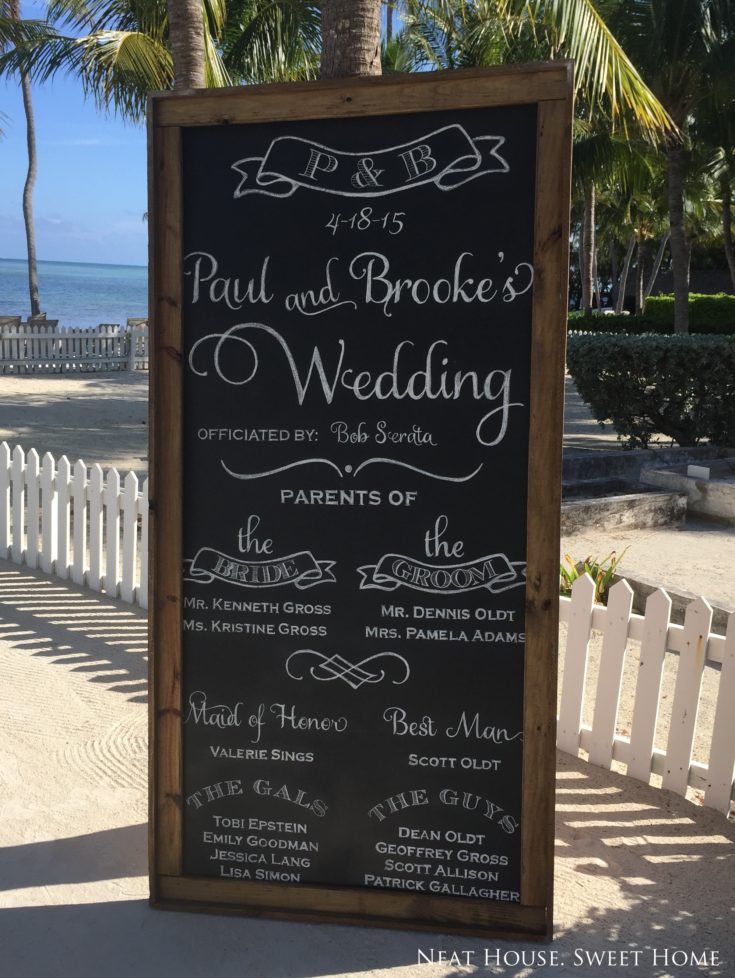
And below, is the 8 x 4 ft chalkboard wedding program. This was a total challenge, but it turned out amazing.
I want to add, that I made both chalkboards, meaning, I did not buy pre-made chalkboard pieces. And after I drew the messages on them, they were transported to the wedding venue and framed on-site.
So, how did I do the handwriting on these wedding chalkboards?
These are my 5 steps for easy chalkboard lettering along with some tips and tricks I learned throughout the process.
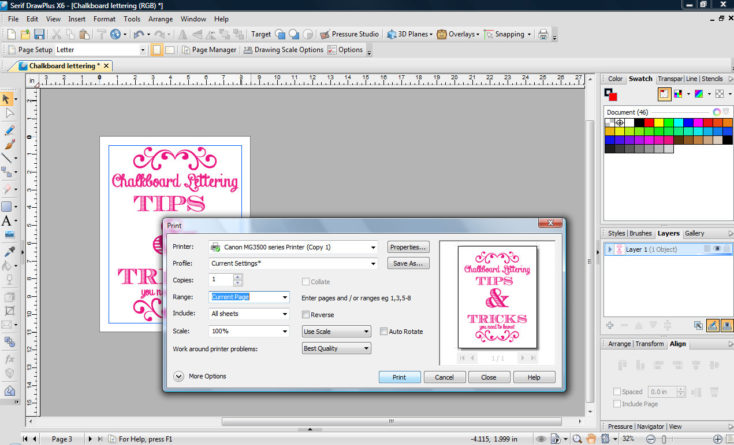
1. Make a Template
Using a drawing software, such as PowerPoint, Publisher or Adobe Photoshop, design your art in ‘actual size’ that is, design it using the same dimensions your actual board is. If your board is 3 ft x 5 ft, you must set your page to 36 inches x 60 inches (landscape or portrait).

The screenshot above is the software I use, DrawPlus by Serif. It is very user-friendly, I truly recommend it if you’re looking to start making graphics for your blog, personal use or business. I create the majority of my printables with this program.
But, you don’t need major graphic design skills to create your chalkboard art. You basically need to know how to do two things:
1. Create a page same size as your actual chalkboard is, and2. Type your message with the font or fonts of your choice.
My Typography Pinterest board is loaded with ideas and links for free chalkboard fonts.
2. Print Your Template in Actual Size
Printing your file in “actual size” means printing it at 100%. You can either print it at home or have it printed at a copy and print center such as Office Depot or Staples. But, if your page size is standard (letter or legal size), you can definitely print at home.
For this step, I am going to assume that your art is not bigger than a letter or legal size page. In my case, my pages were 3 to 5 ft tall, so I used what I call the “print current view” method which I explain in my post: How to Make a Large Chalkboard Sign.
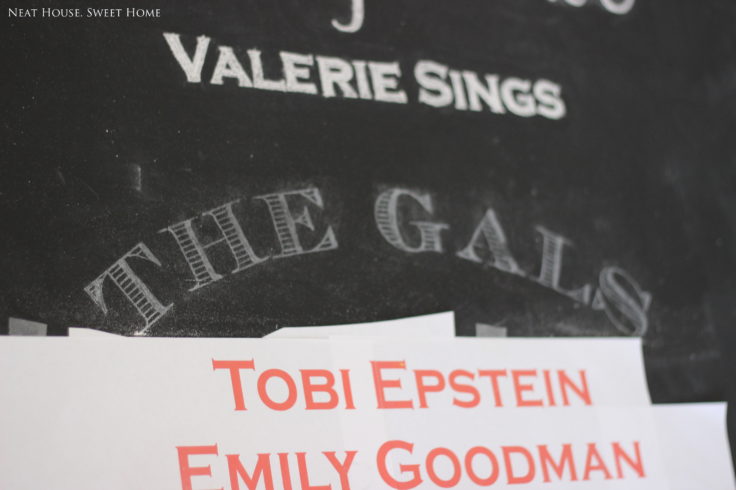
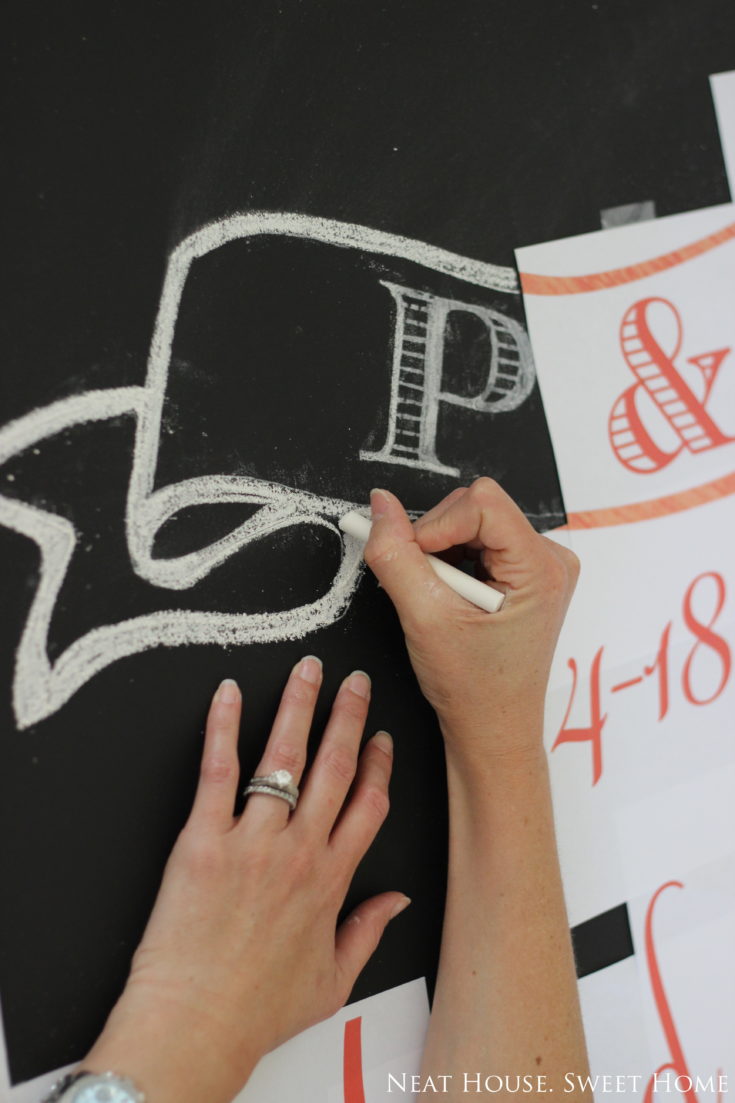
3. Transfer the Design to the Chalkboard
Rub the back of the page with the design with chalk and place it on the chalkboard (chalk dust down).

With a pencil, trace the printed design putting enough pressure to transfer the chalk dust from the paper to the board. I got a little carried away, and I do not have a picture of this step.
4. Fill in The Design
Once you lift the paper, the graphics will look very faint (see the words: ‘THE GALS’ ).
Fill in the design using the chalk. Depending on how thick or how fine your fonts are, you will need to use several pieces of chalk. Whenever you need to make fine lines, you can sharpen your chalk to make a sharp and thin end, just like a pencil. I used scissors blades to sharpen mine.
4. Clean Around The Design
After several trials and errors, I found out that microfiber cloths are perfect to clean chalkboards.
Because of their lint-free nature, once you wipe with clean water, the chalkboard goes back to black instantly and no dust or lint is left behind.
I just soaked a corner of the cloth in water, squeezed out the excess and wiped around the letters. The most important tip when cleaning your board is to constantly rinse out the cloth or swap it for a clean one, that way, you won’t smear the already absorbed chalk dust onto the board again.
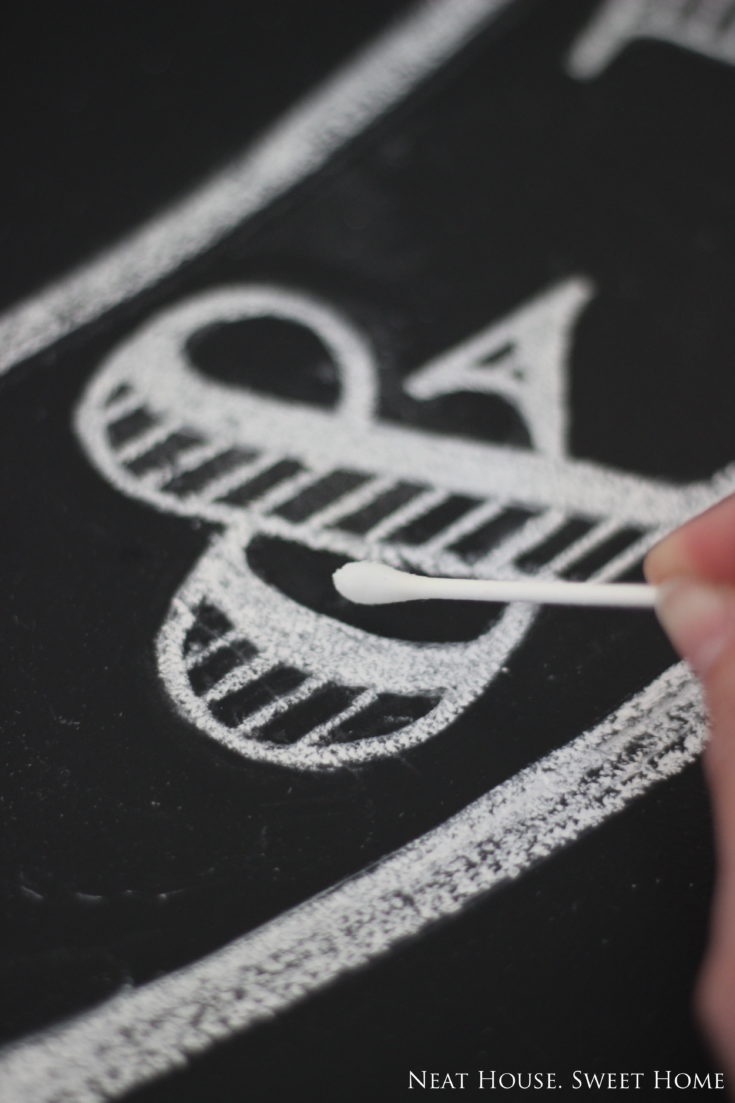
Cotton swabs are also unbelievably helpful to clean around little details. I can’t tell you how many I used for each project.
And you are done!
These pictures were taken while I prepared two custom chalkboards for a wedding. Those were large-scale chalkboards. I explain in detail how to do chalkboard lettering on large boards in my post How to Make a Large Chalkboard Sign.
Save it, and keep it as a reference for your future chalkboard art project!
How did you keep the chalk from being smeared or erased prior to the wedding? Did you make these on site? I’ve only used chalk markers because of this but the look of real chalk is preferred and wondered how you kept these from being ruined.
Hello! That’s a great question. I tried everything possible to set the chalk, including hairspray (which works really well!) but it dulls the chalk a bit. I applied some hairspray on these, but I had to go over some letters that got too dull for my liking. I also tried Workable Fixatif in a conspicuous corner of the board, but it turned the chalk yellowish, so I went for hairspray, and not too much of it either. I tried to keep it as ‘natural’ as possible. These mega-sized chalkboards where transported “very carefully” in a truck to the Florida Keys (5 hours drive).