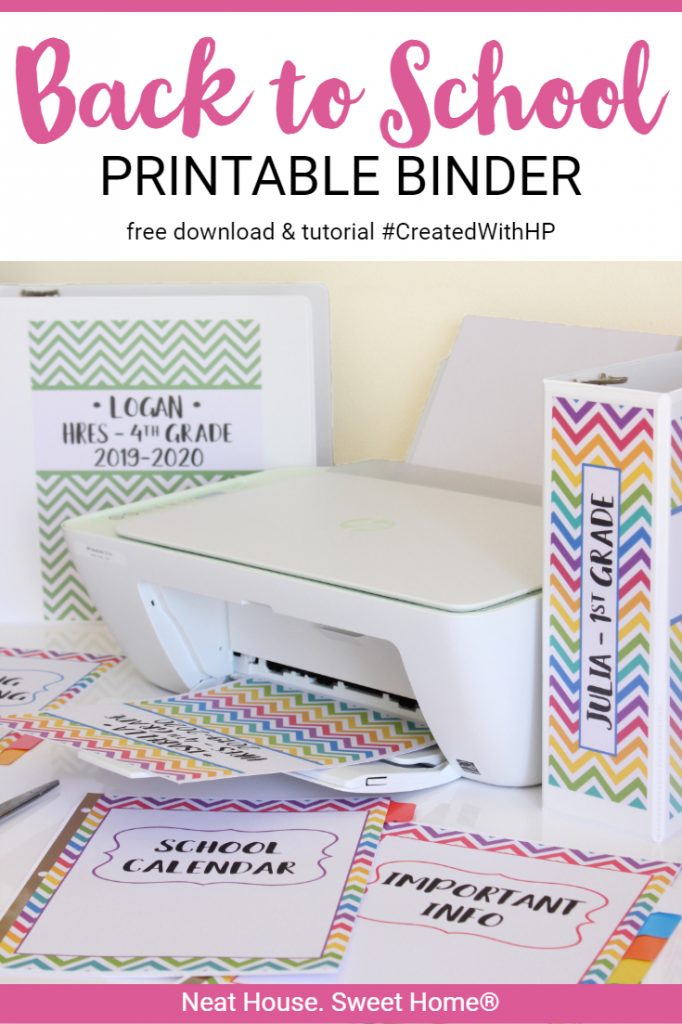
Back to School Printable Binder
The beginning of a new school year means more papers are entering our homes and piling up on our desks or kitchen counters. Here’s how to create a school binder with separator tabs to keep all that paperwork under control.
Back-to-school season is almost here; honestly, I’m looking forward to it. Don’t get me wrong, I love the relaxed summer days, but I also crave structure and routine in my life. Going back to school helps me establish a more organized and productive schedule.
Would you like to save this?
A binder, not only a school binder, is a great way to quickly access important information while keeping it neatly filed and organized in one place. This year, I decided to create a printable and editable edition and share it with you.
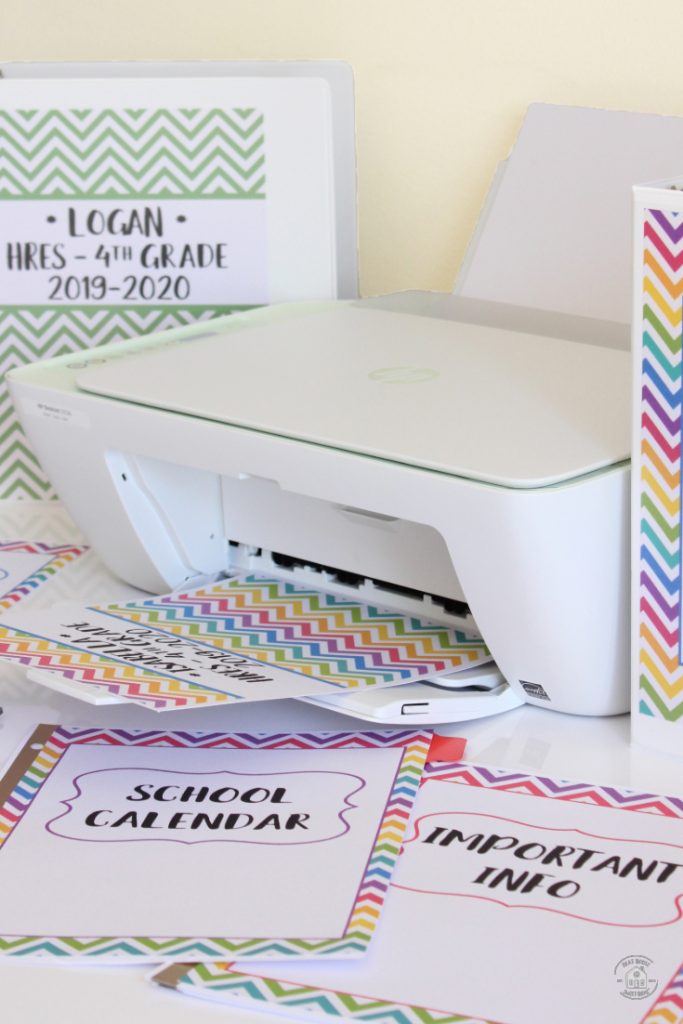
Get ready to get all those school papers in order with this back-to-school printable binder. This 20-page binder is editable to suit your needs, and it comes in two designs: green chevron and rainbow chevron.
This post may contain affiliate links for your convenience. For more information, please read my Affiliate Disclosure.
Create Your Back To School Printable Binder
Here is a step-by-step tutorial on how to create your back-to-school binder.
Tools and Materials You Will Need
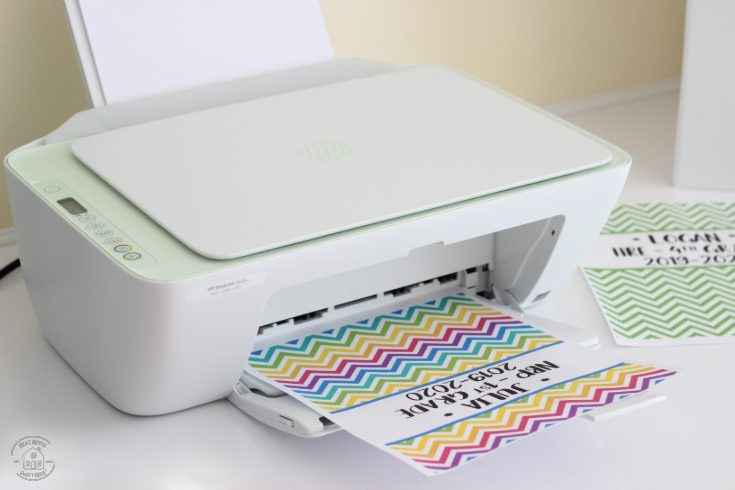
- Color printer.
- White cardstock paper, US letter size.
- Binder dividers – I used an 8-tab divider, but you can use as many dividers as you need.
- Strong adhesive – I used an advanced tape glider, but a strong bond glue stick also works.
- Guillotine trimmer. You can also use scissors, but I prefer using the guillotine for precise and fast cuts.
- 3-ring binder with transparent plastic overlay – I prefer 3-inch binders, but any size works.
- Back to School Printable Binder. Both school binder versions are available inside our library of printables.
1. Download the Free Printable File
For our readers’ convenience I created a library where you can access this and all other free printable files offered on this blog. Subscribe using the box below and the password will be sent to you!
2. Print your Favorite School Binder
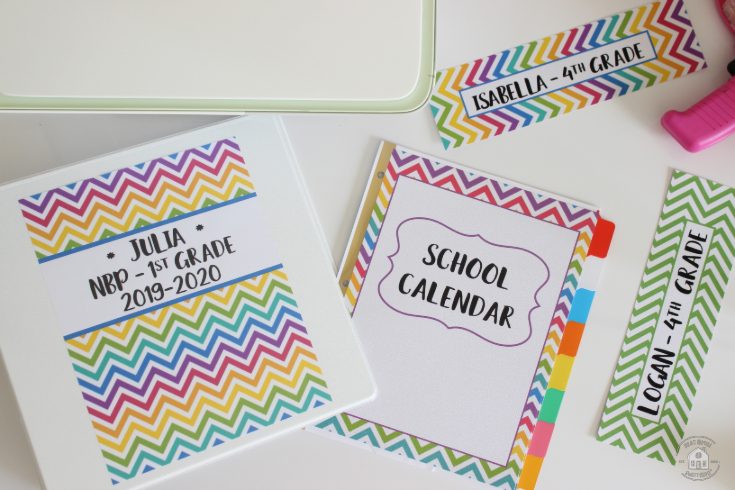
2.1 School Binder Contents
- Front cover: print and write your child’s name, school name, grade, year, etc.
- Spine: the file includes prefilled spines with grades K-12.
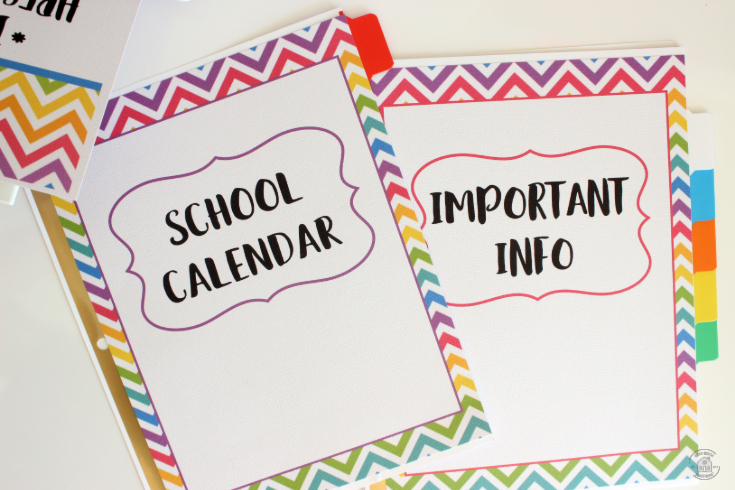
- Dividers: print the generic ones included or create your own using the blank page provided.
- School Year Mementos page: print this page as is and handwrite it.
Editable Binder Versions
Editable versions of these binders are available in our online store.
3. Trim the Paper
I prefer using a paper guillotine to prepare the pages of the back-to-school binder, but craft scissors work just as well.
3.1 Trim the Spines

Trim the spines to fit the spine of your binder. If you have a thinner binder, there’s enough room to trim until it fits (2″, 1.5″, or 1″ binders).
3.2 Insert the Spines

Insert the spine inside the binder as shown.
3.3 Trim the Divider pages

Trim off the white edges of the divider sheets.
3.4 Ensure they fit

Your trimmed page will be slightly smaller than 8.5×11 and nicely fit over the divider tab pages. Ensure they fit over the divider.
4. Sort The Divider Sheets
Sort your divider sheets in the order you want them inside the binder. Assign each one a tab-divider page.

For example, I like the school calendar and events to be the first divider on my binder. So, keep in mind how you would like to organize the pages.

5. Attach the Sheets to The Divider Tabs
For this step, I used an advanced tape glider with a strong bond. But you can use strong bod craft glue, too.
5.1 Add adhesive to the edges

Using the tape runner, run four lines of tape around all four edges on the back of each divider page.
5.2 Align the papers

Align the trimmed sheet with the border of the tab dividers, and press until it’s fully attached.
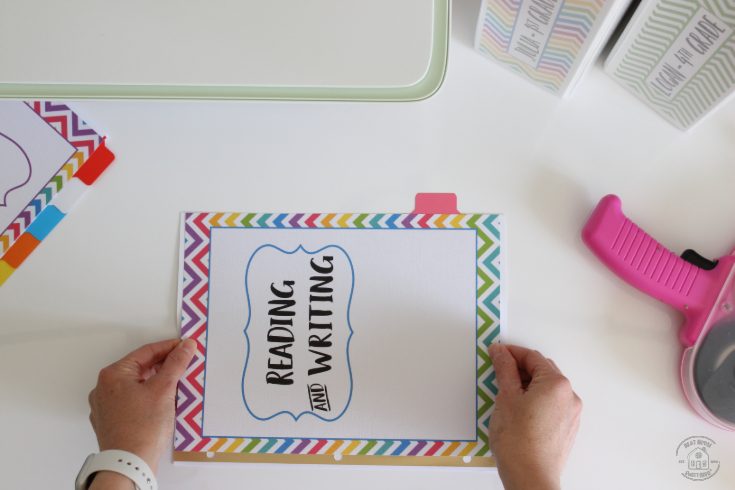
And your custom dividers are done and ready to fill your binder.
I hope this project inspires you to get organized for back to school.
I’m having a really difficult time adding any additional information to the binder printables. I can’t add anything to make it personal. Any help.will truly be approved
Hello Alicia, I am sorry you are having trouble personalizing the binders. Could you please tell me where specifically are you having the trouble?
When you download to your computer, open with adobe reader. You can edit the cover, the memories page, then there are a few examples pages that are non-editable but after Social Studies, there’s a blank cover that reads ‘Any Text’. You can overwrite those words. Same goes for the spines.
Hope this helps, but you can contact me anytime 🙂