One-weekend Garage Transformation
In this post, you will find a few garage organization tips that do not require much effort or money invested, and the results are amazing! Here is how I transformed my garage in one weekend.
A couple of weeks ago, I had the opportunity to work with one of my sponsors featuring a garage organization system. To give you a little insight, there’s a timeline of about 3-4 weeks, from the time you apply for the opportunity to the time you are actually selected (if you are!) for the campaign. So, 6 weeks ago I applied for this opportunity knowing that -if chosen- I would have to meet the deadline two days after returning from vacation. I was pushing my luck, but I applied.
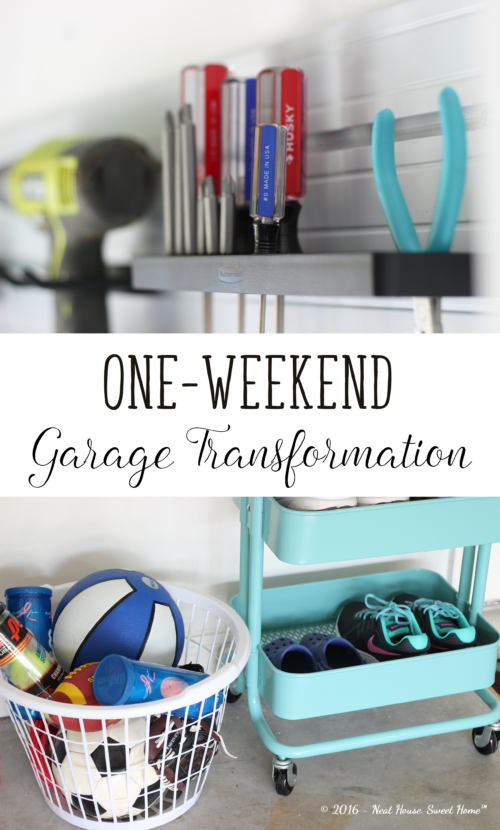
Lo, and behold I was selected! and received the news while I was away with my family. My mind was racing, as I only had 48 hours to complete a decent garage organization. And let me tell you, my garage was a hot mess. But if I was able to turn my garage in -almost- my most favorite place in the house on a weekend, I am sure you can pull it off too.
Here are my garage organization tips, so you too can get your garage cleaned up in a weekend, too.
1. Evaluate Space
This is the step that I like to call ‘Stop & Stare’. As horrible as it was to stare at my garage, I had to evaluate the situation. And the situation was that I could only work with (and organize) one-half of it since the second half is taken over by a hobby table.
I looked at what I could and could not change in terms of space, and imagined my ideal garage organization based on the things I own and the things I and my family do.
My dark secret was two shelving units in the corner, packed up with nothing but clutter. Do not believe that a shelf or a cabinet is going to improve your space, it might just be a temptation to store junk and useless things. It happened to me.
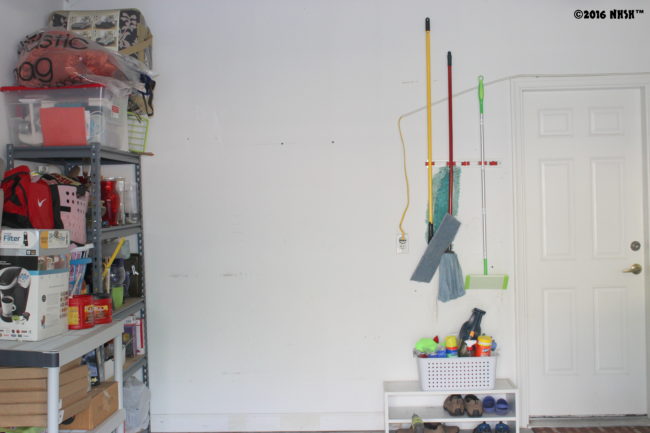
Another area that we evaluated was the back wall, used only to hang brooms and mops. The shelf by the door was my failed attempt to semi-organized shoe rack and household cleaners.
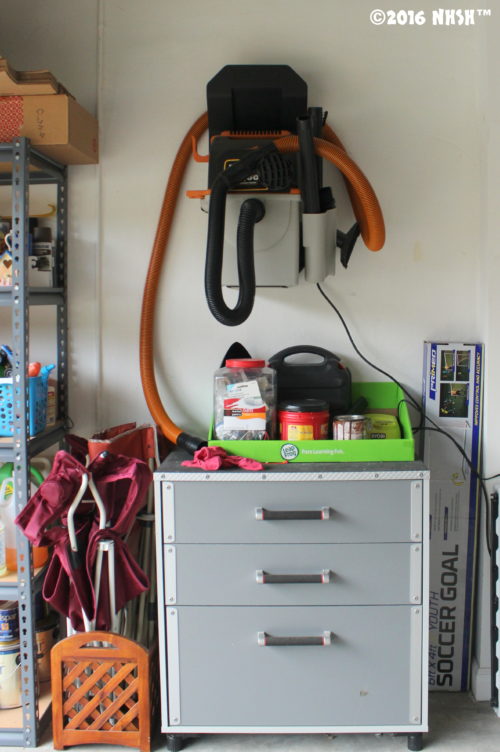
Last but not least, I needed to assess my crafts and hobbies area. This tool bench is such an asset in my garage but the bulky vacuum above it was a turn off when I wanted to use the top to work on my DIY projects. So, it was just another dumping ground.
So, without making a bigger mess, print this guide and:
- Identify your items and sort them into categories: tools, toys, sports, crafts & hobbies, garden, home, cleaning products, etc.
- Decide what you want to keep and what needs to be donated, tossed, recycled or relocated
- Measure and design your ideal and practical space.
2. Use Vertical Space
Once I identified my main problem areas and sorted my things into categories, I measured and installed the two garage organization systems I mentioned at the beginning of the post.
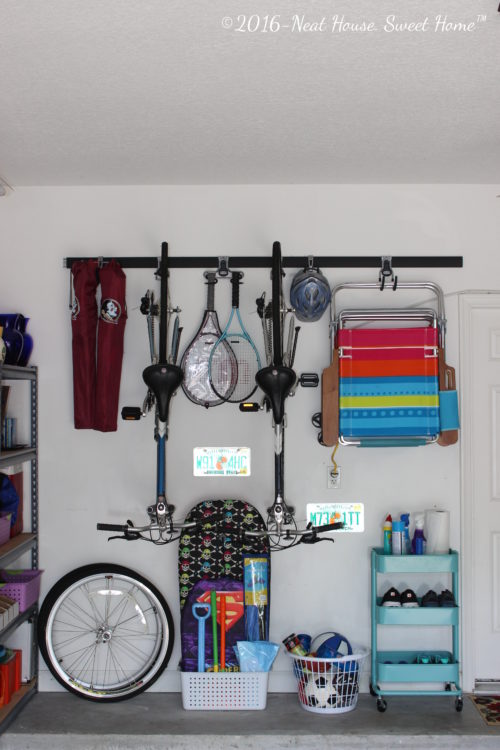
The track system on the wall holds our bikes, lawn chairs, beach chairs and my tennis rackets
I re-purposed the basket where I had my household cleaners and stacked all the pool and beach gear.

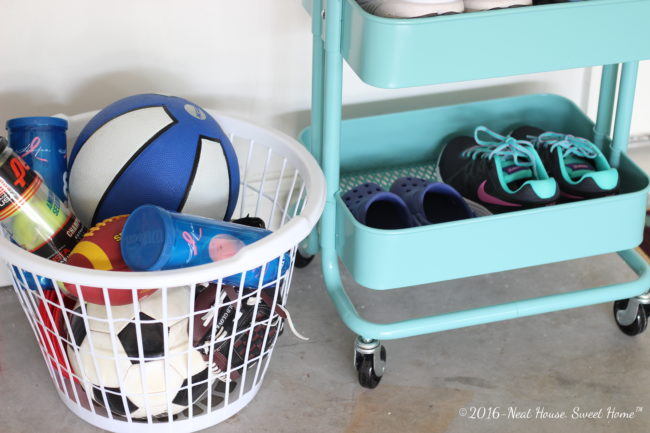
I borrowed my IKEA Raskog cart from my craft room for a more stylish and functional storage for my household cleaners and the shoes. Definitely more stylish than the old shelf.
I had two unused baskets accumulating dust. One holds all kinds of sports balls and the other one (on the shelf) stores coiled extensions cords.

We removed the unused and bulky vacuum off the second wall and installed a FastTrack Wall system.
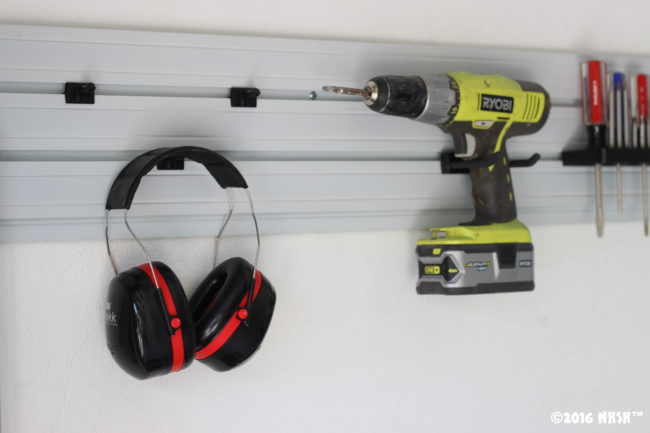
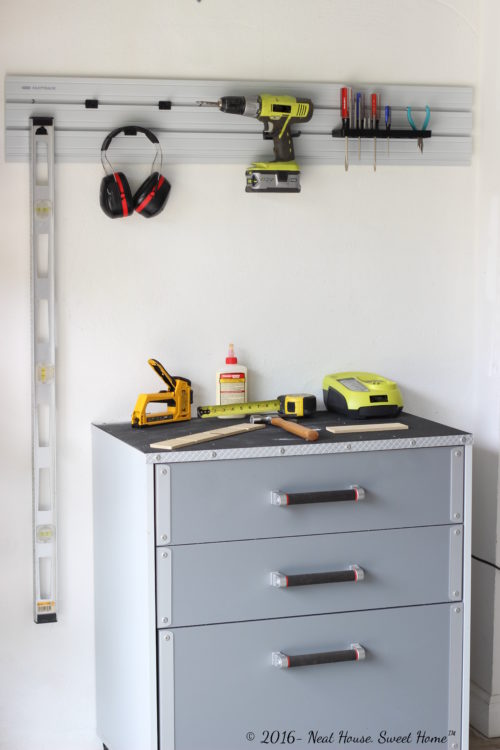
Now that this organization project is out of my way, it feels like many others are falling into place. The fact that I have my tools organized and that the beach and sports gear, as well as the toys, are all in one accessible place, makes a huge difference! What do you think?

Your garage looks fabulous! Our garage really one has enough space for our cars, so we definitely have to make good use of that vertical space. Great tips for garage organization!
Thank you, Celeste! The garage is a dreadful place to organize. But this little project certainly made it easier for me to tackle the job. Thanks for stopping by 🙂