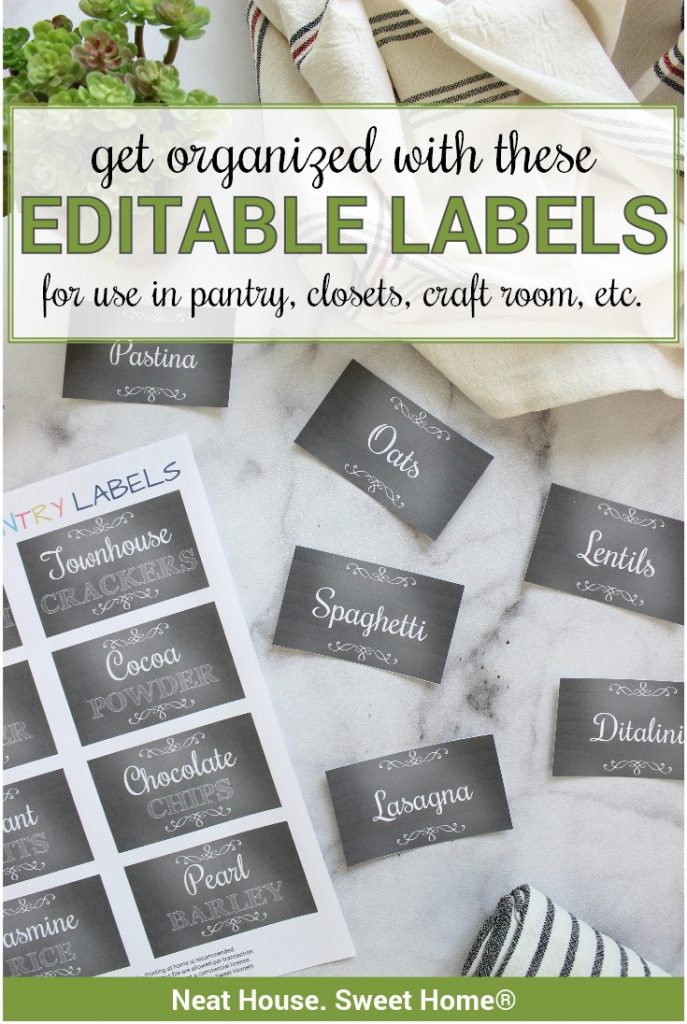
Editable Labels for Organizing Everything
These editable labels are perfect for organizing any area of your home. Ideal for organizing the pantry, playrooms, craft rooms, and more! This post shows you how to edit them using Adobe Reader and guides you through the whole process from start to finish.
Back in 2016, I created three sets of Free Printable Pantry Labels. Since then, thousands of readers have downloaded them. You have probably seen them on Pinterest since this pin has gone viral.
One request I often receive is to make those same labels but in editable form. People love the designs, but they want to be able to type their own words. I get it!
Different families, different needs, different products in the pantry. An editable file would allow them to suit their needs. But also will give them the freedom to use those editable labels for organizing anything in their homes, not only their pantries.
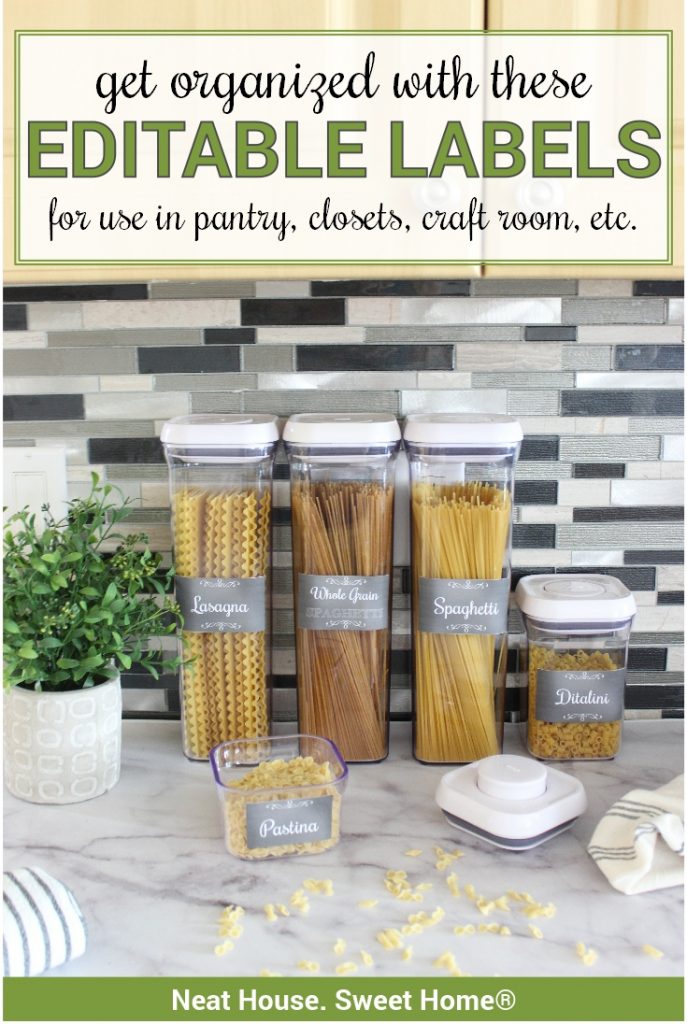
Table of contents
Free Labels versus Editable Labels
For three years, after creating my popular free printable pantry labels, I hesitated to create a file with editable labels. There are many reasons why I didn’t make them editable. First, I was happy to offer a free product, subsequently, I felt uncomfortable asking people to pay for a file with blank labels.
But creating an editable file entails a lot of little details. I won’t bore you with them, but if you are a creator or a graphic designer yourself, you understand that it is not an easy process. So, it makes sense to put a price tag on these home organization labels. After all, it is a product that has unlimited uses!
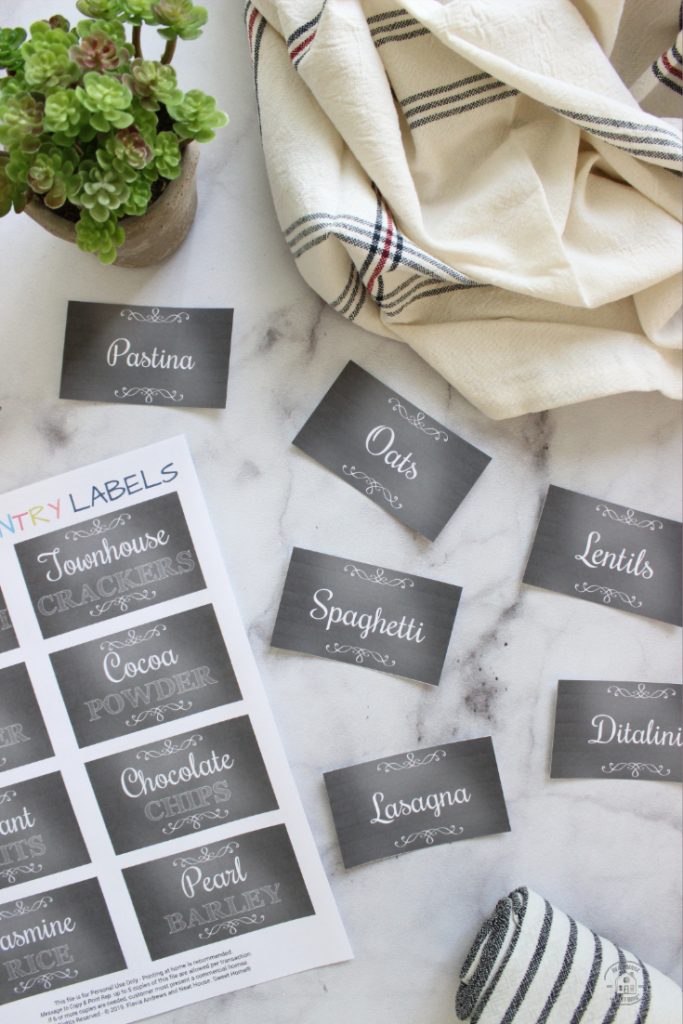
After years of procrastination and mastering my graphic design skills, I finally created the same set of labels but in editable form. They are available in the same design and colors as the original ones everyone loves.
The day has finally arrived, and they are now available for purchase. But before purchasing, you must keep the following information in mind. So read on, please.
Infinite and Unlimited Uses
I love the versatility of these labels. Because of their editable nature, these labels can be used to organize any place in your home. So, do not limit your project to pantry organization.
Use these editable labels to organize your craft room, closets, toys, bathrooms, etc. The sky is the limit! Your home organization projects should be fun, so use these labels to make everything useful and pretty!
Editable Labels: File description
The file consists of a three-page document.
- Terms of Use and Instructions: Above all, an editable file lends itself for multiple uses, so we need to be thorough with our terms of use. They’re simply and clearly stated on page 1. Thank you for abiding by them!
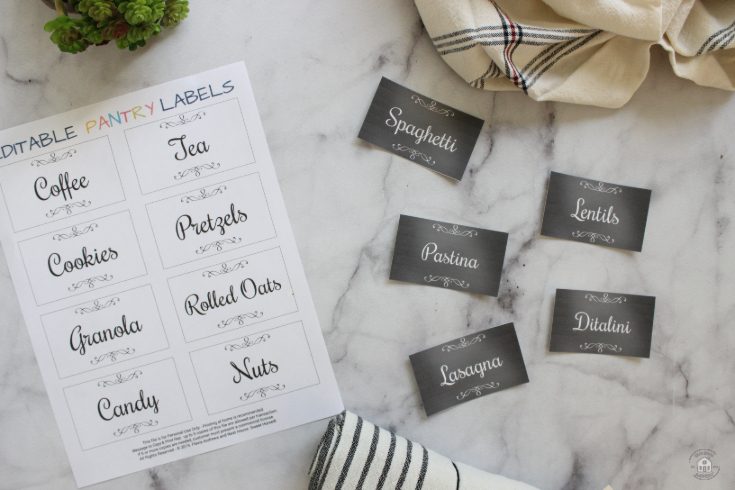
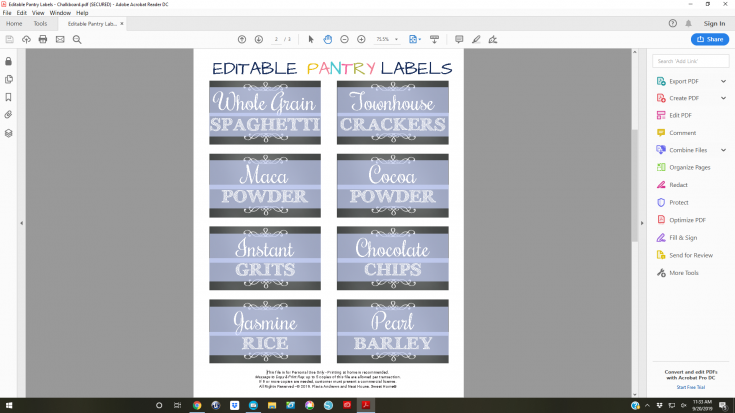
- On page 2, the layout of the labels is the same as the layout on the free version. Each label has two editable fields: the top field defaults in a script font and the bottom field with a type font.
- On page 3, there is only one editable field formatted in script font only.
You can choose to create your labels with one layout or the other. Or use a combination of both as I did for my pantry items. For instance, you can type a two-word label or a single word label.
Using the right Type of EDitable Label
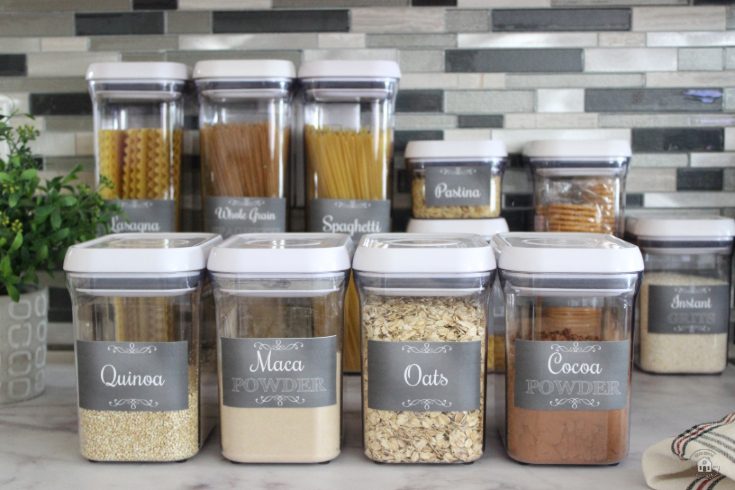
The editable labels on page 2 are recommended for labeling items with 2 (or more) words. You can fit a couple of words in each field. For example, Whole Grain Spaghetti, Cocoa Powder, Wild Rice, Red Quinoa, Almond Flour, etc.
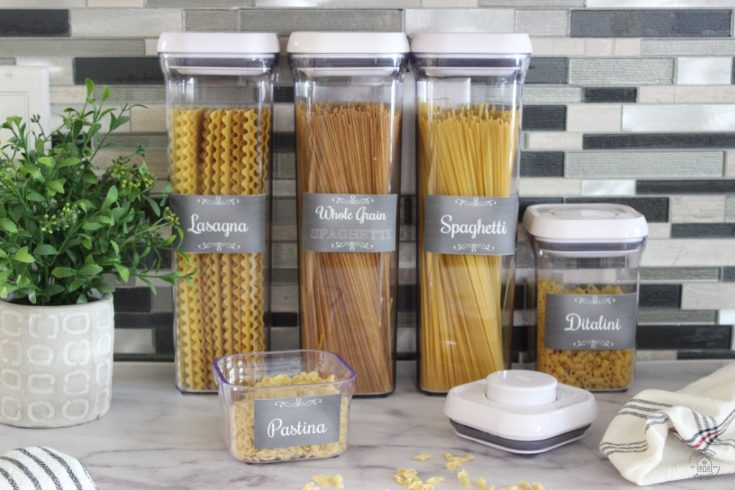
The editable labels on page 3 are recommended for labeling items with a single word, a maximum of 2. For instance, for your pantry organization, you can use: Spaghetti, Lasagna, Pastina, Sugar, Chocolate, Pretzels, Cereal, Granola, etc.
The beauty of these printable labels is that you can use either page to suit your needs. However, keep in mind that the more characters you type in the field, the smaller the word will become.
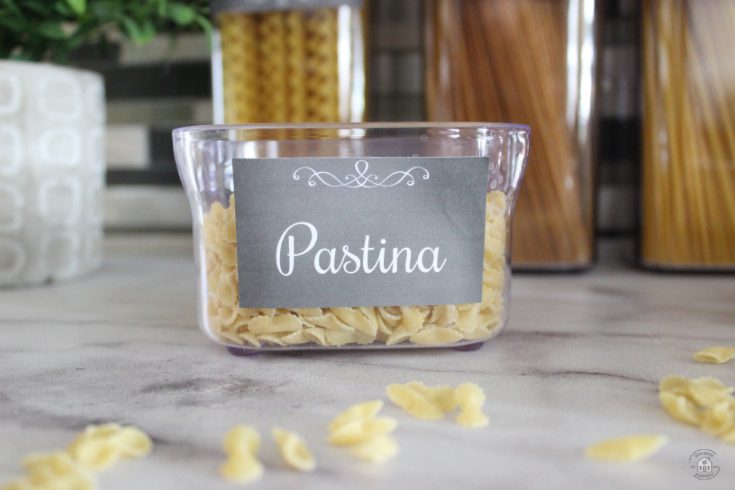
The fields extend all the way to the edges of the tags. If your word is short and looks too big, hit the space bar until the word reduces to the size you prefer.
Important: when adding spaces in the field, the document ‘assumes’ you are typing invisible characters. That’s what makes the font reduce in size and adjust to the field. You will see that a plus (+) symbol appears on your printed tag. Trim the edges accordingly. I left a large margin, purposedly. At this time, there’s no way around it. However, the plus symbol will only appear if you use several ‘space’ characters.
This post contains affiliate links for your convenience. For more information, please read my Affiliates Disclosure.
How to make and Print your Labels for Organizing
Now, let’s get to the nitty and gritty of how to use this file so you can print your beautiful labels and organize your home.
First and foremost, if you want your tags to look exactly like the ones you see in the pictures, you need to have the same fonts installed on your computer.
I searched for a font combo that would be both free to download and free for commercial use. Therefore, I won’t get in trouble for selling the file using these fonts, and my end customer does not need to pay to download them to their computer. Win, win.
Note: the free version of these labels uses the paid font, Samantha; therefore, I replaced it with a similar, but free, font.
Step 1. Download and Install the Fonts
Download and install these free fonts on your computer:
- Script font: Rochester
- Type font: Archistico
Here are instructions on how to install fonts on a PC or Mac.
Step 2. Open the file
After installing the fonts on your computer, open the editable label files using Adobe Acrobat Reader. Most computers have this FREE software pre-installed, but if you do not have it installed on your computer, I recommend you download it and install it as well.
Adobe Acrobat Reader is the leading software for reading and editing PDF documents. It is free to download, and it is the only software I would recommend using to create your labels.
Note: you DO NOT NEED Adobe Acrobat Pro to use my file. The free version is all you need.
When you open the file, it should load and look like in the pictures below. These are the contents of each page:
- 1: Terms of Use and Instructions
- 2: Labels with 2 fields.
- 3: Labels with 1 field.

Step 3. Start Typing Your Labels
Place your cursor on the first label (either page you’d like to start with) and overwrite the words you see. If you have successfully installed the fonts on your computer, this step should be very easy. Use the TAB key on your keyboard to jump from one field to the next.
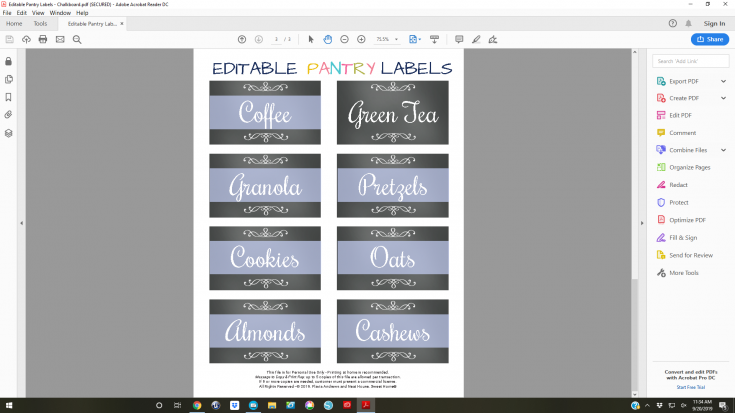
Remember: The fields extend to the edges of the tags. If your word is short and looks too big, touch the space bar until the name reduces to the size that you prefer.
Save the file to your computer as soon as you have typed your labels (or during the process). You can always overwrite the labels. However, if you want to keep copies of each set of labels, use the function ‘Save As’ with a different name each time.
Step 4. Print and cut Your Labels
After saving the file you will need:
- Printer. Inkjet or laser, it doesn’t matter, as long as the label paper you use is compatible with your printer.
- Waterproof sticker paper, US Letter size. The paper must be a full-page label or a full-page sticker.
- Scissors, or a paper trimmer.
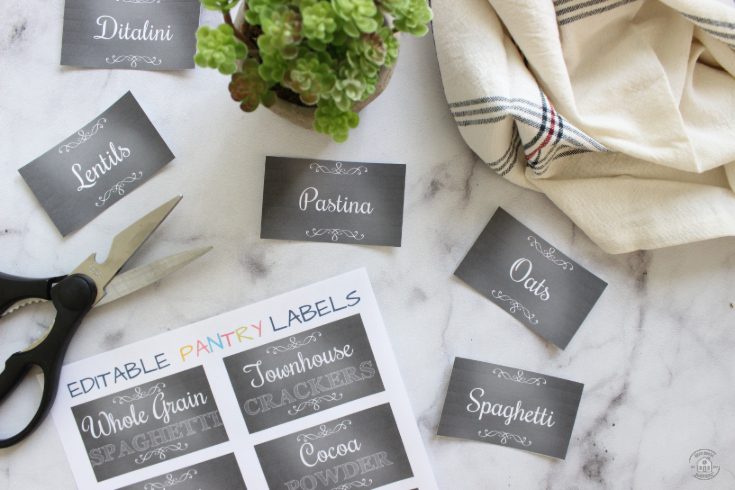
Once again, before purchasing, check if the label paper is compatible with your type of printer. Some papers work with both types of printers (laser or inkjet), some others just for one type or the other.
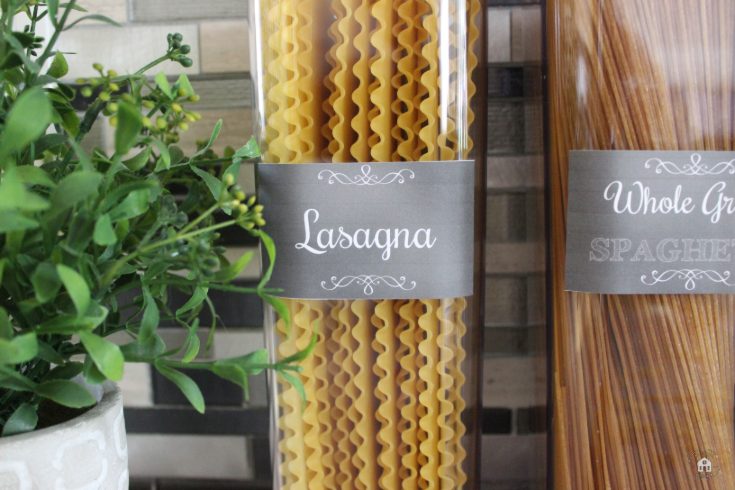
Also, I suggest waterproof sticker paper to guarantee the longevity of the labels and also for easy maintenance. Waterproof labels allow you to wash the canisters or containers without ruining the label.
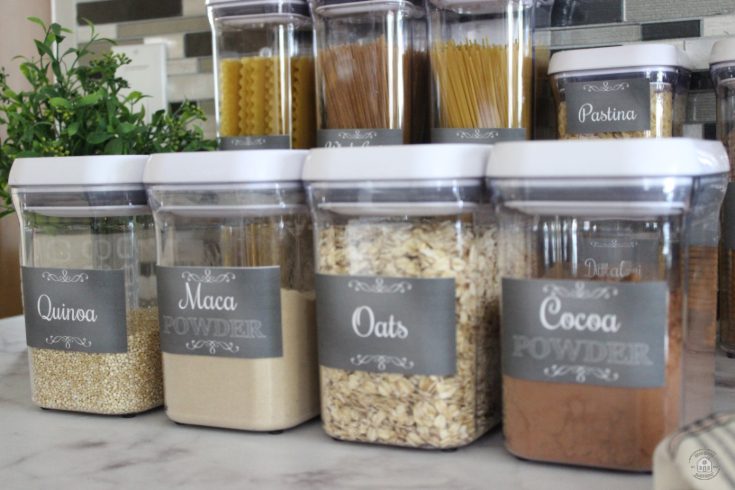
Love them?
