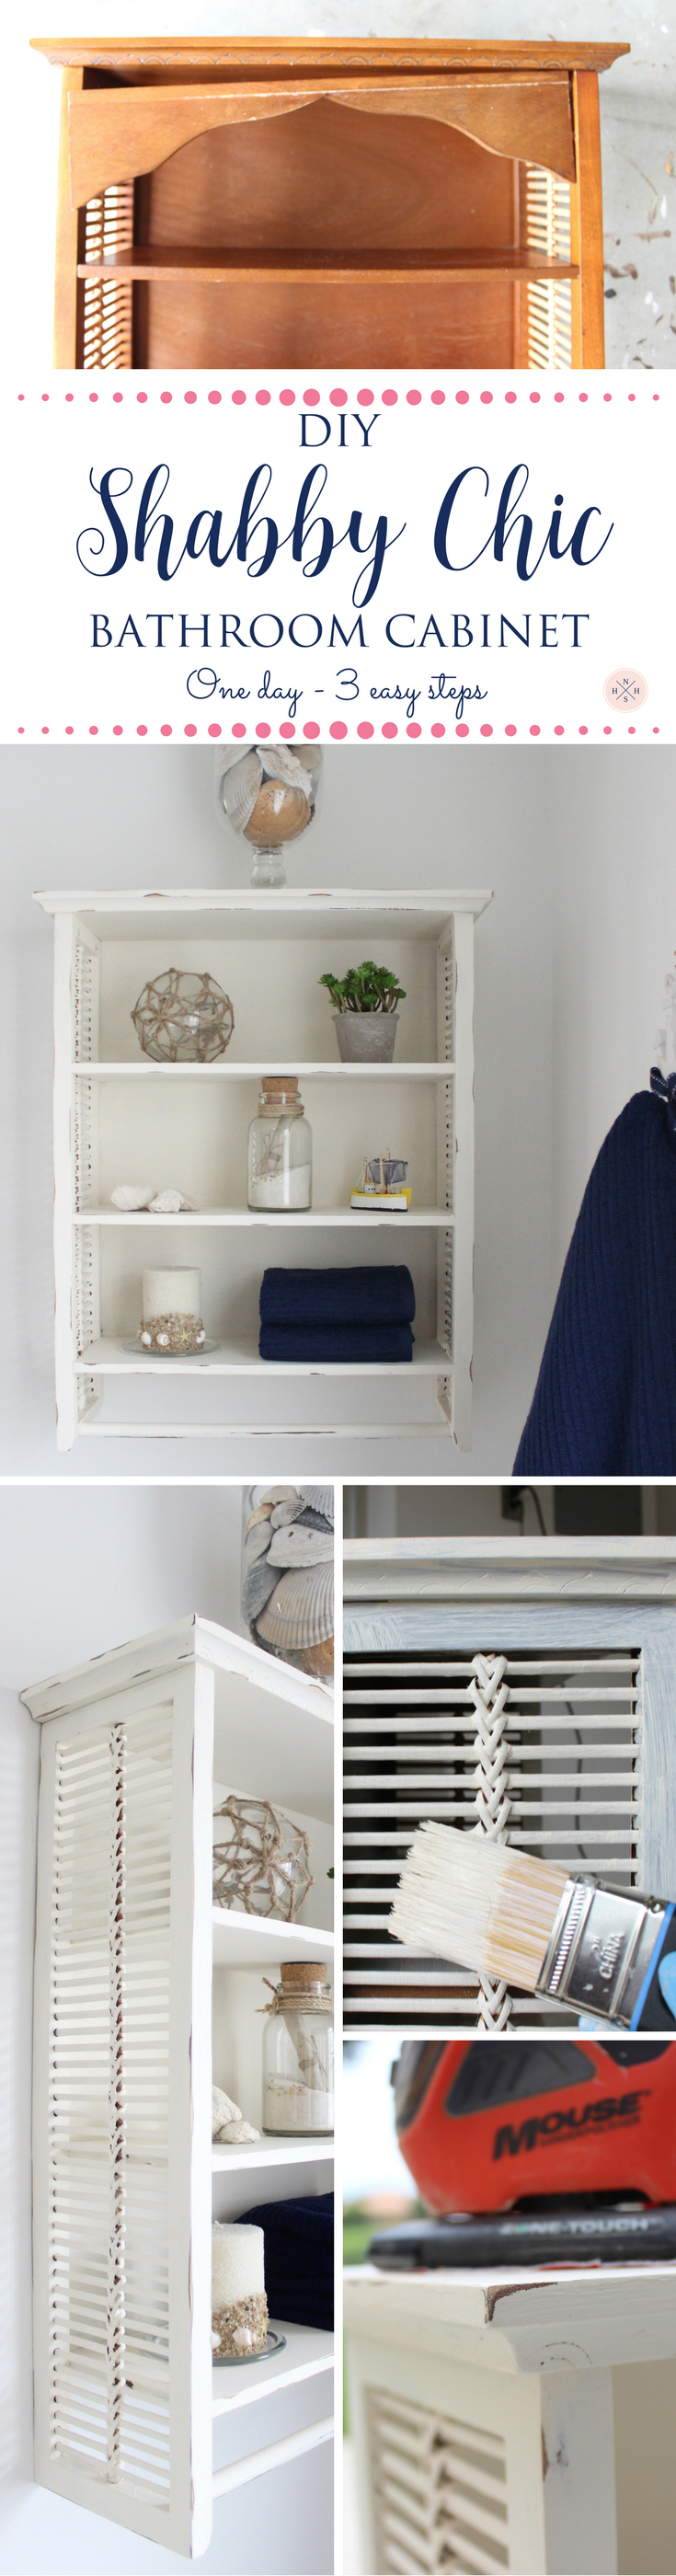
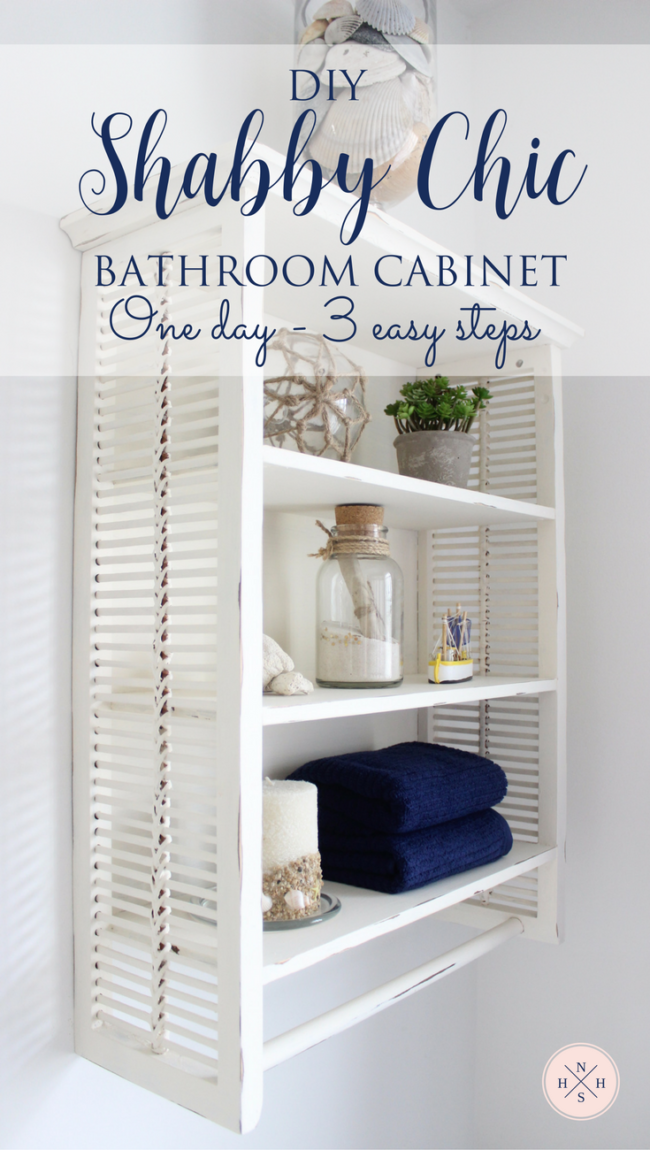
DIY Shabby Chic Bathroom Cabinet
Grab an old cabinet you already own -or shop for a used one- and follow this tutorial to transform it into a Shabby Chic piece. Here is a tutorial of my DIY Shabby Chic bathroom cabinet, and you too can pull it off in 3 easy steps.
Shabby Chic is one of my favorite decor styles (surprise!). I love the laid back feeling of white furniture and worn out tables. I dream of my retirement home, somewhere on a beach, with handpainted scruffy chairs on a deck, a basket full of flip flops, and sand and seashells everywhere you look. A couple of weeks ago, I published my post: Cottage Chic Shared Guest Bathroom Makeover, and it all started with this quick and easy DIY shabby chic cabinet.
Would you like to save this?
Tools and Materials
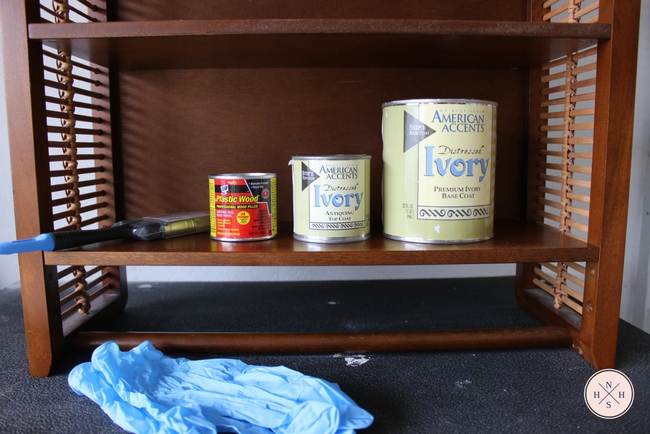
Below is a list of tools and materials you will need for a DIY shabby chic bathroom cabinet.
- Old bathroom wall cabinet (0r any other piece you’d like to distress)
- Distressed Ivory Paint Kit – this kit is amazing! It is an all-inclusive kit, contains base coat, top coat, sanding pad, brush, gloves and a decorating idea book.
- Paint brush – not necessary if you purchase the kit mentioned above.
- Palm sander – to prep for paint, and to distress the paint if you’re not using the kit mentioned above
- Sandpaper – this is a kit that I truly recommend because it comes with a selection of 3 types of grits (50,80,120,220 each) that every DIYer needs in stock. I used 220 grit for my project.
- Wood filler – this is optional if the piece requires touch ups.
How to Make a Cabinet Look Shabby Chic
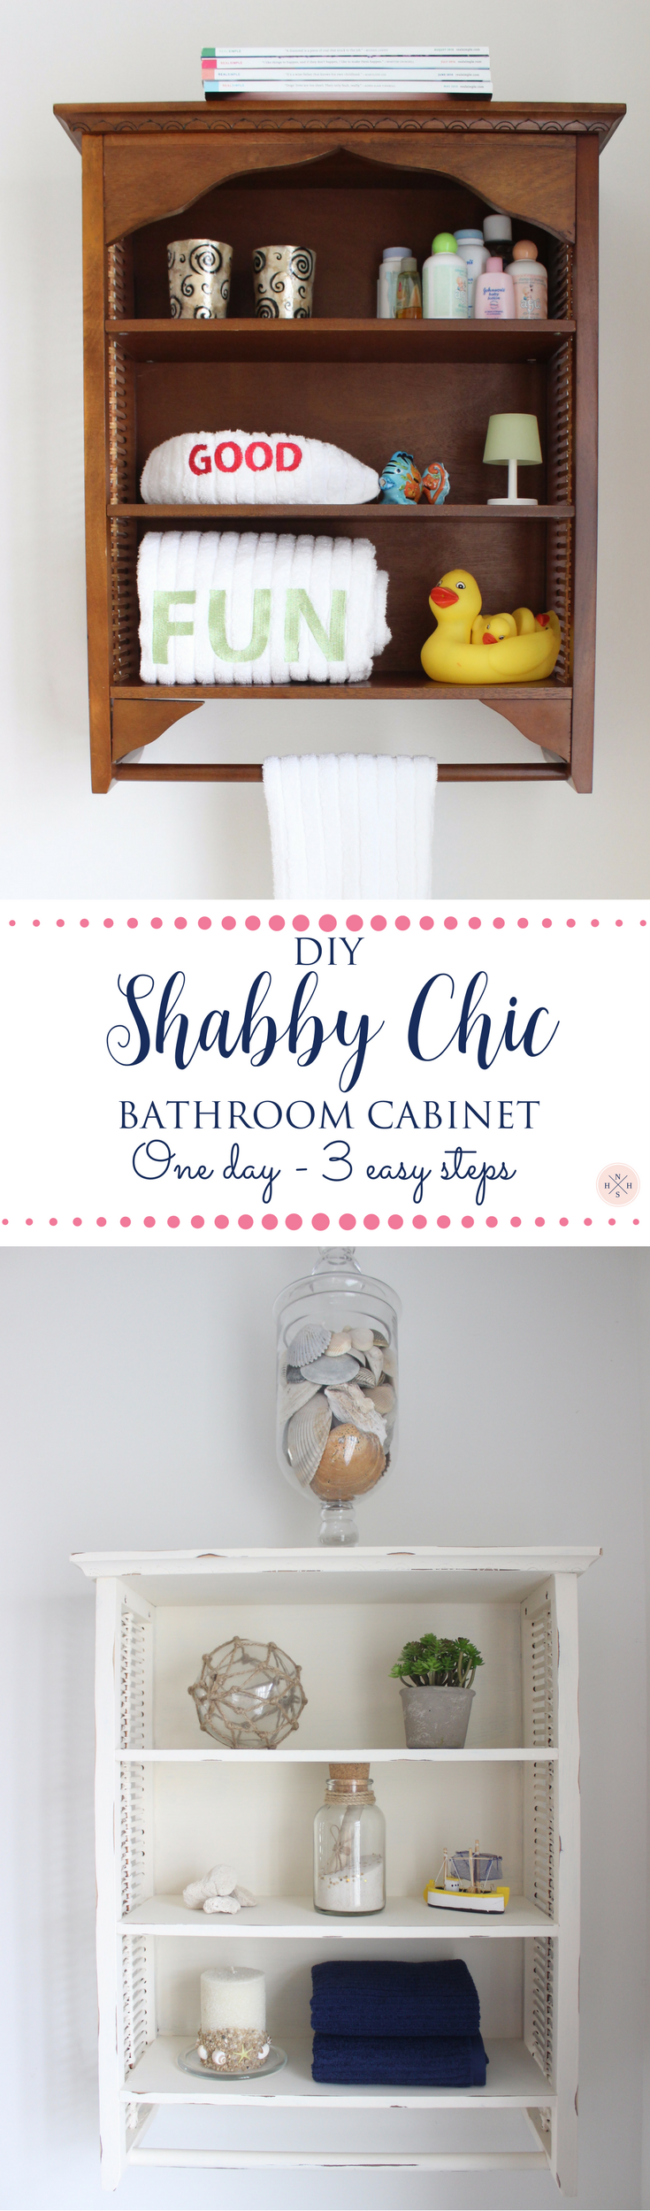
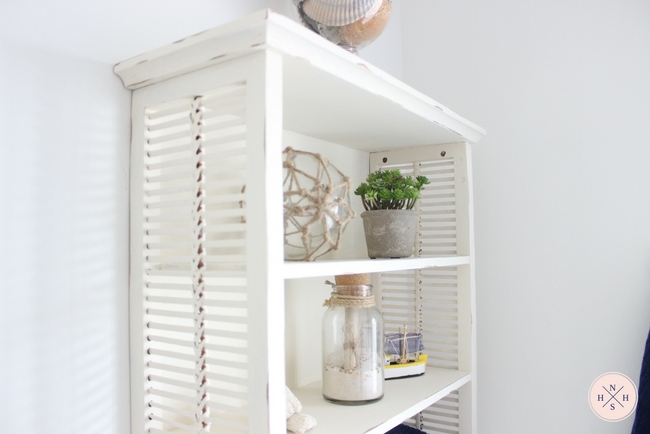
My old cabinet design had a beachy feel with slats on the sides made of soft wood. However, it had a couple of extra pieces that gave it a Middle Eastern look…and a disarrayed assortment of knick-knacks from towels to a family of rubber duckies and baby products.
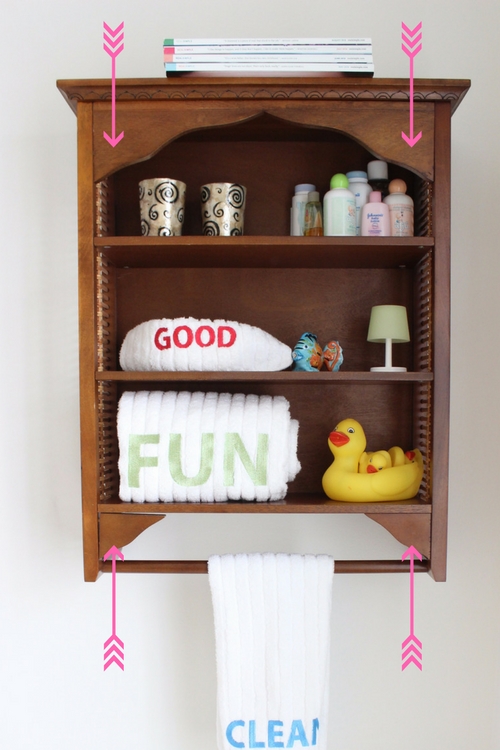
Step 1: Prepping the Surface
The first step to take to make this shabby chic cabinet is to prep the surface. Clean the surface with a mild multi-surface cleaner (I like to use Pledge Naturals), fix cosmetic imperfections with wood filler, and sand down rough areas until the surface is clean and smooth, ready for paint.

In my case, I had to remove three pieces and fill in the holes. I had to force the pieces out with a hammer otherwise, I would have had to take the whole unit apart. I filled in the holes with the wood filler and sanded down the excess with the palm sander.

2. Clean and Paint
Before applying the first coat of paint, make sure that all dust has been removed and the cabinet’s surface is completely smooth and clean, ready for paint.
Proceed to apply the first coat of paint all over the surface, reaching in every nook and cranny as possible. Painting the slats on the side of the cabinet, was a breeze.
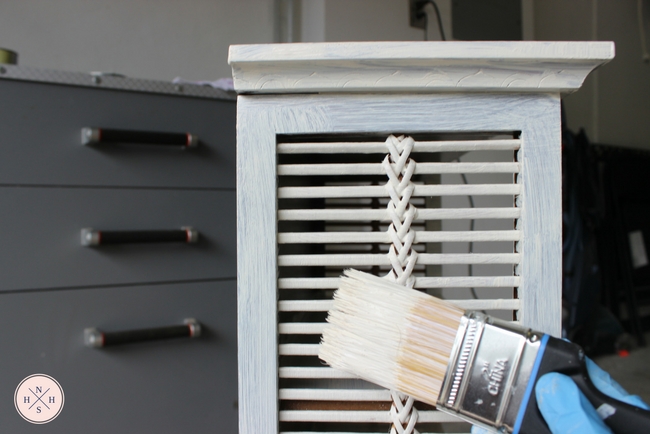
Do not stress trying to make perfect strokes to cover the surface in one smooth layer. The first coat of paint, especially light colors over dark surfaces, looks always less than perfect. And you will see later on that, that is the beauty of a shabby chic piece.
Below is the cabinet after the first coat of paint.
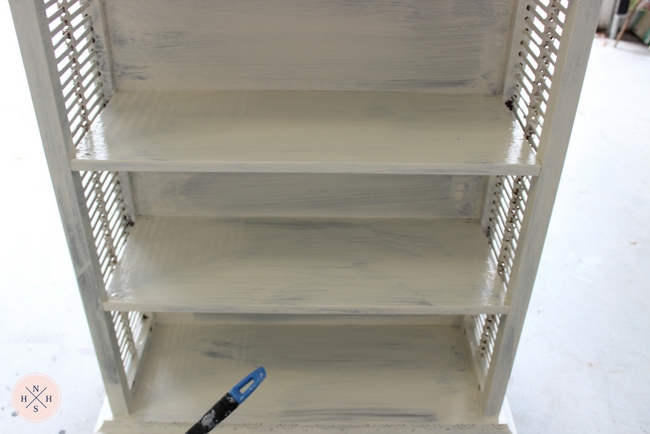
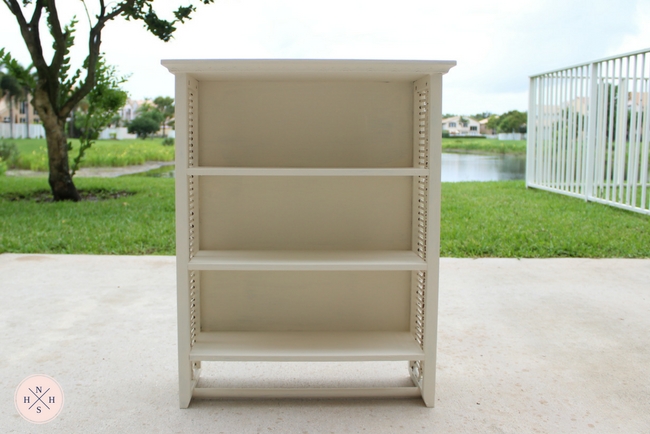
And below is the cabinet, after the second -and last- coat of paint. There are some imperfections and lighter areas, but I am ok with that.
Take a close look at the sides of the piece. There are paint runs and blotchy areas, but I think that adds a lot of shabby chic charm to the cabinet.
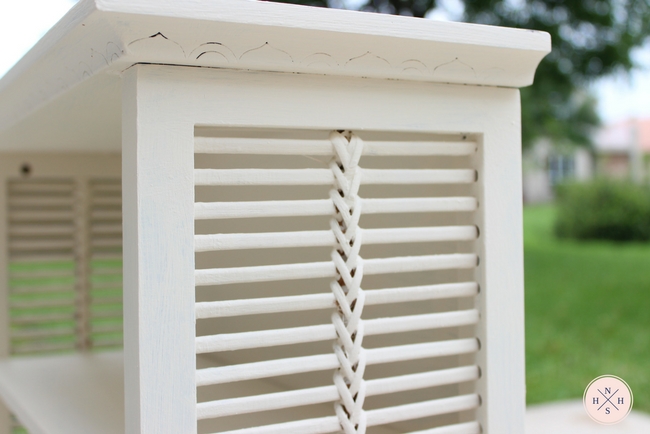
The side slats were really easy to paint. I used a small detail brush to paint the intricate design in the center (knotted) piece since it was hard to reach with the regular paint brush.
[su_note note_color=”#fadcd5″]Tip for the DIYer: a kit with assorted paint brushes of all kind and sizes, always comes in handy for any type of DIY projects.[/su_note]

[bctt tweet=”It doesn’t have to be perfect to be beautiful.” username=”flaviablogger”]
3. Distressing the Cabinet
The third and last step will be adding finishing touches to make the cabinet look shabby and chic.
If you are using the Distressed Ivory Paint Kit, the next step will be to sand the edges of the piece with the sanding pad included in the box, to create scuff marks on the cabinet. Basically, you would be sanding down the paint in some areas of the piece to make it look old and, well, shabby.
Since I have used this paint kit before in a few other projects, the sanding pad was worn out and I threw it out. This is why I used a palm sander with a 220 grit sandpaper.
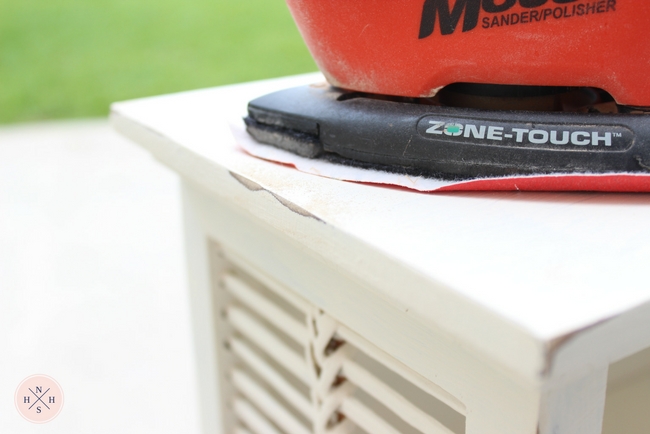
I personally prefer the palm sander over the included sanding pad, because I can pick the roughness of the sandpaper. Depending on how deep in the paint you want to leave the scuff marks, you will make more or less pressure on the cabinet.
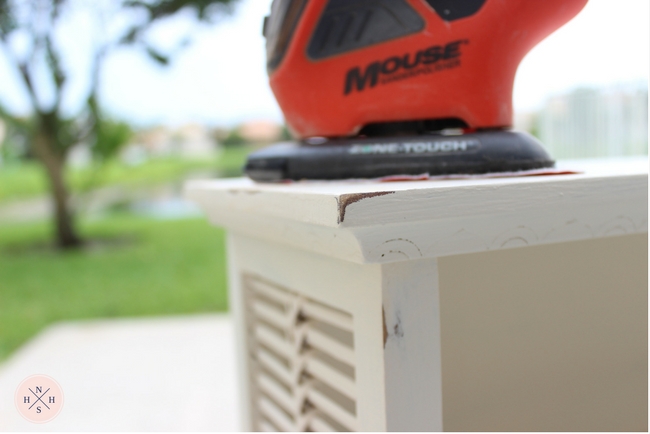
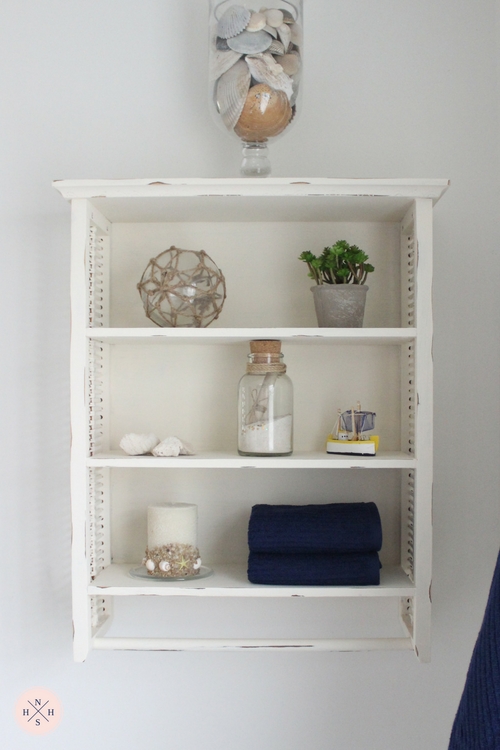
I sanded corners and edges until the original finish could be seen through. The effect you see in these pictures is exactly what you want to make your DIY shabby chic bathroom cabinet look like it is really old and worn out.
After sanding the piece in all the different areas you would like, dust the piece off, step back and take a look at it. Although there is no right or wrong when distressing a piece of furniture, you do want to have some balance. Meaning, make random scuff marks on the piece but space them out so it looks natural.
Don’t overdo one side and do nothing on the other, that would make the piece look like it fell and got damaged as opposed to the worn-out, old and vintage look shabby chic pieces have.
Optional: Apply Top Coat
After distressing with the sandpaper, I wiped my cabinet off and hung it back in place. But you certainly can go one step further and apply a top coat.
The kit I have mentioned throughout the post comes with an antique glaze that can be rubbed on the piece and quickly be wiped off to leave a slight coat with warm brown tone to it. The glaze actually protects the piece from chipping and gives the surface a satin finish. It also enhances the vintage look.
I personally chose NOT to use it, because I wanted my cabinet to stay as off-white as possible to match the existing cabinets in the bathroom.
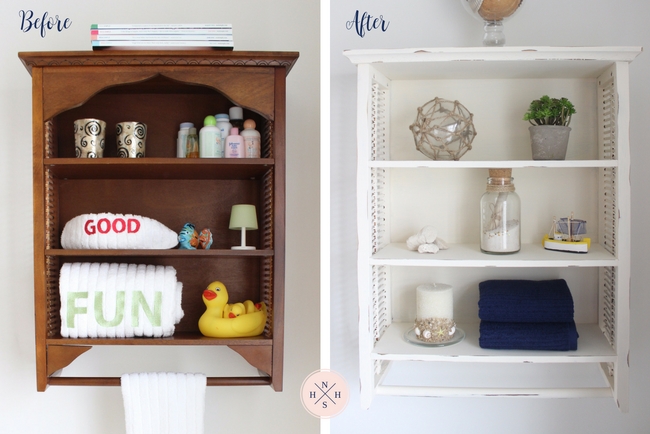
Here is a before and after comparison.
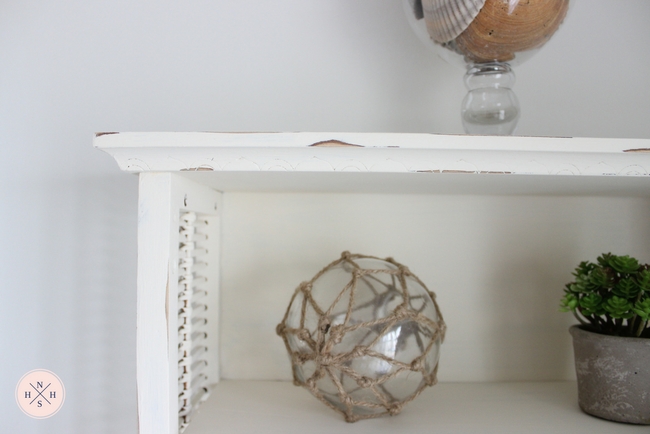
A closer look at the distressed corners and edges.

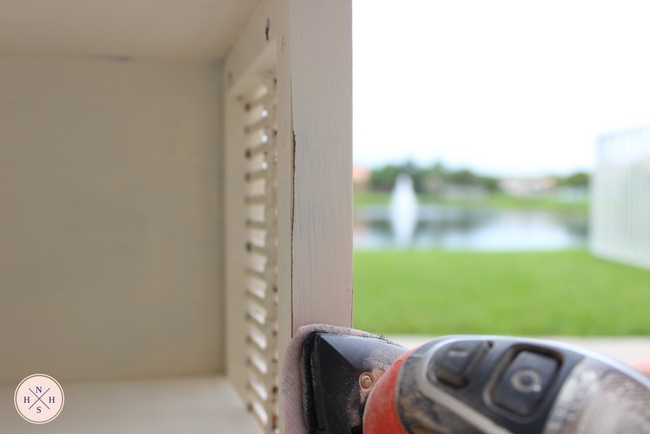
Notice the distressed finish on the dowel.

Gorgeous! I love how quick and easy this bathroom cabinet renovation was. If you want to see more of this cabinet and bathroom, head over to Cottage Chic Shared Guest Bathroom Makeover, I share all my tips on pulling off a cottage chic and nautical decor on a small budget.
Below are some pinnable images for you save in your favorites 🙂
Happy DIY’ing,