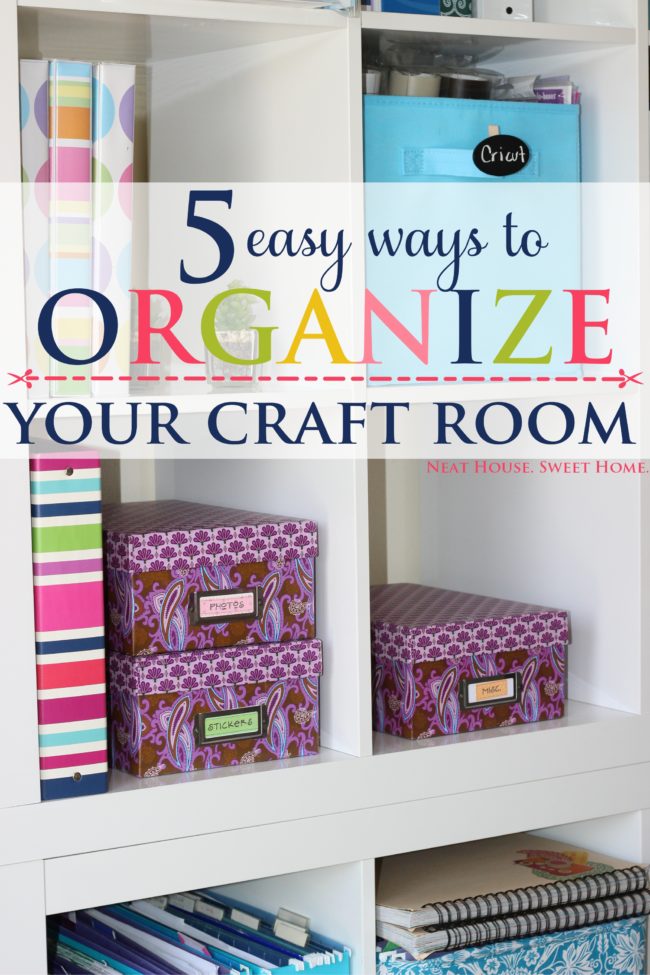
5 Easy Craft Room Organization Tips
For some, a desk, a laptop, and a filing cabinet is all they need to get the job done. I need more than that to get anything accomplished.
My home office is also a workroom, so I call it my studio. Here is where I run my Etsy business, from managing orders on the computer, to processing and shipping. I also run my husband’s business matters, our household’s bills, records, etc. and last but not least, my writing and blogging endeavors.
So it comes as no surprise that keeping up with my studio and craft room organization, is vital in order for me to get any job done. If I can’t find a tool, a book or a note, I can’t get the project done promptly, and my deadlines are crucial.
Below are 5 quick (and easy to copy!) craft room organization tips.
Would you like to save this?
1. Easy Access To Cricut Cartridges
I own a fair amount of Cricut cartridges, but I only use a few to cut the shapes I need to make some of my products listed in my Etsy shop. If you are not familiar with what I do, I design handcrafted decorations for birthday parties, baby showers, bridal showers, and weddings. You can check out my shop here.
There is a variety of storage boxes on the market designed to hold Cricut cartridges, but since I only use a few daily, and I am constantly changing them, I came up with this system which provides me easy access to them without having to dig into a box or a drawer.
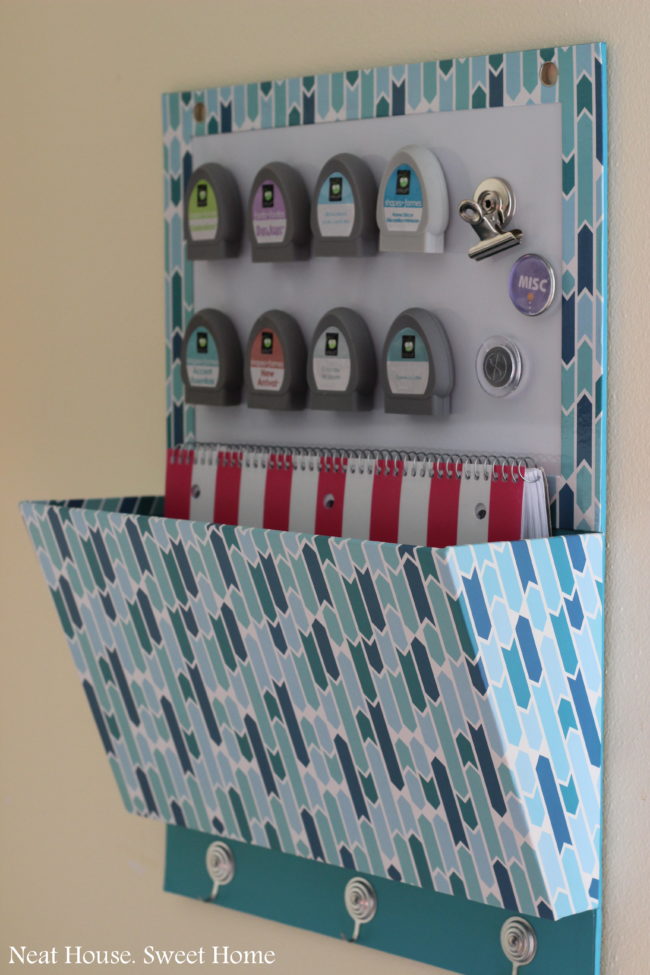
I purchased this dry erase and magnetic board/mail holder at Target a couple of years ago, with the intention to use the board for quick notes. But when I got tired of getting the Cricut cartridges in and out of their boxes (and sometimes having them scattered over the desk), I had a ‘lightbulb moment’ and did this.
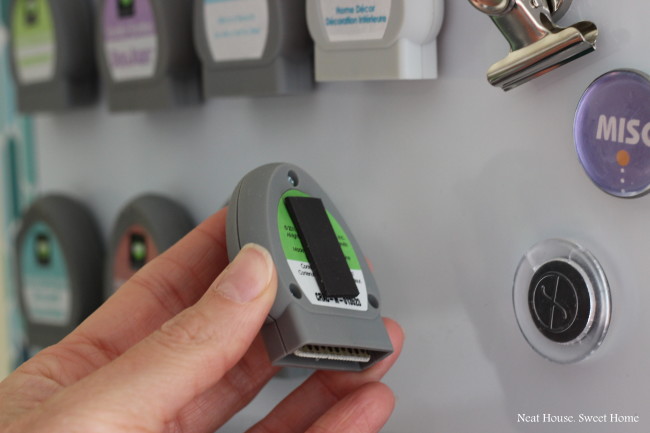
I simply cut a short piece of magnetic tape, and attached it to the back of each cartridge with hot glue. The magnetic tape is actually adhesive, but the adhesive is not strong enough to hold the weight of the cartridge so I glued it with a hot glue gun. As a bonus, the hot glue dot peels off easy from the cartridge without damaging it. I keep the boxes and manuals (and all other cartridges in their original boxes, too) inside a drawer. Whenever I need a quick reference, I pull out the manual needed, even though, I do not make complicated designs.
2. Ink and Stamps Storage
I have accumulated quite a few rubber stamps and ink since I started scrapbooking in 2008. However, I rarely use them for my business, but I still want to keep them organized, handy, and in good working order.
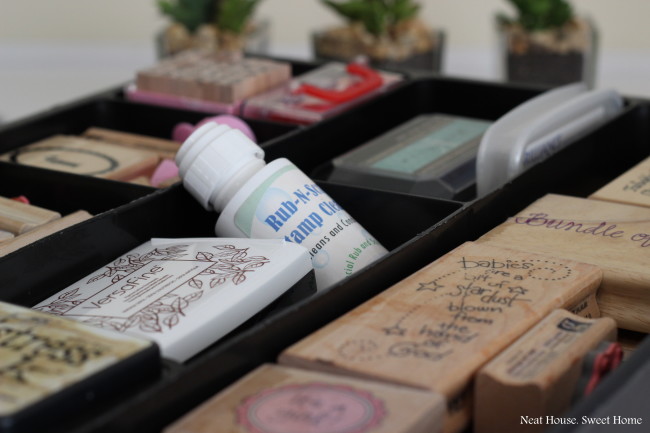
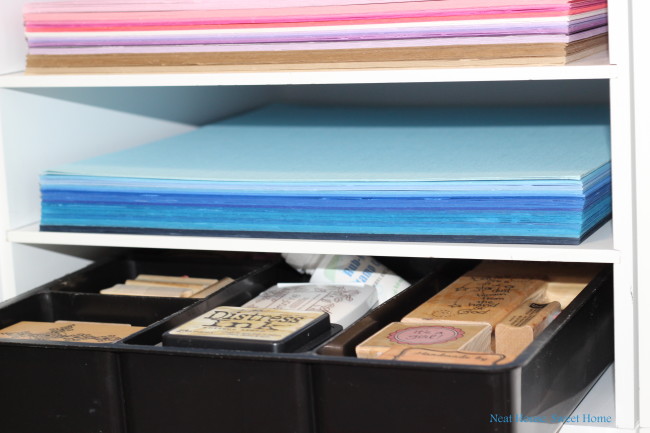
I used to keep them inside a photo box, but when the collection got bigger, they became hard to access. I transferred them to a drawer organizer I had leftover from my junk drawer organization project.
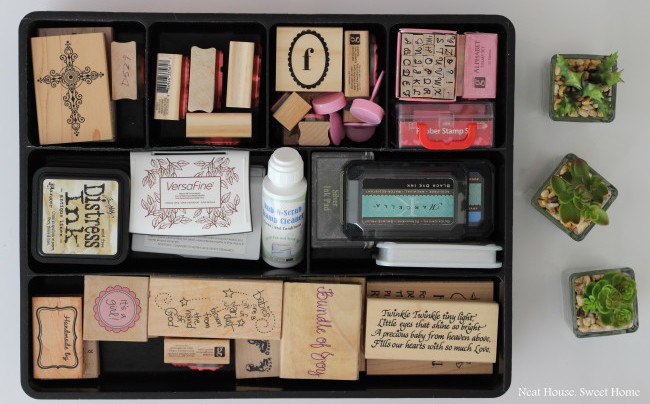
This drawer organizer wasn’t working too well in the junk drawer, but it is a perfect fit for my rubber stamps and inks collection and, it slides in and out of a shelf with ease. The only thing I would change is the color, but I can live with it for now.
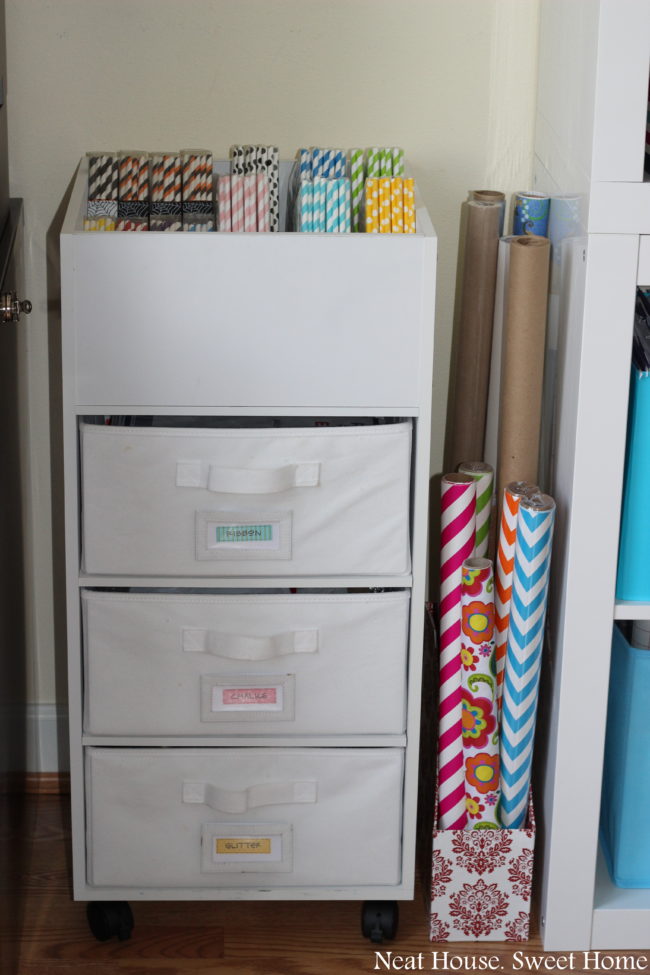
3. Containing Rolls of Wrapping Paper
Of all things you have to store in a craft room, I think that storing rolls of wrapping paper (opened or unopened) is the. most. annoying. thing. ever! It unrolls, it rips, it tips over… it is horrible!. I fought this battle for months. I am sure you have seen on Pinterest plenty of clever methods for storing wrapping paper. Like the upside down kitchen stool or the shoe organizer hanging on a closet door. But none of those methods worked for my space.
I tried using the wastebasket system, but it was too big for the space I had, and the basket was too small to hold the rolls. So, I looked once again at the teeny tiny space and I had another ‘lightbulb moment’.
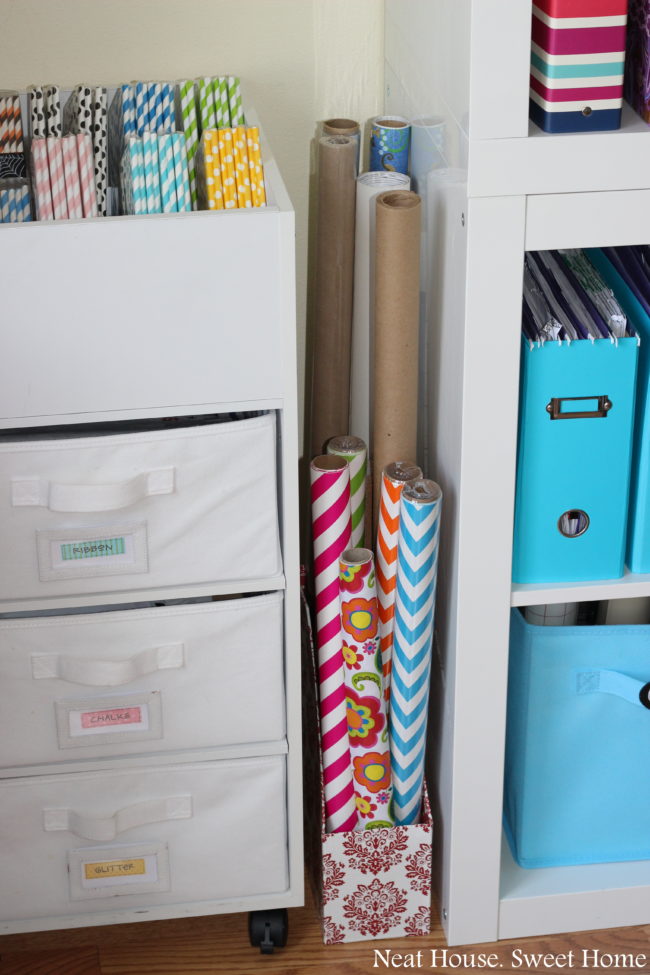
I have seen magazine holders storing hair styling tools in the bathroom, tin foil and cling wrap in the kitchen, food in the freezer and cans in the pantry. But, I have not. seen. this. Finally, instead of saying: ‘Why didn’t think of that?’, I can honestly say:
I thought of that! 😉
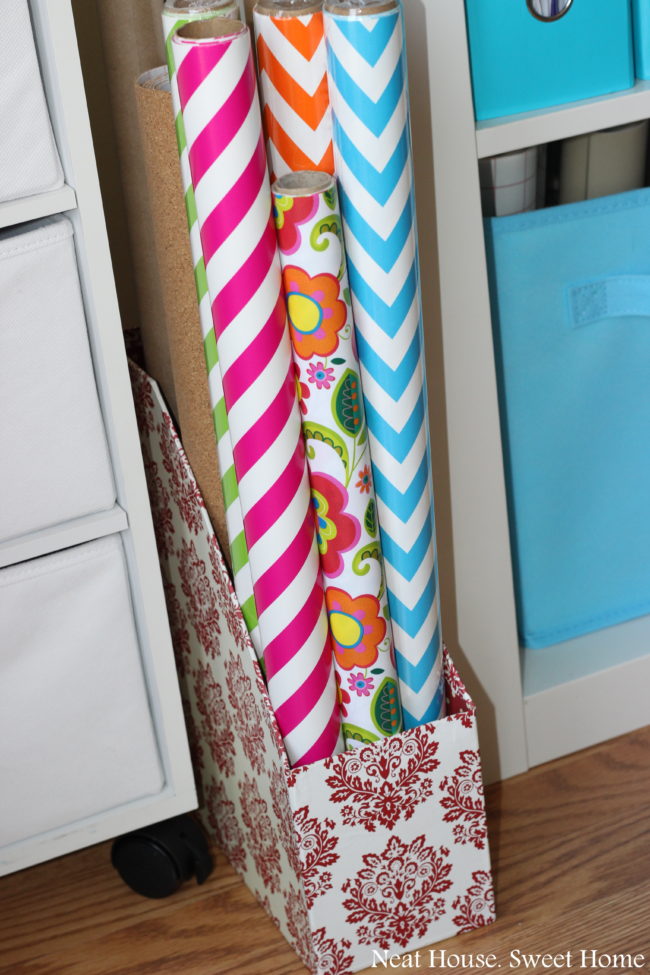
Perfection! I am using every inch of space in my studio wisely. Notice how small of a space I had to work with!
[clickToTweet tweet=”Storing gift wrap was the most annoying thing ever! Until this happened…#craftsorganization #homeorganization ” quote=”Storing gift wrap was the most annoying thing ever! Until this happened… “]
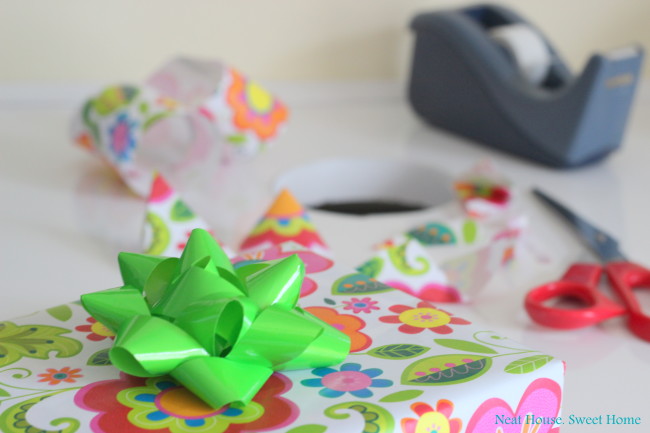
4. Easy Desk Cleanup
Three years ago, our home office was fully renovated and turned into my current studio. We ripped carpet, painted walls, replaced all furnishings and built a custom countertop. I have an old post here that I wrote when I revealed it in 2012.
Many things have changed around here since then, but the one and only thing I would never change is my built-in countertop trash chute!
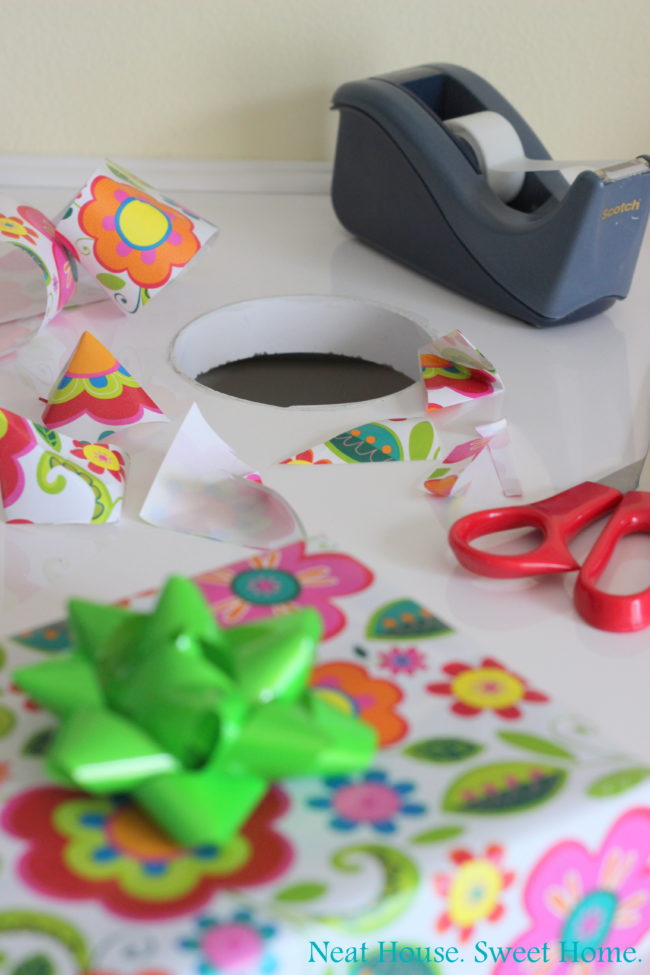
Funny how the idea came to mind. Before, I used to work on a regular desk that had holes cut-out on the top. The ones that are designed to hide computer cables. Our son, who was 22 months at the time, decided that it was fun to drop his toys into the hole. To retrieve them, I had to remove the drawers to access the back of the desk. They were all falling inside an empty box.
Instead of getting annoyed, I thought it was very convenient to drop my paper clippings too, as I was ‘mass producing’ lots of paper trash with every Etsy order I fulfilled. Win/Win.
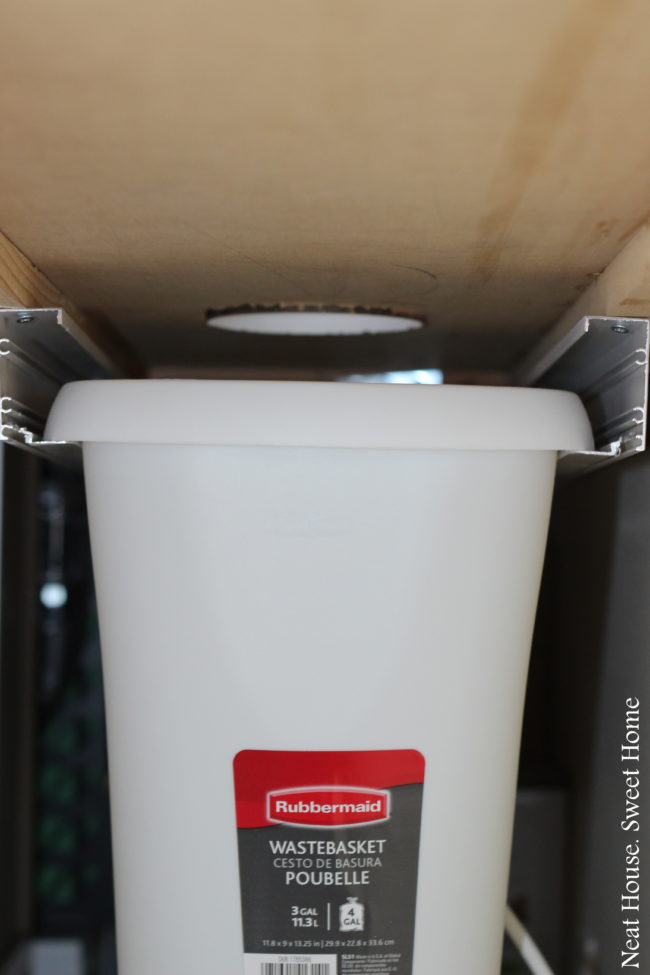
Once the new countertop was in, we cut out the hole in the desired spot on the counter, under-mounted two pieces of aluminum U channel (find it at your local Home Depot by that name) and then slide a trash can.
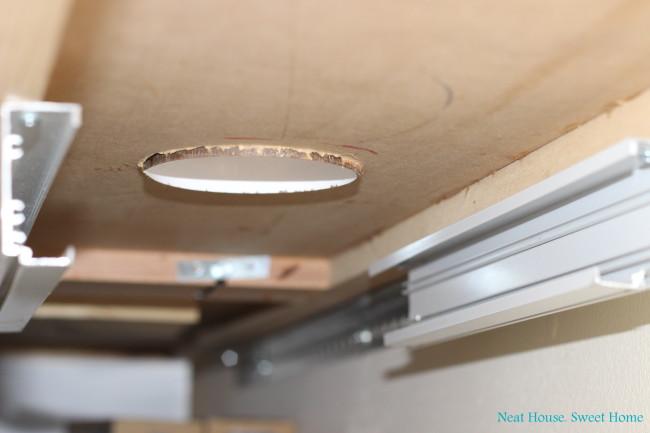
You can skip the rails altogether and just put a trash can on the floor right under the cut-out hole.
Wrapping presents, especially around Christmas time, is a breeze!
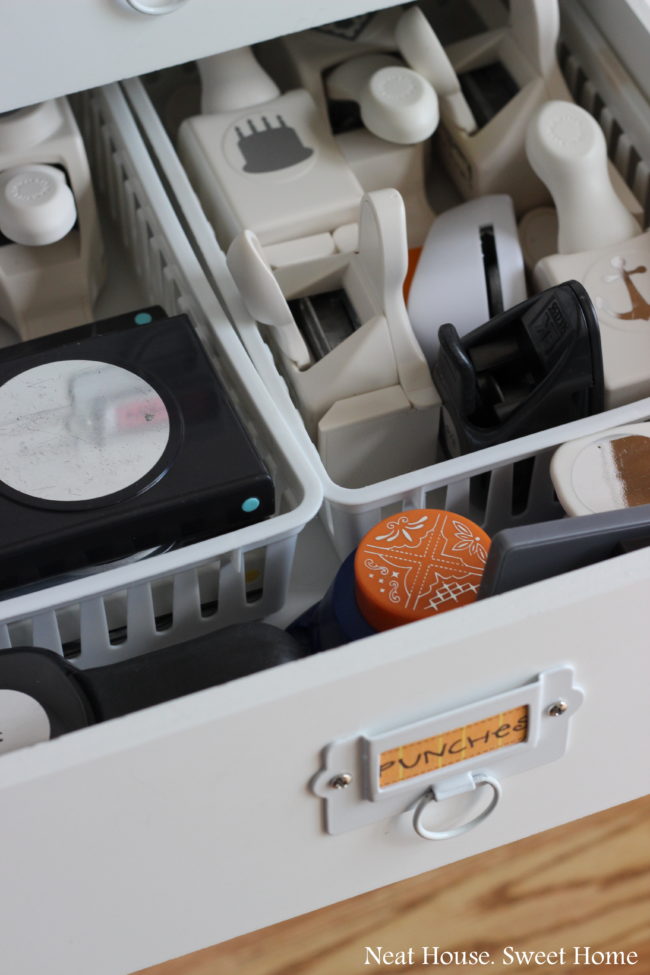
5. Dollar Store Baskets Organization
Last but not least, I LOVE baskets! In any shape, size, color or material. Basically, anything that can contain items and define limits, is a winner in my book.
- I suggest you read this post about defining limits to be successful at organizing!
I especially love dollar store baskets. Seriously, sometimes you can get up to 5 small baskets for $1.00 !. You can’t go wrong with that.

My drawers tend to be on the small side, so it has been hard to find drawer organizers that will fit snug or fit at all. These small baskets are perfect to confine my punches inside the drawer.
I hope this post inspires you to get some craft room organization done! I have been inspired by many fellow bloggers and it is nice to spread the ideas and of course, the love!
You can PIN now, READ later! 😉

Happy organizing,

Your organization needs are different from mine, but your ideas have sparked some ideas of my own. Thanks for this post!
Thank you, Suzi! I appreciate you taking the time to comment 🙂 and I am glad I sparked new ideas!
I was just curious where you got your drawer labels. They thing that says punches. They are super cute!
Hi Samantha! I purchased those at a local scrapbooking store. If it helps, the name is Everything Scrapbooks and Stamps. http://everythingscrapbook.com/ – thanks for stopping by!
Hi,
I love the cart you have with the three baskets and the open top. Where did you get it?
Just getting started with some organization projects and you have lots of great ideas,!
Hi Esther!
The cart is from Michaels. I love it too! I purchased it 3 years ago and they changed the design a bit, but it is still beautiful. You can find it here. I am glad you find my ideas inspiring! Happy organizing! 🙂
Flavia