How to Declutter Your Phone
Digital clutter is real. It’s incredible how we can hoard so much information on our phones without even noticing. Today, I want to show you how to declutter your phone for a more
Nowadays are constantly taking pictures, downloading files, or installing apps that, most likely, aren’t necessary or useful. It is so easy to accumulate apps because they don’t not take any physical space, but digital clutter can be distracting and counterproductive.
Let me ask you: how many times have you grabbed your phone to check your email or your bank account and a red bubble on a different app such as Facebook or Pinterest, makes you go to that one instead? And then, you are lost on Facebook or Pinterest for 30 minutes, and suddenly, you forget what you were doing in the first place. Does it sound familiar?
For this week’s task, I want you to take some time to declutter your smartphone by following these 5 easy tips.
Side note: because I am an iPhone user, I can give more detailed information on how to put these tips into practice only to iOS users.
Day 1: Two Easy Ways to Free Up Memory
1. Delete Unused Apps
Access your phone settings and search for memory, usage and/or storage. This should provide you a list of apps that have been installed and how much space are they taking up.
iPhone users: go to Settings>General>Storage & iCloud Usage>Storage>Manage Storage → this will provide a list of all the apps that are currently installed on your phone. The list populates the apps starting with the one that is taking up the most memory (usually your photo and camera). From there, start scrolling through apps and delete any app that you definitely know that you definitely know that you don’t need or won’t be using anymore.
Pro Tip: if you send a lot of text messages, whenever possible, try to delete conversations as they take up a lot of iPhone memory.
2. Delete Random and Non Important Pictures
Go to your camera roll and start selecting random pictures you have taken. This could be something like a picture of a product you saw at the store and you sent it to a friend, a random screenshot or even a picture that was taken accidentally. Starting with these sort of pictures makes it easy for you to sift through the rest at a later time. Well, the next day.
Day 2: Delete Duplicates and Boring Pictures
Those days when you had a camera with a counter telling you how many pictures you had left on your roll, are over. Today, we can literally take 20 pictures in a matter of minutes without even noticing we took that many. Look at your camera roll and at a glance, you can probably see an area where there are duplicated pictures. Same person, same background, same expression on her face, just taken a millisecond later. Two words: Hit delete!
So, grab a cup of coffee and start hitting the ‘trash can’. Keep amazing pictures. Delete boring ones.
Keep one or two of the same but please, delete the rest. Once it’s gone, it’s gone and you won’t even remember you had it.
iPhone Users: just deleting the pictures from the camera roll doesn’t free-up the memory instantly. The latest iOS system saves deleted pictures in a folder and keeps them for 30 days. So, if you want to free up memory instantly, go to Photos>Albums>Recently Deleted– click select on the top right corner and then click ‘delete all’ in the bottom left corner.
Day 3: Download Picture & Files Backup Apps
Of all the apps available in the virtual world, pictures backup app is the best and most useful app you can install on your smartphone. After you have sorted and sifted through your pictures, download one of these free apps:
- Google Photos: compresses, backs up, and stores unlimited high-quality* photos and videos for free, so you can delete them from your Camera Roll. With Google Photos, you can store, search and share. What you get:
Free unlimited high-quality storage: Back up all your photos and videos for free. Access them on any device and on photos.google.com – Your photos are safe, secure, and private to you.
Free up space: never worry about running out of space on your phone again. Just tap “Free up space” – photos that are safely backed up will be removed from your device’s storage.
*High Quality photo storage is unlimited. If you decide to save them full resolution, you may run out of the FREE storage and eventually you would have to pay for extra storage.
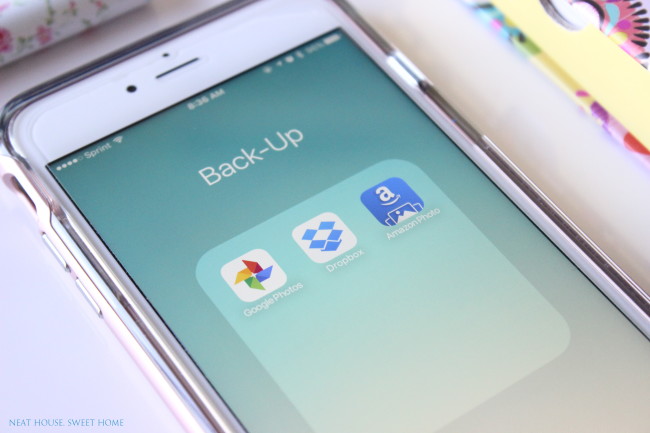
Dropbox: you can save files of all kinds (not only pictures) with this app. The files you keep on Dropbox can be accessed from any device. There is also an awesome desktop app that constantly synchronizes, making your pictures accessible on any device where the app is installed.
- Create and edit Microsoft Office files from your iPhone or iPad
- Back up photos and videos automatically if you choose
- Share links to your largest files without using email attachments
- Access your files offline
The most amazing thing about these apps is that they run in the background, and you just have to set them up to back up your pictures when you are connected to WiFi or, depending on your phone’s carrier data plan, you can choose to run them in the background even when you are not connected to the internet.
So, once you have decluttered your camera roll (Day 2), start backing up the ones that are left. Then, when you are absolutely sure that they have been uploaded, you can proceed to delete them.
My pictures are backed up automatically every time I connect to WiFi at home. I would say, I check my camera roll once a month and delete those pictures that have been uploaded for sure. I try to keep some pictures that are important to me (even if they are backed up), like a family picture, or an Etsy product or project I have done, for easy access when needed. But, since I signed up for Dropbox, I can finally breathe and feel like I can delete the pictures anytime.
Tip: even though online storage is very reliable, I recommend you back up your files on data CDs. I am overdue with this task!
Day 4: Re-Structure Your Phone’s Desktop and Layout
The feature I love the most about my iPhone is that finding an app that has been installed is the simplest thing ever. At a glance, you can see all kinds of icons and quickly open the app you need. However, if you are an app hoarder, you can have several pages and sometimes you can not find the app you want quickly enough. And you know what happens when you can’t find an app, you jump onto another one that caught your eye. Perhaps Facebook, or Instagram?.
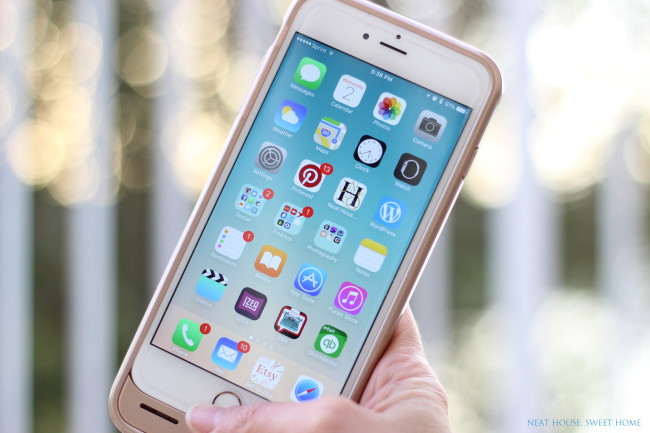
So, it is important that you create a layout that makes sense to you. Here are my tips:
Keep Most Used Apps in Plain Sight.
Phone, text messages, email, clock, camera, photos, calendar, reminders, notes, bank, credit cards, weather, maps, settings. You will probably have room for some more. Pick only the ones that are most important to you and that you use on a daily basis. For me, these apps are my finances, photography and blogging tools (that includes Pinterest!), Quickbooks, and my Etsy shop. Period.
Move Distracting Apps Towards The End
A couple of years ago I realized that when I moved Facebook and Instagram from my first page, I wasn’t clicking on them that often. Today, as I grow as a blogger, I have to keep checking social media channels since they play an important role in my work. However, I keep all social media apps grouped in a folder and I find that much less distracting.
Create Category Folders
Rearrange apps and group them by theme like Photography, Finances, Productivity, Social Media, etc.
Create a ‘Delete These Apps’ Folder On Your Phone
I learned this trick a while ago, and it is super easy to put into practice. On Day 1, you probably deleted some apps that you knew for sure you weren’t using and wasn’t going to anymore. However, I know there are some apps that have you sitting on the fence. So here is what you have to do:
- Gather all of those apps and group them together in a folder on your ‘phone’s desktop’.
- Name the folder: DELETE ON xx/xx/xxxx —> Set a time limit. I recommend 3 months from the day.
- Set a reminder on your phone for that date.
Let’s say you create the folder today, and tomorrow you need an app that is inside the ‘DELETE’ folder. Grab the app and take it out of the folder, place it on the desktop, by itself. As days go by, you will need (or won’t) some of those apps in the folder. Every time you use one app, drag it out of the folder. You can only drag it out if you have to use it.
The day the reminder goes off (3 months from now), check the folder and delete all the apps that are left inside. Because you haven’t used them in three months! If, you ever need the app, no big deal, you can download it again.
Tip: you can make separate folders and separate reminders and give yourself 1, 3 or even 6 months, depending on the type of apps.I leave this up to you!
Day 5: Turn Off Notifications or Sign Out Completely
Notifications are a major distraction, not to mention that they clutter your phone with red bubbles. At some point, a couple of years ago, I signed out completely from Facebook and I realized I could spend 3 or 4 days without visiting. My friends would ask me if I saw this or that, and I would be totally oblivious. I did not care, and to this date I don’t think I am missing much. Eventually, I had to sign in again, in order to connect my Facebook Page and monitor my Facebook Group. But, if you ask me, Facebook could crash tomorrow and I wouldn’t care. Sounds harsh (especially coming from a blogger) but it’s my personal appreciation. I think that people is too hung up on watching other people’s life and are missing important bits of theirs.
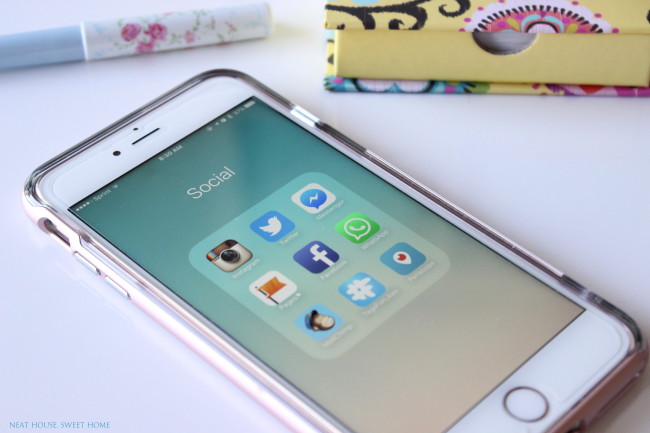
By signing out, you will think twice about signing in again, and quickly you will realize that there’s probably a better and more important thing to do at the moment. It worked for me. Like I said, now I am signed in again, but I am one of those few exceptions that don’t care much for this social media channel.
If you don’t want to sign out completely, try turning the notifications off. That way, you will only be visiting those apps (Facebook, Instagram, Linkedin) when you really need them or have the time. Is better to sit on the couch when you have time to spare, and scroll through Facebook, than reaching out for the phone when you are in the middle of doing something important. It could be work, it could be precious time with your spouse or your children, or maybe you are driving, or visiting a friend!
Whatever it is, try one of these two options. You can thank me later!
Apps and their constant notifications not only clutter your phone but also clutter your mind. So this week, friend, take the time to follow these 5 steps and free some space in your phone and in your brain!
Happy decluttering!

