How to Make a Party Hat for a Baby
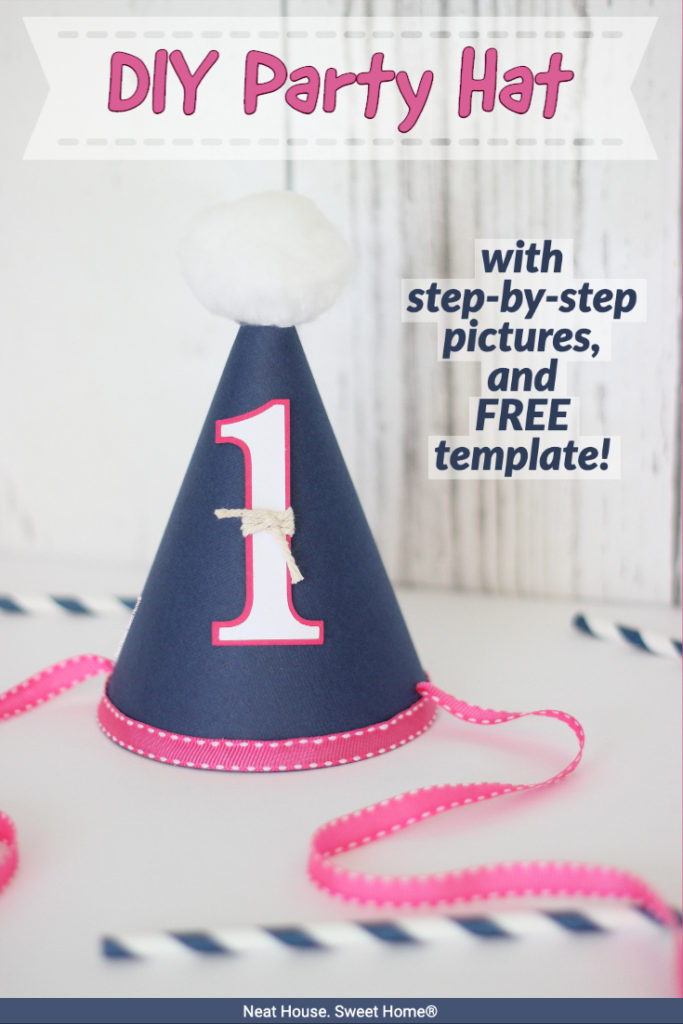
Looking to make a party hat for a baby? I have nearly ten years of experience making hats for first birthday parties and beyond. Below is a detailed tutorial with step-by-step pictures, and I also include a birthday hat template that you can download for free.
Would you like to save this?
When our son was approaching his first birthday, I searched high and low for baby’s first birthday party ideas, decorations, outfits, food, you name it. It was the summer of 2011, and my big goal was to handcraft everything for his party. I wanted to make it all, from the invitations to the thank you tags, the food signs, and a first birthday party hat. And I did!
I didn’t know how to make a party hat, but I figured it couldn’t be hard to make. So, I searched blogs for 1st birthday party hats and everything else under the sun and got super inspired!
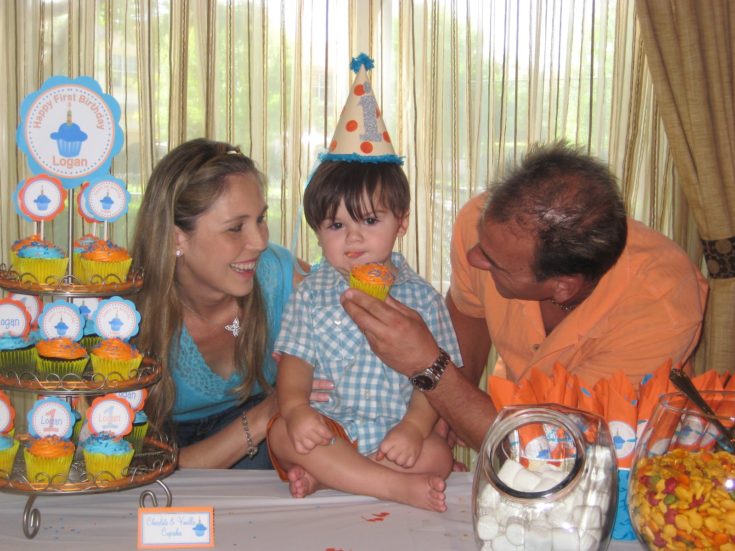
It turned out that our baby’s first birthday party—and all of its decor—was a great success. Our baby’s first birthday hat was my personal favorite. Later that year, my friends started calling me to make their parties’ decorations, too. This is how my Etsy business—and eventually, my blogs—started.
So, without further ado, here’s my step-by-step tutorial on making a 1st birthday hat and how to modify it to fit older kids and adults.

This post may contain affiliate links for your convenience. For more information, please read my Affiliate Disclosure.
Supplies Needed to Make a Party Hat
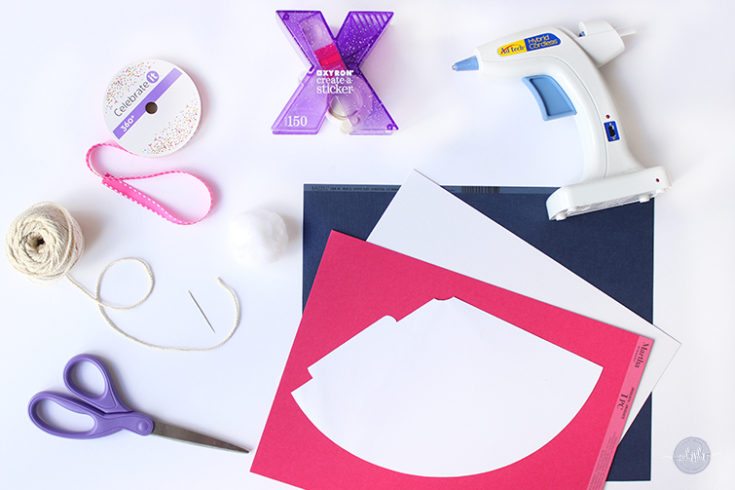
- DIY Party Hat Template (free download below)
- Cardstock, in your choice of color. I like to use 12×12 sheets, but 8.5×11 works well too.
- 1 spool of 3/8-inch wide ribbon, in your choice of color. I like to use a grosgrain ribbon. You will need approximately 60 inches or less.
- Hot glue gun and hot glue sticks
- 1/8 inch circle hand punch (not pictured)
- Natural cotton twine
- Wide eye needle
- 2-inch pom-pom
- Crafting scissors
- Pencil
- Clear tape
- 1.5-inch sticker maker (optional)
- Embellishments (optional)
PRO TIP: For further info on craft tools and materials I use and love, you can read my detailed post: My 10 must-have craft tools and supplies.
1. Print and Cut the Template
Use the form below to download your free DIY party hat template. After you sign up, you will receive an email with a password to our library of printables.
Print the party hat template on white paper. For a sturdier template that is easy to handle and lasts longer, print it on 110 lb. white cardstock.
2. Trace the Template on Cardstock
Lay the cutout template on the cardstock you choose for the party hat, and trace the outline.
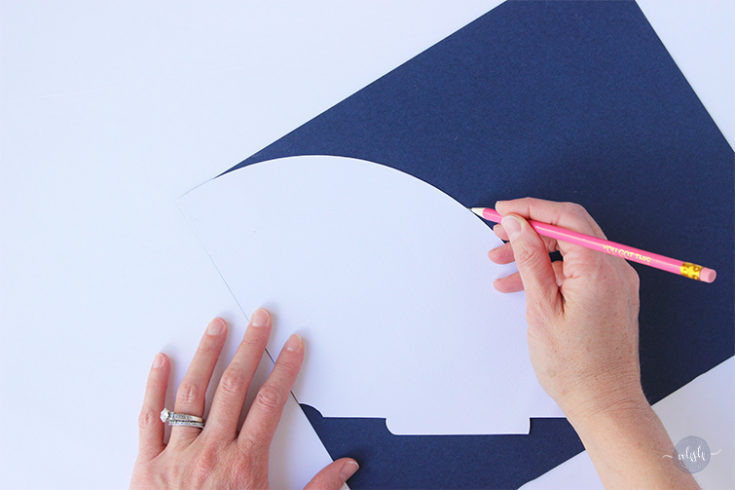
You can use this template to make party hats for both adults and babies. Party hats sit on top of the head; they do not cover the entire head. You will only have to adjust the length of the tying ribbons accordingly (as explained in step 7).
3. Cut Out The Party Hat
With a pair of scissors, simply cut around the party hat you traced. Set aside the leftover cardstock.
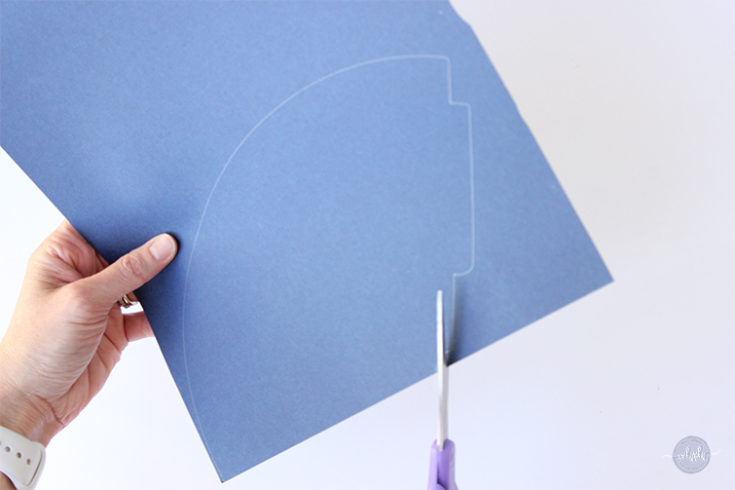
You will notice a line across from the tab in the template. This line is your guide to cutting a slit if you prefer to insert the party hat’s tab inside to secure it. I personally do not use it and prefer to overlap the edge over the tab.
I do not insert the tab inside the slit because the cardstock tends to be heavy and pulls away, opening the hat. Therefore, I like to overlap and secure it with hot glue. See the next step.
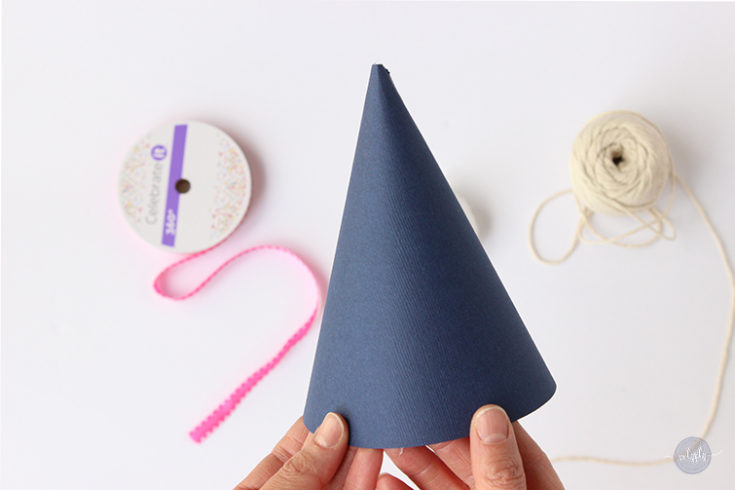
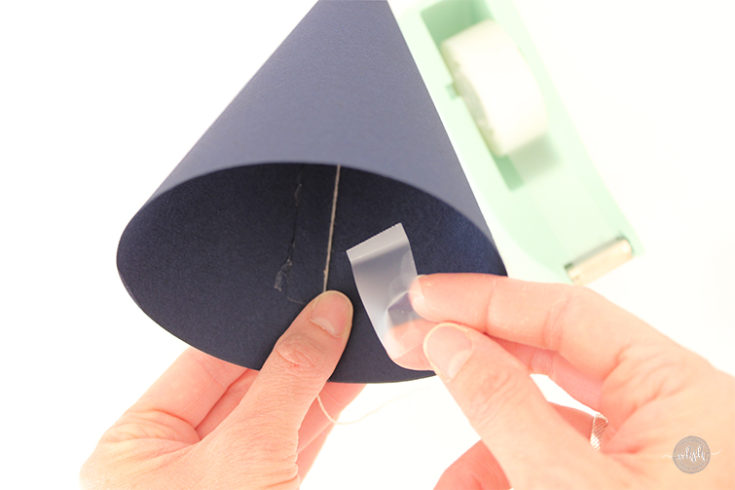
4. Bend into a Cone and Glue the Hat
Slightly bend the cardstock to create the cone. See how the cardstock has taken the shape of a cone, but I let go.
Turn on the hot glue gun, and wait until the glue is hot and melting, almost oozing off the tip of the glue gun. Hot glue dries almost instantly, so you must work fast in this step.
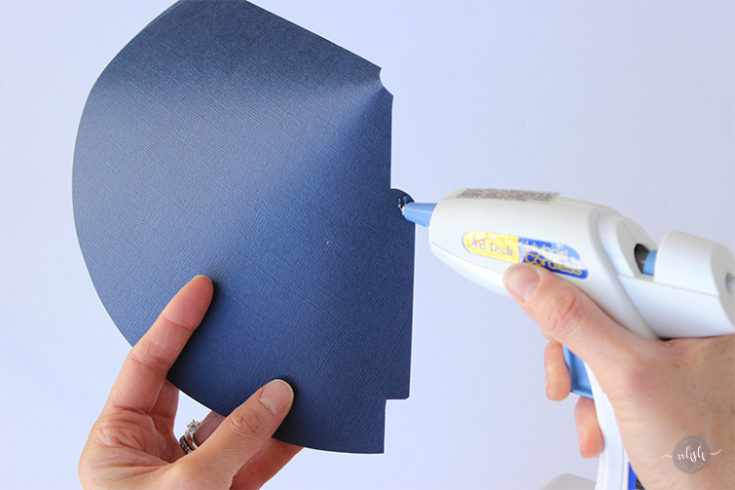
Squeeze a line of hot glue on the tab, grab the other end of the cone, and place it right over it. Make pressure so both ends adhere. The hot glue will dry in seconds. Now you have the cone for your DIY party hat.
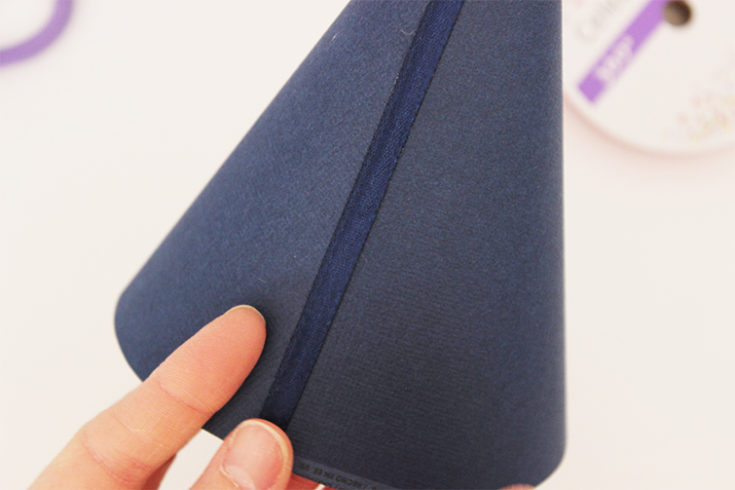
Optional Step
Sometimes, after overlapping, the seam on the party hat is not pretty, so I cover it with a thin strip of ribbon in the same color as the cardstock. This step isn’t necessary; it just makes a better finish, especially if you plan to sell party hats, as I do in my Etsy shop.
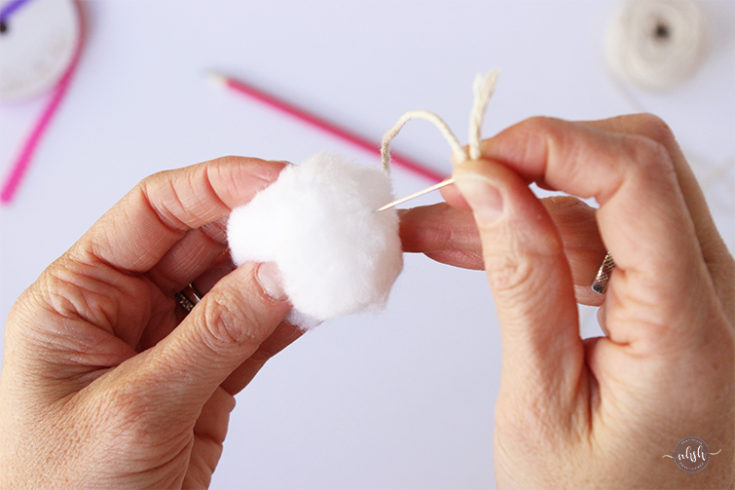
5. Prepare the Pom-Pom
Cut a 12-inch string of cotton twine and tie a small knot on one end. Thread the other end through the needle.

Push the needle through one side of the pom-pom and pull from the opposite side. The knot will stop the string from going through the pom-pom. The knot gets buried in the pom-pom; you won’t see it.
6. Attach the Pom-pom to the Party Hat
After shaping the party hat, you will notice that there is a very small opening on the top of the cone.
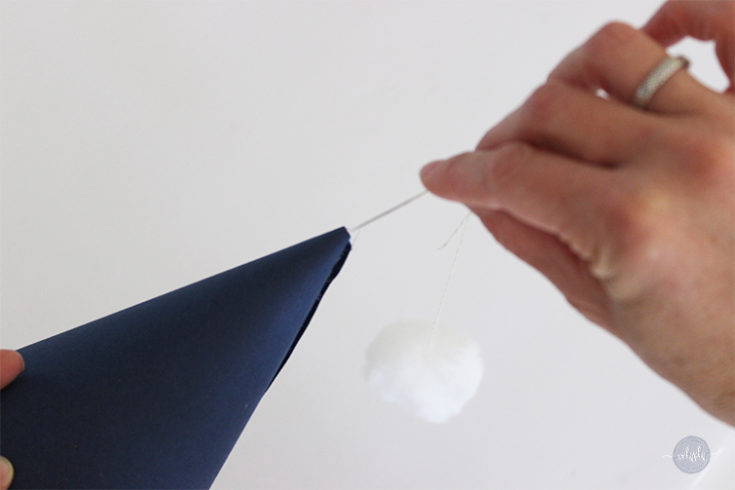
With the string still threaded in the needle, and the pom-pom hanging on the other end of the string, drop the needle through the small top hole of the hat.
Pull the string from the other side, remove the needle, and secure the string tightly with a small piece of clear tape. The pom-pom will sit on top of the hat, but it will sit wobbly.
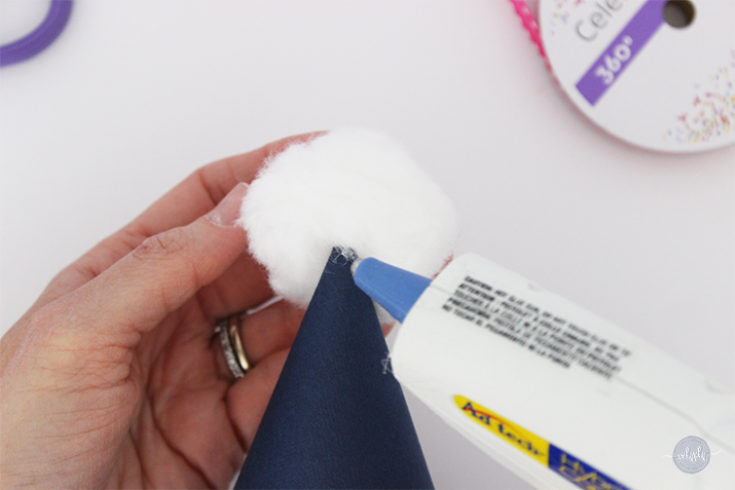
Secure the pom-pom to the party hat with small dots of hot glue.
7. Cut the Ribbon Pieces
For this step, you need to cut three pieces of ribbon.
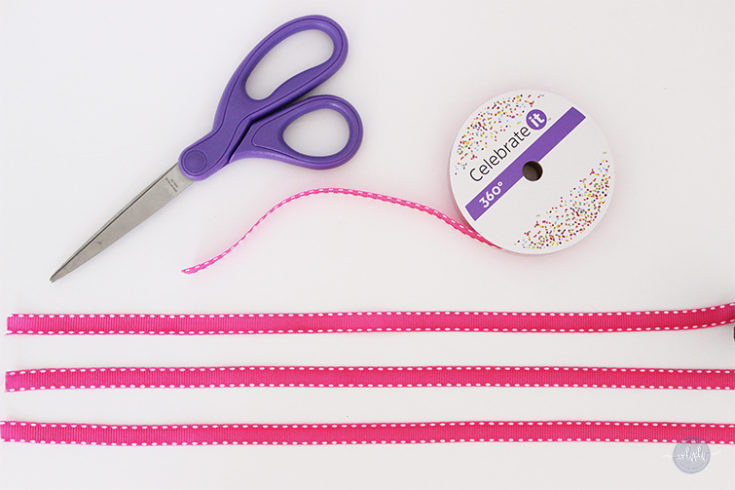
- The first piece will wrap around the round perimeter of the cone. For this particular party hat template, you will need 15 inches. You can add a little more (and then trim the excess), but no less than 15 inches.
- The other two pieces will be the party hat ties. The length of these two pieces of ribbon will depend on who will wear the hat. If you are making a 1st birthday hat, 20 inches for each piece is more than enough ribbon to tie and make a bow, even.
These DIY party hats are designed to sit on top of the head and do not need to cover the entire head circumference. You will need to adjust the length of the ribbon ties.
If you are making hats for adults, measure yourself and calculate how much ribbon you will need to tie the party hats under an adult’s chin.
8. Trim the Party Hat
Time to trim your DIY party hat and make it beautiful!
I used hot glue to attach the trim to the party hat. I would work in sections, slowly squeezing hot glue around the cone’s edge and attaching the ribbon.

This method works perfectly fine; if you are careful, the trim on your hat will be just perfect. However, I now use a different method.
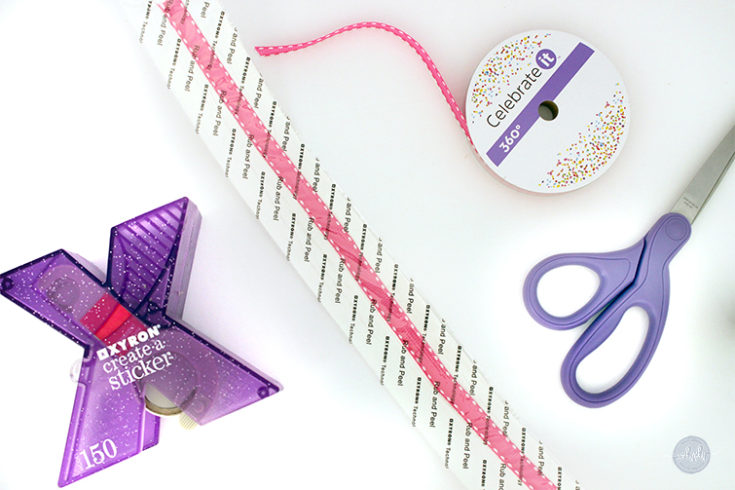
Optional Method: Use a Sticker Maker
Push the 15-inch piece of ribbon through the (optional) sticker maker. This will make a sticky backing. With a sticky backing, attaching the ribbon to the party hat becomes a much easier, cleaner, and faster method.
9. Attach the Ribbon Ties to the Hat
As a reminder, measure these two pieces of ribbon to ensure they will fit the person wearing the hat. If this is a party hat for a baby’s first birthday, you will need the two pieces to be at least 20 inches long each.
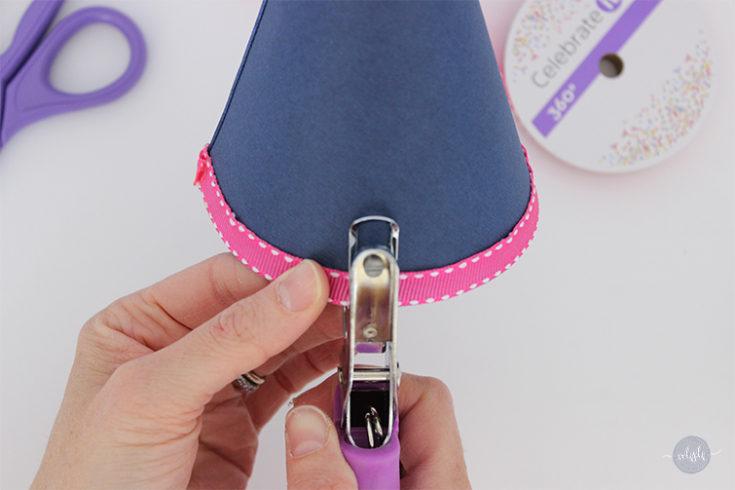
Find the front of the party hat (seam facing the opposite side) and proceed to punch a small hole on each side of the party hat with the 1/8-inch punch.
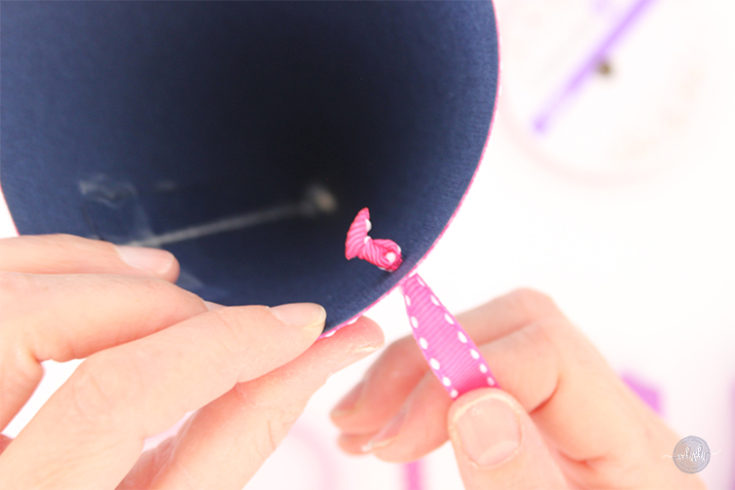
Thread the ribbon through the hole and tie a small knot on the ribbon’s end inside the hat.
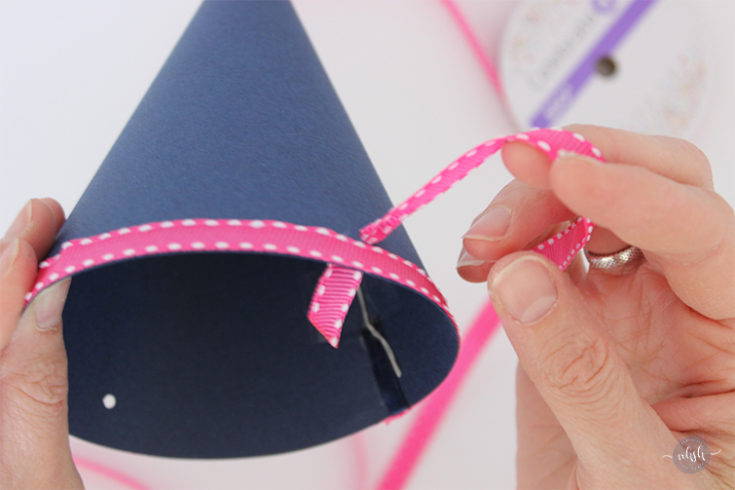
Pull the string until the knot stops it.
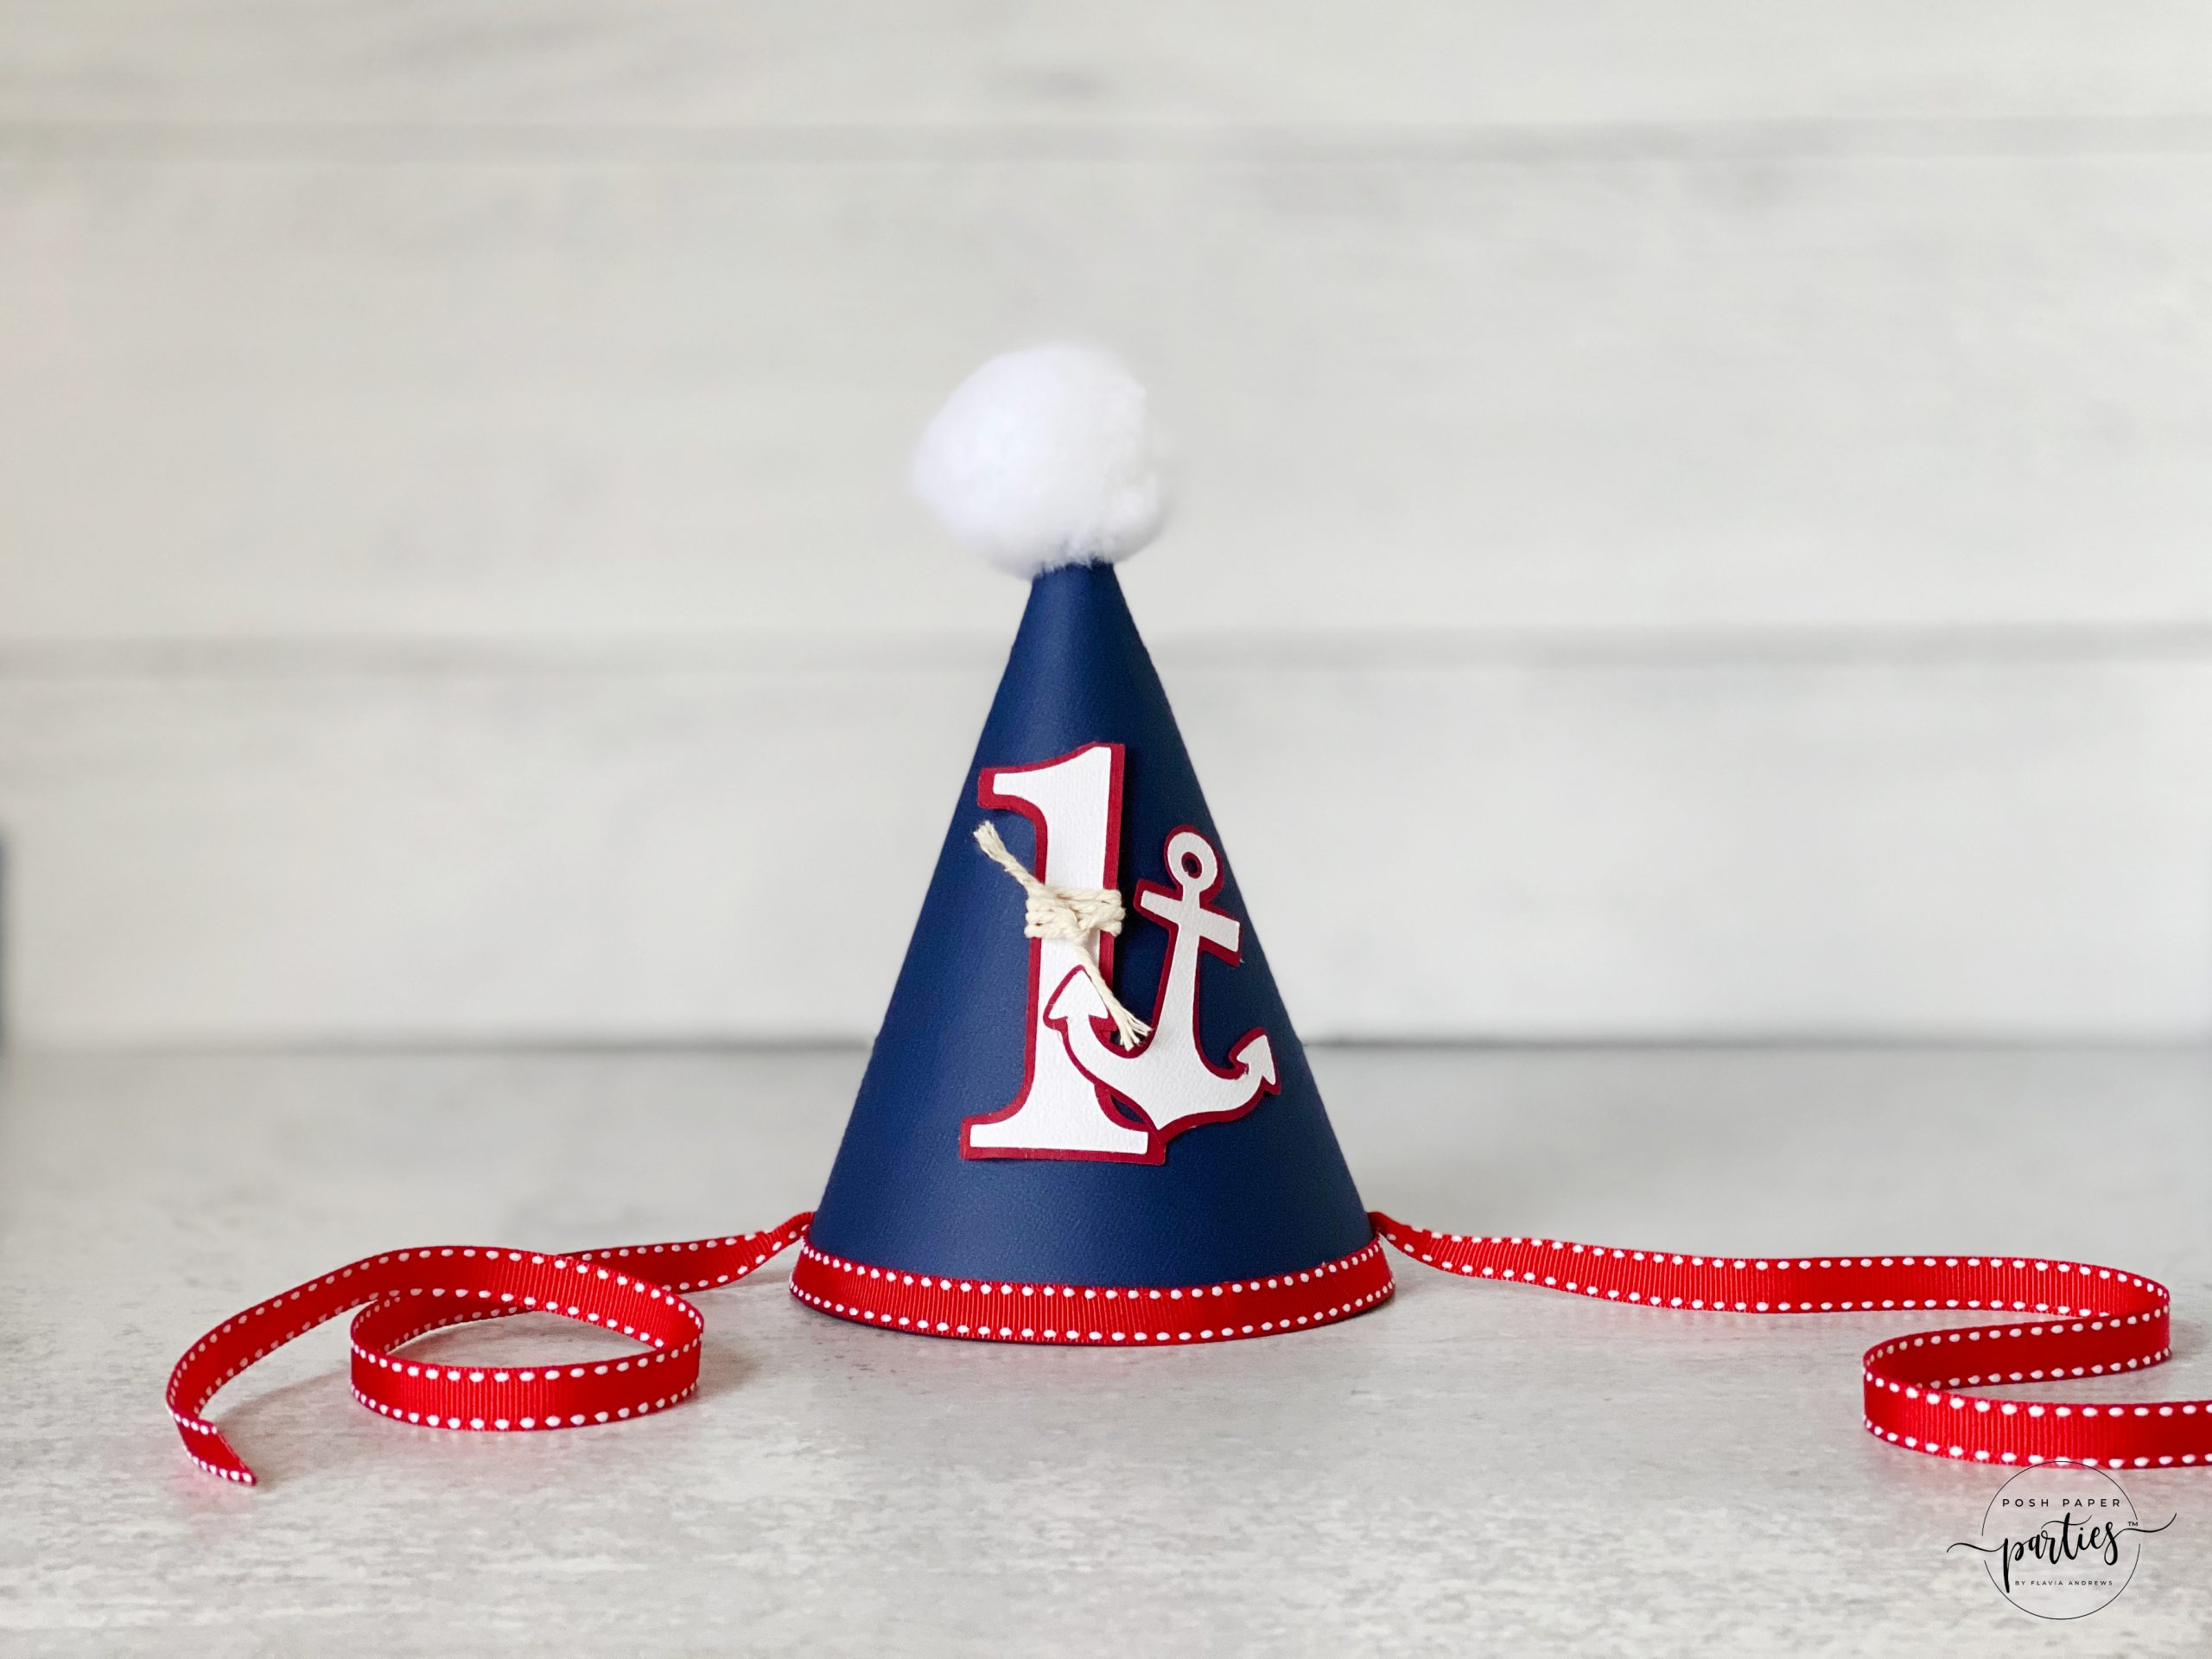
10. Optional: Add Embellishments
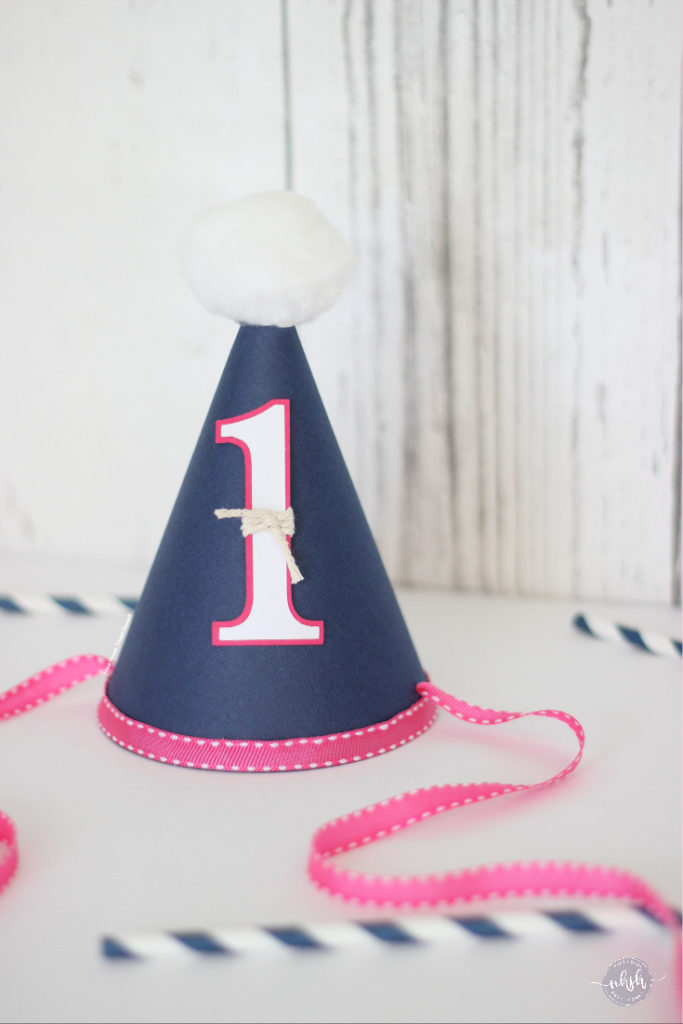
At this point, your baby’s 1st birthday hat is done. However, I always like to add embellishments that make these hats unique. Depending on the baby’s birthday theme, the hat will feature a number 1 or anything else my customers like.
Whatever you decide to add to the hat is up to you! Scrapbook embellishments, ribbons, buttons, and even stickers make the party hats extra special. Another option to add some pizzazz to your baby’s party hat is to use patterned cardstock instead of solid cardstock.
Now you know how to make a party hat for a baby or any other occasion, and the possibilities are endless.
this is exactly what I needed to see last year. my daughter turned one in october and I spent a whole weekend trying to figure out the cone shape before giving up and just buying them. the template idea with the cardstock is so smart — wish I’d found this post sooner. the pom pom on top is such a cute detail. one thing I learned the hard way is the elastic situation — I used string on my DIY attempt and it kept sliding off her head. for her older brother’s 5th birthday I ended up getting GINYOU cone hats in bulk because we needed like 16 of them for the party and honestly the elastic was perfect and they’re CPSIA certified which made me feel better about the toddler guests putting everything in their mouths. but for baby’s special ONE hat I’m definitely trying your method next time — that gold crown style would be amazing for photos
How to I get the pattern for the adorable birthday hat?
Hi Laura, the pattern is available inside our library of free printables. You can sign up here: https://www.neathousesweethome.com/free-printables-library-access/ – Thanks for reading!