DIY Magnetic Board Schedule
When my son started trying to make deals with me on when to do homework and when to go outside and play -or use electronics- I knew I needed to create a daily schedule board for him. I don’t want to be so rigid, but I also want to teach him that we can’t do it all. Sometimes, we need to compromise or change things around. This DIY magnetic board schedule turned out to be a fun project to do.
At first, I thought about just writing the schedule on a dry-erase board, but I wanted it to be more ‘interactive’. I had this idea of little magnetic words, to make planning fun and easy for a 7-year-old boy. The magnet sheets are inexpensive and easy to print at home and placing and swapping activities is a breeze.
Here’s how you can DIY your own magnetic board schedule too.
Materials for the Magnetic Board
I searched for a framed pre-made magnetic board, but they were either too small for my project, or too pricey. So I decided to make my own. Here is a list of materials you will need.
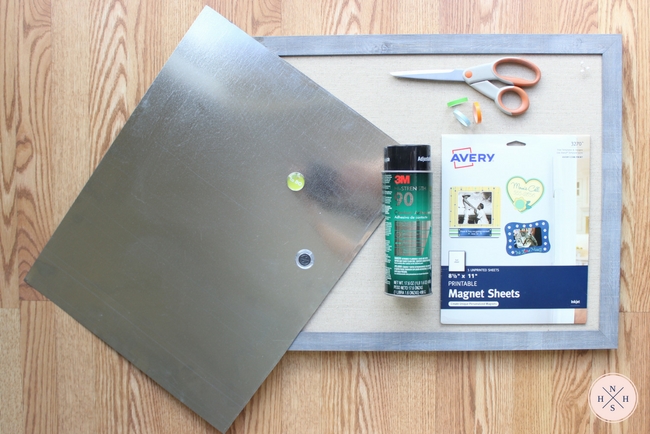
- 1 Framed fabric pinboard – I purchased mine at my local Home Goods.
- Outside dimensions: 25 in x 20 in
- Inside Dimensions: 22.5 in x 17.5 in
Note: it is important you find a pinboard with these same dimensions or slightly bigger (but not smaller) in order for you to be able to fit an entire Monday through Sunday calendar with 13 time-slots
- 1 – 24 in x 3 ft galvanized steel sheet
- Tin snips (not pictured)
- Spray adhesive – preferably high-strength.
- Painter’s tape (not pictured)
- Crafting scissors
DIY Magnetic Board Schedule
- Measure the inside of your pinboard – My pinboard’s inside dimensions are 22.5 in x 17.5 in
- With the tin snips, cut the metal sheet 1/4 in shorter on each side. My metal sheet final dimensions are 22 in x 17 in
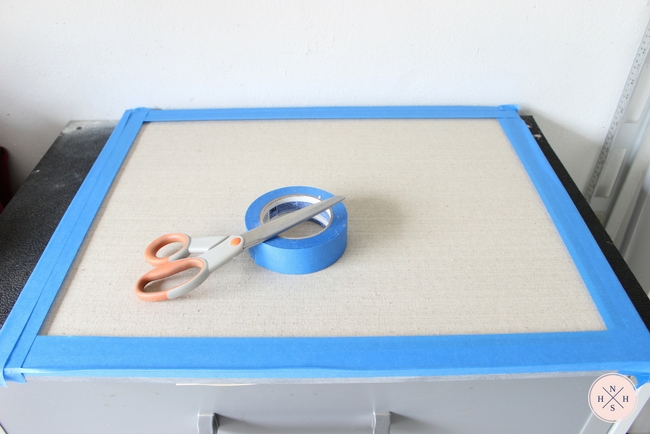
- Tape the frame plus 1/4 in towards the inside, to protect the area from spray adhesive.
You can also place the sheet down on the board, and tape around the perimeter (without taping the sheet down).
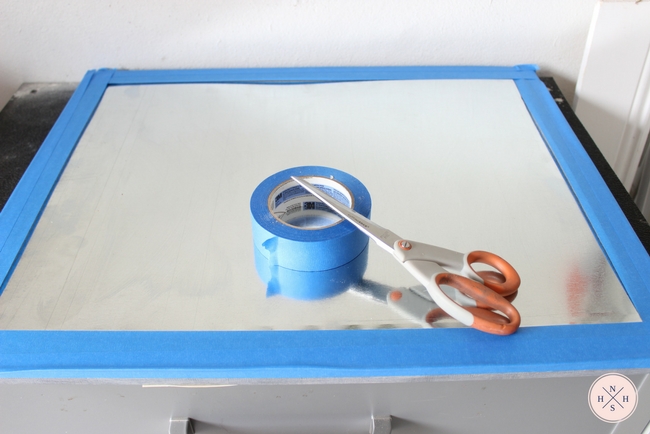
4. After taping, remove the metal sheet to reveal the area that will be sprayed.
5. In a well-ventilated area, spray the adhesive on both surfaces (pinboard and metal sheet) following the instructions on the spray adhesive can.
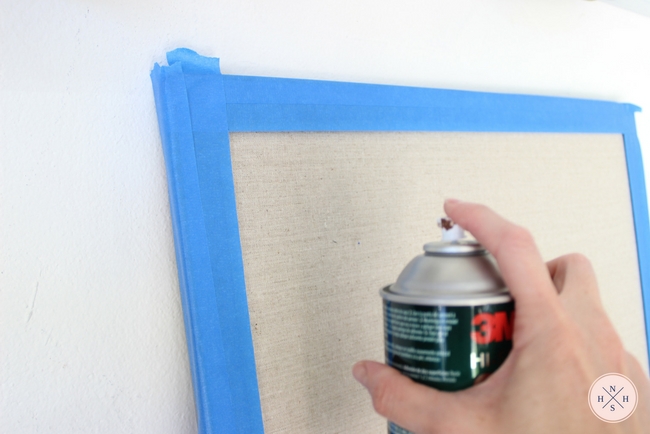
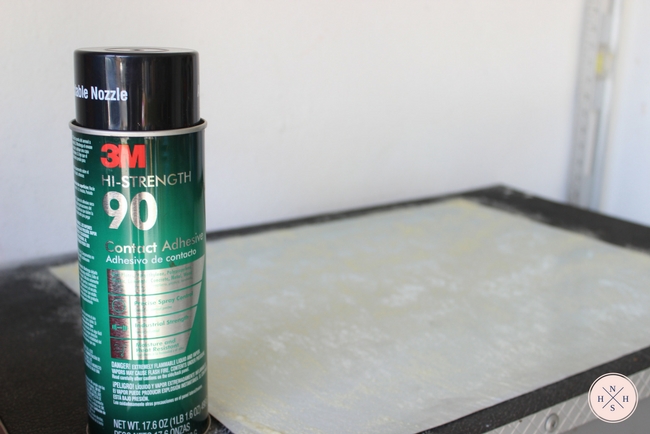
6. With your knuckles, touch each surface. If the adhesive is tacky to the touch and it does not transfer to your skin, you are ready to stick the parts together. Make enough pressure on the galvanized sheet metal to ensure adherence and remove the tape.
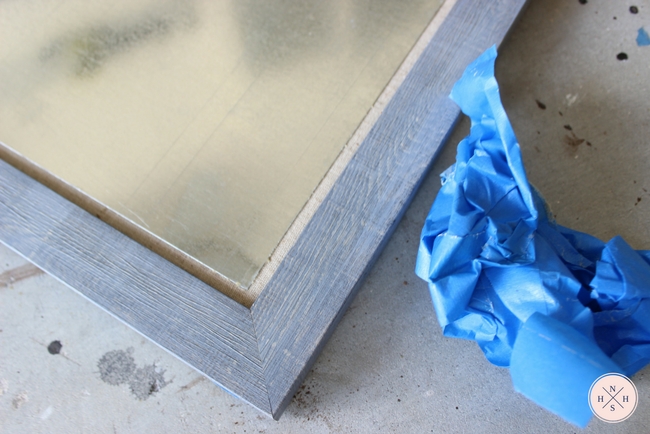
Wait for 15-20 minutes before handling the board. After that, you can wipe the metal with a mild surface cleaner to remove fingerprints.
Design a Daily Schedule on the Magnetic Board
The daily schedule I created was Monday through Sunday from 8:00 a.m to 9:00 p.m. This meant I needed a table composed of 8 columns and 15 rows. To create the table, I used thin washi tape.
- Yardstick, measuring tape, or long ruler
- Calculator
- Fine point marker
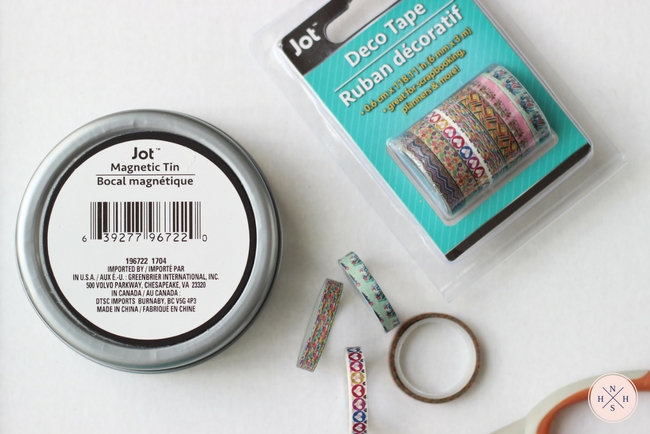
- Decorative washi tape 5 or 6 mm wide – These are great for planners and all kinds of other crafts like this DIY magnetic board schedule.
- Magnetic sheets
- Inkjet color printer
- Craft scissors –> these are my 10 must-have craft tools and supplies.
- Paper trimmer (optional)
- Magnetic Tin (optional)
- Printable schedule headers (time and days). Free download below!