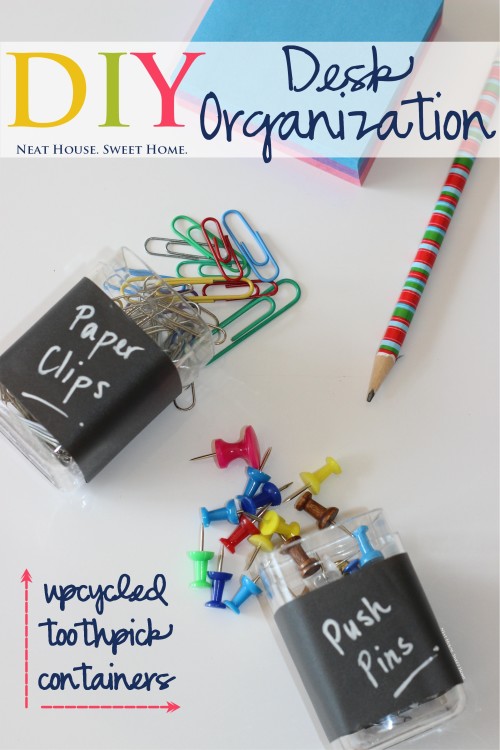
DIY Magnetic Paper Clip Holder
This week I’ve been working hard on my office and desk organization. The fun part is that every project is an opportunity to make new crafts and projects. Today, I will show you how to DIY your own magnetic paper clip holder.
I am a crafter, and crafters use their imagination in all possible ways. That means that we hoard save all kinds of things because ‘they may be useful one day’. Yes, that’s me! I save anything that has the hidden potential to ‘turn it into something’ or anything that can hold little things.
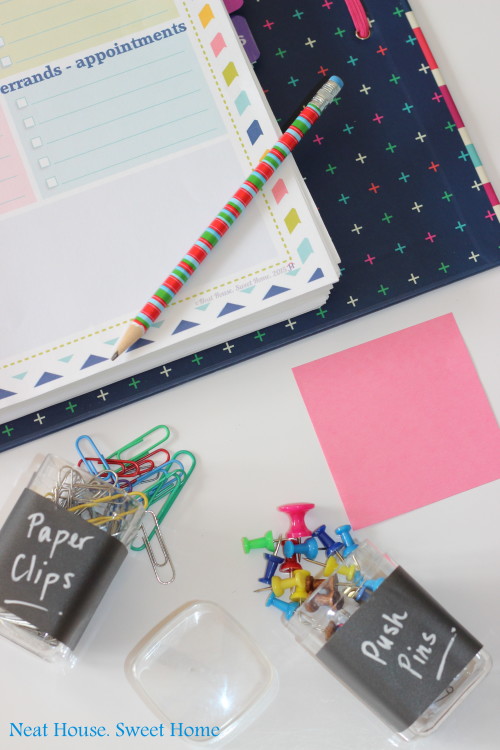
With that said, please don’t wonder why I saved those toothpicks containers because I turned them into two items to organize my desk. One is a magnetic paper clips holder and the other one is a pushpins holder.
How to Make a Magnetic Paper Clips Holder
First and foremost, this idea came to mind when we finished the toothpicks box and I didn’t want to throw the container away (I know. I am weird). But, don’t wait until you use up all the toothpicks, just empty out the box and put the picks in a small ziplock bag.
This post contains affiliate links for your convenience. For more information, please read my Affiliates Disclosure.
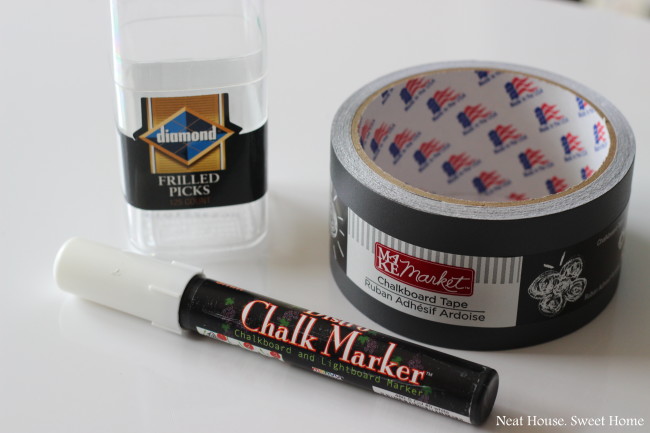
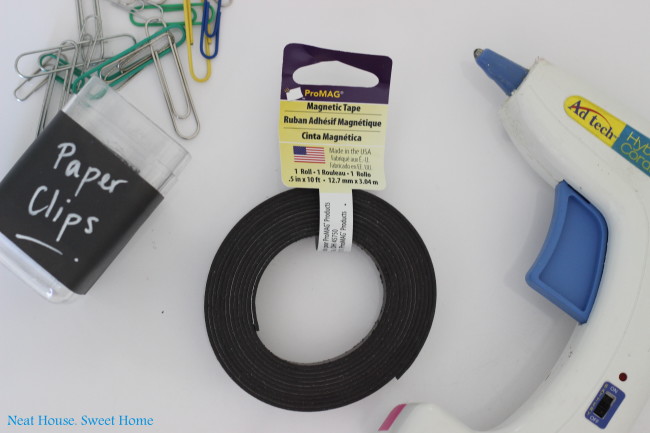
Here is what you will need:
- Empty toothpicks container (find toothpicks in a similar container here)
- Chalkboard tape – 2″ wide (I got mine at the craft store, find a similar one here)
- Chalk marker
- Magnetic tape (not pictured)
- Hot glue gun and hot glue sticks (not pictured)
- Scissors (not pictured)
Step 1. Peel The Sticker Off
First, peel off the old container’s label or sticker. If you’re a perfectionist (me too, just not today) and want to get it all off, Goo Gone gets the job done quickly, or you can opt for this natural and green option, which I am loving lately. In this case, the width of the chalkboard tape was enough to cover the width of the old sticker.
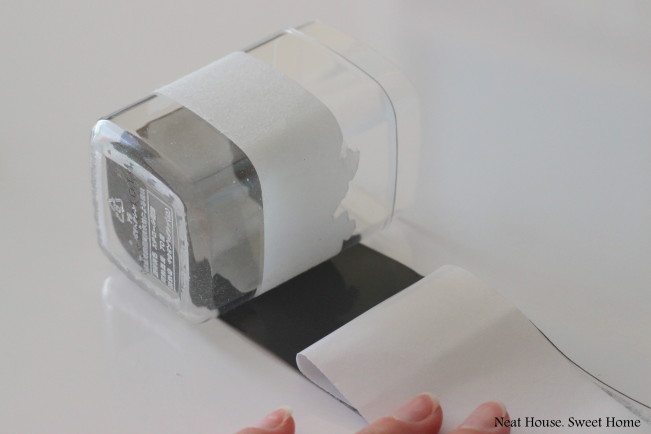
Step 2. measure and Cut the Tape
Measure the tape around the container’s ‘belly’ and cut with scissors. Lay the piece of tape flat on a table, peel the adhesive off, roll the container over the tape, wrap, and you’re done.
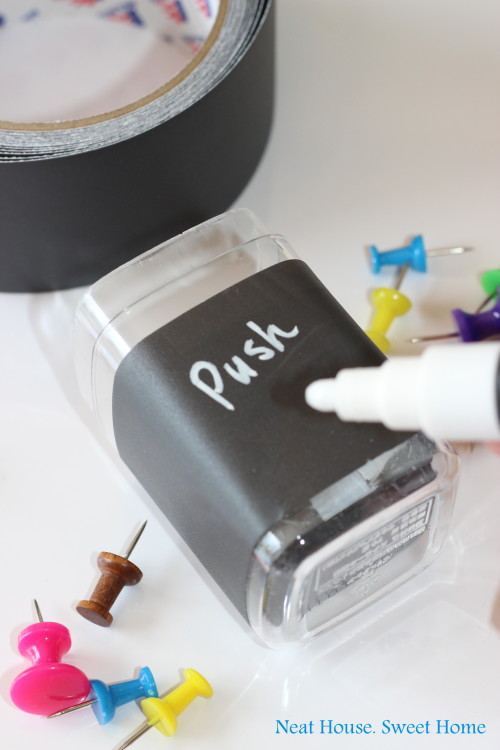
Step 3. Label The Container
With the chalk marker, write directly on the tape.
Step 4. Cut the Magnetic Tape
Next, cut a piece of magnetic tape the size of the inside perimeter of the container’s opening.
Put a small line of hot glue (the same thickness as it pours out of the gun) in the 4 inner sides of the container and immediately set the tape. I put mine 1″ from the top.
Ta-da! No spilling.
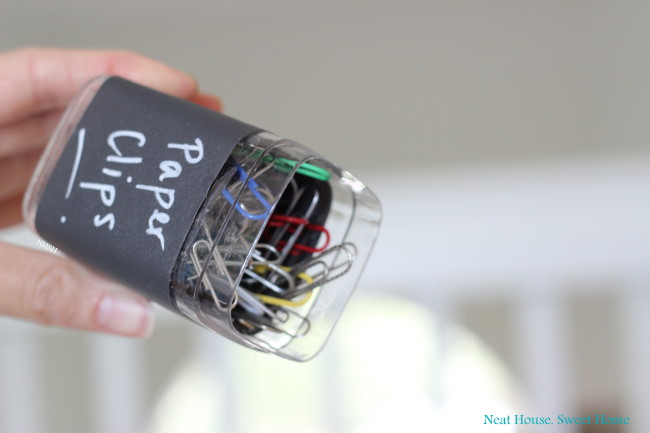
I don’t think I have bought paper clips in years. We use the same ones over and over. I guess they never leave the office. It is always good to have the paper clips handy and just not scattered on the desk.
A Peek at my Drawer
I keep them nested in small baskets from the dollar store, inside my desk’s drawer. You can see how much I use them in this post where I share craft room organization tips. I love those mini-baskets from the dollar store to help me keep my drawers neatly organized.
My ‘right hand’ drawer holds cables (USB, ethernet, chargers), a few envelopes, checkbook, stamps, rubber stamps, clips, push pins, staples, post-it notes, and those cute clothespins (bottom right) that I found at Michaels in one of my many trips.

So, what do you think? Easy peasy right?
Have a wonderful weekend, everyone!